16 Fun Crafts for a Teenager’s Room That Feel Totally Personal
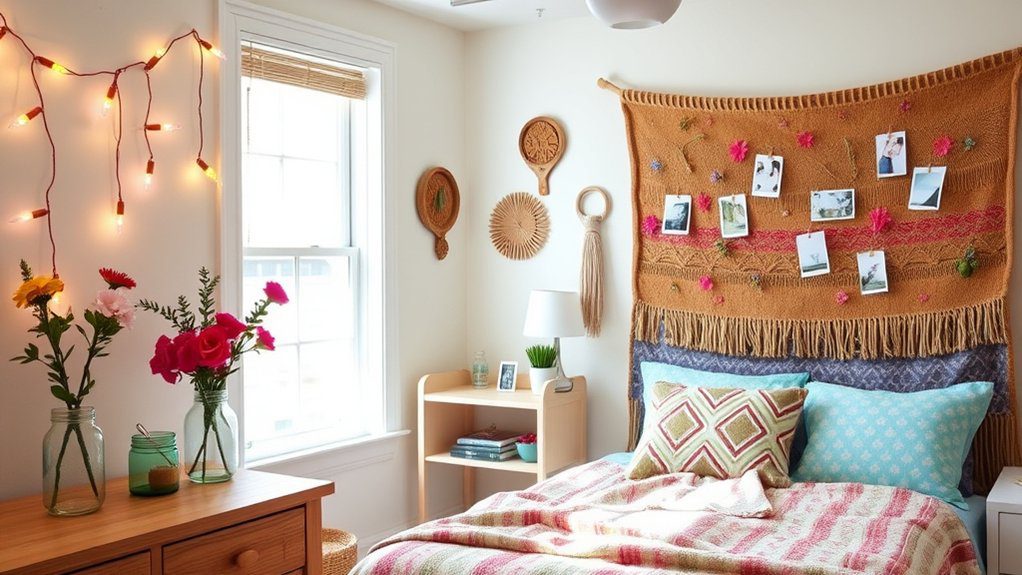
You can make your teen room feel totally personal with easy crafts like a photo clip wall, painted mini canvas, or a Polaroid grid using wire, tape, and a level—super cheap, super cute! Add clay trinket dishes, a scrapbook-paper mirror frame, pressed flower art, and yarn-wrapped initials for color and texture. Finish with a jewelry stand and warm LED corner lights for a cozy glow, and the best part? A few more ideas get even cooler.
Love cozy DIY projects? 💕
Get free printable guides, exclusive tutorials & surprise craft goodies straight to your inbox.
Disclosure: This post may contain Amazon affiliate links, at no extra cost to you. Content on DiyCraftNest is created with research support from AI tools and carefully reviewed, edited, and fact-checked by the lead author, Daniel Pat, to ensure accuracy and reliability. Learn more
Key Takeaways
- Create a photo clip wall with one theme, matching clip style, and tiny date tags for a curated, personal gallery look.
- Make mini painted canvases or a taped Polaroid grid to add custom art without overwhelming the wall.
- Use clay trinket dishes, fairy light mason jars, or a decorated mirror frame for cozy, useful accents.
- Add yarn wall hangings, monogram letters, or textured pillow covers to bring softness and color to the room.
- Style shelves, bulletin boards, organizers, and jewelry displays with coordinated colors, labels, and practical decorative touches.
Photo Clip Wall Display
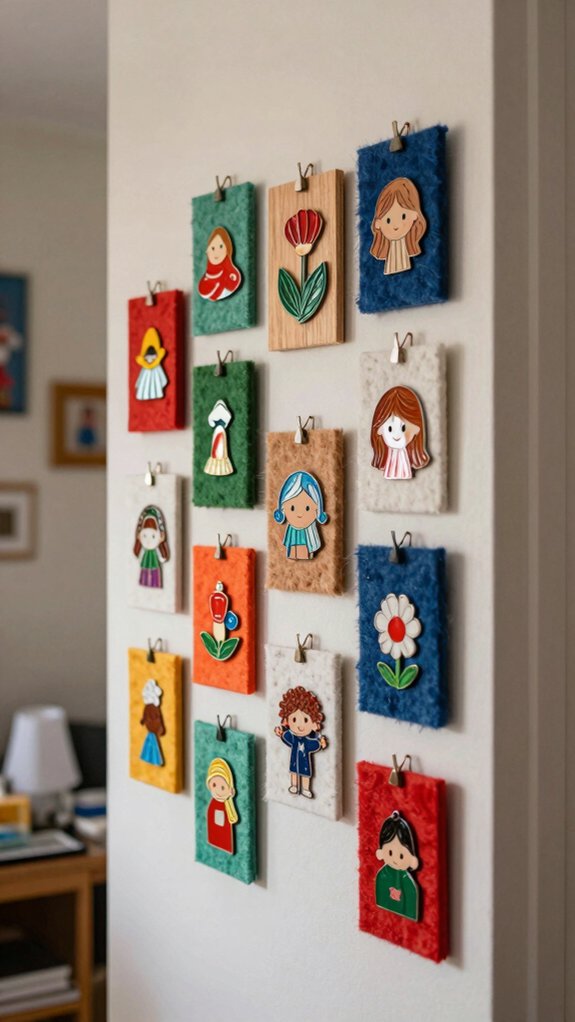
If you want a room upgrade that feels fun, personal, and super easy to switch up, a photo clip wall display is a total win!
Pick an 8–12 clip setup, stretch thin wire across a frame or board, and use mini clothespins or wood clips.
Hang it with strong adhesive hooks, so you can move it later without drama.
Keep every photo facing the same way, then choose one vibe, like a trip timeline, friends, or pets, so your photo mood board feels curated, not chaotic.
Add tiny date tags behind clips, and let teen room lighting make it glow!
Painted Canvas Art
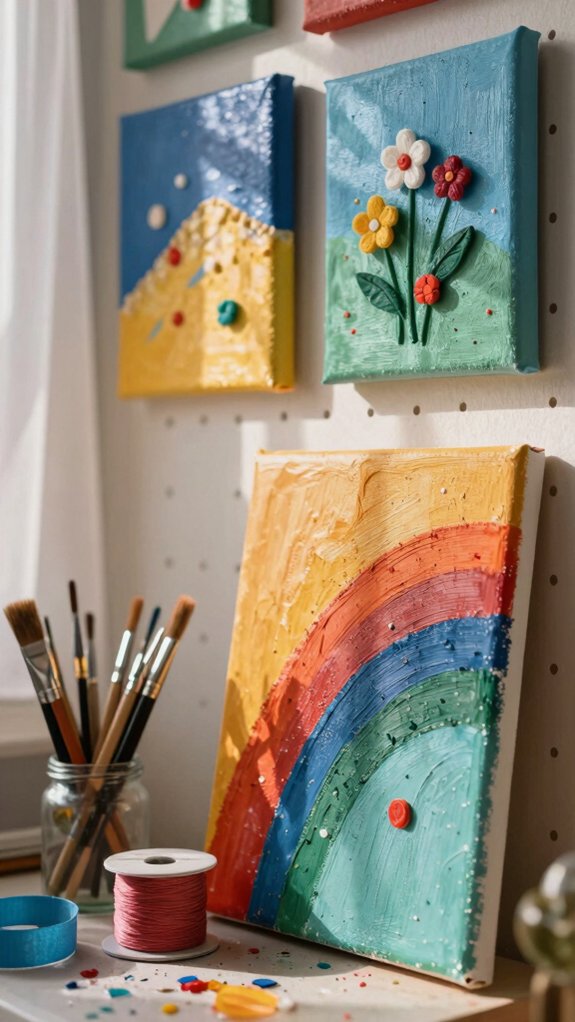
A mini painted canvas can totally turn a blank wall or shelf into something that feels like *you*—and it’s way easier than it looks!
Grab a mini canvas, acrylic paint, and a brush. Pick a theme you love, then try a self-portrait, butterfly, or Kandinsky-style circles.
- Paint thin layers first.
- Let colors dry fully—hello, Drying Patience!
- Use simple washes or shapes.
- Add a quick top coat.
Experimenting Color keeps it fun, not scary. If you paint 2–3 matching canvases, you’ll get a mini gallery that feels like your crew: chill, creative, and totally yours.
Hanging Polaroid Grid
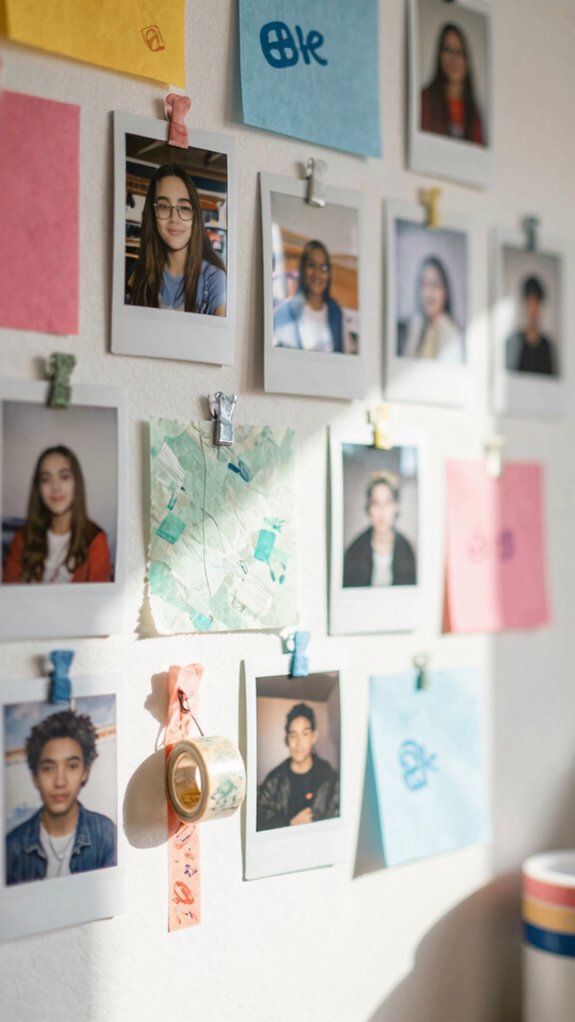
With just a few Polaroid-style prints, you can turn one boring wall into a clean, photo-filled grid that feels super personal and really put-together! Start with 1–2 prints, then mark a tape grid layout with painter’s tape and a level so the spacing stays neat.
| Step | What You Need | Result |
|---|---|---|
| 1 | Prints | Same-size photos |
| 2 | Tape | Clear guide |
| 3 | Corners | Safe hanging |
Use removable photo corners or tape, and keep one color theme for that wow, matchy vibe. Swap in a favorite pet or bestie pic, and suddenly your wall feels like your crew lives there too!
Clay Trinket Dishes
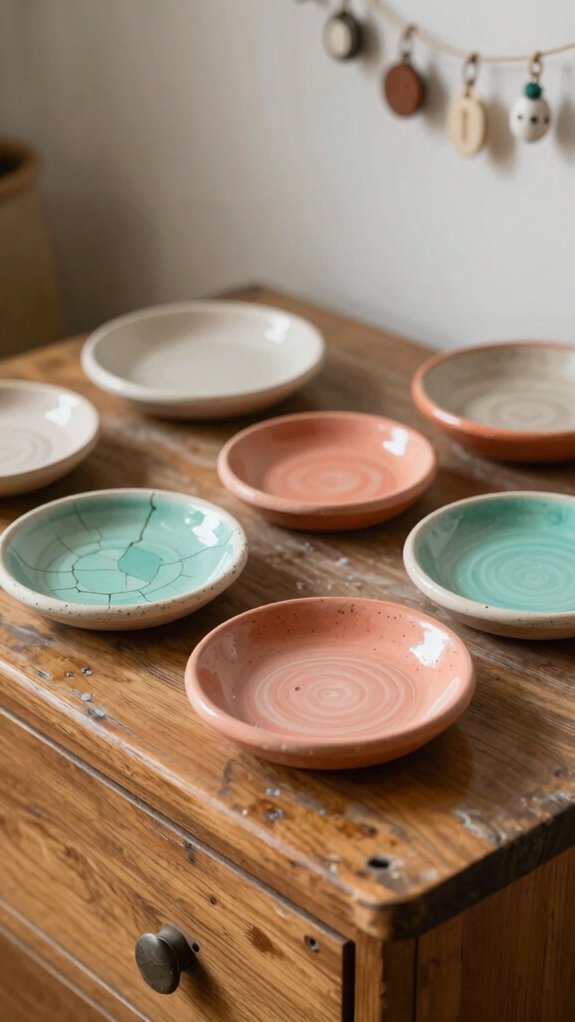
Clay trinket dishes are such a fun little project because you can make something cute and useful in one afternoon!
Use Beginner friendly clay, press it into a shallow bowl, and smooth the edges so your rings don’t get scratched.
- Mix air-dry clay or polymer clay for your base.
- Stamp tiny patterns, because your style deserves a voice.
- Let it dry fully, then paint it for a pottery vibe.
- Try acrylic sealing tips: brush on clear sealer last, so the design stays fresh.
You’ll get a personalized catchall that feels like yours, and honestly, it’s pretty lovable!
Decorative Mirror Frame
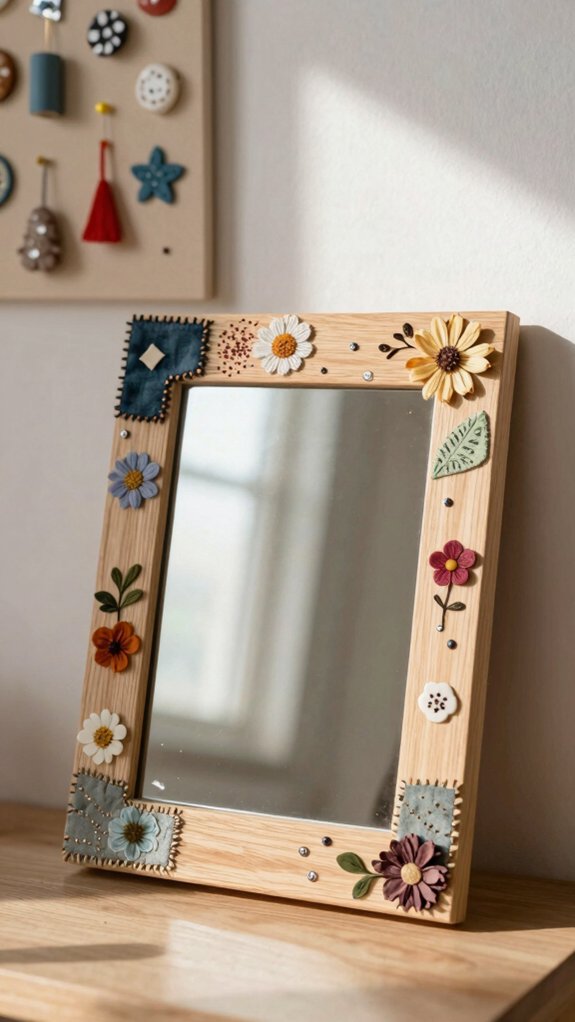
If you want a room upgrade that feels instant and super personal, a decorative mirror frame is such a fun place to start! Grab an Upcycled frame, wood, or cardboard base, then pick a vibe that matches you, like boho trim or bold geometric accents.
Brush on Mod Podge, add scrapbook paper, lace, or fabric, and let it dry.
Next, layer yarn pompoms, painted lines, or glitter pops for texture.
Keep the mirror clear if you’re using an old frame, so it stays beginner-friendly and low-cost.
Finish with a thin Mod Podge coat, and boom, your shelf-ready statement piece feels totally you!
Fairy Light Mason Jars
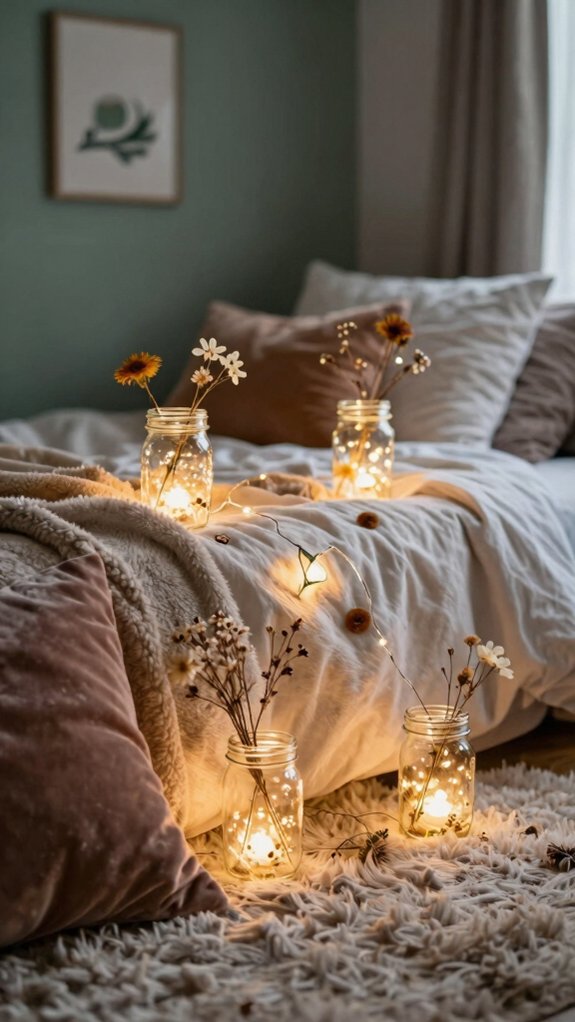
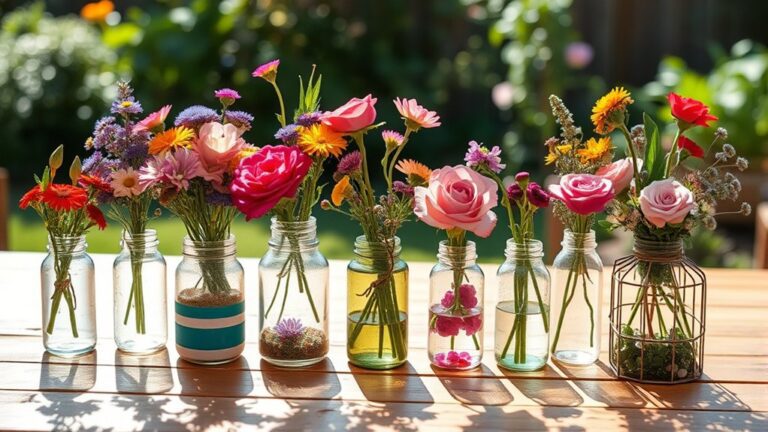
A mirror frame can totally change your room vibe, and so can a jar that glows like tiny magic in the dark! Grab clean mason jars, add warm white or colored LED fairy string lights, then tuck in pressed flowers, beads, glitter, or paper strips for your own tiny scene.
- Clean jars help lights fit.
- Safety first battery tips: use battery LEDs.
- Leave a little empty space for glow.
- Personalization material ideas make it yours.
Set them on a shelf or bedside table, or hang one with twine if the lid works. They’re cheap, easy, and honestly, they make your room feel like your people are nearby.
Yarn Wall Hanging
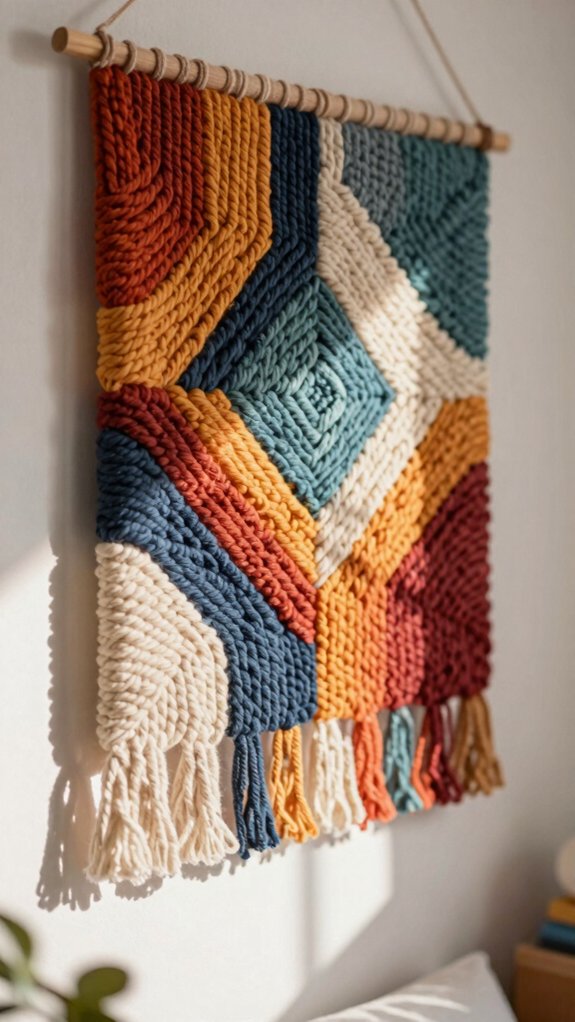
From a few strands of yarn, you can make a wall hanging that looks way more “cute studio corner” and way less “I found this in a craft bin five minutes ago.” Wrap yarn tightly around cardboard, slide it off, cut one side, then tie the top with smart string tie techniques.
| Step | Result |
|---|---|
| Wrap | Chunky bundle |
| Cut | Soft fringe |
| Personalize | Monogram or stripes |
| Hang | Easy, polished look |
Play with texture color theory, too, using ombré or alternating colors. Add a dowel, trim evenly, and hang it near your bed wall. It’s cheap, beginner-friendly, and secretly gives your room main-character energy!
Painted Plant Pots
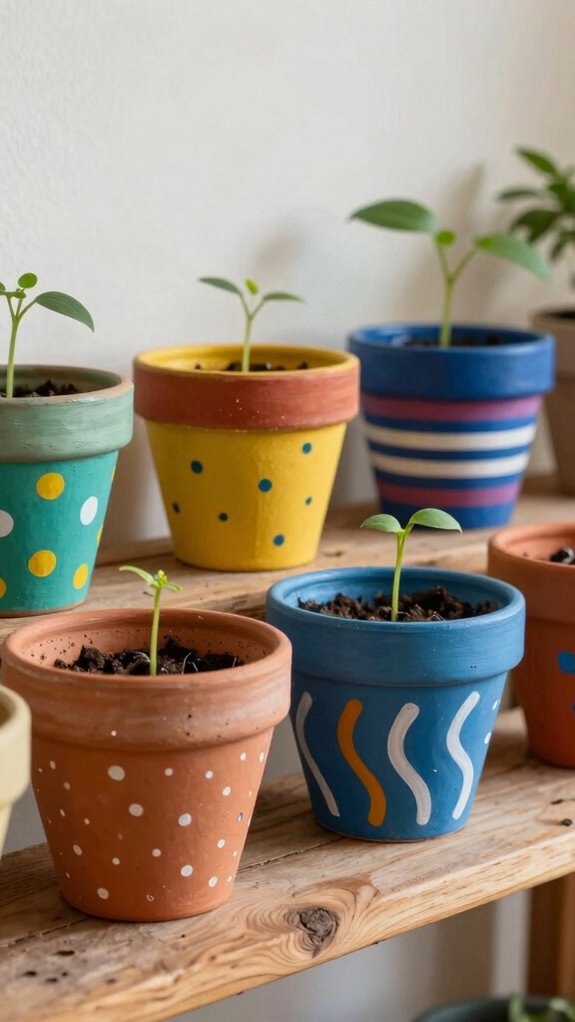
With just an old tin can, a little acrylic paint, and a brush, you can turn plain leftovers into painted plant pots that look cute, colorful, and totally room-worthy!
First, wash and dry the can, then sketch butterflies, shapes, or a color-blocking plan, so your lines stay crisp and your vibe feels intentional.
- Paint one section at a time.
- Let each coat dry fully.
- Add dots, stripes, or minimalist slogans by the rim.
- Ask an adult to help poke drainage holes before soil.
You’ll get a fun, personal pot that says, “Yep, this is my space!”
Floating Shelf Styling
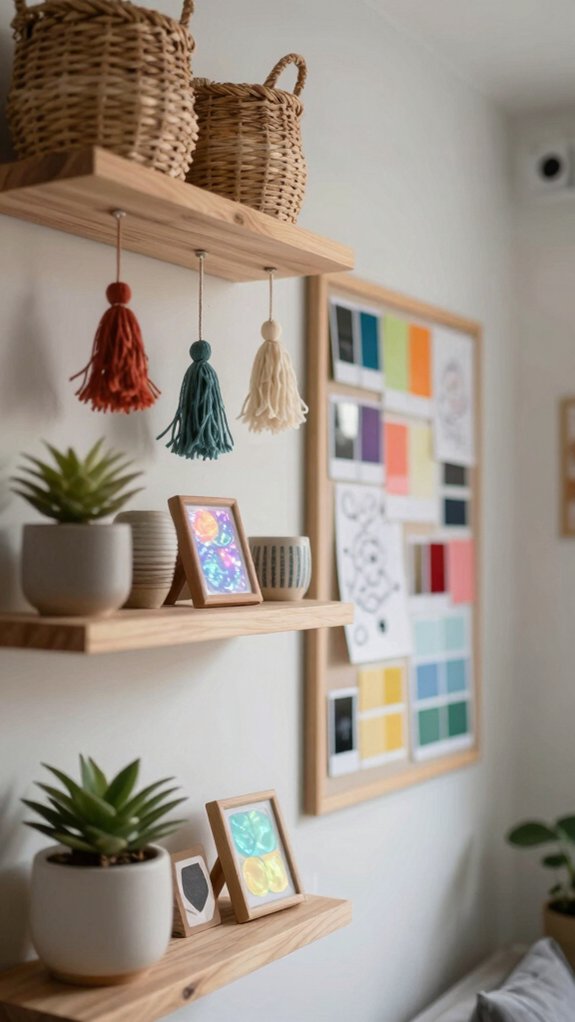
Once your shelf is up, the real magic is in the styling, and it’s way easier than it looks!
Mix 3–5 items of different heights: a small plant, a photo frame, and a tall candle keep it looking intentional, not stuffed.
Pick 2 main colors plus 1 accent, then repeat them with painted planters, framed prints, or yarn-wrapped letters.
Put flat books or photos in back, and pop mini sculptures in front for depth.
Leave one hand-width between clusters so it feels airy.
Add a clay holder or yarn monogram near center, then balance board games below and plan seasonal decor swaps, too!
Handmade Throw Pillow Covers
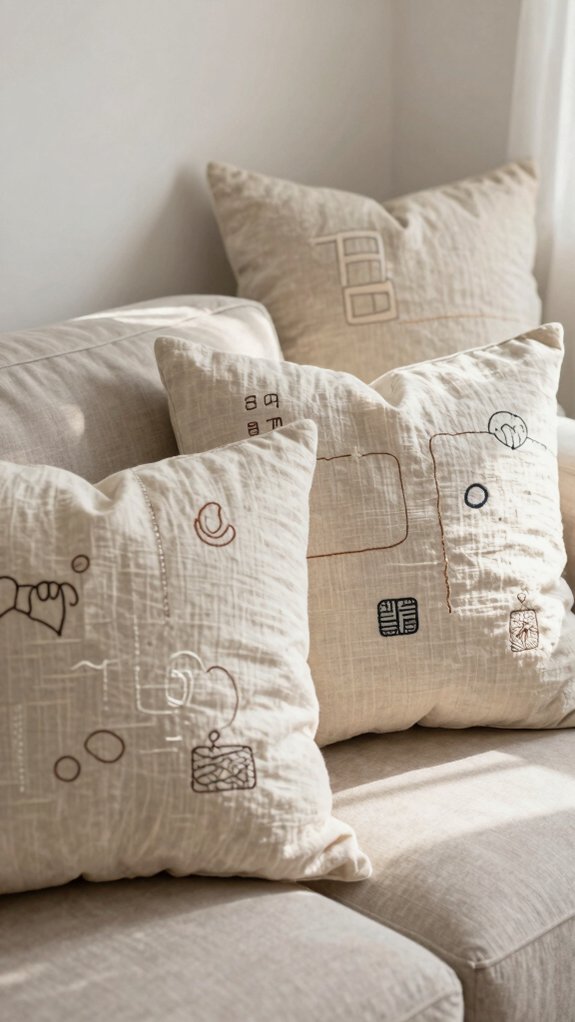
Your shelves are looking cute, and now it’s time to cozy up the bed or chair underneath them with handmade throw pillow covers—super fun, surprisingly easy, and way more personal than store-bought ones!
Grab plain canvas, cotton, or an old pillowcase, then add geometric shapes or mini doodles in 2–3 colors.
- Use a Fabric Marker for crisp words.
- Try a Freezer Stencil for a bold pattern.
- Stitch on lace or pom-poms for texture.
- Pick a zippered or envelope-back closure.
You’ll get a fresh look that feels like you, swaps fast, and still washes well. Nice, right?
Decorative Bulletin Board
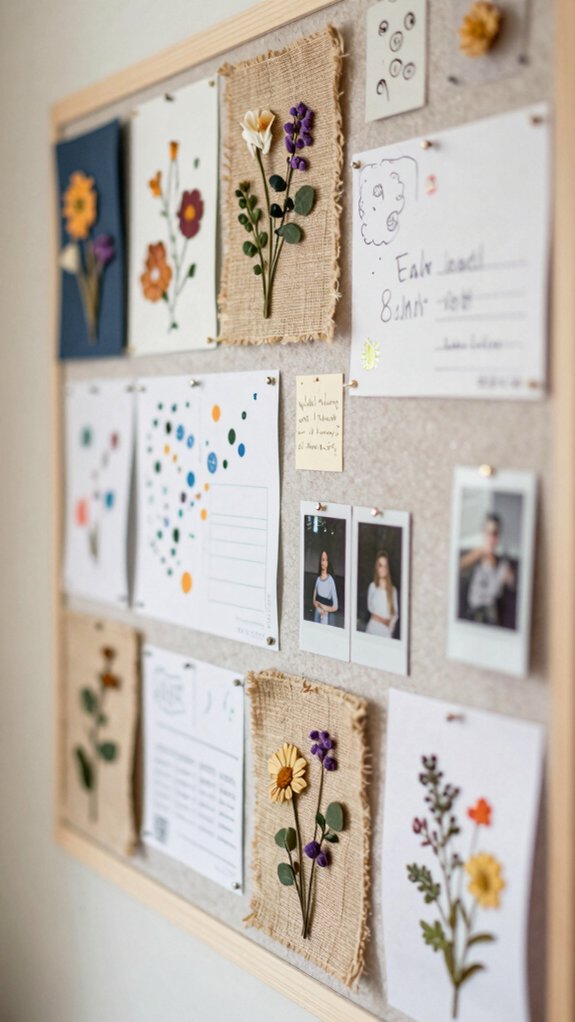
If you want a wall piece that actually feels like *you*, a decorative bulletin board is such a fun place to start!
Pick boho, minimal, or colorful, then cover it with fabric or paint so it matches your room vibe.
Grab cheap, teen-friendly chunky decor like yarn-wrapped letters, plus pinned photos and ticket stubs with washi tape and clear pushpins for easy collage organization.
Add teen friendly captions and small labels for school, friends, and goals.
Want a Seasonal swap?
Clip on mini paper garlands or a moon-phase strand with binder clips, and your board gets instant theme updates—no drama, just cool.
Customized Desk Organizer
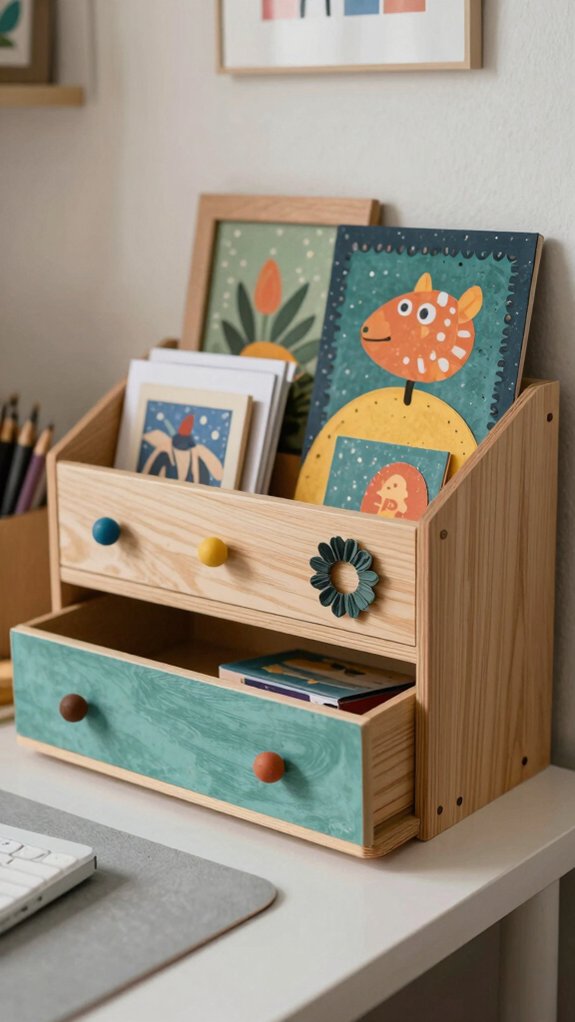
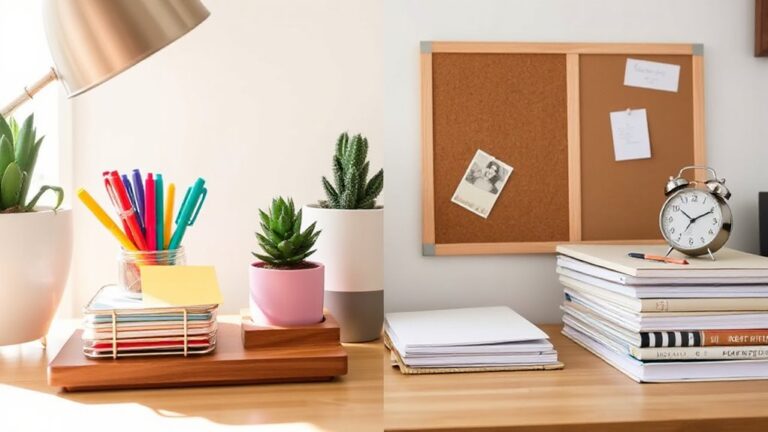
A desk organizer can do way more than hold random stuff, and with a little customizing, it can actually make your whole study spot feel cooler! Start with a plain tray, tin set, or wood piece, then cover it with scrapbook paper or fabric and Mod Podge for a clean look.
- Add cardboard dividers for desk organization.
- Make personalized labels, so pens and notes feel easy to find.
- Turn one spot into a tiny catch-all for clips or tape.
- Seal it with matte sealer, so it wipes clean.
You’ll get a neat, friend-ready setup that feels like yours!
Pressed Flower Frames
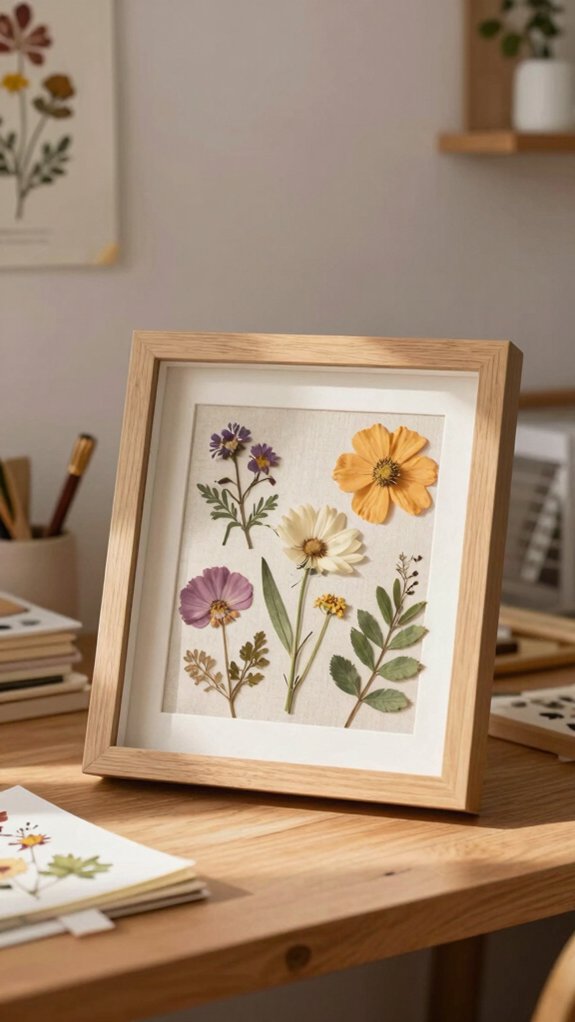
Pressed flower frames are such a pretty way to level up a teen room, and they feel way more personal than store-bought wall art!
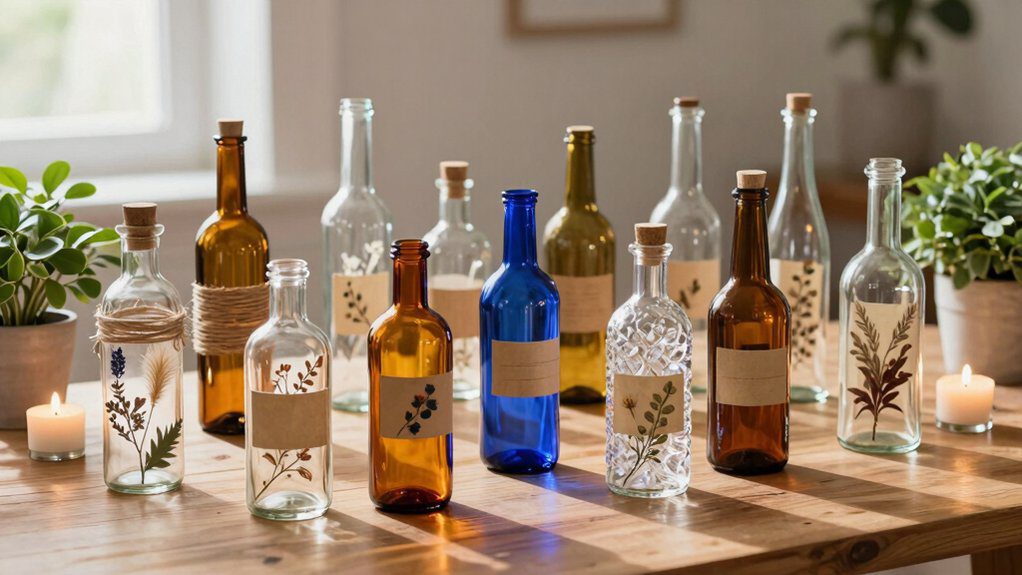
Press dried flowers under heavy books first, then choose a simple frame or shadow box with colorful paper backgrounds for extra pop.
Next, use tweezers and a little Mod Podge to place petals and stems exactly where you want them.
Try a border, center cluster, or burst corner design, and smooth on a thin seal coat.
Vintage frame styles look awesome, and your floral art dries flat, lasts longer, and costs way less than elegant décor!
Personalized Initial Decor
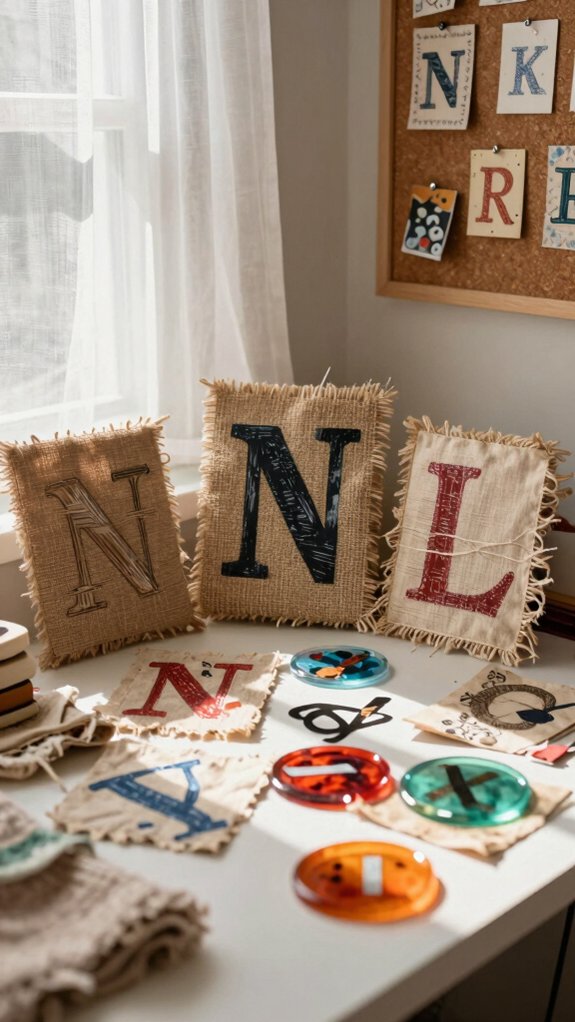
Nothing makes a teen room feel more personal than a big, bold initial that screams “this is mine!”—and yarn-wrapped cardboard letters are super easy to make, low-cost, and weirdly satisfying. For a personalized monogram, cut three letters, wrap them tight, and hang them with pride.
- Pick your letter style.
- Do yarn palette planning to match your bed or desk.
- Add texture with pom-poms or twig “God’s eye” vibes.
- Make it at a sleepover, then display it fast!
You’ll end up with cozy, artsy decor that feels like your crowd, your colors, your room.
Jewelry Display Stand
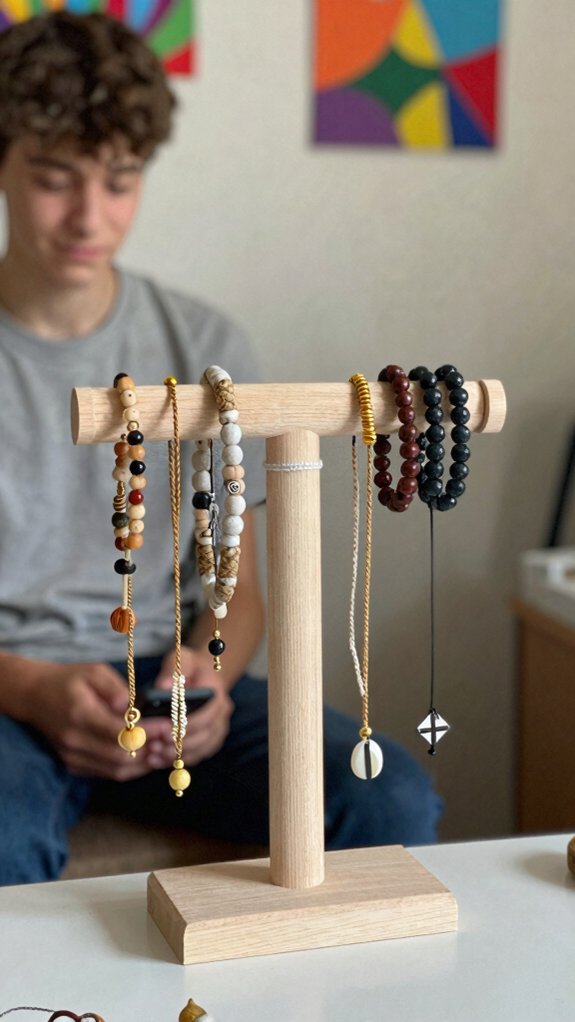
If your necklaces keep turning into one giant tangled noodle, this DIY jewelry display stand is about to save the day! Grab a few washers, bead pieces, and a sturdy base like wood or thick cardboard. Paint them with nail polish for a glossy boho vibe, then let everything dry.
Glue or tape each holder in place so every choker, pendant, and earring gets its own little home. Add a top hanger or extra rows for more height, and suddenly your bedside table feels polished.
It’s a thrifted organizer makeover that pairs perfectly with colorful makeup storage—cute, simple, and so you.
LED Corner Makeover
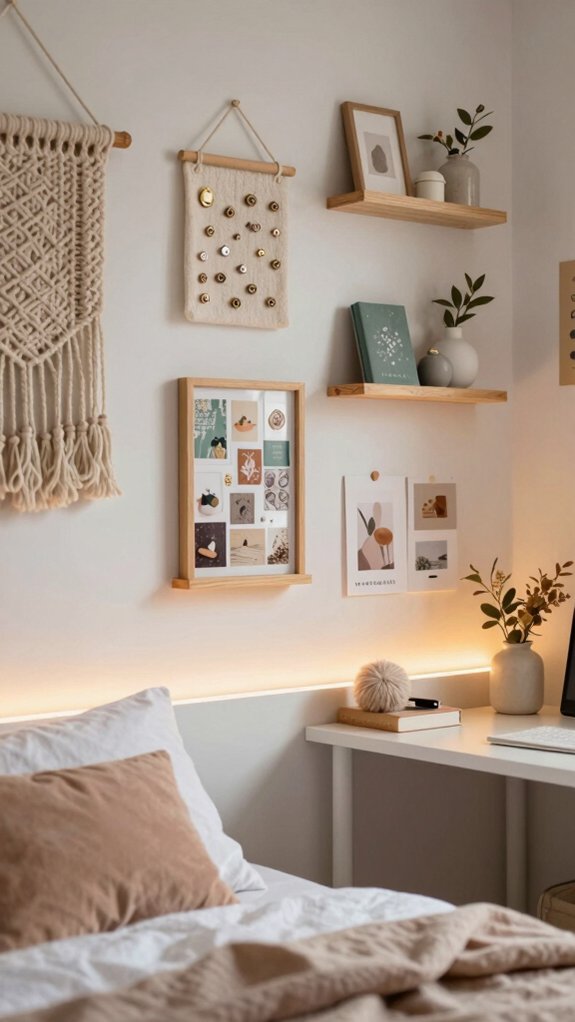
For a teen room that feels instantly cozier, start with an LED corner makeover and give that empty wall or shelf edge a little glow-up! Choose warm white lighting, measure your edges, and grab the right length so it fits like it was made for your space.
- Use adhesive clips for neat corners.
- Try a mirror frame for soft bounce.
- Pick remote presets for study or sleep.
- Keep safe cord routing with low-voltage energy.
You’ll get a vibe that feels welcoming, not harsh, and totally yours. Tiny glow, big comfort, wow!