13 Creative Things to Do With Bottle Caps
You can turn bottle caps into tons of cool DIYs! Try wall mosaics with sorted caps and strong glue, magnets with a tiny magnet sheet, mini photo frames with cardboard backs, or flower art with layered caps and a gem center. You can also make wind chimes, plant pot accents, coasters, garden markers, ornaments, clocks, and memory shadow boxes. They’re cheap, easy, and surprisingly fun—plus the last few ideas may just be your favorites!
Love cozy DIY projects? 💕
Get free printable guides, exclusive tutorials & surprise craft goodies straight to your inbox.
Disclosure: This post may contain Amazon affiliate links, at no extra cost to you. Content on DiyCraftNest is created with research support from AI tools and carefully reviewed, edited, and fact-checked by the lead author, Daniel Pat, to ensure accuracy and reliability. Learn more
Key Takeaways
- Sort bottle caps by color and size before starting to keep patterns neat and visually balanced.
- Turn caps into wall mosaics, using a center-out layout or grid for stable alignment.
- Make practical items like refrigerator magnets, coasters, garden markers, and holiday ornaments.
- Create decorative keepsakes such as mini photo frames, flowers, wind chimes, and desk displays.
- Use strong craft adhesive, let it cure fully, and keep flat setups secure for durable results.
Build a Colorful Wall Mosaic
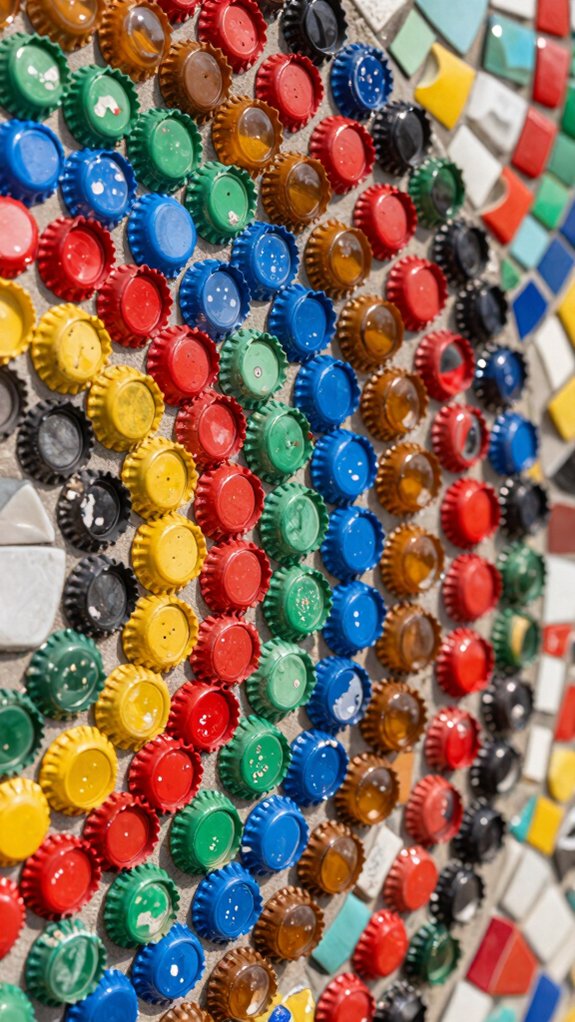
If you’ve been saving bottle caps for a while, this is the big, wow-worthy project they were waiting for! You can turn an entire wall into a bright, friendly mosaic that feels like your own secret club badge. Start with wall mosaic planning, then do your bottle cap sorting by color and size, so the pattern stays crisp and fun.
Use a magnetic wall system, and work from the center outward, or in neat grid sections, to keep everything lined up. It takes time, sure, but the payoff is huge: a bold display that makes your space feel special.
Make Refrigerator Magnets
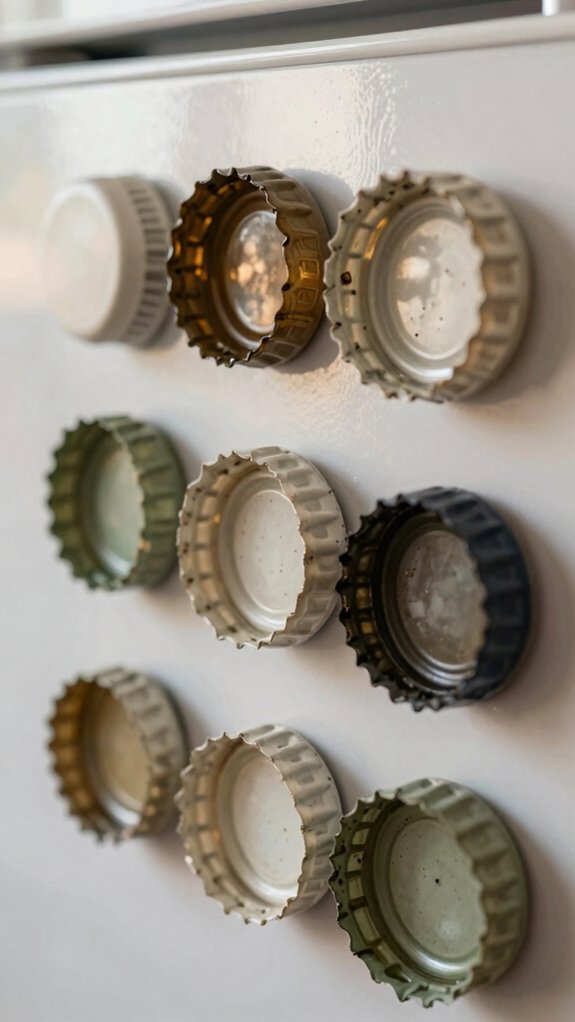
Turn those spare bottle caps into tiny fridge stars, because making magnets is quick, cheap, and honestly pretty fun!
You’ll need bottle caps, small magnets or pre-cut magnet sheets, strong craft glue, and maybe paint.
Glue a cap face-up onto each magnet, press firmly, and let it set so nothing sneaks loose.
Paint first if you want, then add a sticker or design, and finish with Weatherproof sealants for a smooth, fridge-safe shine.
Use color contrast tips so your caps pop.
Want extra grip? Try thicker magnets or two per cap, and your magnets won’t slide down the door.
Create Mini Photo Frames
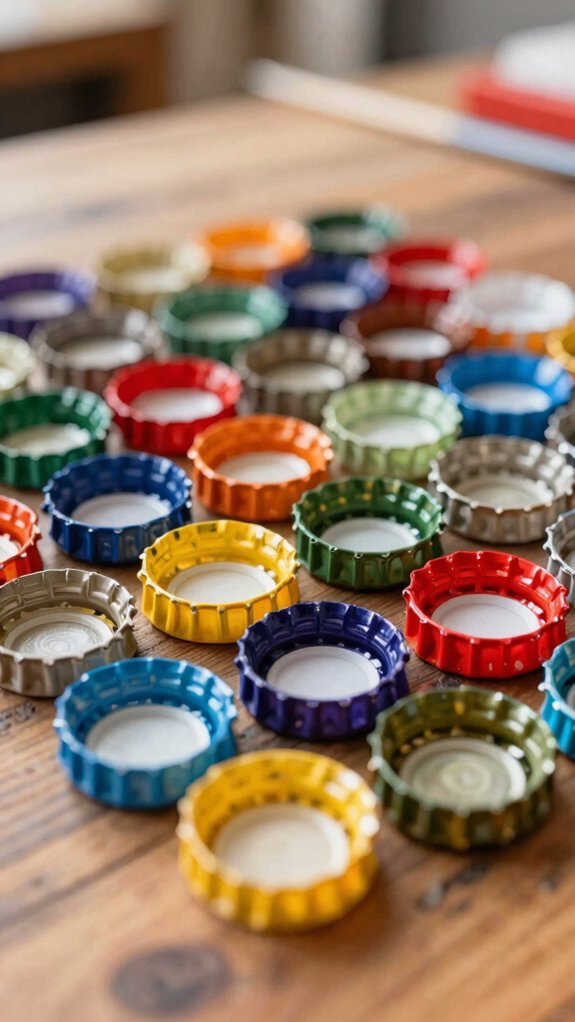
With a few bottle caps, you can make tiny photo frames that feel surprisingly stylish!
Start by hot-gluing or super-gluing a flat cardboard or foam board circle inside the rim, then slip in a mini photo for an instant desk buddy.
Want a sturdier fit?
Cut the backing to match the cap, sandwich the photo with the print facing out, and seal the edge with a thin glue line.
Add a foam sticker or cork stamp for charm, then paint matching sets for a photo collage or scrapbook display.
Finish with a tiny easel, and boom—your new favorite keepsake stands tall!
Design Bottle Cap Flowers
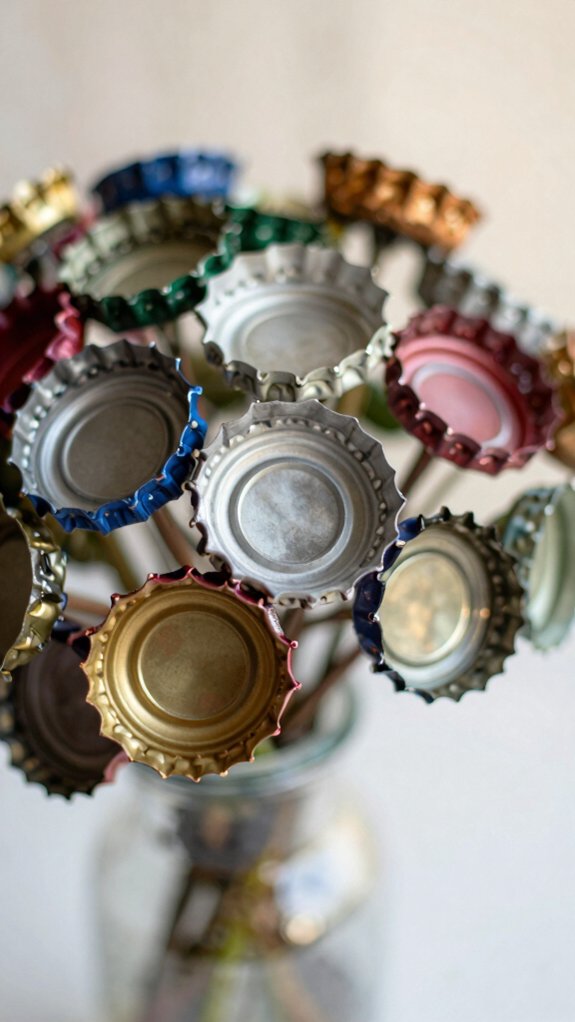
A little pile of bottle caps can bloom into something charmingly crafty! You can glue them into flower-like patterns, starting with a layered center and a ring of petal caps. Pick a few colors, size up your layout first, then glue and let everything cure fully—easy, right?
If you’ve got extra caps, make a whole bunch at once for whimsical centerpieces or a cheerful garden cluster. Add a gem or contrasting piece in the middle, and the flower really pops!
For outdoor display safety, choose sealed materials so your rustic blooms can stay outside without fuss.
Turn Them into Wind Chimes
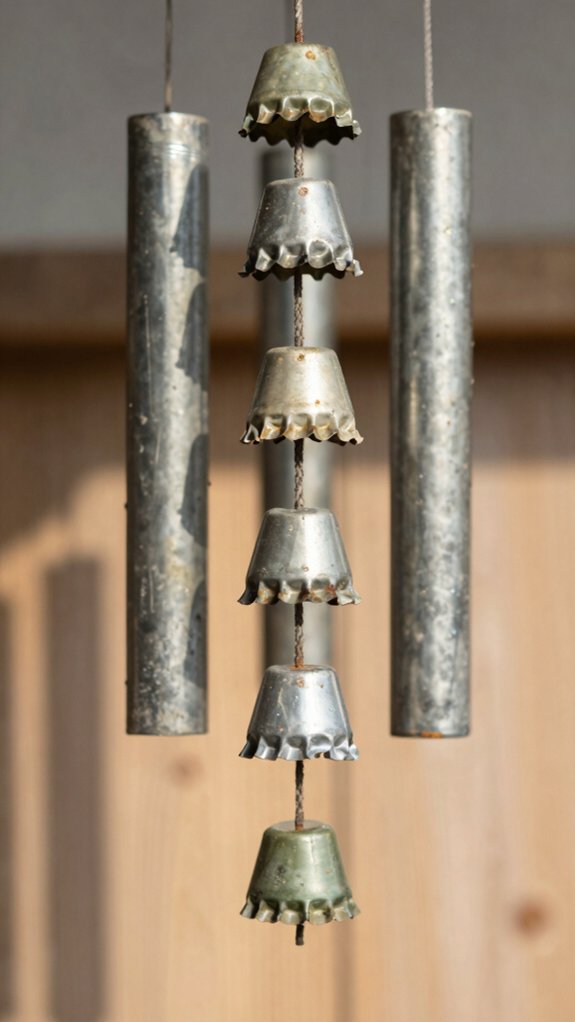
If you’ve got a stash of clean bottle caps, you can string them onto a hanging cord and give them a second life as a cheerful wind chime!
Grab a tutorial, then space the caps evenly and tie them on securely so nothing slips when the breeze shows up.
Mix bright colors and playful patterns for that vintage, eye-catching vibe, and choose a sturdy hanger for indoor or outdoor use.
It’s a low-cost, beginner-friendly project that turns leftovers into something lovely.
Bonus: it feels right at home beside Upcycled Keychains and Cap Enamel Crafts, and your porch gets a little personality too!
Decorate Picture Frames
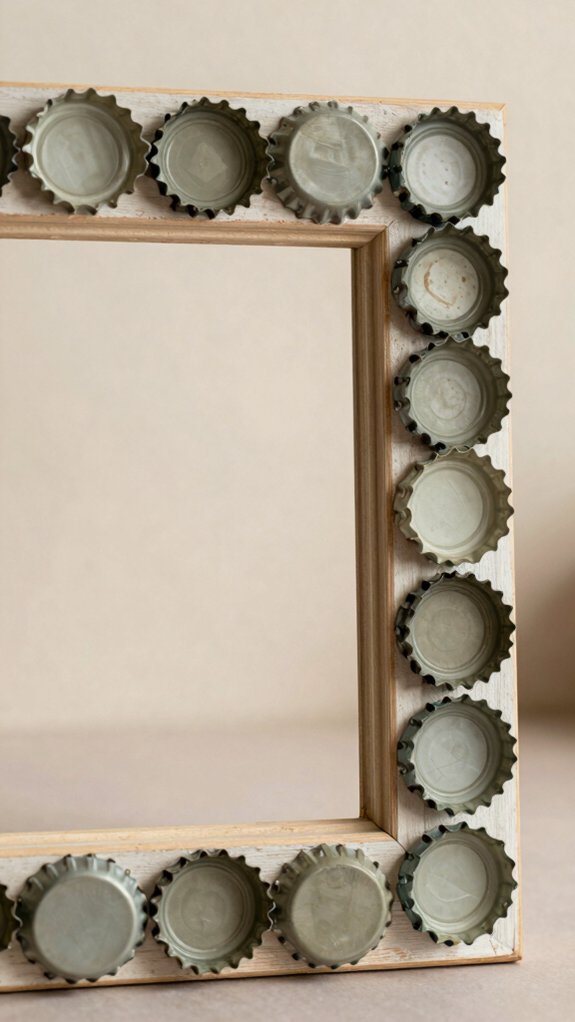
Old picture frames can get a fun little glow-up when you add bottle caps, and it’s way easier than it sounds!
Grab a simple wood or plastic frame, some hot glue, and your favorite caps from Upcycle bottle cap storage.
Lay out a pattern first, then glue each cap around the border for a neat, intentional look.
Want more flair? Trim a few caps with tin snips so they hug rounded edges better.
For a quick project, use just corners or one side.
Host kid friendly crafts, and seal the finish so your frame stays bold, shiny, and ready to show off!
Build a Rustic Coaster Set
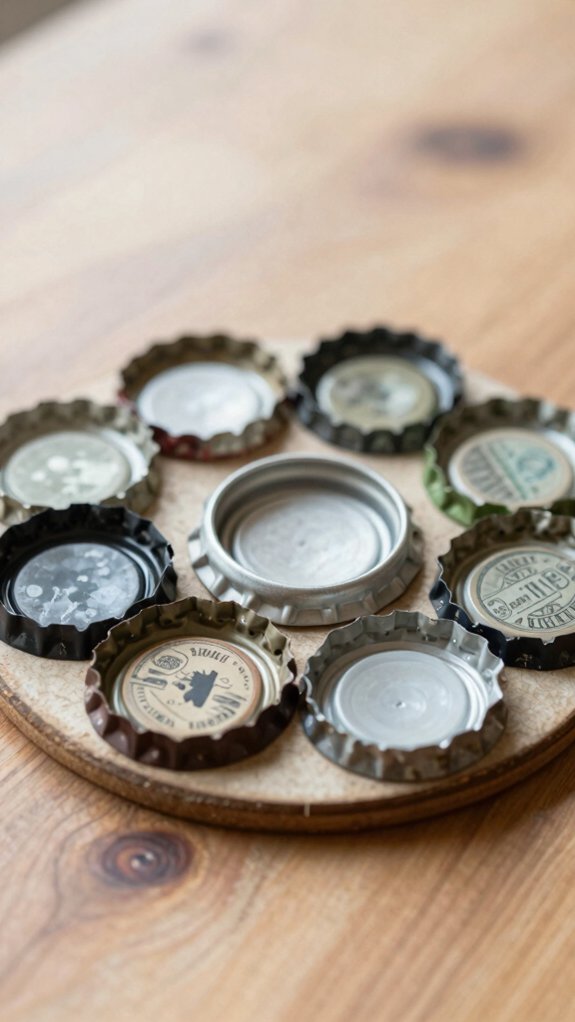
When you sort through a pile of bottle caps, you’ll quickly see that building a rustic coaster set is part treasure hunt, part tiny puzzle, and totally fun! You’ll match caps by size, color, and style, so each matching tile feels like it belongs in the same happy crew.
- Gather caps, glue, and an upcycled tray or backing.
- Arrange them in a grid or border for finishing consistency.
- Try resin sealing, then let each coaster cure fully.
For a low-cost win, keep every piece laid out the same way, and you’ll get a sturdy set that looks handmade, not messy—yay!
Make Garden Markers
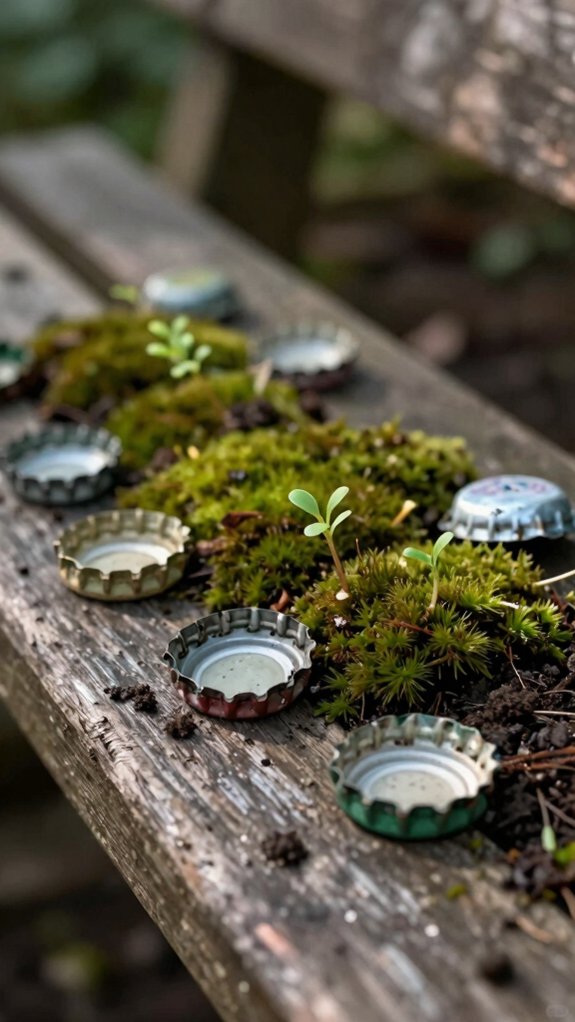
Your garden can get a little more cheerful, and a lot more organized, with bottle caps turned into tiny plant labels—what a fun upgrade! You’ll love the friendly vibe, and your beds’ll feel like they belong together.
| Step | Quick win |
|---|---|
| Write names | Use Weatherproof lettering |
| Seal it | Add clear coat |
| Mount it | Glue on corks |
| Match colors | Boost plant label organization |
Grab caps, a marker, and a little sealant. Write plant names, then protect the ink. Hot-glue a cork or stick underneath, and push it in. For extra charm, add color codes, or thread twine for hanging. Cheap, cute, and sturdy—your herbs’ll thank you!
Create Holiday Ornaments
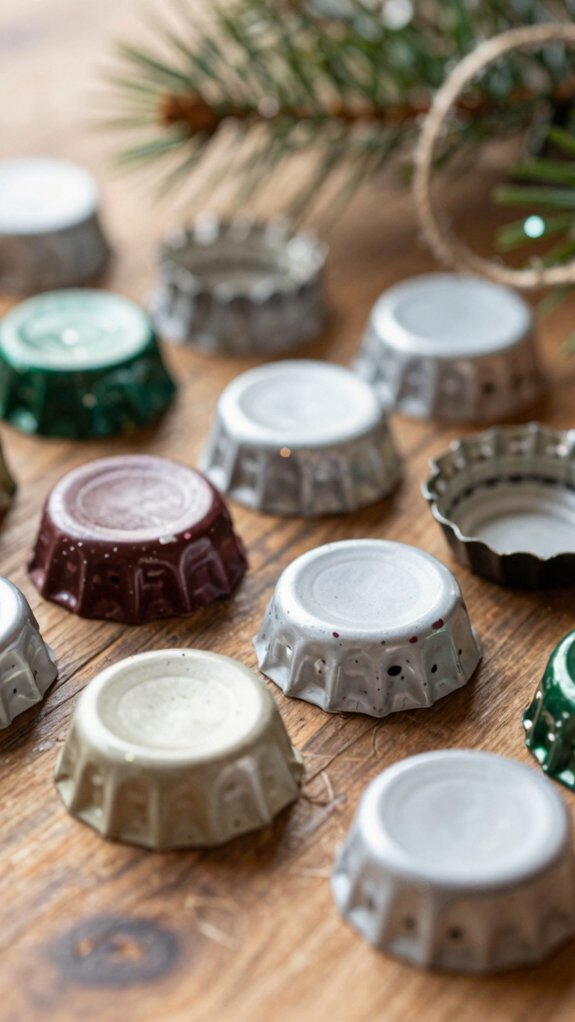
Holiday crafting with bottle caps is surprisingly fun, and you don’t need a giant pile of supplies to get started! Sort caps by color first, so your ornaments feel polished and friendly.
- Glue caps onto cardboard for snowmen or other holiday characters, then add thread or ribbon for hanging.
- Make mini burger, reindeer, or folk-art snake designs with a backing, and your tree gets a quirky smile.
- Try bottle cap wreaths or holiday character garlands by grouping matching caps into shapes; they’re quick, cheap, and great for short craft sessions. Your window or tree will shine!
Decorate Plant Pots
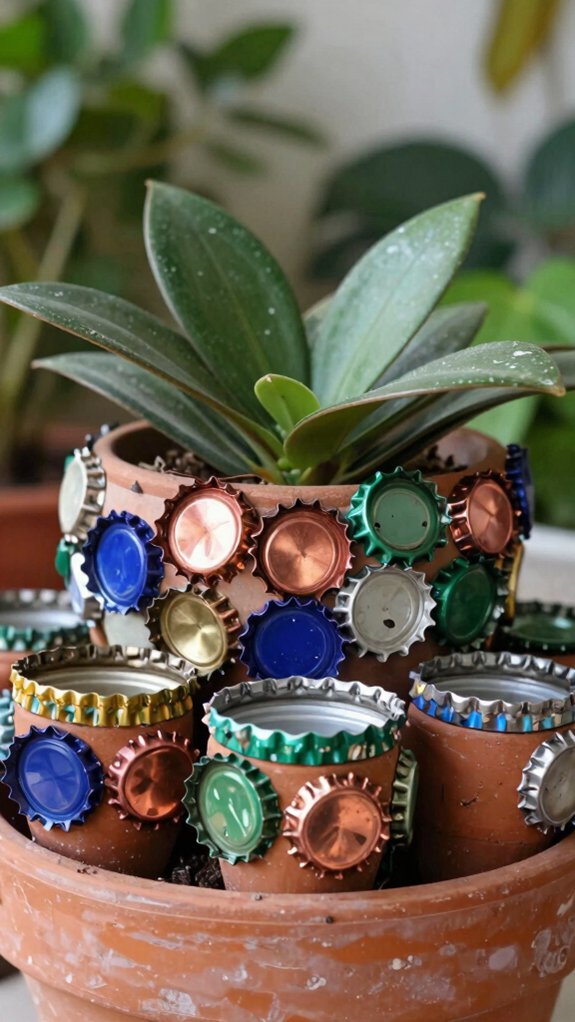
Give your plant pots a playful little makeover with bottle caps, and suddenly that plain terra-cotta pot starts looking like it went to art school! Start by sorting Color Matched Caps, then glue them on in neat rows or a border for a clean, friendly look.
| Step | What You Need | Result |
|---|---|---|
| 1 | Pot, caps, adhesive | Covered base |
| 2 | Weatherproof Sealants | Outdoor durability |
| 3 | Drilled caps | Tiny accents |
You can even make tiny cap holders for labels, which feels clever and costs little. Let the adhesive cure fully, and your pot gets texture, color, and a cheerful vibe that says, “You belong here.”
Craft a Unique Tabletop
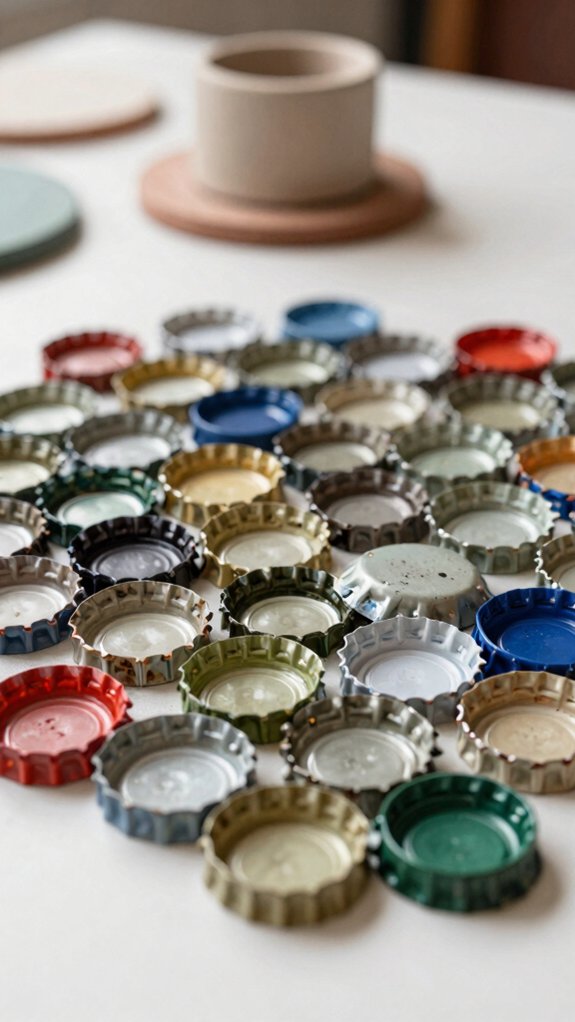
When you want a tabletop that really turns heads, a bottle-cap design can do the trick, especially if you treat it like a little mosaic project instead of a quick weekend fix.
You’ll feel right at home building one with friends, because the payoff is big and the laughs are free!
- Start with a sturdy table design and sort plastic caps by color.
- Try a smaller coffee table first, or go bold with a bottle cap countertop.
- For extra flair, use a Texas layout, then add poker chip trays for style and snacks.
Expect lots of placement time, but wow, the result shines!
Assemble a Bottle Cap Clock
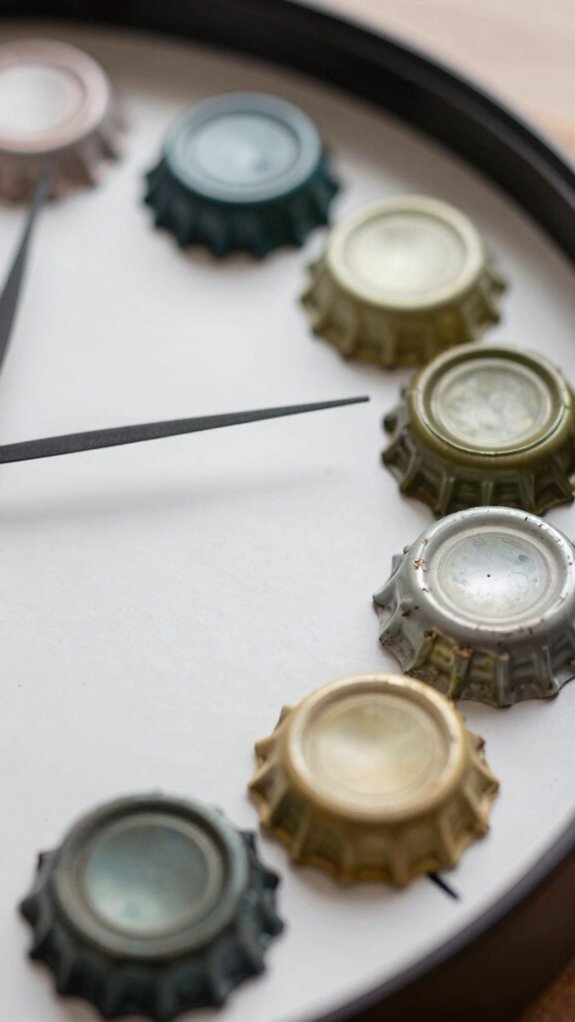
Turn a handful of bottle caps into a clock that actually keeps time, and you’ll get a piece that’s both quirky and useful—pretty cool, right?
Start with a circular base, then place 12 caps around it, with the “12” at the top and the rest clockwise.
Add a clock kit in the center, and make sure the hands clear the caps.
Want a cleaner look? Sort caps by color first, then glue them down tight.
This Bottle Cap Centerpiece doubles as décor, and these Cap Recycling Tips make it a fun, low-cost win for your crew!
Make a Memory Shadow Box
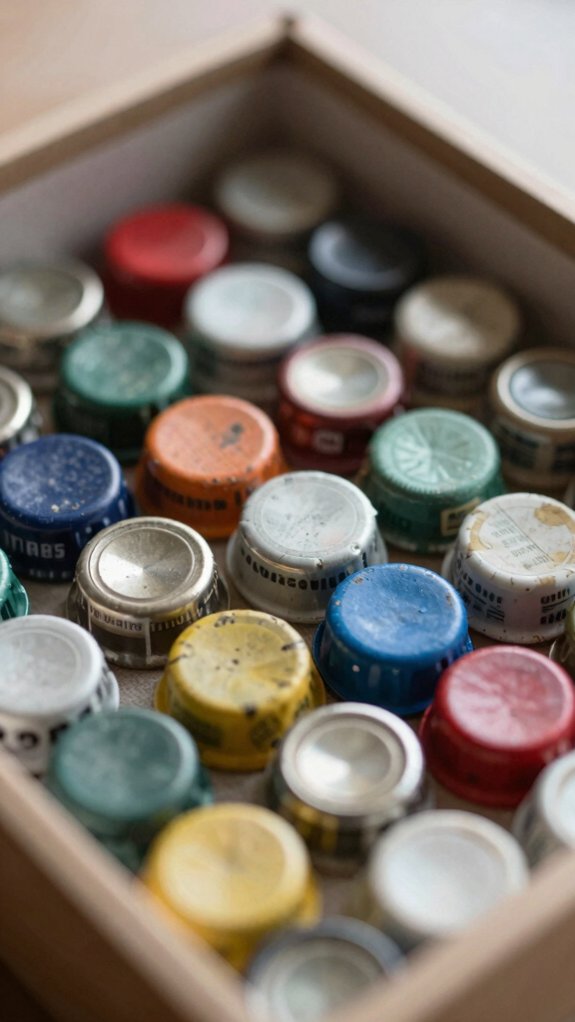
A memory shadow box can feel like a tiny museum for your best moments, and bottle caps make it surprisingly easy to build one!
You’ll make personalized keepsakes that feel like your crew is right there with you.
- Sort and clean caps, then pick a color coded layout.
- Glue them on a backing panel by event, person, or color.
- Add tiny memory labels with dates or notes, and keep everything flat if the box has glass.
Use strong craft adhesive, let it cure, and check that each cap stays put.
Cheap, easy, and super meaningful!