15 Crafts to Do When You’re Bored That Are Surprisingly Satisfying
Bored? Try 15 satisfying crafts that use stuff you already have, like jars, paper, beads, clay, and old tees. You can paint mini canvases, fold easy flowers, make bracelets, or wrap cute macramé keychains in minutes. Start with simple materials, follow a few easy steps, and you’ll get pretty storage, fun accessories, and desk upgrades fast. Save the surprise hit for last: a tiny photo display or jar set can make your space feel totally new if you keep going.
Love cozy DIY projects? 💕
Get free printable guides, exclusive tutorials & surprise craft goodies straight to your inbox.
Disclosure: This post may contain Amazon affiliate links, at no extra cost to you. Content on DiyCraftNest is created with research support from AI tools and carefully reviewed, edited, and fact-checked by the lead author, Daniel Pat, to ensure accuracy and reliability. Learn more
Key Takeaways
- Try small, satisfying projects like mini canvas painting, polymer clay charms, or paper flowers for quick creative wins.
- Upcycle jars, trays, notebooks, and cardboard into useful decor that feels both practical and crafty.
- Make easy desk-friendly accessories such as macramé keychains, beaded bracelets, and no-sew bookmarks.
- Create photo timelines, pressed-flower collages, or washi-tape journals for personalized, low-cost decor.
- Use simple materials and short steps so boredom turns into a relaxing craft session fast.
Turn Old Jars into Pretty Storage
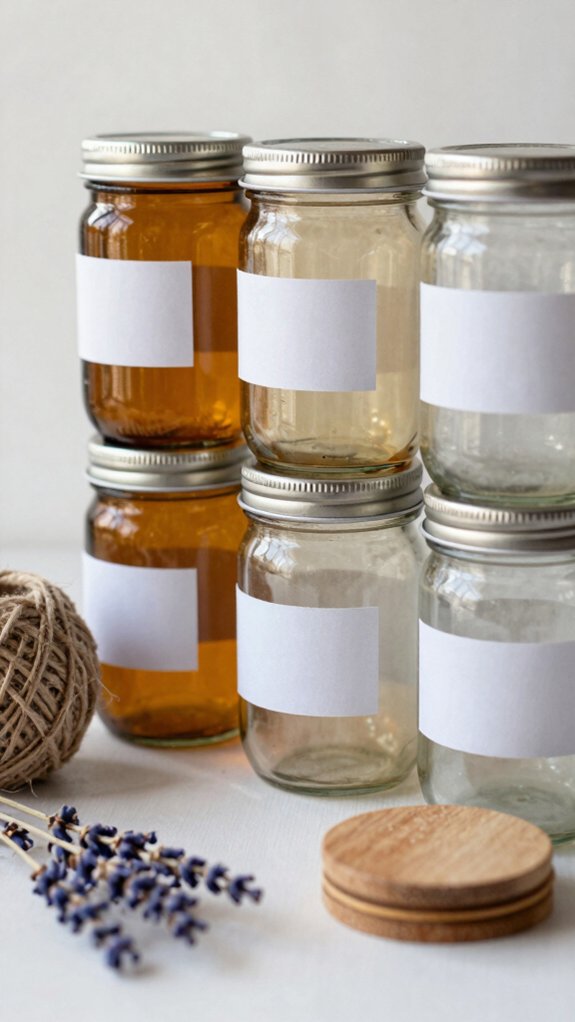
If you’ve got an old glass jar sitting around, don’t toss it—turn it into cute storage instead!
You can join the glass recycling mindset and make something useful fast.
Clean and dry the jar, then wrap twine, brush on acrylic paint, or add pressed flowers with craft glue for a sturdy look.
Seal it with clear varnish so it won’t smudge.
Now you’ve got an easy organizer for cotton rounds, buttons, pantry packets, or desk bits.
Group a few together for a matching set, and use cabinet labeling to keep everything cute and easy to find.
Tiny glow, big win!
Make Clay Charms for Bags and Keys
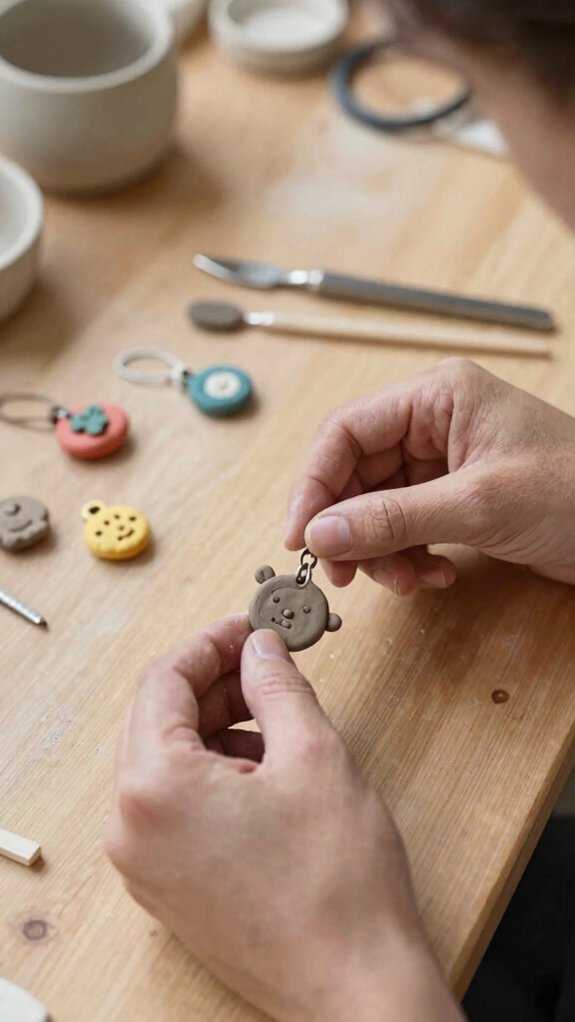
Squish, shape, and smile—tiny clay charms are such a fun way to beat boredom! Pick polymer clay, then learn How to choose polymer by checking colors and bake time. Go for budget friendly charm sizes, since small pieces save clay and finish fast.
| Idea | Result |
|---|---|
| Mushrooms | Cute bag bling |
| Ghosts | Spooky key charm |
| Food minis | Snacky grin |
| Tiny animals | Sweet friend vibe |
Smooth fingerprints, make a flat back, and bake per the package. After cooling, add a jump ring and clasp or loop. Want more wow? Swap in seasonal shapes, or glue a magnet on back for a quick fridge win!
Paint a Mini Canvas
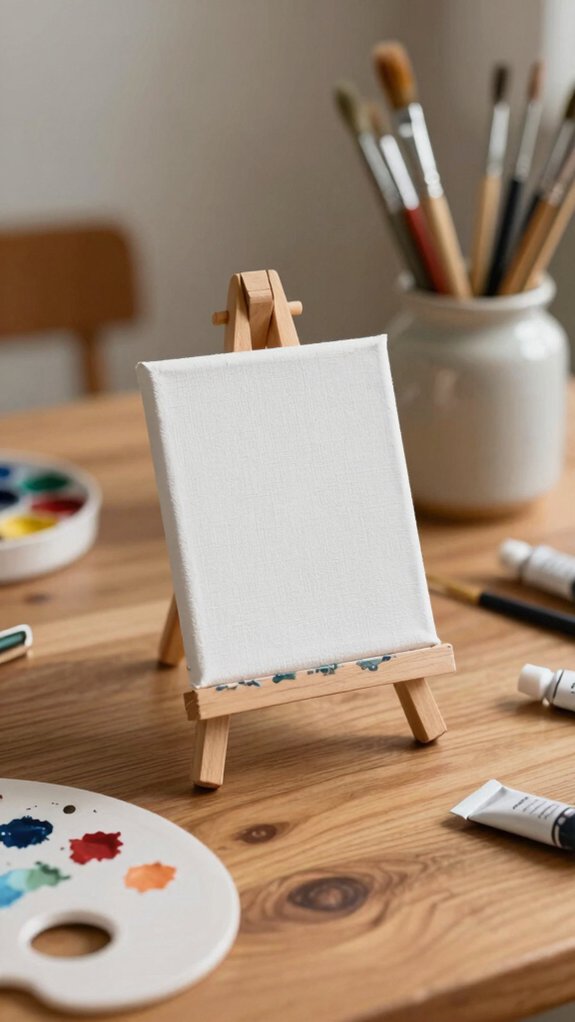
Grab a mini canvas, because this tiny project packs a big satisfying punch! Tape off a few zones, grab acrylics, and start with a thin base coat. You’ll love palette testing as you try Colorful gradients, texture experiments, and fresh brush technique without any pressure.
Use a larger flat brush for backgrounds, then switch to a small one for clean edges and details. Let each layer dry for 15–30 minutes, then add 2 or 3 coats for richer color.
Want a little wow? Try a tiny scenery with sky, horizon, and foreground, then add tiny dots. Seal it after 24 hours for a gallery-ready finish!
Fold Easy Paper Flowers
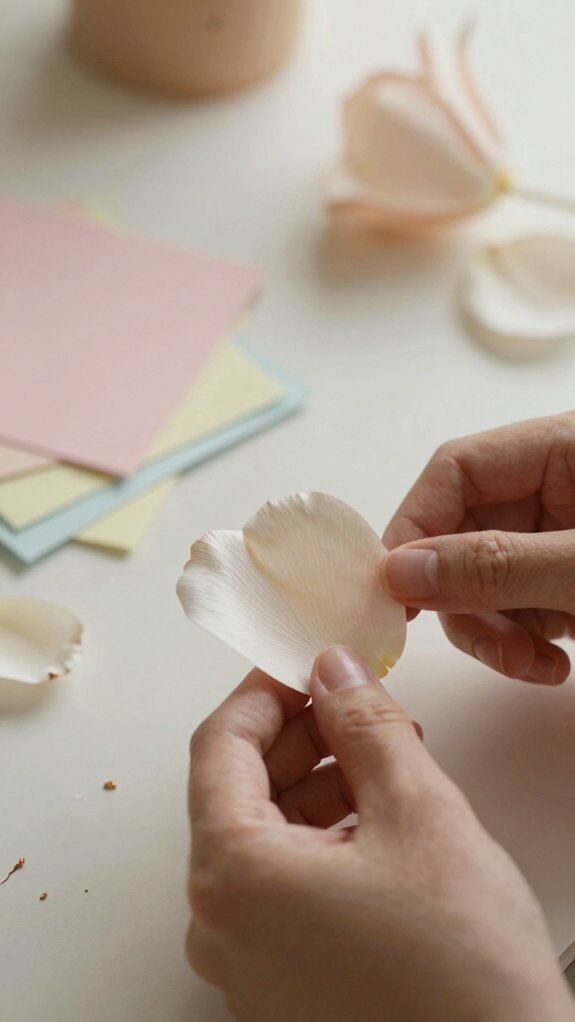
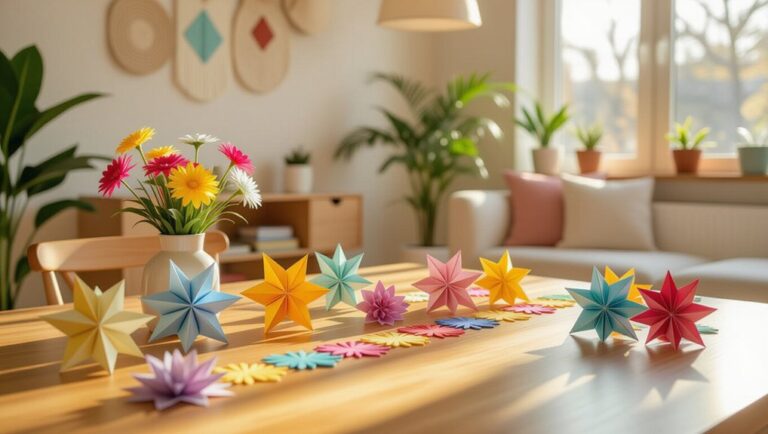
Paper flowers are such a fun follow-up to a tiny canvas project, and they feel way fancier than the effort they take!
You only need square paper, a sharp fold, and a little patience, so you can jump in fast and still end up with something lovely.
- Pick colorful scrap paper or upcycled giftwrap.
- Fold each corner to the center.
- Press every crease hard.
- Shape the top layers into petal triangles.
- Open it up, then add a tiny glue dot or brad.
Try it with origami bookmarks too, and you’ll have a whole crafty crew!
Create a Beaded Bracelet
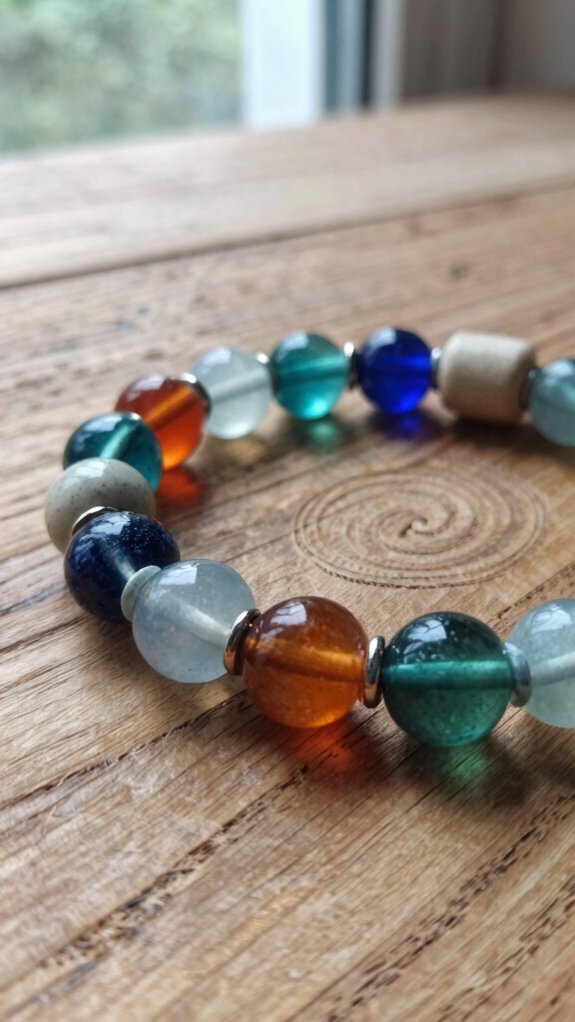
Bead magic is the kind of boredom cure that feels tiny but looks amazing!
You can grab elastic cord for an easy slip-on bracelet, or use floss if you want that classic friendship vibe.
Choose beads that match your string, because small seed beads love thin cord, while bigger beads need something sturdier.
Lay out your bead placement first and play with Color mixing, maybe ABAB for a neat rhythm.
Thread them on, then tie a tight double-knot if you’re using elastic.
Hide the knot, trim the ends, and try it on.
Boom, you’ve got a handmade win!
Decorate a Plain Notebook
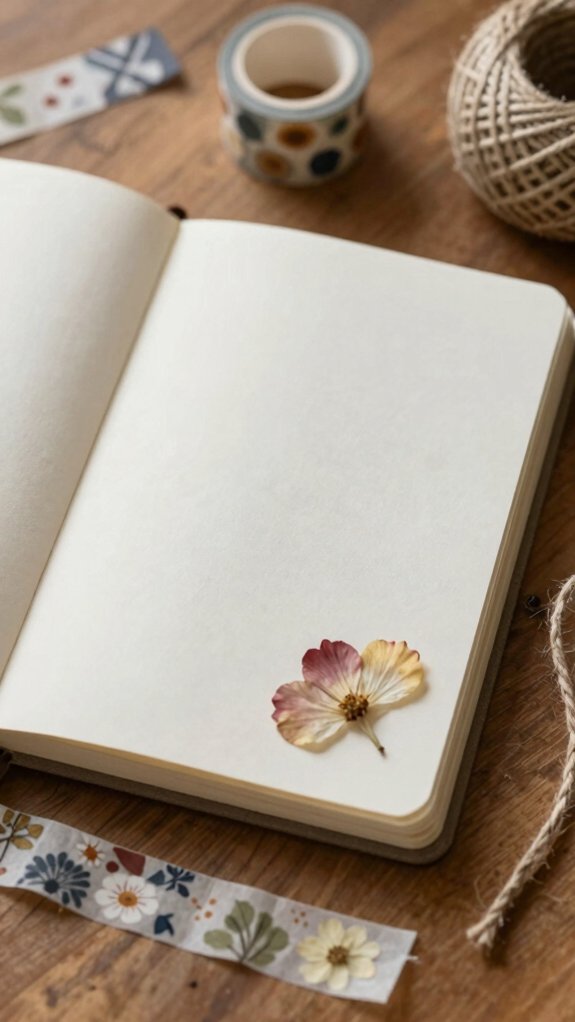
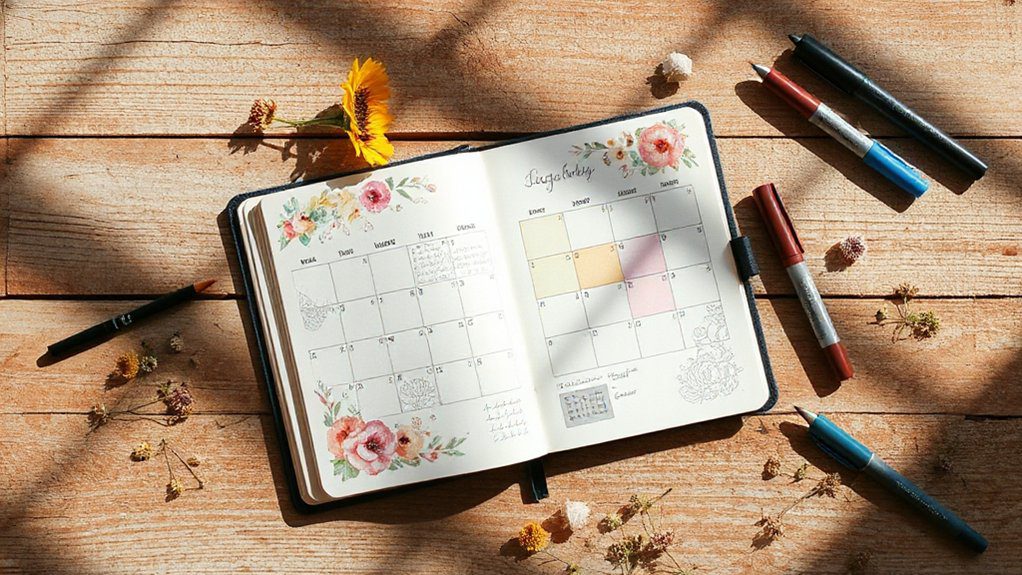
If you’ve got a plain notebook staring at you like it needs a personality, this is a super easy way to wake it up! Start with thick washi tape in geometric layouts for a clean base, then add angled strips, overlapping edges a little for depth.
- Pick one color theme.
- Add a colorful sticker as your accent.
- Keep one border neat.
- Slide in a fabric bookmark strip.
- Press down loose edges.
You’ll get a tidy cover that feels like yours, and it’s cheap, fast, and oddly soothing. Best part? It looks homemade in the coolest way!
Weave a Friendship Bracelet
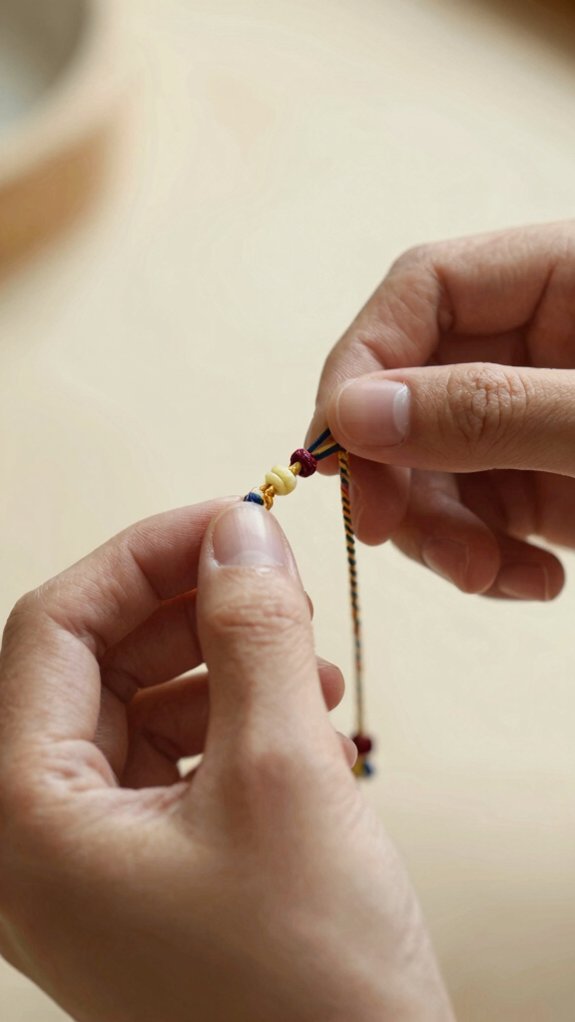
A friendship bracelet is one of those crafts that feels tiny at first, then suddenly turns into a little masterpiece in your hands! You can start with embroidery thread or yarn, cut 4–6 strands to wrist length, and knot them together.
Then braid a simple 3-strand or 4-strand chevron, keeping the tension even so your Colorful stitching stays neat and steady.
Want more personality? Slide tiny beads or charms onto a few strands before you braid.
When it’s long enough, tie the ends with an overhand knot or sliding loop, then tug gently for a snug, finished look.
It’s one of those relaxing hobbies that feels like instant belonging!
Personalize a Tote Bag
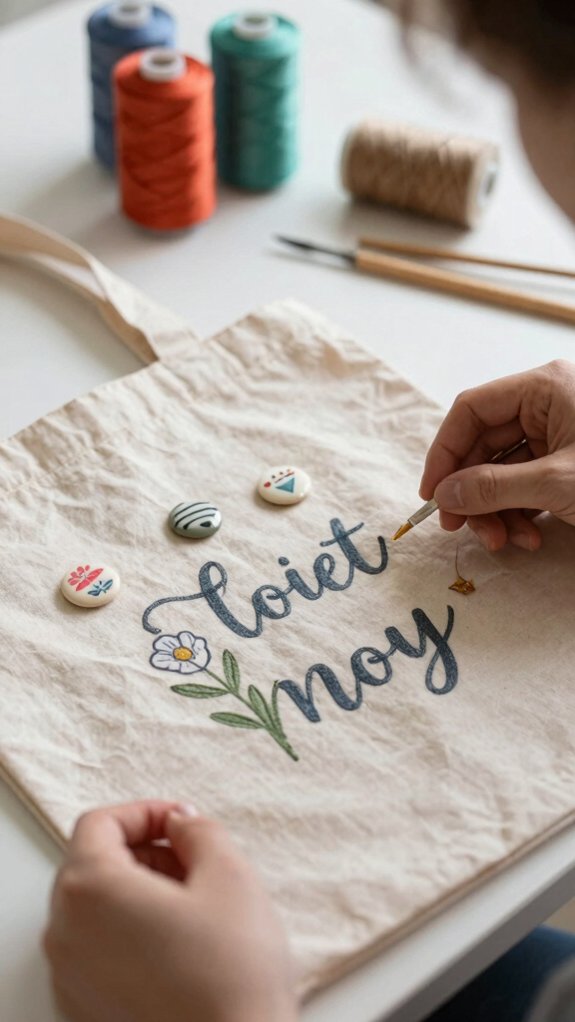
That little handmade energy can easily hop from a bracelet to a tote bag, and honestly, it’s so fun to see plain fabric turn into something you’d actually want to show off!
- Start with a plain tote, fabric paint, or transfer paper.
- Try Fabric paint tips: tape on a stencil, dab gently, then peel for crisp shapes.
- Use iron on transfer methods if you want a clean graphic fast.
- Glue or sew on lace, scraps, or buttons for cute, sturdy flair.
- Wrap yarn or thread around sections for a woven vibe.
- Let it dry 24 hours, then wash carefully.
Press Flowers into Simple Art
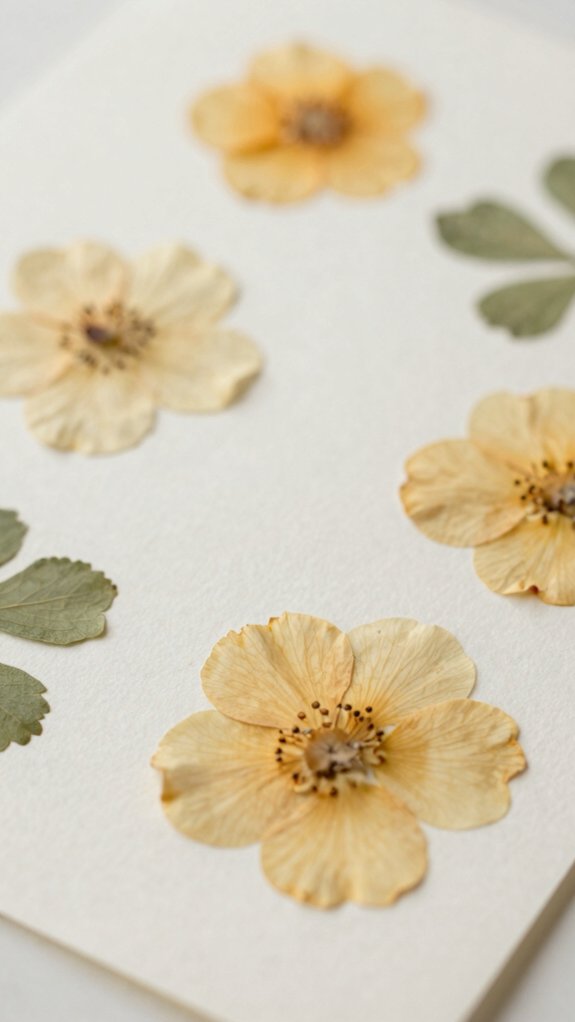
Pressed flowers can turn a boring afternoon into something oddly magical, and you don’t need special supplies to make it happen! Slip fresh-but-not-wet blooms between parchment or wax paper in a heavy book, stack more weight on top, and wait 1–2 weeks.
When they’re flat and crisp, arrange petals and leaves on cardstock for a Textured paper collage, then glue them down with clear adhesive. Try a bookmark or card, and add a neat border. For extra polish, use herbarium labeling, then seal it with tape or varnish so it stays pretty, not crinkly.
Paint Terracotta Pots
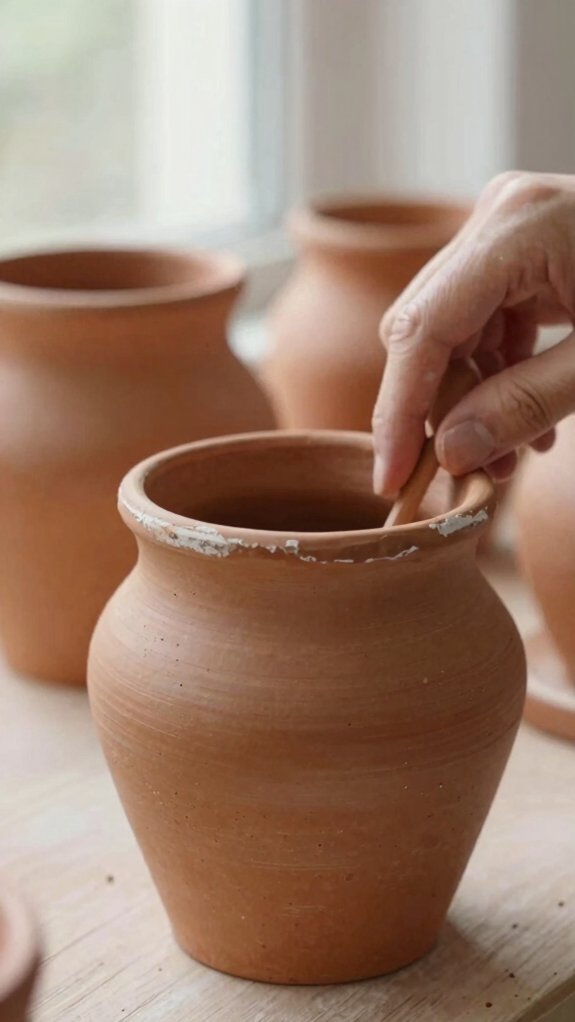
If you’ve got a plain terracotta pot sitting around, this craft is such a fun little glow-up!
You’ll fit right in with this easy project, and it won’t cost much.
- Wipe the pot clean, so paint sticks.
- Use acrylic or outdoor craft paint.
- Try stencil patterns, stripes, or cute faces.
- Paint thin layers, then let each one dry.
- Finish with Colorful ombré or rainbow bands.
Seal it with clear varnish, so splashes don’t ruin your work.
Then repot your plant right away for a satisfying, polished finish.
It’s beginner-friendly, quick, and oddly calming, like giving your shelf a tiny cheer squad!
Build a Mini Fairy Garden
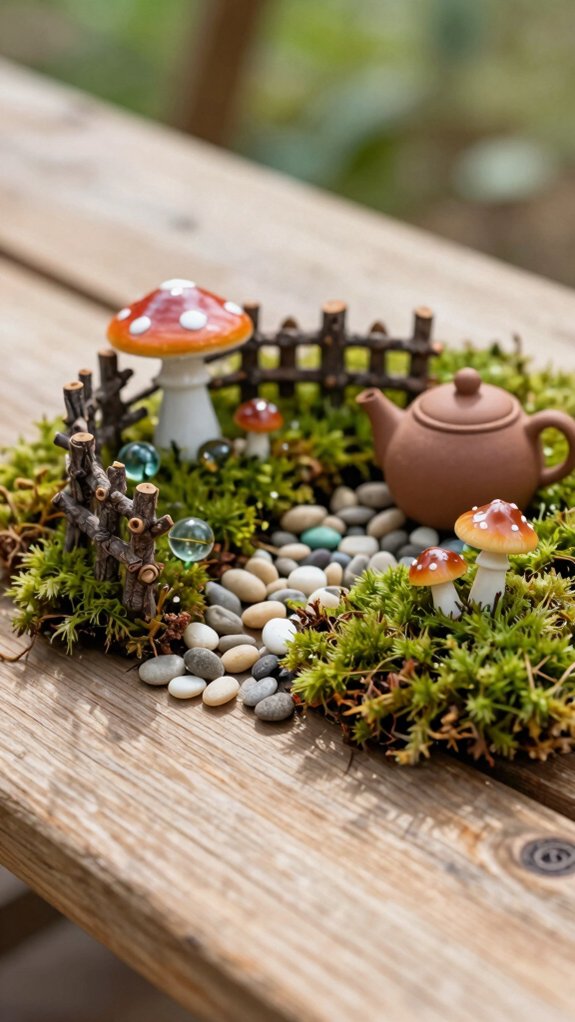
After giving a terracotta pot a fresh new look, why not turn a shallow tray into a tiny world of its own?
Start your DIY terrarium with gravel, then add potting mix so roots won’t sit soggy.
Pick miniature succulents, moss, or tiny groundcovers, and press them in for a living scene that feels like a mini zen garden.
Now the fun part! Add tiny houses, bridges, or lamp posts, and hold them steady with stakes or craft-safe glue.
Finish with smooth stones, bark, and a pinch of sphagnum moss.
Set it in bright, indirect light, and mist lightly—so satisfying!
Make Decorative Bookmarks
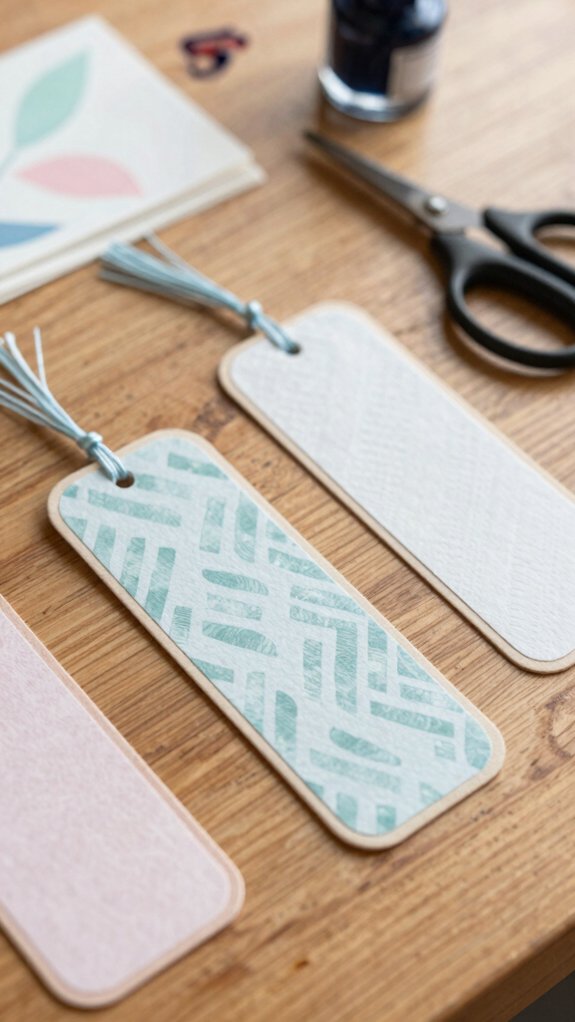
When you need a tiny craft with big payoff, decorative bookmarks are such a fun win! You can repurpose fabric or paper scraps, and make something pretty that actually gets used.
- Cut a strip to size, then glue on lace, buttons, or a quote.
- For no-sew ease, mount fabric on cardboard, then seal the edges.
- Want sturdier vibes? Stitch a layered pocket shape.
- Pressed flowers under clear sealant look dreamy.
- Finish with rounded corners and Tassel finishing for a polished touch.
These little keepsakes feel personal, cost almost nothing, and make your reading nook feel like home.
Design a Photo Display
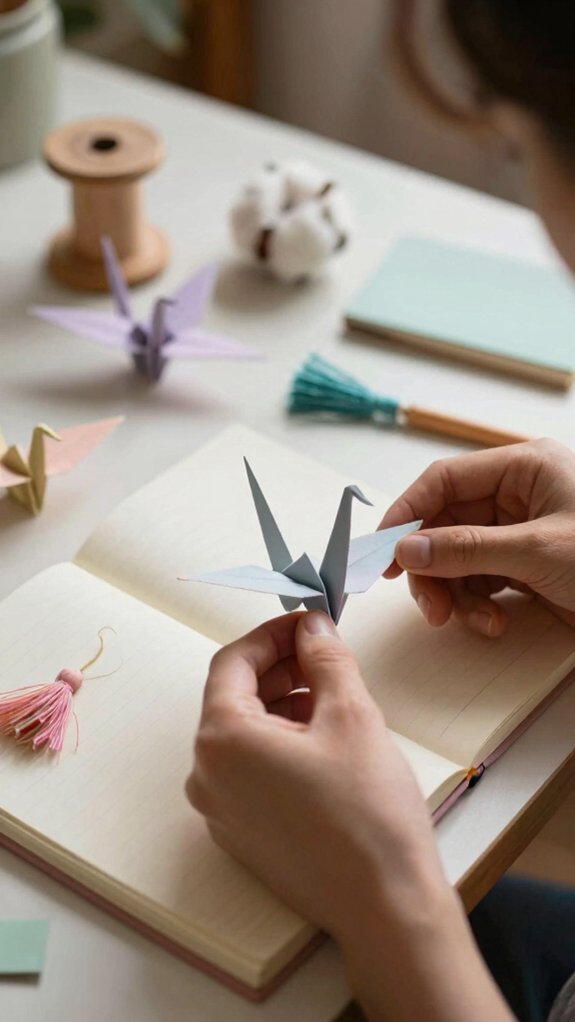
A handmade bookmark can tuck a little personality into your favorite book, and that same idea works beautifully on your wall or shelf, too! Pick a theme, like travel photos or family moments, then choose a photo grouping that feels like your crew.
Use a ready-made string kit or twine and mini clips, spacing pictures a few inches apart.
Want a polished look? Try frames in mixed sizes, kept evenly spaced.
For a timeline wall, line up photos from earliest to newest, like a mini story.
Wipe frames, use acid-free sleeves, and check a level—because crooked memories aren’t nearly as cute!
Wrap Colorful Macramé Keychains
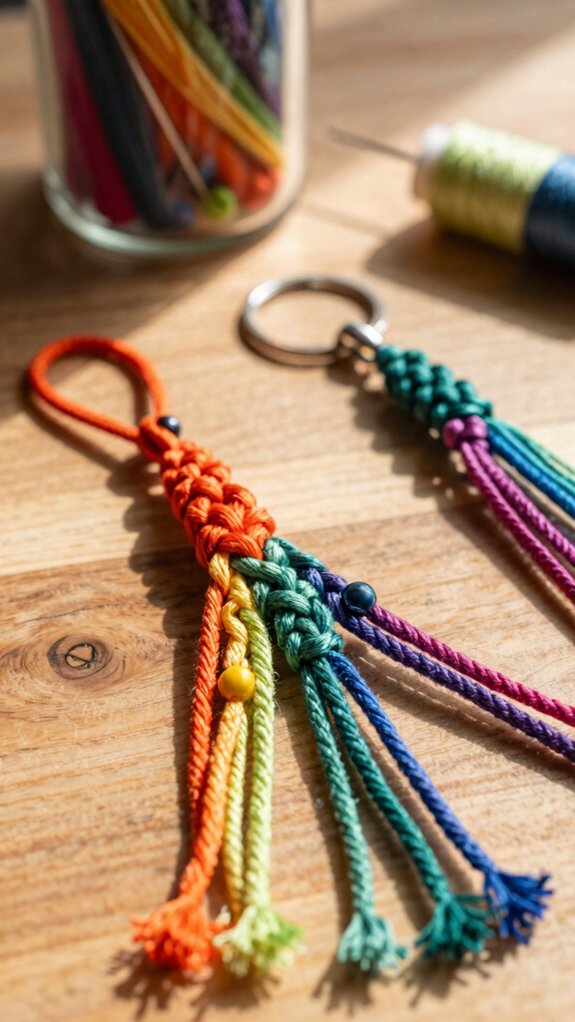
If you’ve got a few strands of cord and a spare key ring, you can turn them into a tiny macramé project that feels way more impressive than it is!
Grab 3–5 cotton strands, cut them to 20–30 cm, and attach them with a lark’s head knot.
- Clip it down for tidy tension.
- Tie square knots for relaxing knots.
- Swap colors for Color therapy.
- Add a stripe when you want flair.
- Finish with overhand knots, then trim cleanly.
You’ll get a cute, sturdy keychain fast, and the calm rhythm feels like a tiny club for your hands.
Optional combing makes it look polished!
Refresh Your Desk with DIY Accessories
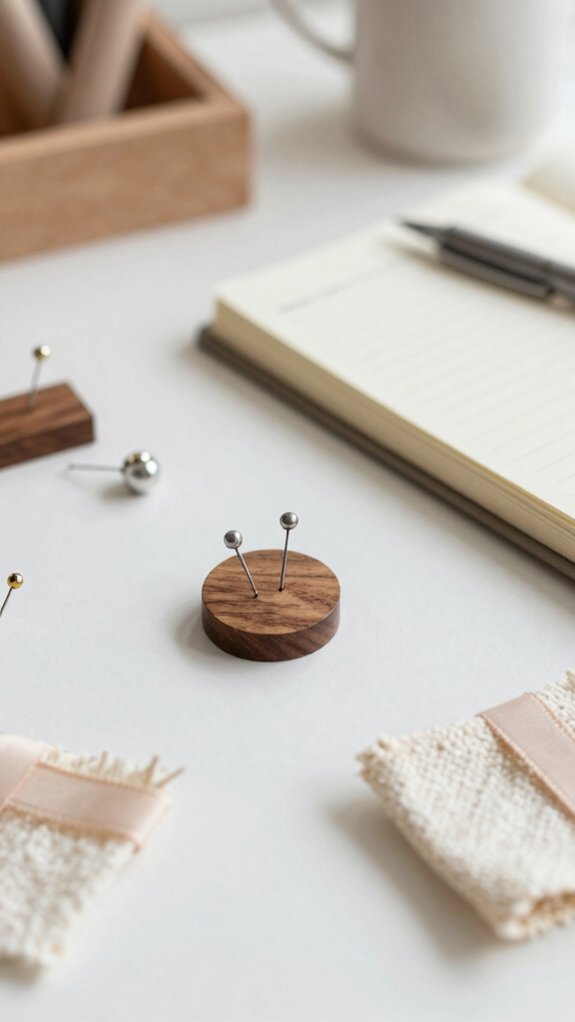
Your desk can go from “blah” to “whoa, I made that!” with a few tiny DIY tweaks, and the best part is that most of them use stuff you already have lying around. Grab Washi Tape and revive a journal cover in minutes, layering stripes or zigzags for instant personality.
Next, make Cardboard Coasters from cereal-box flats, doodle the edges, then add fabric scraps so your mug stays put.
Need more? Turn old tees into a mini wall weaving, or decoupage a baking tray into a desk tray. Toss in no-sew bookmarks, and suddenly your whole crew will want desk envy too!