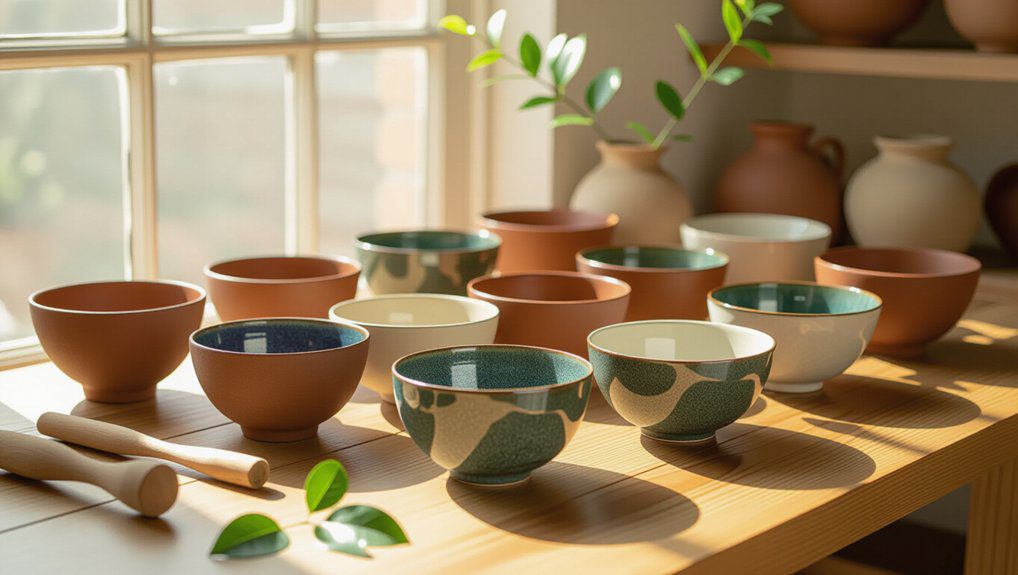
15 Best Clay Bowl Ideas Beautiful DIY Ceramic Projects
Disclosure: This post may contain affiliate links, at no extra cost to you. Content on DiyCraftNest is created with research support from AI tools and carefully reviewed, edited, and fact-checked by the lead author, Daniel Pat, to ensure accuracy and reliability. Learn more
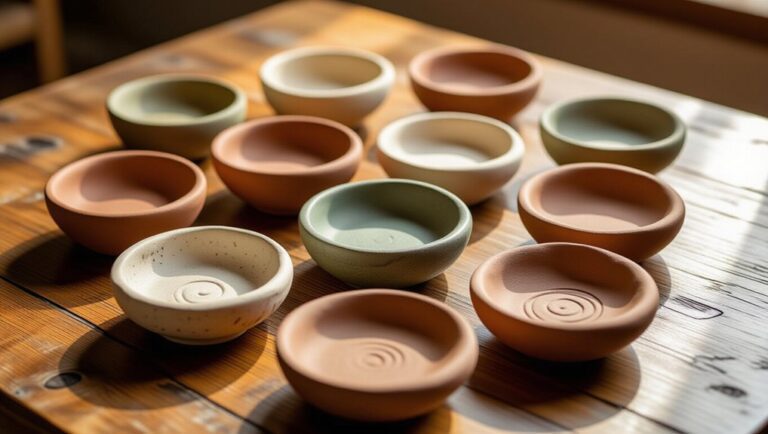
If you want to create beautiful DIY clay bowls without a pottery wheel, try air dry clay formed over small molds for ease. I recommend adding personality with rubber stamps or leaf impressions, then sanding edges for smoothness. You can paint vibrant floral or geometric patterns using acrylics, or finish with metallic gold for a luxe feel. Just seal with varnish for durability—just remember, these aren’t food safe. Stick with me to uncover even more fun and stylish clay bowl ideas!
Key Takeaways
- Use air dry clay shaped over small molds, adding rubber stamp textures for unique personalized bowls.
- Experiment with floral rubber stamp patterns and colorful inks for warm, decorative bowl designs.
- Create modern geometric bowls by cutting shapes like triangles or hexagons from rolled clay.
- Enhance bowls with gold leaf or metallic paint for an elegant, luxurious finish.
- Smooth edges with sandpaper and seal with clear varnish to protect and add shine to your creations.
Handmade Ceramic Bowls Without Pottery Wheel
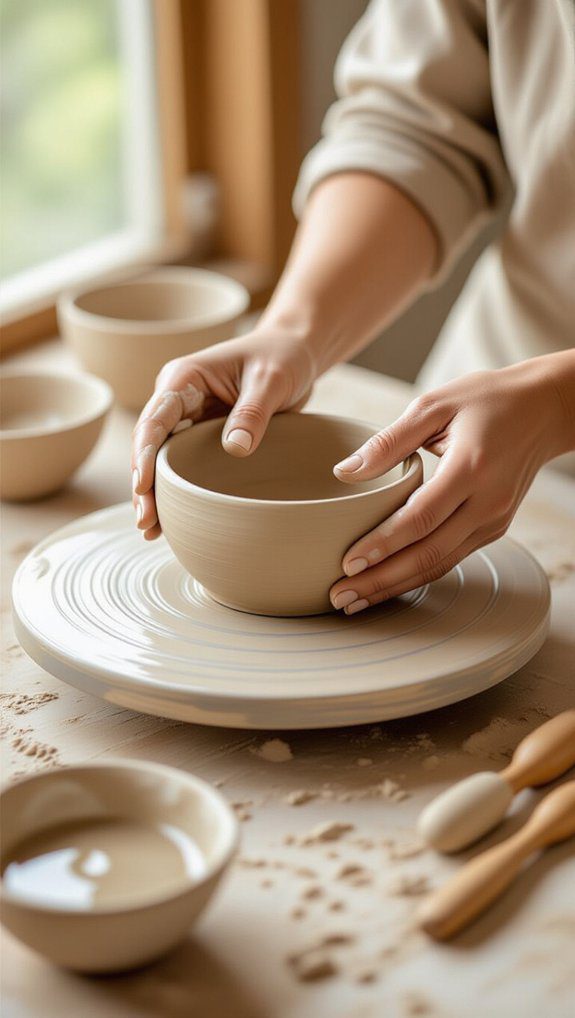
If you’re like me and don’t have a pottery wheel or kiln handy, making handmade ceramic bowls with air dry clay is a fantastic way to get creative without the fuss. For some ceramic bowl inspiration, start by kneading your air dry clay until soft, then roll it out to about 3-5 mm thick. Use air dry techniques like pressing rubber stamps or textured items onto the surface to add personality. Shape your bowl gently, then let it dry 36-72 hours to harden fully. It’s simple, fun, and perfect for crafting unique pieces that feel truly yours.
Air Dry Clay Bowl Designs Easy Home Crafts
Making air dry clay bowls at home opens up a world of creative possibilities that go beyond just shaping the clay. I love kneading the air dry clay until it’s soft, then rolling it out to about 3-5 mm thick. Using small bowls as molds makes shaping easy and consistent. To add flair, I press rubber craft stamps or textured items onto the surface—such simple clay techniques create unique patterns. After cutting and drying overnight, flipping the bowl guarantees even drying. Smoothing edges with sandpaper finishes the look. It’s a cozy, satisfying craft that welcomes you into a creative community.
Painted Clay Bowl Ideas Colorful Patterns
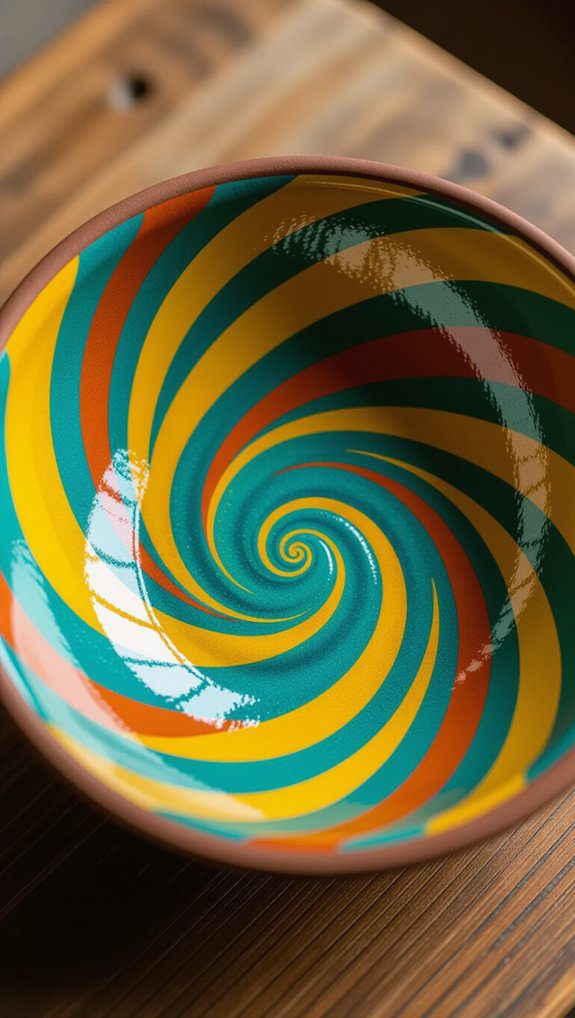
When you add paint to your air dry clay bowls, you instantly bring them to life with color and personality that reflect your own style. I love using acrylic techniques like sponge painting or stenciling to create colorful patterns that really pop. Playing with color gradients or even using rubber stamps before painting adds unique textures and depth. Don’t forget to seal your bowl with non-toxic varnish to protect your masterpiece, though it might not be food safe afterward. These simple steps make your clay bowls vibrant and uniquely yours—perfect for sharing your creativity and feeling connected through art. Experimenting with different mediums like metallic or glitter paint can elevate your creative air dry clay projects even further. You can also embellish your bowls with beads, ribbons, or other craft supplies to make them truly one-of-a-kind. These personal touches not only enhance their aesthetic appeal but also make them perfect for gifting to friends or family.
Flower Pattern Bowls Floral Designs
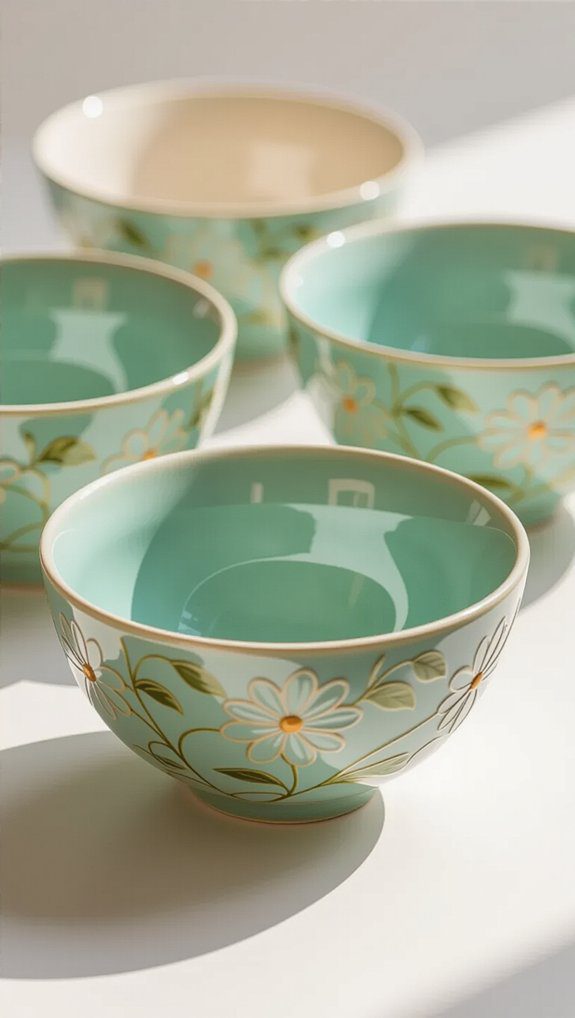
Although clay bowls can seem plain at first, adding flower patterns brings a whole new level of charm and personality to your creations. I love using rubber craft stamps to imprint floral designs onto air-dry clay rolled about 3-5 mm thick. Then, applying floral color inks really makes the bowl decoration pop! After cutting around a small glass bowl, I gently shape the clay, careful not to lose those delicate details. Once dry, sanding smooths the edges and sealing with varnish adds durability and shine. These bowls aren’t food safe but make lovely decorative pieces full of warmth and life. These charming bowls are also perfect for showcasing your creativity, making them ideal for simple pottery projects for beginners. By experimenting with different colors, patterns, and shapes, you can create a unique collection that reflects your personal style. Plus, they make wonderful gifts for friends and family, adding a handcrafted touch to any occasion.
Geometric Clay Bowl Designs Modern Aesthetic
Clean lines and sharp angles give geometric clay bowls a fresh, modern vibe that I find really exciting to create. I love how geometric color combinations boost modern clay aesthetics, making each piece stand out. When working on these bowls, I focus on: perfecting my techniques and experimenting with different textures. I often draw inspiration from contemporary art and architecture, which leads me to explore new forms and shapes. These explorations have also made me consider incorporating ideas from resources like ‘22 modeling clay projects for beginners‘ to keep my designs accessible and inspiring for all skill levels. In addition to bowls, I’m excited to dive into some new projects that explore the best clay ashtray design ideas. These pieces can serve both a functional and artistic purpose, adding a unique touch to any space. By experimenting with various styles and finishes, I aim to create ashtrays that reflect the same modern aesthetic found in my geometric bowls.
- Rolling clay 3-5 mm thick for durability
- Cutting shapes like triangles or hexagons
- Adding texture with craft stamps for uniqueness
- Sanding edges smooth for a polished finish
Sealing adds shine and strength, though not food safe. These steps help us craft bowls that feel part of a stylish, creative community.
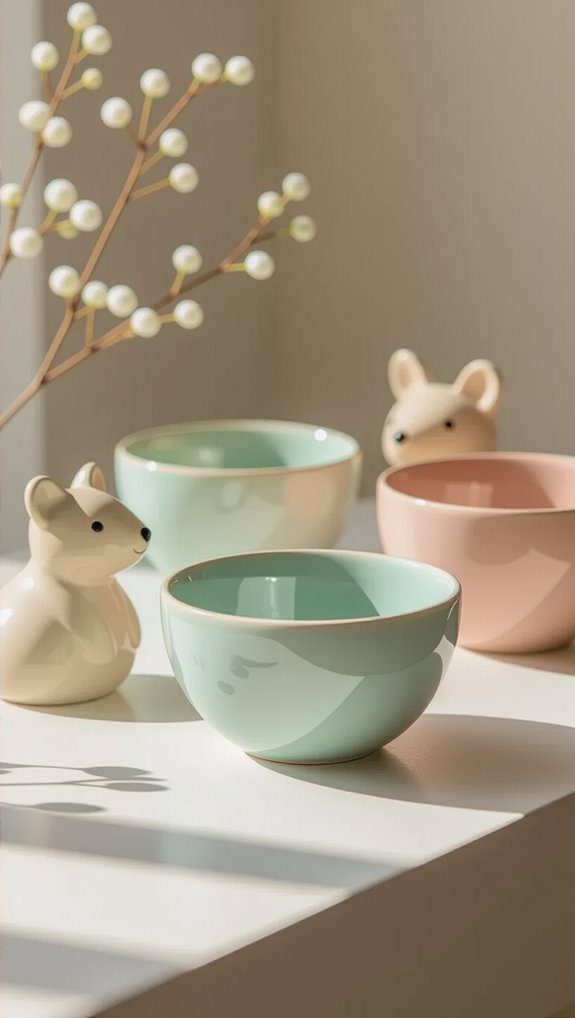
Animal Shaped Bowls Cute Ceramic Creations
Anyone can have fun creating animal-shaped bowls that bring a playful charm to your home or make a thoughtful gift. I find that starting with simple clay animal designs, like cats or elephants, sparks great animal bowl inspiration. Use air dry clay to mold your favorite creatures, then add texture with rubber stamps or textured tools to mimic fur or scales. Let your bowl dry for 36-72 hours, ensuring it’s sturdy. Finish with non-toxic paint or varnish for color and durability. These cute ceramic creations aren’t just pretty—they’re perfect for holding jewelry or small treasures! For those seeking more inspiration, exploring ceramic pottery DIY ideas can lead to even more unique designs. Consider adding personalized touches, such as initials or meaningful symbols, to make each piece truly one-of-a-kind. You can also experiment with different shapes and sizes, creating a whole collection of charming animal bowls that showcase your creativity.
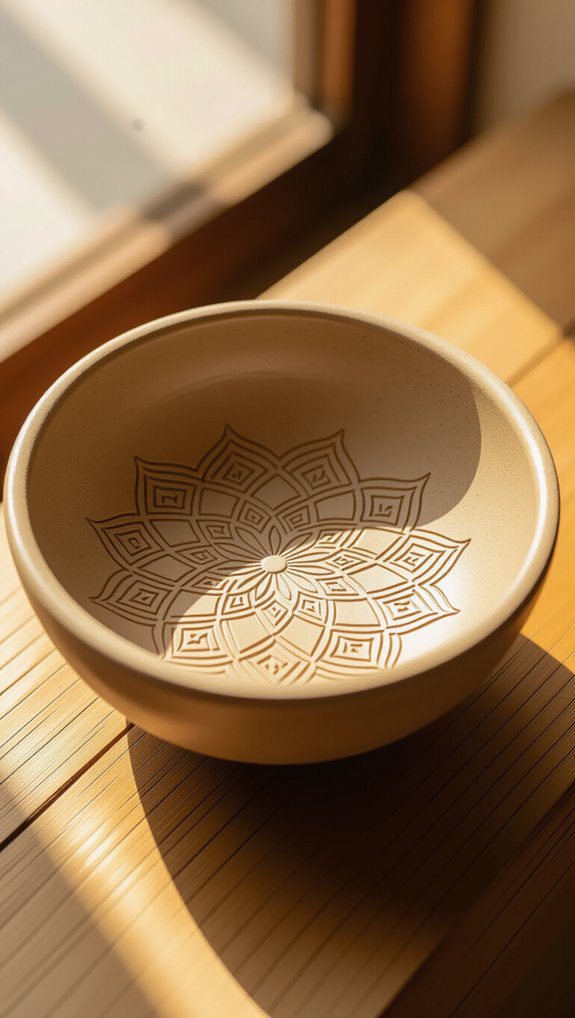
Mandala Clay Bowl Ideas Sacred Geometry
Shaping clay into playful animals is a wonderful way to express creativity, but if you’re looking to add a touch of spiritual beauty and balance to your work, mandala clay bowls offer a stunning alternative. These bowls embrace sacred symbolism through intricate sacred geometry patterns that invite harmony and unity into your space. When crafting your mandala bowl, remember to:
- Roll out air dry clay smoothly
- Use stamps or handmade tools for precise patterns
- Layer colors to improve vibrancy
- Let it dry 36-72 hours for perfect curing
Mandala meditation with these bowls deepens mindfulness and connection.
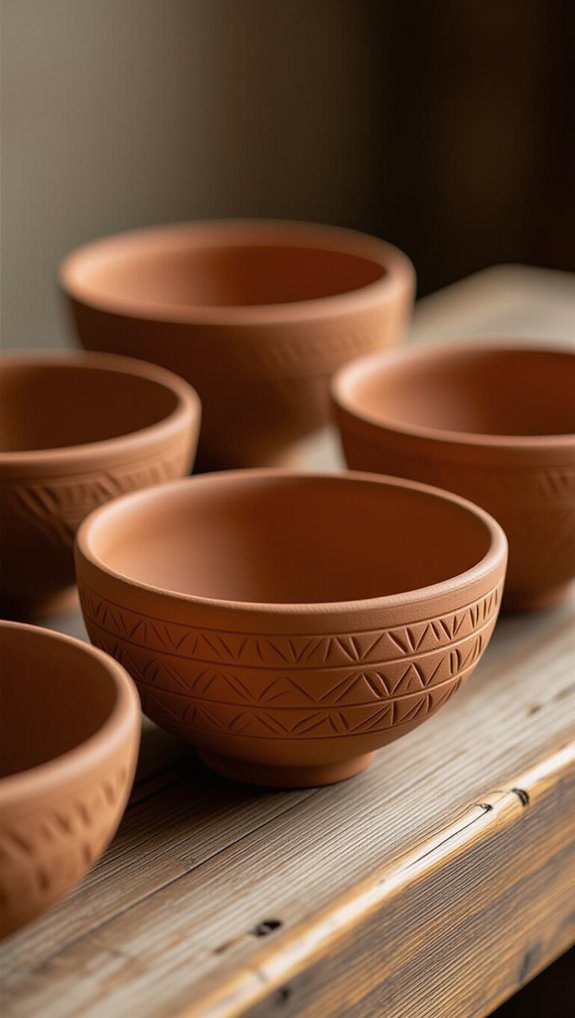
Stamped Clay Bowls Textured Impressions
When you want to add texture and personality to your clay creations, stamped clay bowls offer a fantastic way to do just that. I start by kneading air dry clay until it’s soft, then roll it out to about 3-5 mm thick. Using rubber stamps, I press stamped designs into the surface, creating unique clay impressions. After cutting around a glass bowl shape, I let it dry overnight, flipping it to dry evenly. Once fully dry, sanding smooths the edges. Finally, I seal the bowl with varnish for durability—though remember, these bowls aren’t food safe. For those looking to elevate their crafting skills, exploring the best oven bake clay projects can open up a world of possibilities. These projects not only enhance the durability of your creations but also allow for intricate designs and vibrant colors that air dry clay may not achieve. Consider experimenting with various textures and finishes to create truly one-of-a-kind pieces.
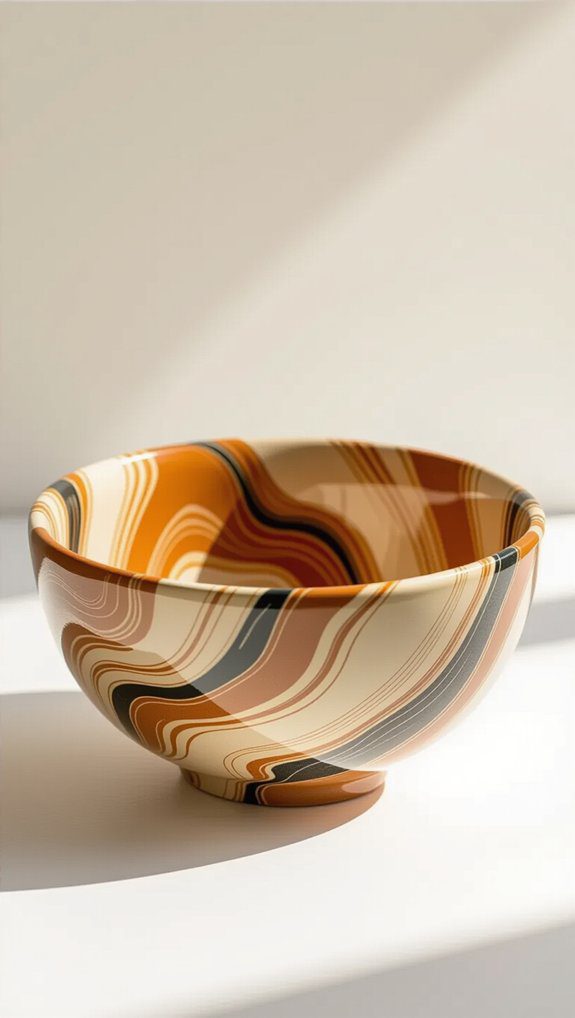
Marbled Clay Bowl Techniques Beautiful Swirls
A marbled clay bowl is a stunning way to showcase swirling colors that blend and twist together in a unique pattern every time. When using marbled texture techniques, I love these color blending methods for the best results:
- Knead and twist multiple colored clays together before rolling.
- Cut shapes with a craft knife to reveal vibrant patterns.
- Let the bowl dry thoroughly, flipping it to avoid cracks.
- Sand edges smooth and seal with varnish for durability.
This process makes each bowl feel special, like a little piece of art you and I both belong to creating.
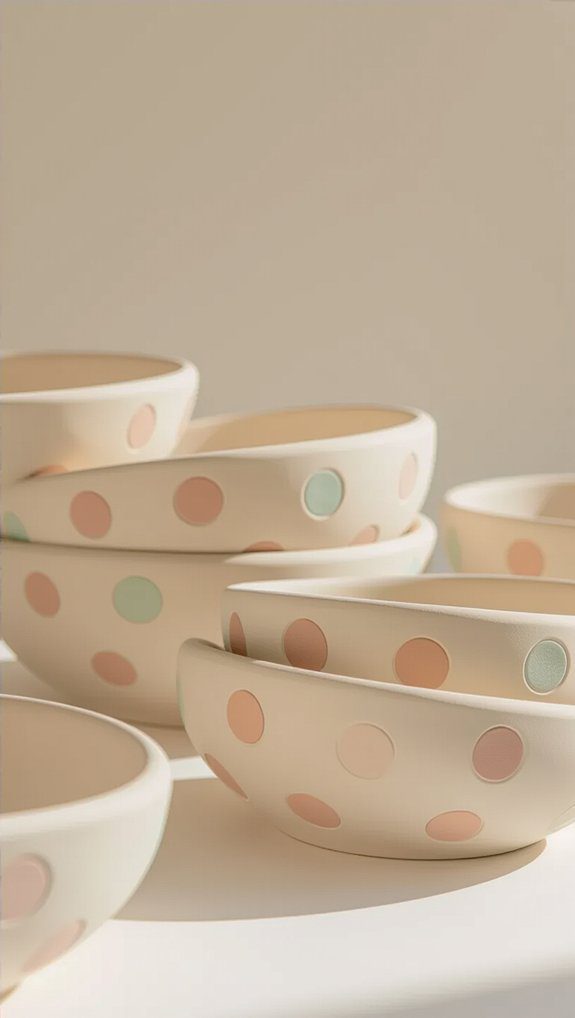
Polka Dot Clay Bowls Fun Designs
Playing with patterns doesn’t have to stop at marbled swirls—polka dot clay bowls offer a fun and cheerful way to brighten up your creations. I love experimenting with polka dot color combinations, mixing bright dots on neutral backgrounds or vice versa. Start by rolling out air-dry clay, then use round objects to stamp dots before shaping playful bowl shapes. After drying, paint contrasting polka dots for extra pop. Sand the edges smooth, and seal with varnish for durability. These bowls aren’t just pretty; they’re perfect for snacks or organizing small treasures, making every piece uniquely yours. Additionally, these cute air dry clay projects can be customized for any occasion, whether it’s a gift or a personal keepsake. Feel free to experiment with different shapes and sizes to create a unique collection. Each bowl tells a story, making your crafting experience even more rewarding.
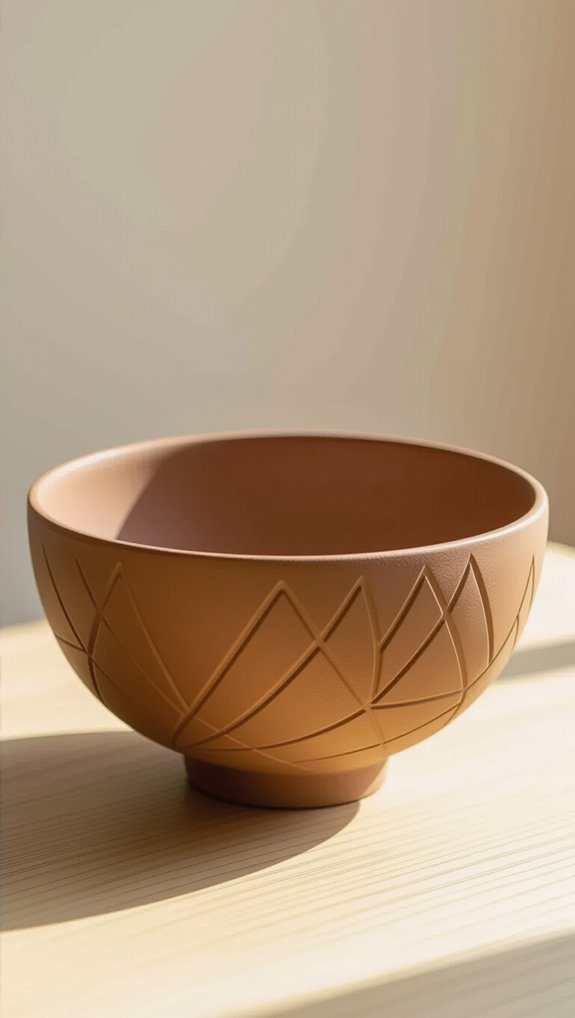
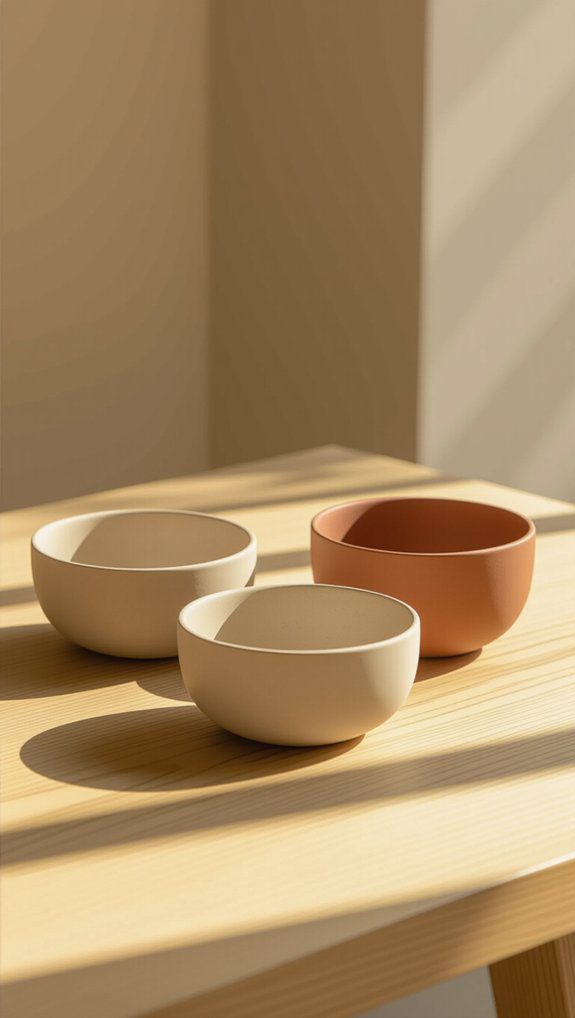
Minimalist Geometric Clay Bowls Modern Home Decor
Even if you’re new to working with clay, minimalist geometric bowls are a fantastic way to create something stylish and simple that fits right into any modern home. These bowls embrace clean clay bowl aesthetics with bold geometric patterns that speak to a contemporary vibe. Here’s what I’ve found helps: Consider starting with basic shapes like circles and triangles to build your confidence as you experiment with design. These easy pottery ideas for beginners allow for creative expression while keeping the process enjoyable and manageable. Additionally, using a limited color palette can enhance the minimalist aesthetic, ensuring your bowls stand out in simplicity and elegance. These bowls also make for great gifts or decor pieces that showcase your unique style. For those looking to share the experience, consider using these creations as clay date activity ideas, where you and a partner can explore your artistic sides together. Not only does this encourage creativity, but it also strengthens bonds through shared experiences and collaboration.
- Roll air-dry clay into triangles, squares, or circles about 3-5 mm thick.
- Use a craft knife for sharp edges and clear shapes.
- Add subtle texture with rubber stamps for interest.
- Seal with varnish to protect and polish your design.
They’re perfect for showcasing your style and holding little treasures!
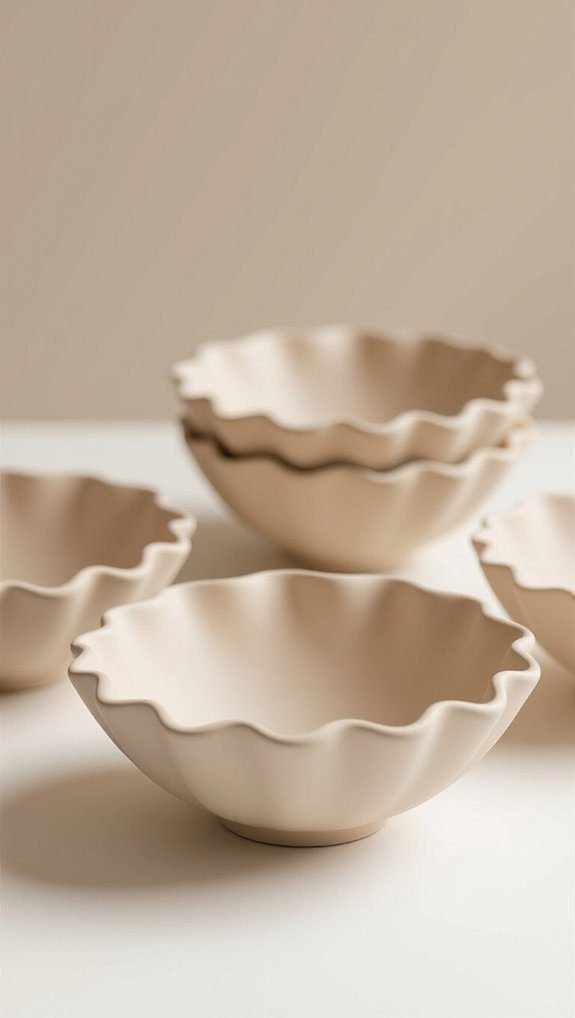
Scalloped Edge Clay Bowls Elegant Ruffles
Shifting from sharp geometric lines to softer, more playful shapes can add a lovely charm to your clay bowl collection. I love using scalloped edge techniques to craft bowls with elegant ruffled designs that feel warm and inviting. Carefully cutting wavy rims and molding them with a glass bowl keeps each curve perfect. Here’s a quick guide:
| Step | Purpose |
|---|---|
| Cut scalloped edges | Create elegant, ruffled shapes |
| Mold with glass bowl | Maintain smooth, uniform curves |
| Sand & varnish | Smooth finish; add durability |
Try these steps for charming, artistic bowls you’ll adore!
Natural Texture Clay Bowls Leaf Impressions
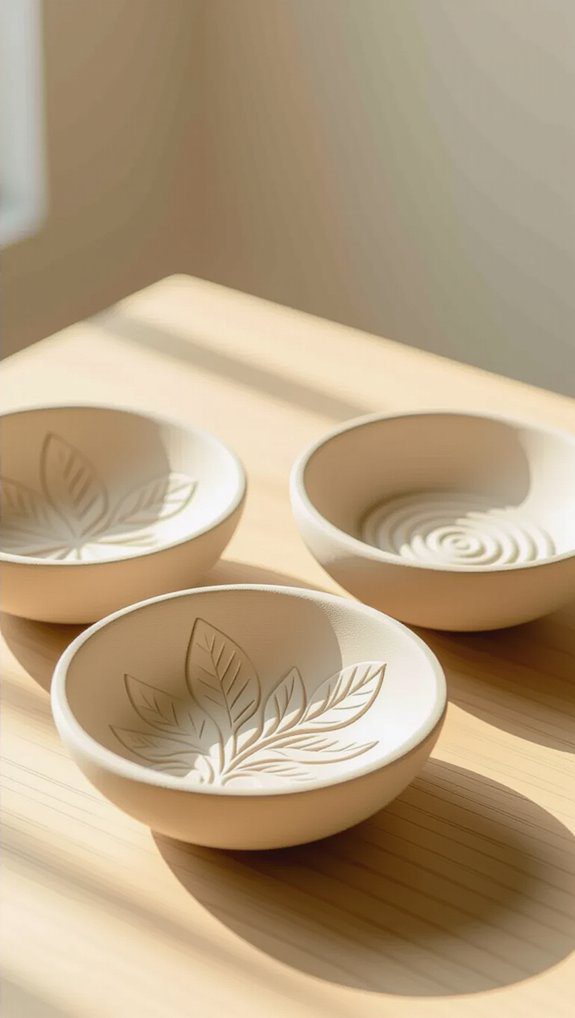
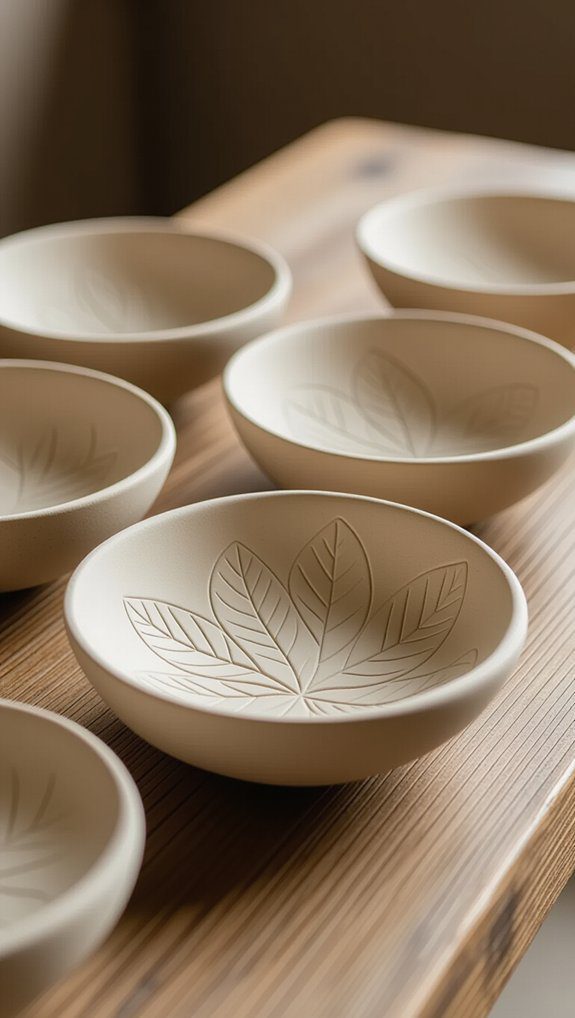
One of my favorite ways to add a natural touch to clay bowls is by pressing fresh leaves into the surface to create beautiful, detailed impressions. Using simple leaf selection techniques, I pick ferns or broad leaves with interesting textures. Then, I roll out air dry clay about 3-5 mm thick—it’s perfect for impression techniques that embrace every vein. After pressing the leaf gently, I lift it away to reveal a stunning pattern. To shape the bowl, I cut around a small glass and mold the clay’s curve. Here’s what I focus on: I make sure to smooth the edges to give the bowl a polished finish. This technique not only enhances the beauty of the piece but also provides unique soft clay art project inspiration for anyone looking to explore natural textures. Each bowl becomes a personalized work of art that reflects the environment, making it truly special.
- Choose fresh, textured leaves
- Roll clay evenly
- Press leaves gently
- Mold carefully for shape
Gold Metallic Clay Bowls Luxury Finish
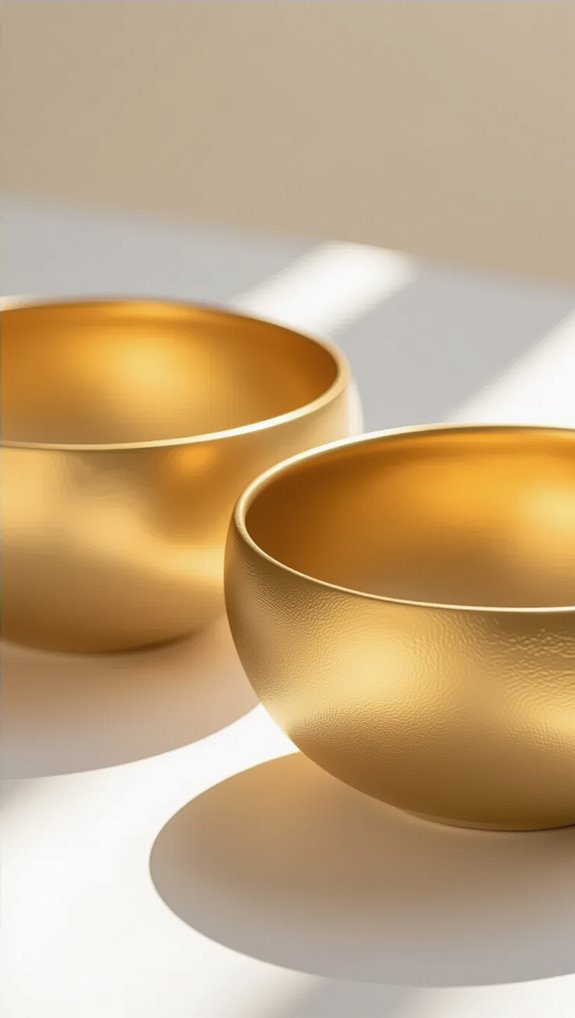
If you loved creating those textured leaf impressions, you’ll find that adding a gold metallic finish brings a whole new level of elegance to your clay bowls. Using gold leaf or metallic paint adds a stunning metallic sheen that makes each piece pop. I always sand the edges smooth before applying the gold leaf for a sleek, professional look. Sealing it with clear varnish keeps the shine durable. Here’s a quick guide:
| Step | Tip |
|---|---|
| Sanding | Smooth edges for shine |
| Applying Gold | Use gold leaf or metallic paint |
| Sealing | Clear varnish protects finish |
This finish feels truly luxurious!
Beginner Clay Bowl Tutorial Step by Step
Although working with air dry clay might seem tricky at first, once you get the hang of kneading it until soft and pliable, shaping your own bowl becomes a fun and rewarding project. Let me share some easy clay bowl techniques and crafting tips to help you start: You can experiment with simple designs, such as pinch pots or coil bowls, to build your skills as you go. Additionally, if you’re looking for inspiration, consider exploring mini clay project ideas for beginners, which can help spark your creativity and boost your confidence. Remember, the key is to enjoy the process and embrace any imperfections along the way! As you hone your skills, you might want to explore the best clay sculpture ideas for beginners, which can elevate your creations to a new level. Joining workshops or online communities can also provide valuable feedback and techniques to refine your artistry. Don’t hesitate to share your progress with friends or family; their encouragement can motivate you to keep experimenting and improving!
- Roll the clay 3-5 mm thick on a silicone mat to avoid sticking.
- Impress textures using rubber stamps before cutting.
- Cut around a small glass bowl to shape it perfectly.
- Dry overnight, flipping once, then sand edges smooth.
These simple steps create beautiful bowls, perfect for beginners like us wanting to craft together!

