15 Cardboard and Hot Glue Crafts That Look Surprisingly Good
You can turn plain cardboard and hot glue into cute storage bins, mini drawer organizers, modern wall shelves, jewelry holders, and even a phone charging station, all with easy cuts, folds, and a few paint coats. Add an entry tray, then get playful with a faux fireplace village, festive window decor, and gift boxes with hidden flair. They’re cheap, beginner-friendly, and weirdly polished—honestly, the kind of crafts that make people ask, “Wait, you made that?” Stick around, because the best surprises come next!
Love cozy DIY projects? 💕
Get free printable guides, exclusive tutorials & surprise craft goodies straight to your inbox.
Disclosure: This post may contain Amazon affiliate links, at no extra cost to you. Content on DiyCraftNest is created with research support from AI tools and carefully reviewed, edited, and fact-checked by the lead author, Daniel Pat, to ensure accuracy and reliability. Learn more
Key Takeaways
- Cardboard and hot glue can create surprisingly polished decor, storage, and gift pieces with very little cost.
- Thick corrugated cardboard works best for sturdy boxes, shelves, organizers, and phone stands.
- Hot glue adds fast structural strength, especially for corners, joints, rooftops, and layered decorative details.
- Matte paint, color blocking, and dry-brushed finishes make cardboard crafts look clean and modern.
- Simple accents like faux snow, beads, dividers, charms, and inserts add depth and a finished handmade look.
Decorative Storage Bins
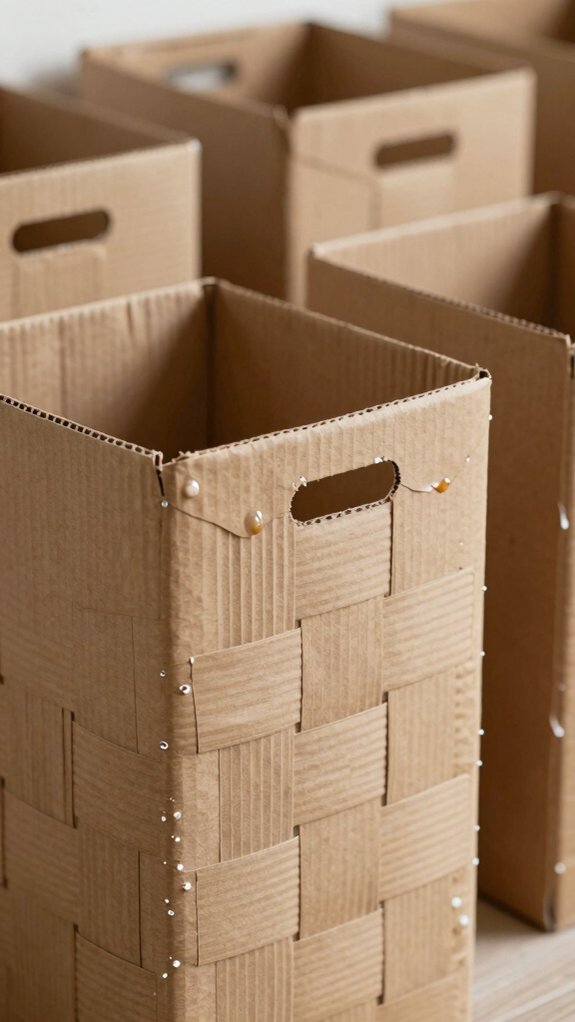
If you want storage that actually looks cute on a shelf, decorative cardboard bins are a great place to start! You can cut corrugated cardboard into box panels, glue the corners with hot glue beads, and paint everything with matte acrylic for easy shelf styling.
Try paint techniques like borders or soft patterns, then add label customization with cutout tags.
Want extra function? Build a thicker base so supplies won’t bow the bottom.
For tidy lid organizers, make a snug top insert, and if you need sections, glue in angled dividers.
Finish with Mod Podge, and your bin’ll feel polished and sturdy!
Mini Drawer Organizer
Need a small, tidy spot for all those tiny bits and bobs?
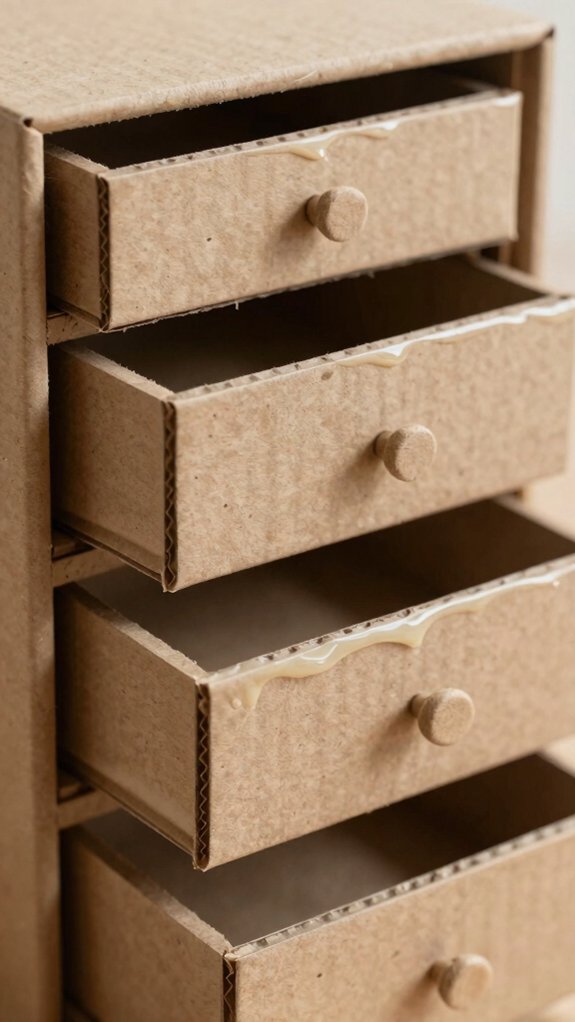
You can make a mini drawer organizer from thick corrugated cardboard, and it’s easier than it sounds!
Cut matching pieces, score the folds, then hot-glue the sides into a sturdy frame.
Add shallow drawers about 4–6 inches wide, with a front lip, back stop, and bases that won’t let beads go on a sneaky trip.
Space dividers 1–1.5 inches apart for pens or jewelry bits.
Finish with Cardboard Drawer Tabs, Colorful Label Inserts, and reinforced edges—cute, cheap, and oddly satisfying!
Wall Shelf with Modern Lines
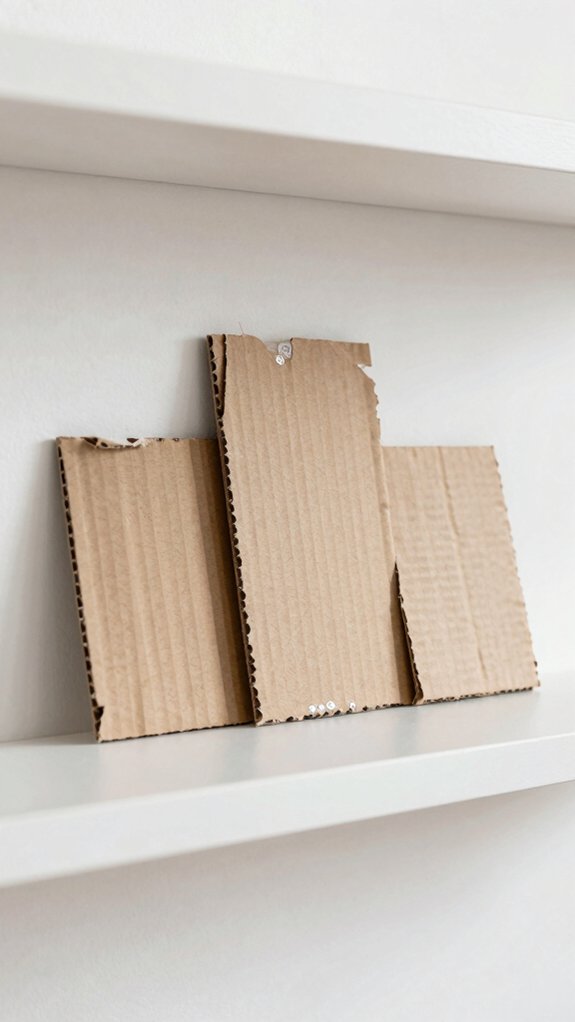
For a shelf that looks sleek instead of boxy, start with a crescent-moon base made from corrugated cardboard, then layer on a few cardboard strips to create those clean modern lines.
Trace two matching moons, glue them together, and add 3–4 round shelves for a clean geometric layout.
Press each circle firmly so the edges stay put, and don’t worry, this stays cheap and beginner-friendly!
Brush on color block painting after assembly, let it dry, then enjoy the corrugated texture.
Finish with tiny trees or figurines for a cute seasonal display that feels totally you!
Jewelry Holder
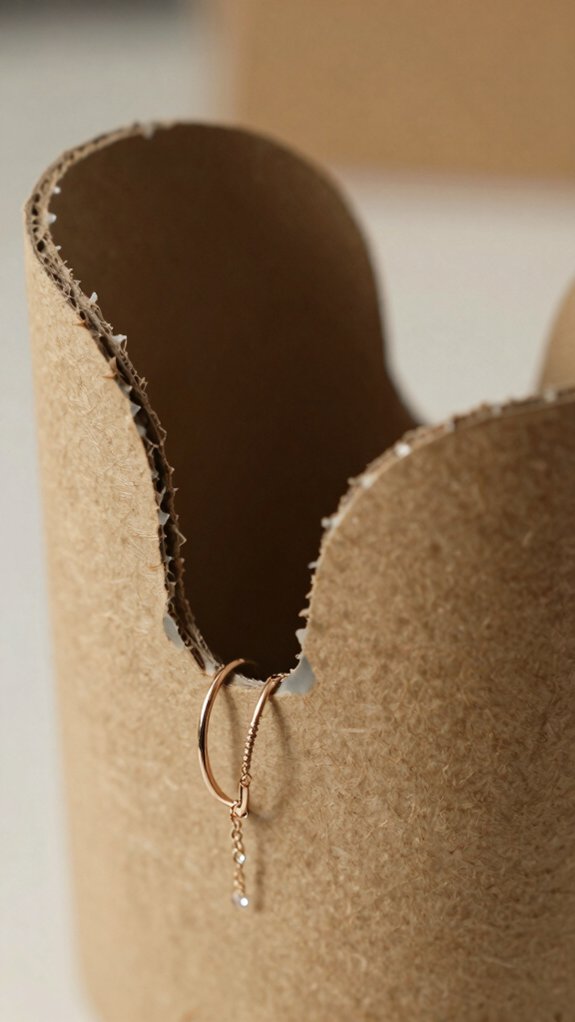
A cardboard jewelry holder can turn a plain pile of necklaces and bracelets into something neat, cute, and actually fun to use!
You’ll need thick cardboard, a paper towel roll, smaller angled rolls, hot glue, and acrylic paint.
Build the trunk and branches, then use Eco friendly glue tips and let every joint cool fully so nothing droops like tired spaghetti.
Paint it smooth, then try bracelet display styling by sliding bracelets onto sturdier branches and necklaces onto the others.
Add a sealed top layer or extra cutouts for scuff protection.
It’s cheap, beginner-friendly, and seriously charming!
Phone Charging Station
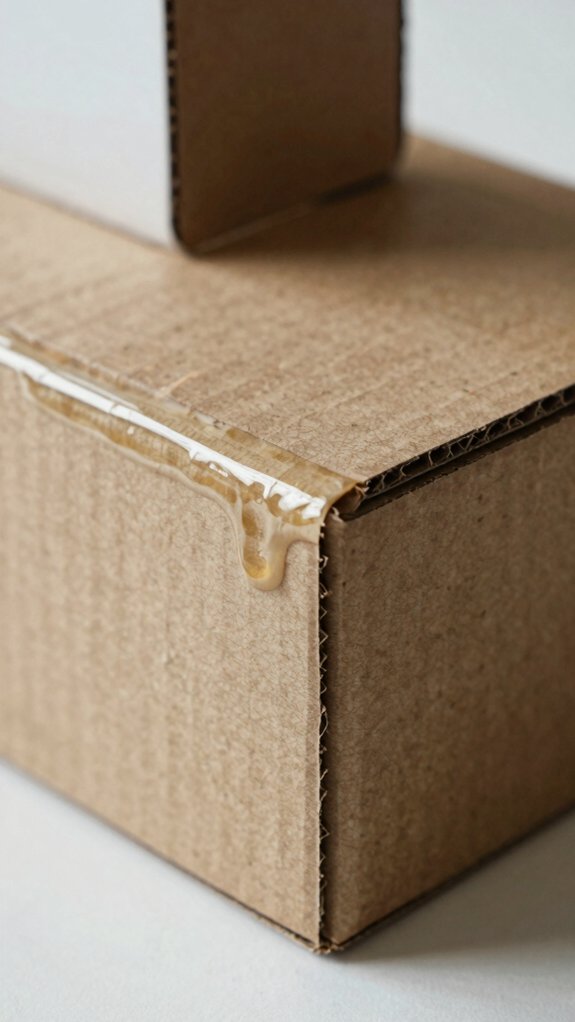
Your charging cord deserves better than dangling off the edge of a desk like it’s late for work! Grab a thick cardboard base, then hot-glue an angled phone cradle so your phone sits snug and ready. Cut a charging-slot opening, and reinforce it with thin cardboard strips so it won’t sag.
Next, add DIY cable management by gluing little cardboard stops along the side, keeping the cord neat and in place. Want a sleeker dock? Add a foam backer, then try Mod Podge finishing for a cleaner look.
Finish with felt underneath, test it with your charger, and boom—your desk feels organized!
Faux Wooden Picture Frame
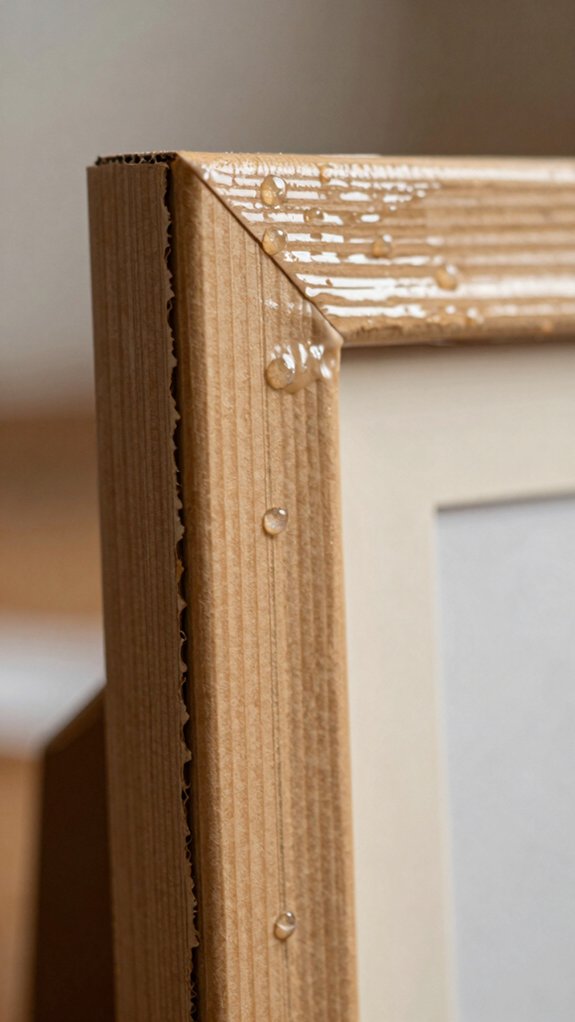
If you want a picture frame that looks a lot like wood without the stylish price tag, cardboard’s ready to step up! Trace outer and inner rectangles, score the fold lines, then glue on extra strips for depth.
| Step | Material | Result |
|---|---|---|
| Trace | Thick cardboard | Clean frame shape |
| Build | Hot glue, strips | Solid, raised edge |
| Finish | Acrylic, Mod Podge | Smooth faux wood finishing |
Use corrugated cardboard for texture, and add hanging hardware with twine or a cardboard tab. Paint it matte black or warm brown, and you’ll get a cozy, handmade frame that feels proudly yours!
Small Desk Organizer
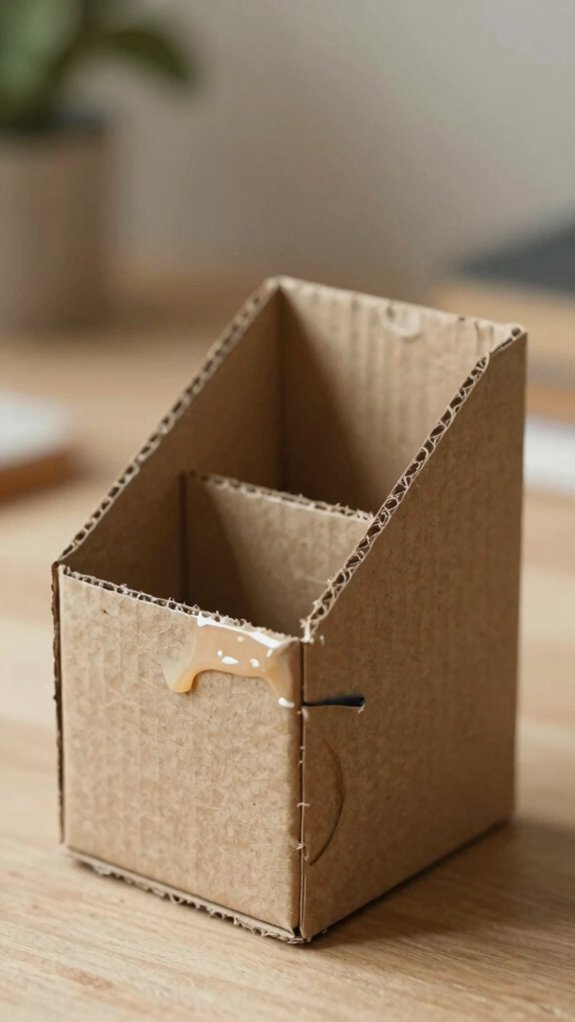
Even a plain little cardboard box can turn into a desk superstar, and that’s the fun part!
You can make a cute organizer with storage bin upgrades using an empty milk-carton-size box, a few scraps, and hot glue.
Cut a front opening for pencils, add cardboard reinforcement, then paint it and let it dry fully.
For playful pencil holder designs, layer felt or paper circles as “feathers,” and glue on googly eyes and a beak.
If you want a jewelry tree, use thicker cardboard, angled rolls, and hot glue seams for a sturdy trunk.
Seal any rough edges, and you’ve got a handy, budget-friendly desk buddy!
House-Shaped Bookends
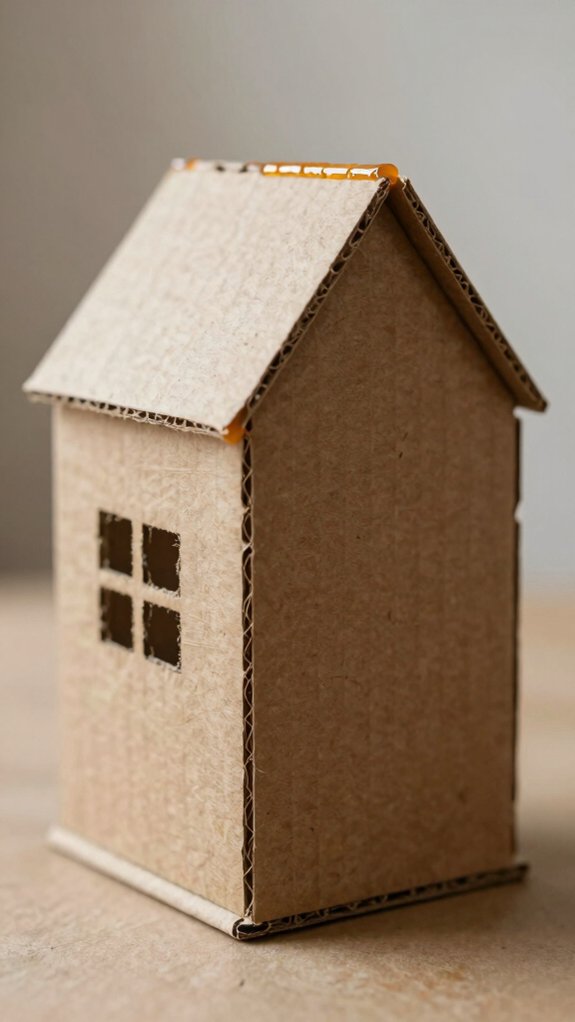
With a couple of thick cardboard pieces and a hot glue gun, you can build bookends that look like tiny houses and actually pull their weight!
Cut two matching house silhouettes from corrugated cardboard, then layer them with hot glue for sturdy depth.
Add roof triangles, chimneys, and window frames on top for a cute, layered finish.
Slip a vertical spine strip between the front and back pieces so they stay firm.
Paint them matte black or cozy pastels, add Colorful yarn detailing if you want charm, and seal them.
A felt pad inside helps books grip, too!
Succulent Planter Cover
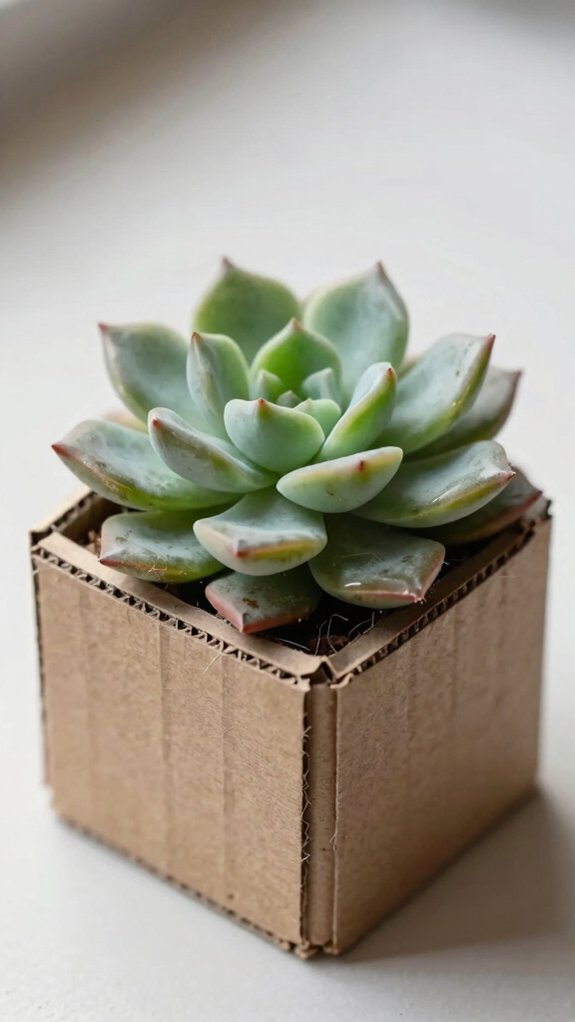
After a quick cut and a little hot glue magic, you can turn plain cardboard into a cute succulent planter cover that looks way fancier than it sounds!
Grab sturdy corrugated cardboard, trim it to wrap your pot with a tiny overlap, and fold it into a neat box.
Add Textured cardboard strips for bold ridges, then use minimal matte paint in soft neutrals, with tiny green dots or leaf lines.
If you’ll keep it outside, brush on waterproof sealant after it dries.
Finish with secure glue tabs at the bottom, so it stays put and doesn’t wobble.
Cute, cheap, and seriously satisfying!
Decorative Lantern
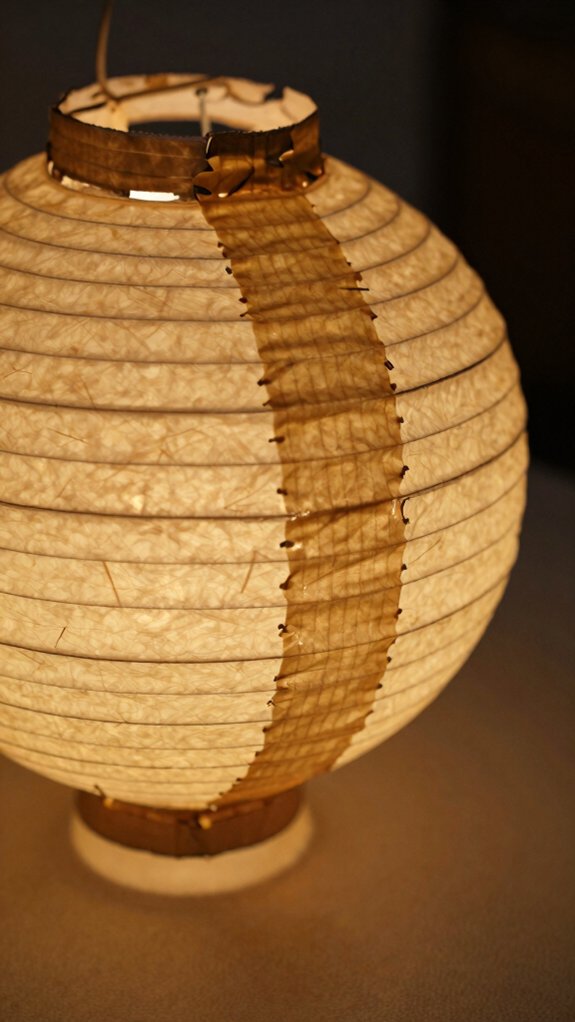
If you want a lantern that looks charmingly handmade instead of “I tried, and the box won,” start with sturdy corrugated cardboard and cut a body about 8–12 inches tall.
Use a glue-friendly backing so your cardboard silhouette stays crisp while you work, and add simple cutouts like stars or circles with careful front-layer cuts.
Hot-glue thin cardboard strips around the openings, then build a layered roof or candle platform for depth—nice, right?
Slip painted tissue or colored vellum behind the holes for warm lighting, seal it with matte acrylic, and tie twine through the top.
Magazine Holder
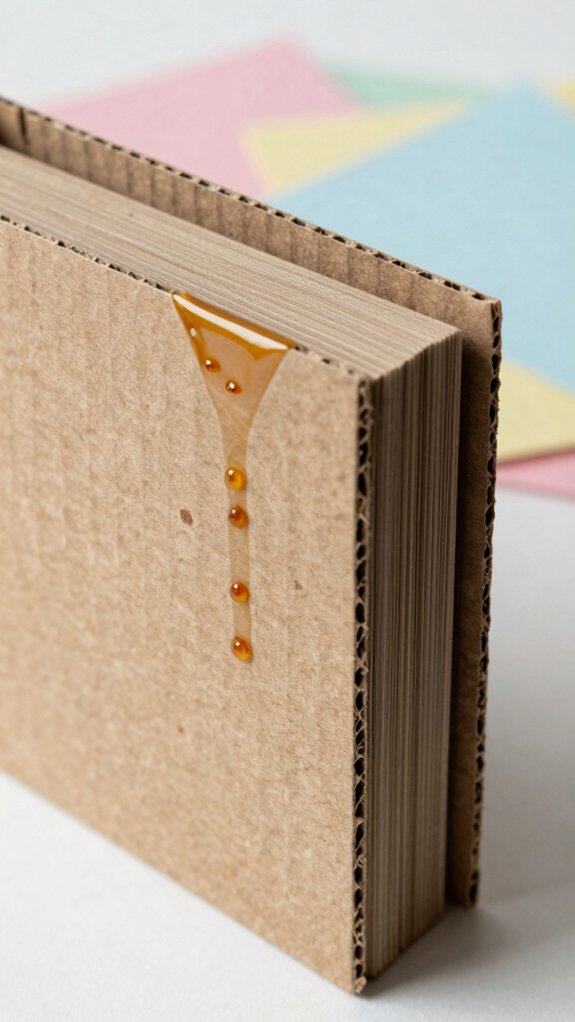
A sturdy magazine holder starts with plain corrugated cardboard, and that’s the magic trick here—cheap, simple, and surprisingly strong!
You cut the sides and supports from shipping-box board, then hot-glue a flat base to a back panel for that easy tray-and-back shape.
Add thin cardboard ribs inside, and reinforce the corners with extra layers, because magazines can lean hard.
Finish it with matte acrylic and a clear sealer, and wow, it looks polished!
If you like cardboard planters or thrift store decoupage, try geometric cutouts before painting for a folk-art vibe that feels totally yours.
Entryway Catchall Tray
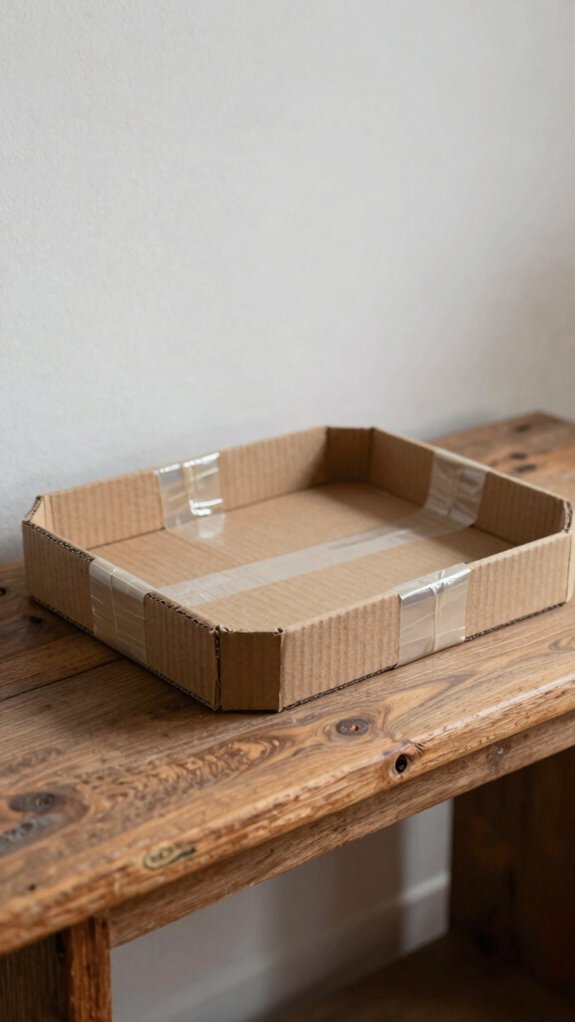
Sleek and super useful, an entryway catchall tray turns a plain scrap of cardboard into the little landing pad your keys, sunglasses, and mail have been begging for! You’ll love the friendly vibe it brings, and it’s a smart pick among your upcycled material choices, too.
Cut a thick cardboard base, add shallow walls, then hot glue folded tabs or strips into the corners for strength.
Brush on matte acrylic paint, using acrylic sealing tips to smooth rough edges and blend the look.
For extra order, glue in tiny dividers or a front lip, and add a twine loop below.
Finish with Mod Podge, let it dry, and boom—easy, wipe-clean style!
Faux Fireplace Village
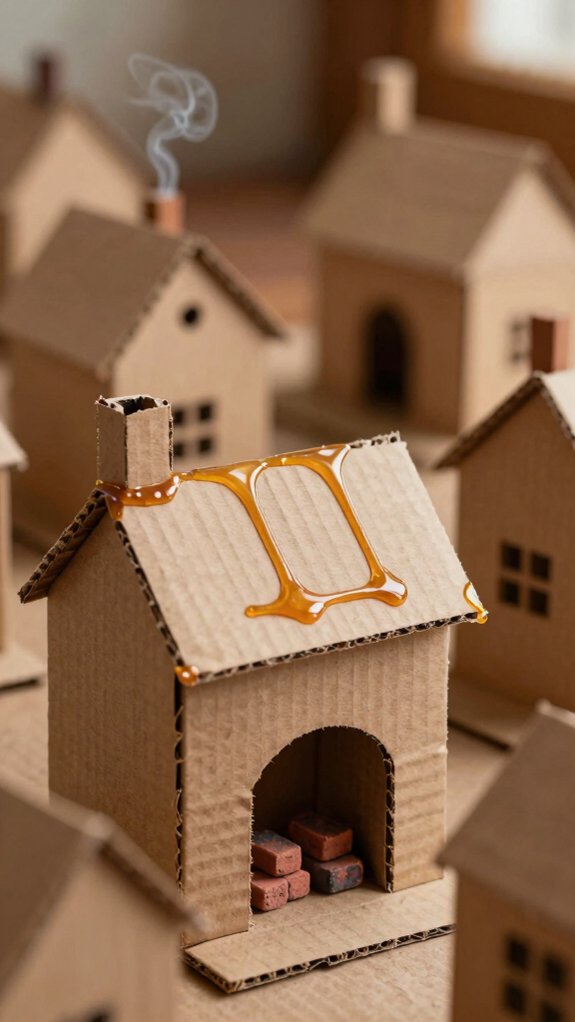
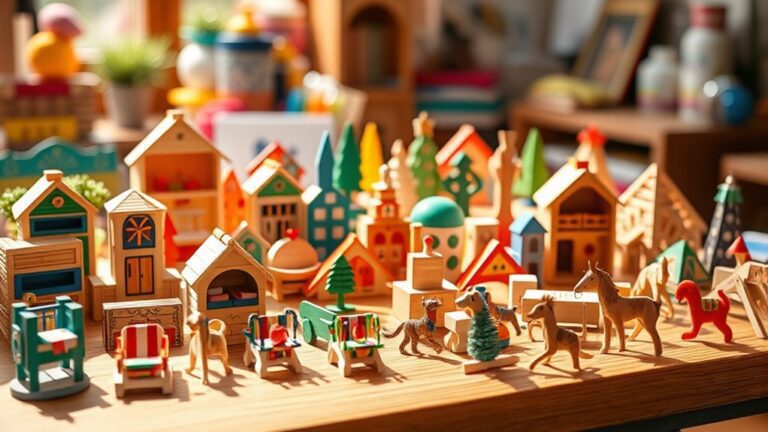
When you want your cardboard craft to feel cozy instead of just crafty, a faux fireplace village is such a fun move!
Cut small house shapes from sturdy cardboard, then layer on extra walls and Painted cardboard rooftops with hot glue for hot glued depth.
Paint chimneys, doors, and window frames after the base dries, and add a gray, sponge-textured fireplace backdrop for that stone look.
Next, glue the houses onto a shallow tray, using folded risers to stagger heights.
Finish with faux snow accents, pearl beads, or tiny paper flowers.
It’s cheap, beginner-friendly, and feels delightfully magical, like your own tiny neighborhood!
Christmas Window Decor
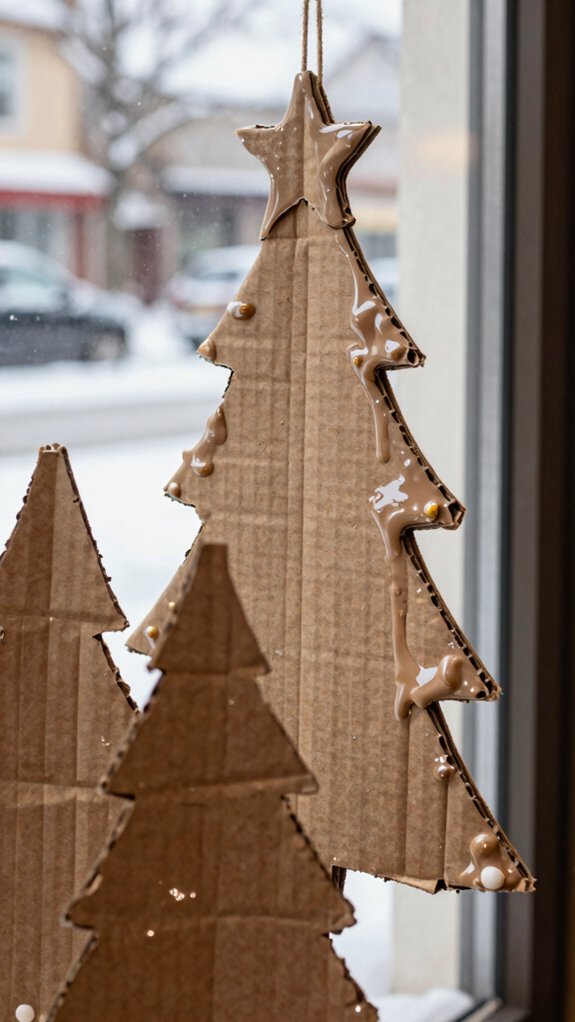
After building that cozy faux fireplace village, it’s fun to frame the whole holiday mood right on a window! You can cut a sturdy cardboard frame, glue on a paperboard border, and paint it matte black or bright red for a clean look.
Add a DIY holiday garland by layering cardboard strips into little “ice” panels, then keep going, because the best part is next.
Make cardboard snowflakes by stacking tiny cutouts with hot glue, then dry-brush them white for a frosty pop.
Punch holes for twine ornament strings, hang charms, and finish with hot glue window charms that feel cheerful, cheap, and totally yours.
Gift Boxes with Custom Details
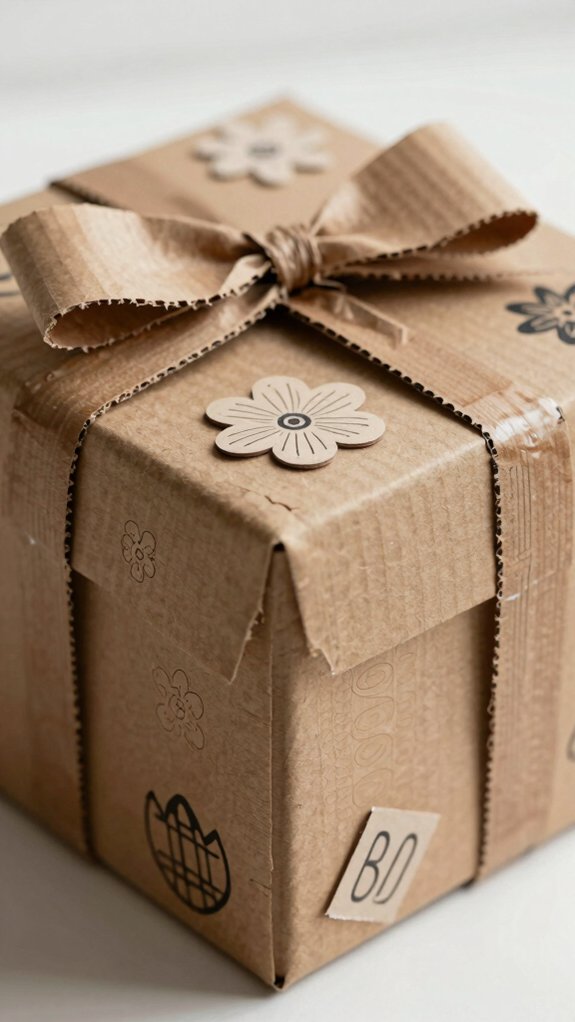
For gift boxes with custom details, cardboard can look way fancier than you’d expect, and yes, it can still be super cheap!
Start with thick corrugated pieces, cut and layer them, then hot-glue the corners for a sturdy box.
Add a hinged photo opening or frame, and suddenly it feels special.
Want extra charm?
Cut a cereal-box topper into hearts, letters, or icons, glue it on, and nobody’ll guess it’s cardboard.
Score a jewelry-style box, paint it like leather, and finish with a personalized label and gift tag tailoring.
Save the sneaky best part for last: tiny pockets, inserts, or dividers!