15 Air Dry Clay Charms You’ll Want to Make Again and Again
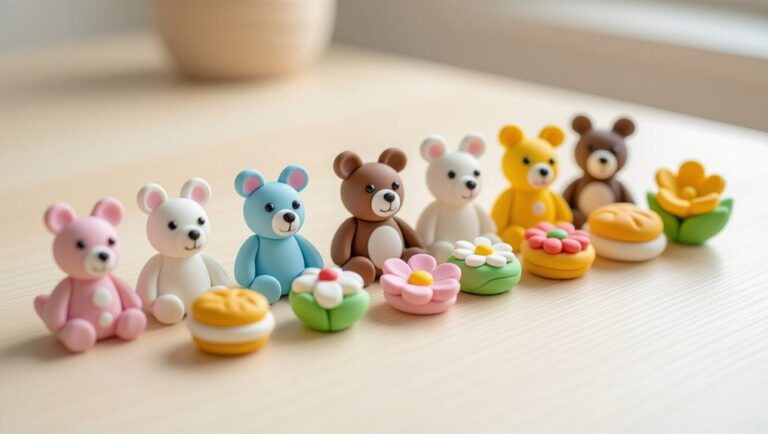
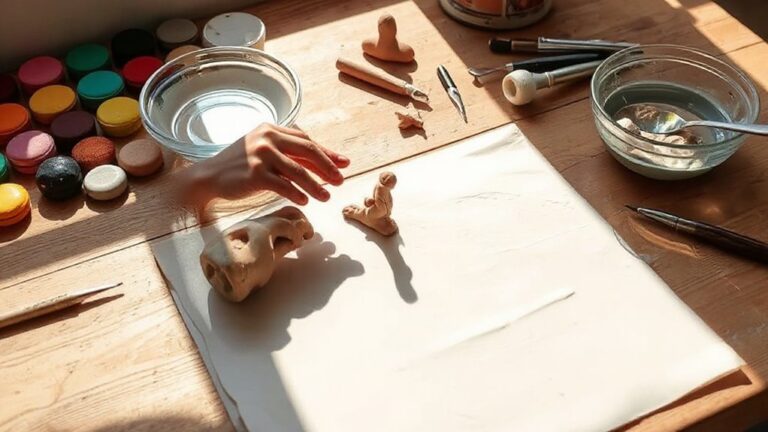
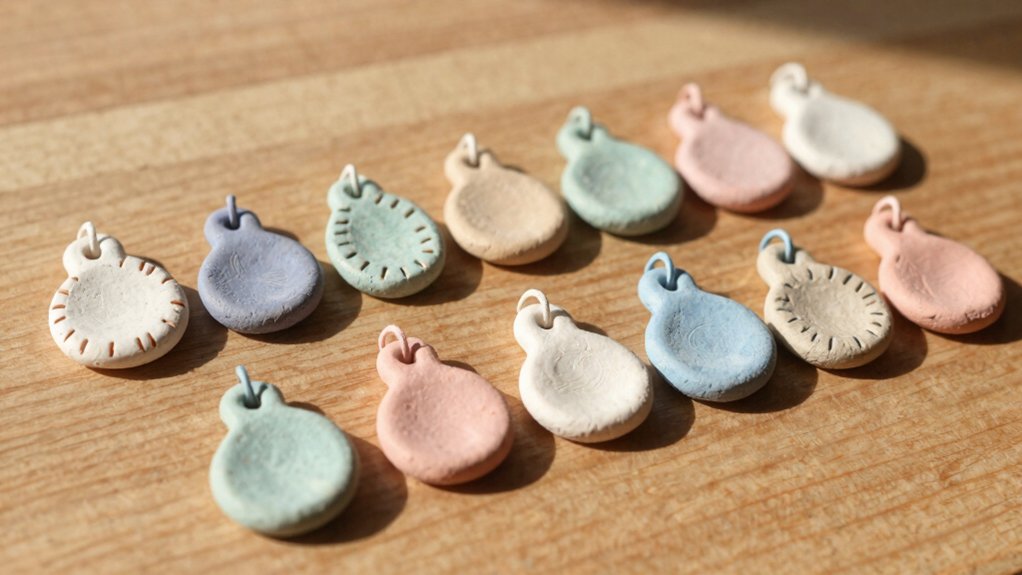
You can make 15 air-dry clay charms that are cute, cheap, and beginner-friendly, like tiny mushrooms, smiley clouds, strawberries, moons, clovers, bubble tea cups, and chubby cats. Roll clay about 1/4 inch thick, poke a hole before it dries, then paint with gesso or gouache and seal with UV resin for shine. Add bows, frogs, turtles, books, and initials for extra flair—honestly, the little details are the fun part, and the best ideas get even better next!
Love cozy DIY projects? 💕
Get free printable guides, exclusive tutorials & surprise craft goodies straight to your inbox.
Disclosure: This post may contain Amazon affiliate links, at no extra cost to you. Content on DiyCraftNest is created with research support from AI tools and carefully reviewed, edited, and fact-checked by the lead author, Daniel Pat, to ensure accuracy and reliability. Learn more
Key Takeaways
- Start with 1/4-inch air-dry clay bases, and add a tiny hole or eye pin before the clay firms up.
- Let charms dry about 4–8 hours first, then harden fully for about two days before painting.
- Try repeatable cute shapes like mushrooms, moons, clouds, clovers, strawberries, daisies, frogs, ghosts, turtles, bows, books, bubble tea cups, and cats.
- Add simple textures and details such as seed dots, ridges, smiles, webbed feet, embossed letters, and bow mold definition.
- Prime with white gesso, paint with gouache or other color media, then seal for a polished, lasting finish.
Tiny Mushrooms
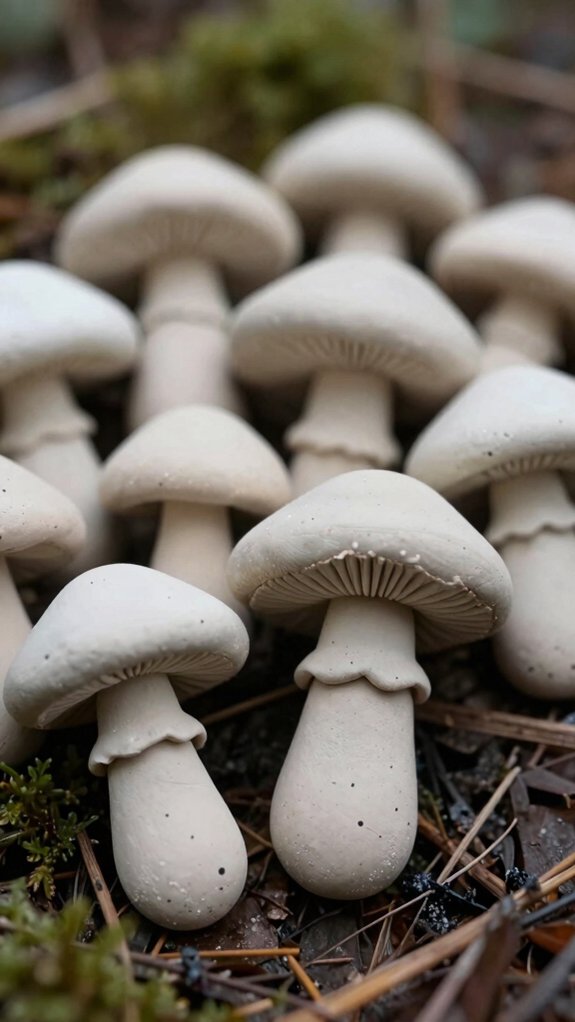
For tiny mushrooms, start by rolling your air-dry clay to about 1/4 inch thick, then cut out little caps and stems with a small cutter or just freehand them with a blade if you’re feeling brave!
You’ll need a pin, a bit of patience, and maybe a snack break, because crafting’s more fun together.
Press gentle dots or lines into the caps for texture, then poke a hole near the top before the clay firms up.
Let them dry fully, about two days, so they won’t sag.
After that, paint on cute details, then try glazed finishing tips and charm sealing methods for a stronger, polished finish!
Smiley Clouds
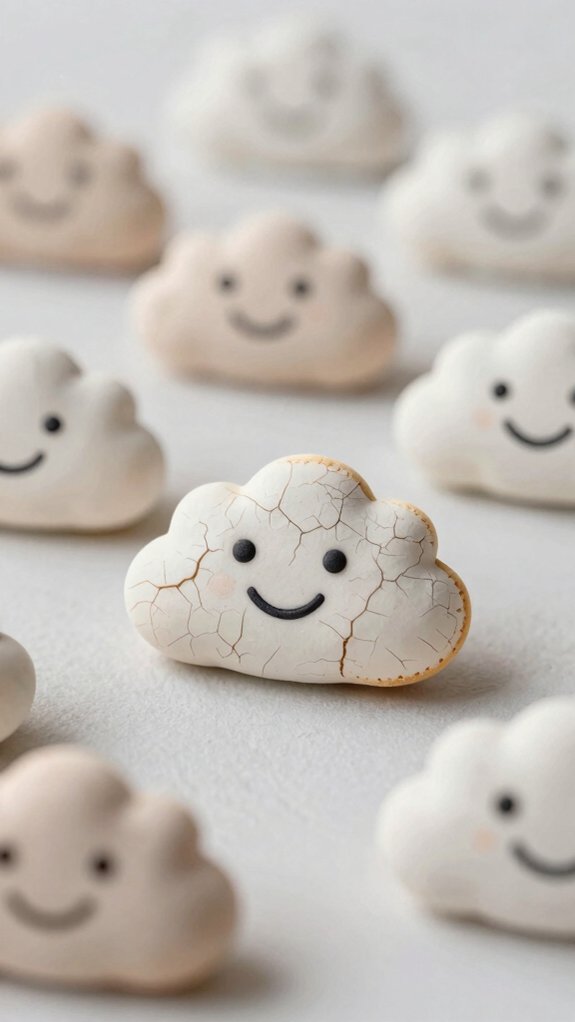
Ready to swap tiny mushrooms for something extra cheerful? Roll your air-dry clay to about 1/4 inch thick, cut cloud shapes, and smooth the edges with a tiny spritz of water. You’ll get a soft, puffy look that feels friendly right away, like a little sky buddy in your hand!
Next, add easy face detailing with embossing tools or a pin, making dot eyes and a curved smile before the clay hardens. For crafting keychain safety, press in an eye pin near the top while it’s still soft. Let it dry, paint it white, add gouache, and seal it glossy!
Mini Strawberries
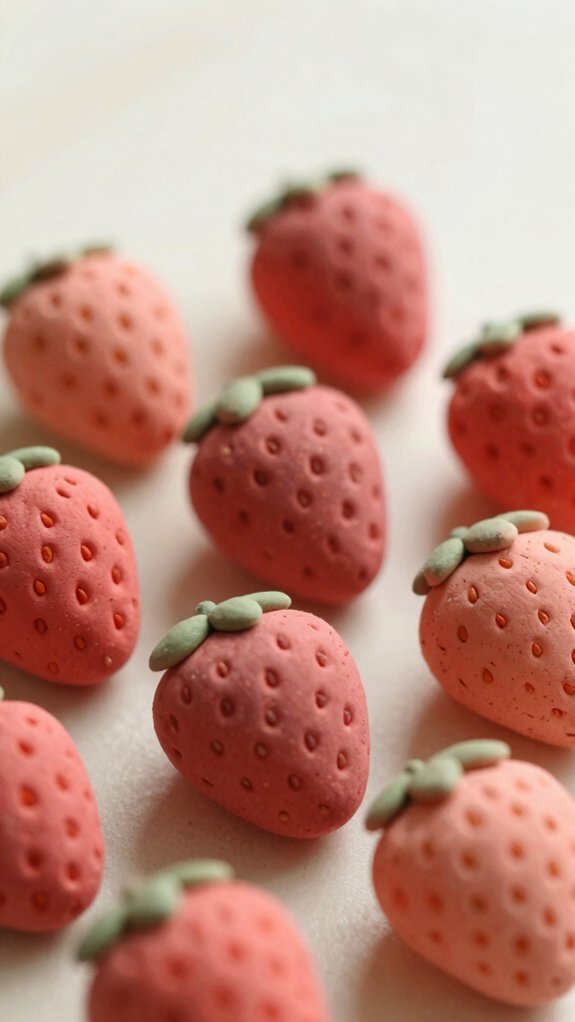
Sweet little strawberries can give your charm collection a bright pop of color without a lot of fuss! You’ll roll air dry clay to about 1/4 inch thick, then use a small cookie cutter to make tiny berries or halves. Press in seed dots and soft ridges with a sculpting tool or textured piece, and you’ve got instant fruit charm energy—adorable, right?
For clay curing tips, let them dry fully for about two days, then poke a hole near the top. After that, try gouache detailing tricks for crisp matte color, and add tiny gold edges. Seal with UV resin for shine and durability!
Crescent Moons
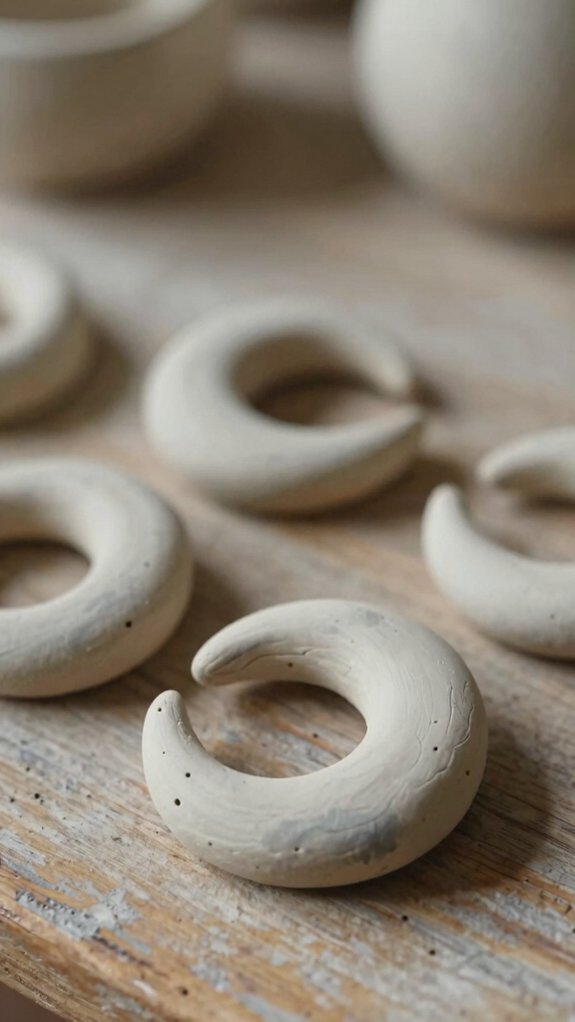
Once your clay sheet is rolled out, crescent moons are one of the easiest charms to make, and they look way more magical than the effort they take!
Roll your air-dry clay to about 1/4 inch, then cut or hand-shape smooth moons with rounded edges.
Poke a hole at the top curve before drying, so your future charm set is ready to shine.
Let them harden for about two days, then paint on a white base, add gouache details, and try glitter embellishments or holiday colorways if you want extra sparkle!
For a tougher finish, seal both sides with UV resin.
Lucky Four-Leaf Clovers
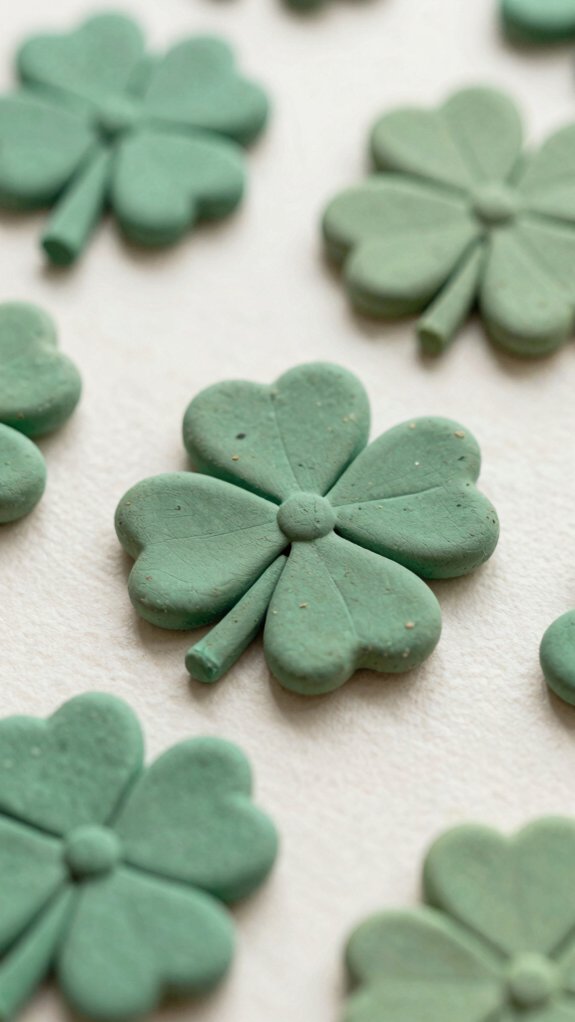
If crescent moons are the dreamy side of your charm tray, lucky four-leaf clovers bring the playful charm!
Roll air-dry clay to 1/4 inch, then use a clover cutter, and you’ve got an easy, low-cost start.
Before it dries, try clover texture techniques by pressing in a simple pattern or lightly shaping each leaf with a small tool.
Add an eye pin near the top, so your charm’s ready for a chain later.
Let it dry for two days, then paint with gesso, green gouache, and a tiny gold accent.
Finish with clover charm sealing for shine, and voilà—pure good-luck energy!
Tiny Frogs
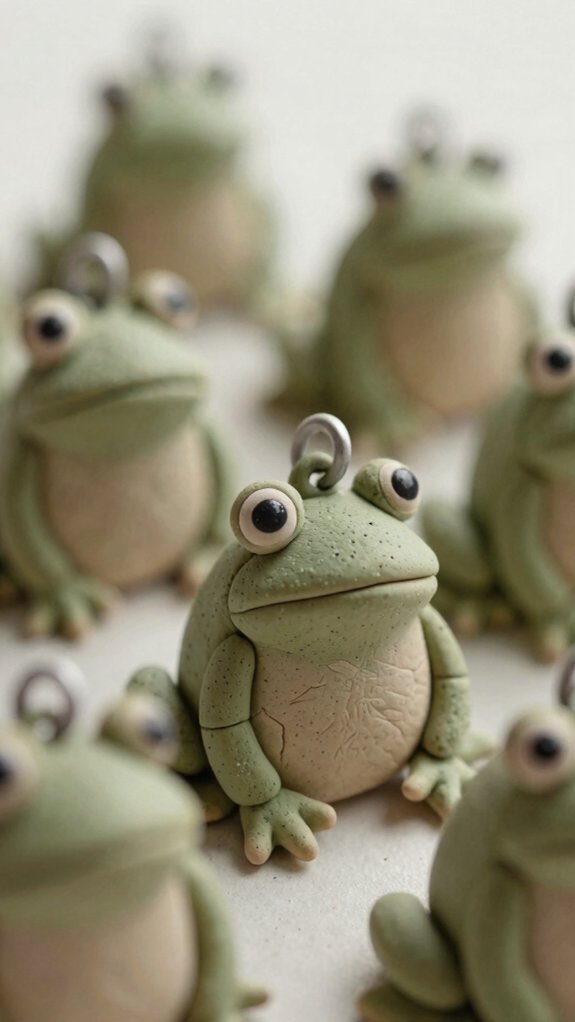
Tiny frogs are where your charm tray gets a little quirky, in the best way possible! You’ll fit right in making them, because they’re simple, low-cost, and fun for beginners.
- Roll clay 1/4 inch thick.
- Cut or shape tiny bodies.
- Add raised eyes and webbed feet.
- Press in Clay texture techniques before drying.
- Insert an eye pin, then let them harden.
After about two days, paint cheeks, spots, and tiny smiles with acrylic or gouache. Finish with painting finishing details, like light green or gold highlights, and your frogs’ll pop on bracelets, necklaces, or bag charms!
Daisy Flowers
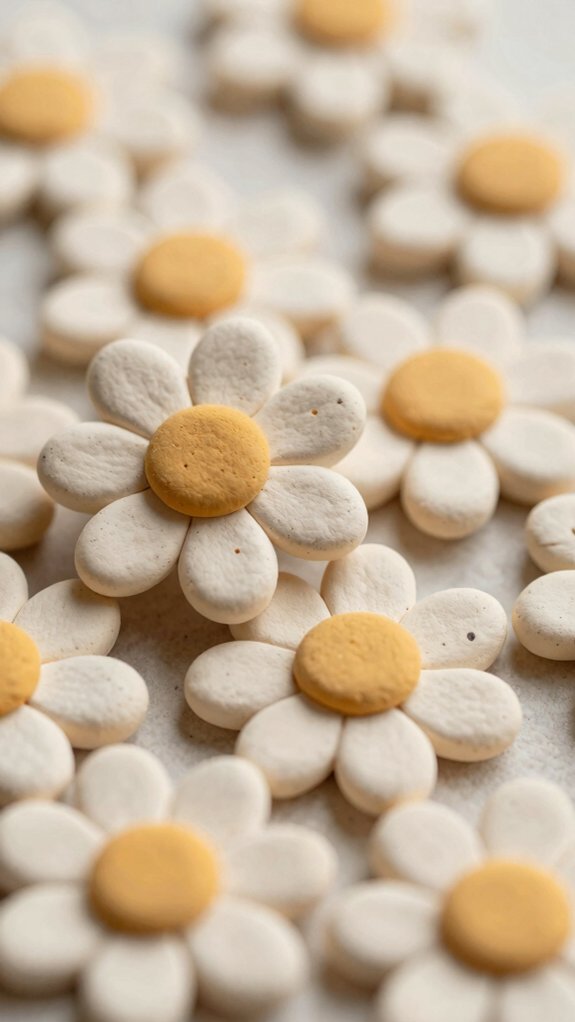
Daisy flowers are such a cheerful charm idea, and they’re super beginner-friendly too! You can join the little maker crew with flat air dry clay, a tiny cutter, and a bit of paint. Roll the clay about 1/4 inch thick, cut petals and a center, then shape them like this:
| Step | What You Do | Tip |
|---|---|---|
| 1 | Cut petals | Keep them even |
| 2 | Add center | Press snugly |
| 3 | Dry and decorate | Add shine |
Poke a hole, let them dry, then paint white, add gouache, gold accents, and try polymer clay glazing or resin for beginner charm finishes.
Cute Ghosts
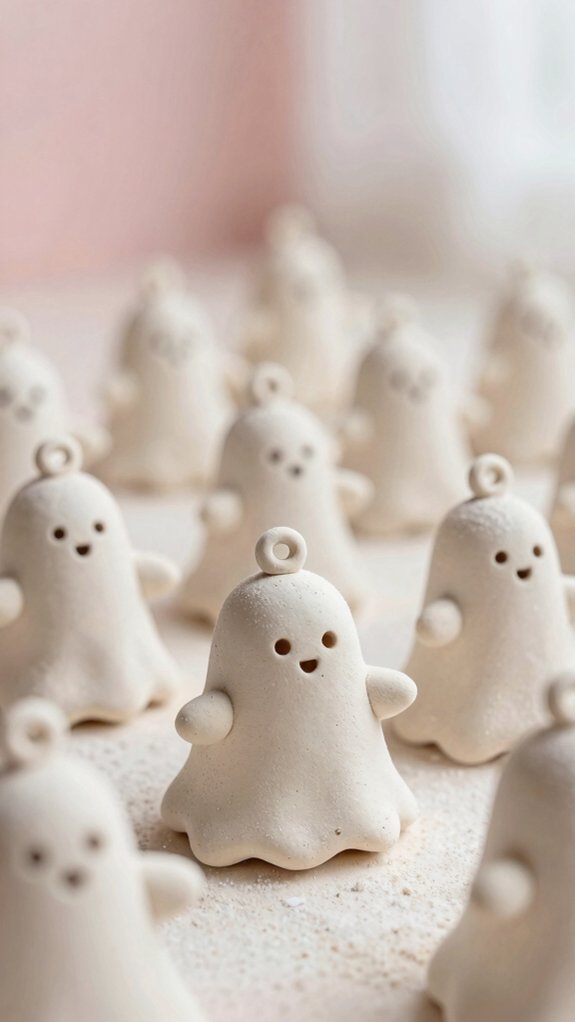
Cute ghost charms are the perfect next project when you want something a little spooky but still totally adorable!
Roll air-dry clay to 1/4-inch thick, shape small ovals, then pinch wavy tails with your tools.
- Press texture techniques for soft pattern lines.
- Poke an eye-pin hole near the top.
- Add the eye pin, then dry 2 days.
- Paint with white base, gouache faces, and clay glazing-style gold edges.
- Finish with UV resin for shine.
You’ll get a cute, sturdy charm that feels handmade, not gummy.
It’s beginner-friendly, low-cost, and totally squad-worthy for your charm holder!
Baby Sea Turtles
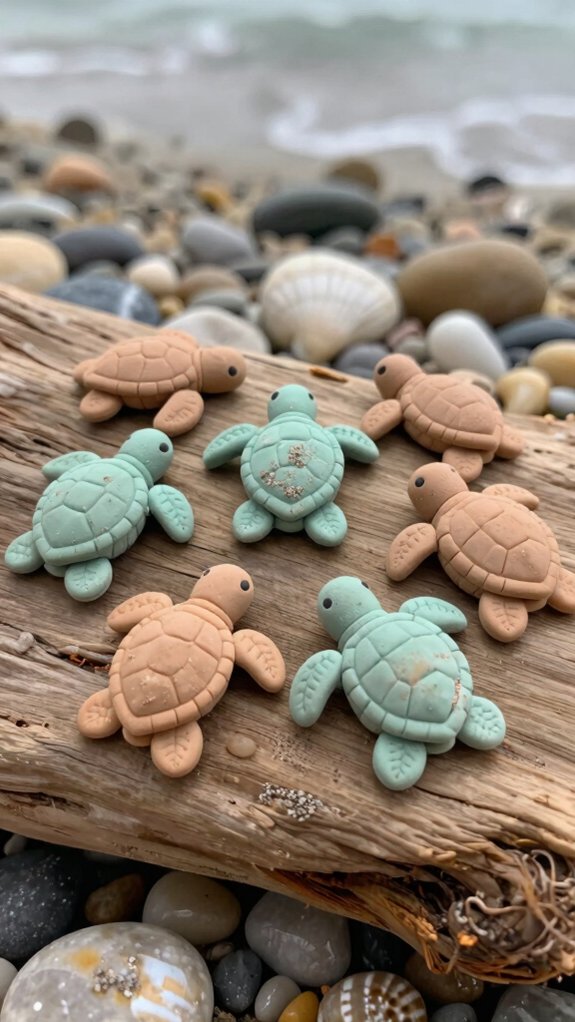
Baby sea turtles are such a fun little charm idea, and they’re easier to make than they look! Roll your air-dry clay to about 1/4 inch thick, then press or cut out tiny turtle shapes. Pop in an eye pin near the top before it hardens, and you’ll have an easy way to add them to a keychain or necklace later.
Let them dry for about 2 days, then paint on white base color, sea-glass blues and greens, and fine shell lines. Seal everything with UV resin for a shiny glaze finish.
Cute, low-cost, and full of sea turtle symbolism—what’s not to love?
Little Bows
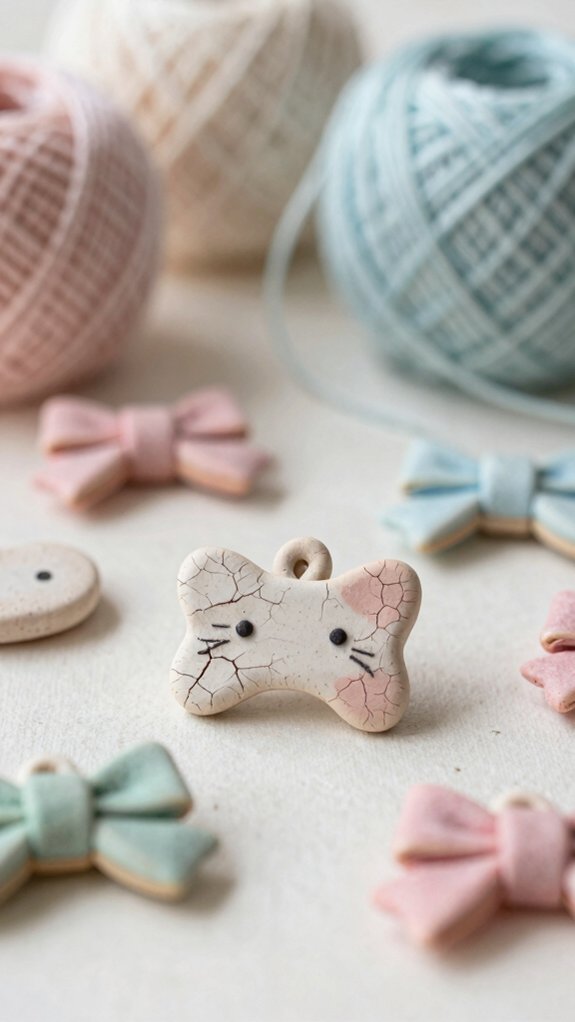
If you want a charm that looks sweet, tiny, and a little dressy without being hard to make, little bows are such a fun place to start!
- Roll clay, spritz lightly, and press it into a silicone mold.
- Clay bow sizing matters, so choose a shape that feels cute, not bulky.
- Use mold release tips if the clay clings a bit.
- Add an eye pin before it hardens, and air-dry 4–8 hours.
- Paint with white gesso, then gouache for fold shadows, and seal with UV resin for shine.
You’ll get a polished charm that feels like it belongs on your favorite bag!
Tiny Books
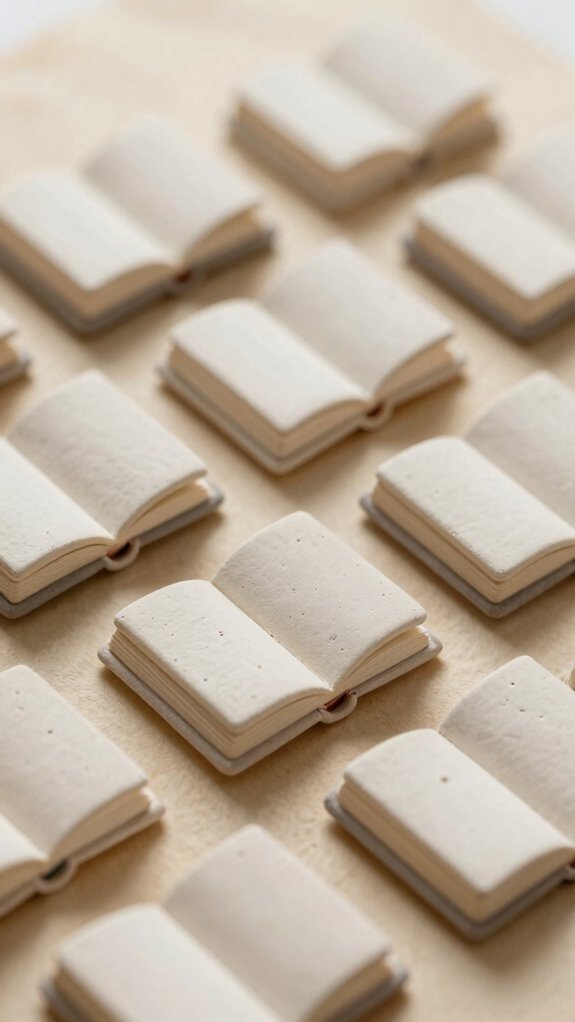
Stacked on a charm chain or tucked onto a backpack zipper, tiny clay books bring a little storybook magic to your DIY day!
Roll air-dry clay to about 1/4 inch thick, then cut tiny covers and pages with small tools. Add embossing letters or textured bits for extra charm, like a secret title no one can resist.
Poke a hole near the top before drying, then let your charms harden for about 2 days. These clay jewelry tips and quick curing tricks keep things easy.
Paint the spines and page edges, seal if you want, and thread in a jump ring. Your mini library’s ready to shine!
Bubble Tea Cups
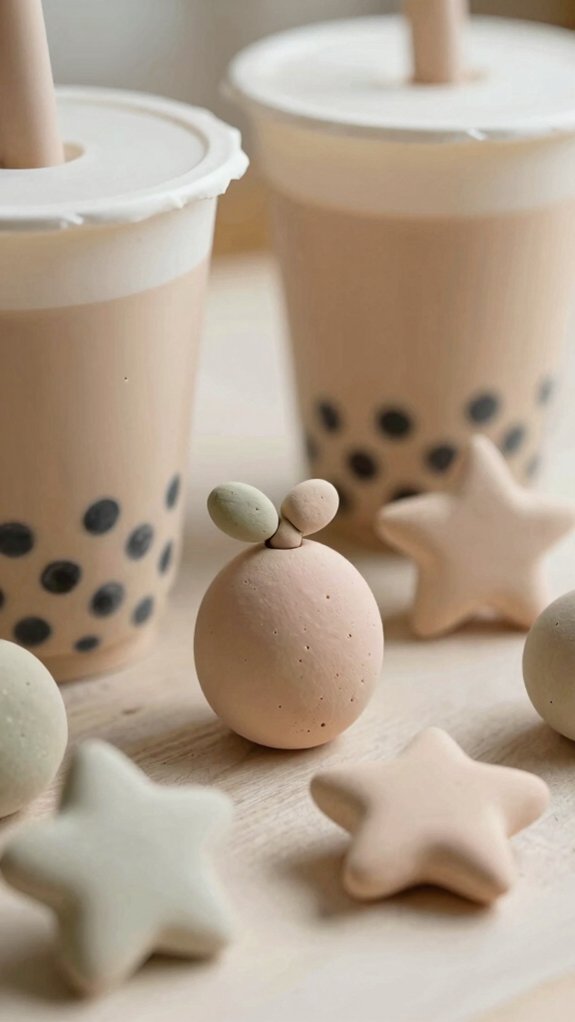
After those tiny books, it’s time for a drink that’s way too cute to sip—bubble tea cups! You’ll roll clay into a little cup base, then trim the rim and shape the silhouette. Add lid ridges and straw grooves with a toothpick for instant charm.
- Press tiny pearl dots on the cup
- Mist with water to smooth edges
- Leave a hole near the top
- Dry for about 2 days
- Paint with a white base, then tea tones
Color blending makes the drink pop, and pearl detailing adds that adorable finish. Seal it if you want extra toughness—so fun!
Chubby Cats
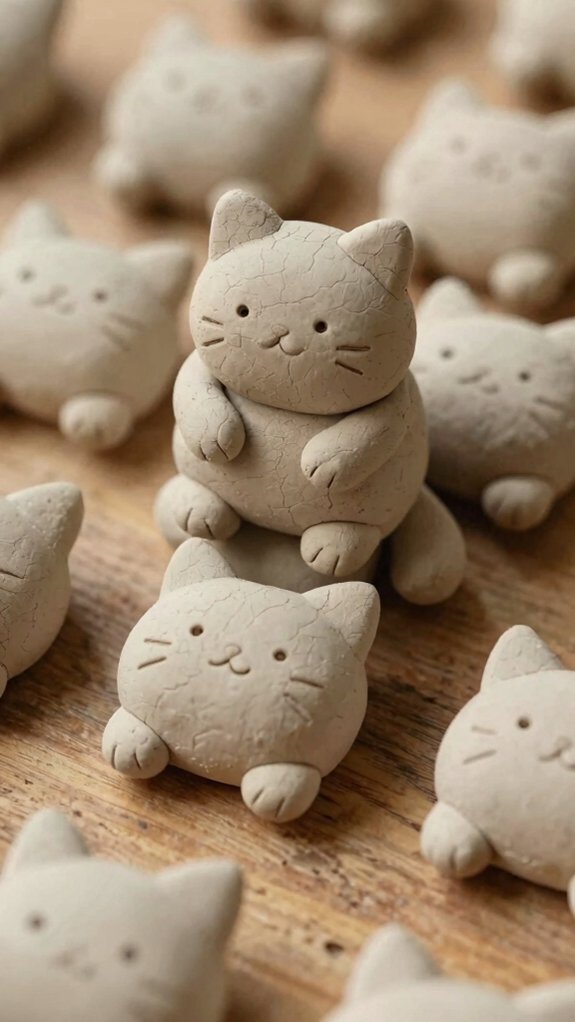
Now for the cutest little critters in the bunch—chubby cats! Roll your clay to 1/4 inch, then cut or shape round bellies and cheeks. Add tiny ears, dot eyes, and a small nose/mouth, and spritz lightly so seams smooth out while it’s still soft.
| Step | What you need | Why it helps |
|---|---|---|
| Shape | Clay, cutter | Builds the cute form |
| Dry | Eye pin, patience | Lets you hang it later |
| Finish | Gesso, gouache, UV resin | Adds marble textures and metallic accents! |
Insert the eye pin before hardening, dry fully, then paint, cure, and flip.
Colorful Butterflies
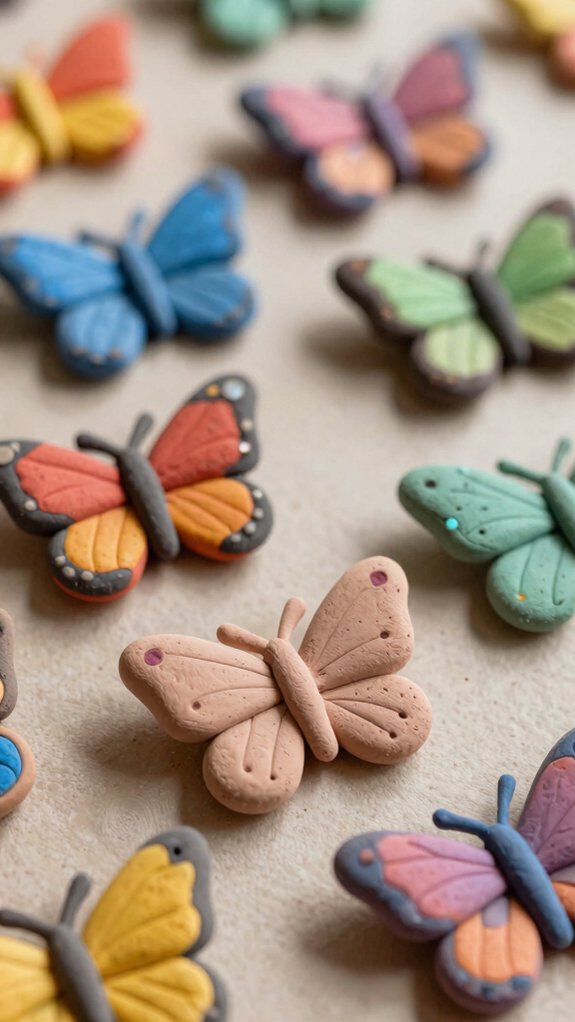
If you want a charm that feels cheerful right away, butterflies are such a fun pick! You’ll cut clay at 1/4-inch thick, then shape a tiny hole near the top for later.
- Mix and match Color Palettes for your group vibe
- Add Textured Wing Details with simple tools
- Let them dry about 4–8 hours, then wait longer inside
- Prime with white gesso or paint, then brush gouache
- Finish with gold edges and UV resin for a glossy, sturdy shine
You’ll end up with sweet, lightweight charms for bags, necklaces, or keys—easy, cute, and totally share-worthy!
Personalized Initial Charms
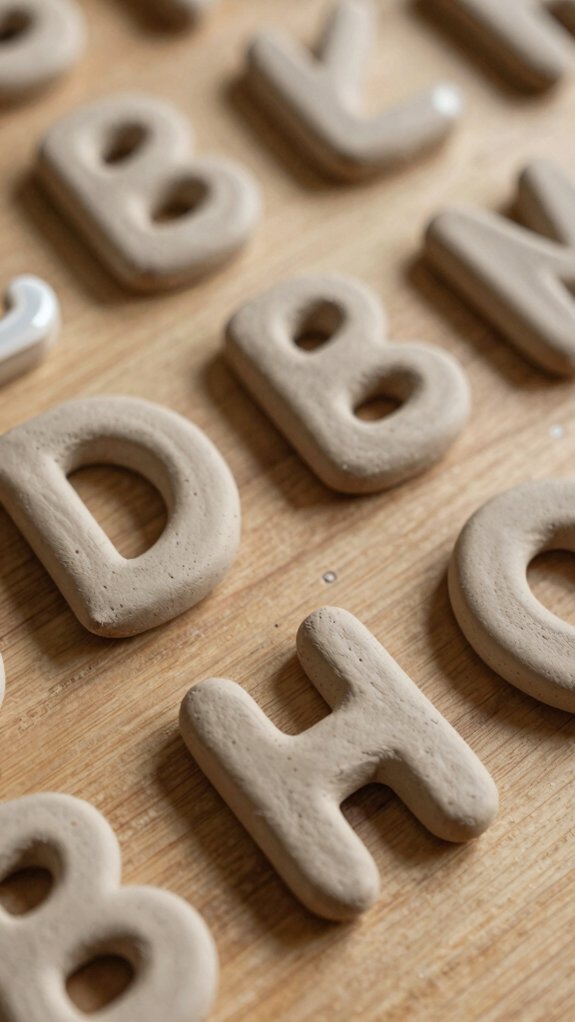
For a charm that feels extra personal, initial charms are such a sweet little win!
Roll your air dry clay to about 1/4-inch thick, then cut or hand-shape a base that fits your vibe.
Try different initial charm styles, from circles to tiny tags, and press in the letter with smart letter tool techniques.
Before it dries, poke a hole near the top, so you won’t crack it later.
Let it harden for about two days, then paint the initial, add details, and swipe on a bit of metallic shine.
Clip on a jump ring, and voilà, you’ve got a necklace-worthy little brag!