13 Easy Pottery Ideas That Look Surprisingly Professional
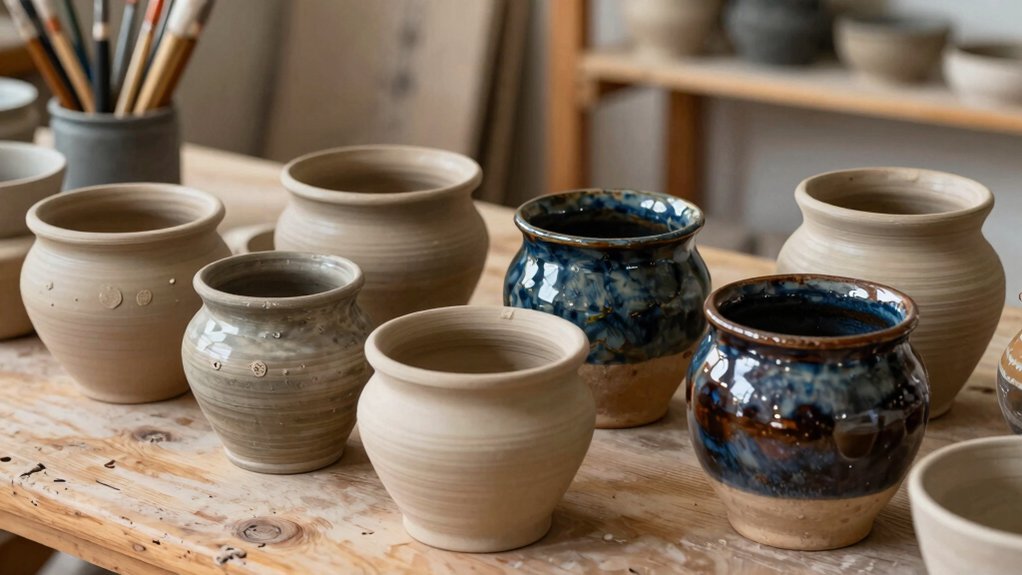
You can make 13 pottery ideas that look store-bought, fast! Try slab bowls, soap dishes with drainage holes, tealight holders with shadow cutouts, spoon rests, mini vases, espresso cups, and lidded forms. Use 1/4-inch clay, smooth seams, and keep shapes rounded and even. Add texture for grip, clear glaze for shine, and simple stamps for style. They’re cheap, beginner-friendly, and way fancier than they sound—wait until you see the last few!
Love cozy DIY projects? 💕
Get free printable guides, exclusive tutorials & surprise craft goodies straight to your inbox.
Disclosure: This post may contain Amazon affiliate links, at no extra cost to you. Content on DiyCraftNest is created with research support from AI tools and carefully reviewed, edited, and fact-checked by the lead author, Daniel Pat, to ensure accuracy and reliability. Learn more
Key Takeaways
- Use slab-building with even 1/4-inch thickness for clean, polished forms that dry evenly and look store-made.
- Smooth seams, edges, and rims carefully to create crisp lines and a professional finish.
- Make simple functional pieces like soap dishes, tealight holders, spoon rests, and small trays with thoughtful drainage or support features.
- Prefer rounded bowl and cup profiles over flat bottoms for a more stable, polished, shop-ready appearance.
- Finish with light texture, gentle glazing, and matching shapes to make easy pottery ideas look coordinated and professional.
What Makes Slab Pottery Look Polished
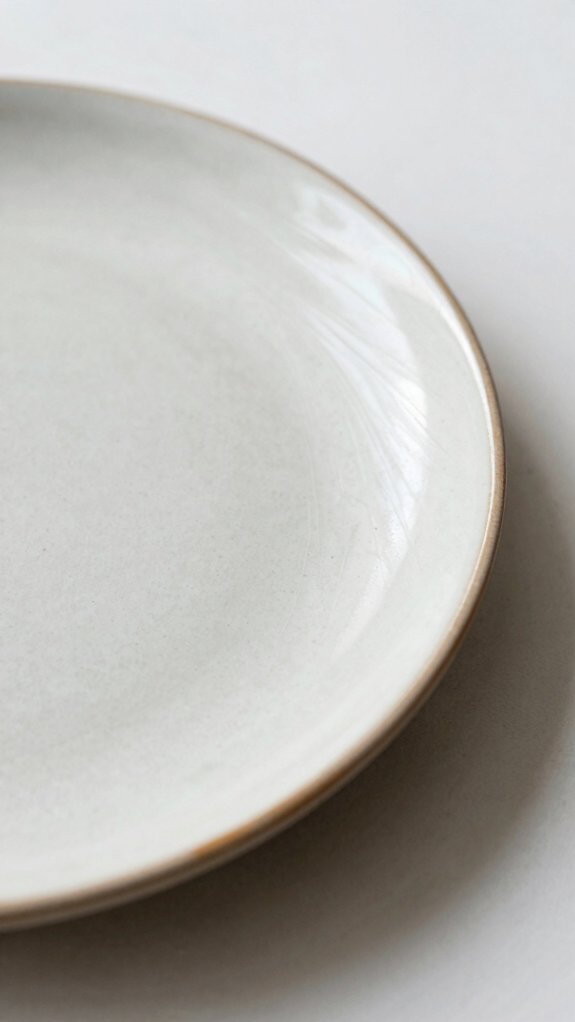
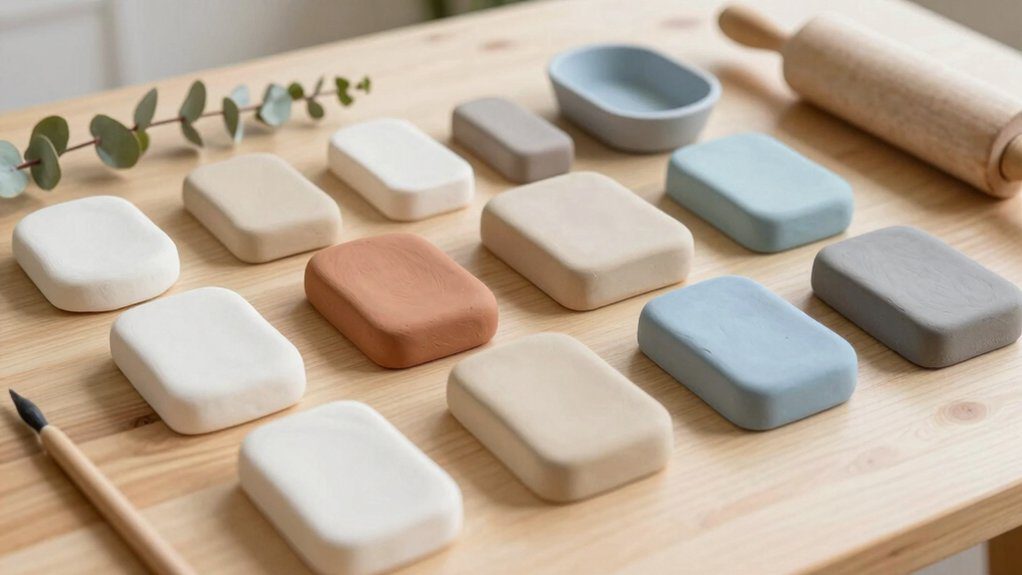
When you want slab pottery to look polished, start with the basics: make each slab the same thickness, around 1/4 inch or 6 mm for lots of beginner pieces, so the form dries evenly and keeps that crisp, shop-made look.
Use a template or knife, then smooth every edge to the same curve, because crisp edgework makes your piece feel finished, not fussy.
Add Texture consistency with light, even stamping, and keep seams scored, slipped, and smoothed flat.
Dry it slowly under plastic, and flip it if needed.
That’s how you get the neighbor-who-knows-everyone vibe—welcome in!
Tealight Holders That Cast Beautiful Shadows
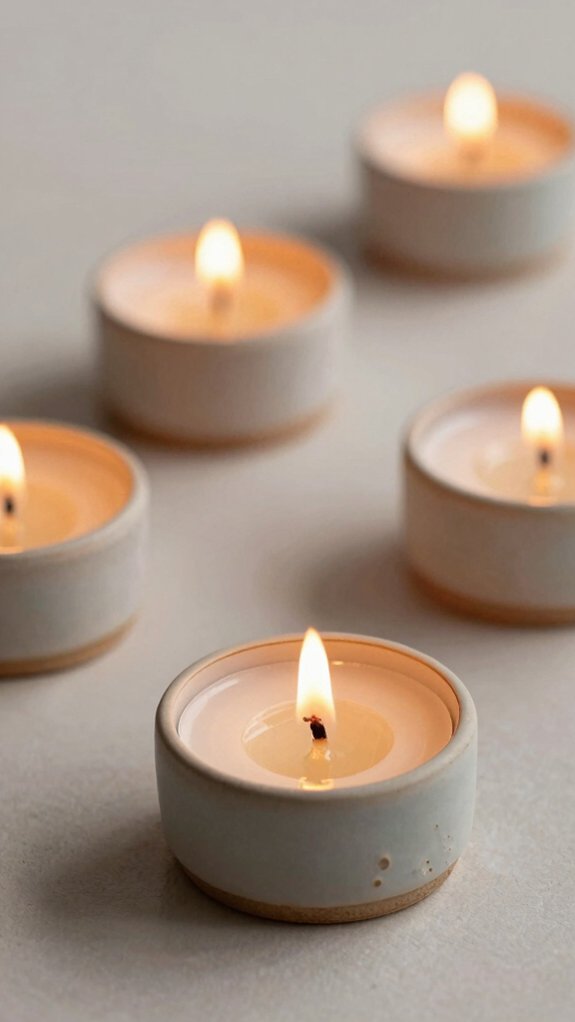
Tealight holders are a super fun next step, because they keep that clean slab look but add a little magic once the flame comes on! You can roll a simple rectangle, curve it into a small cup, and smooth the seam with slip and gentle fingers. Add a tiny light hole and a few cutouts, then the flame throws patterned shadows on your wall—pretty stylish, right?
For a sharper look, use a cookie cutter or template for stars or dots.
Keep the walls thin-but-even, add a stable base ring, and watch drying crack prevention.
Safety glaze tips? Use mostly matte clay inside, then clear glaze the cutout edges for crisp contrast.
Soap Dishes With Drainage That Works
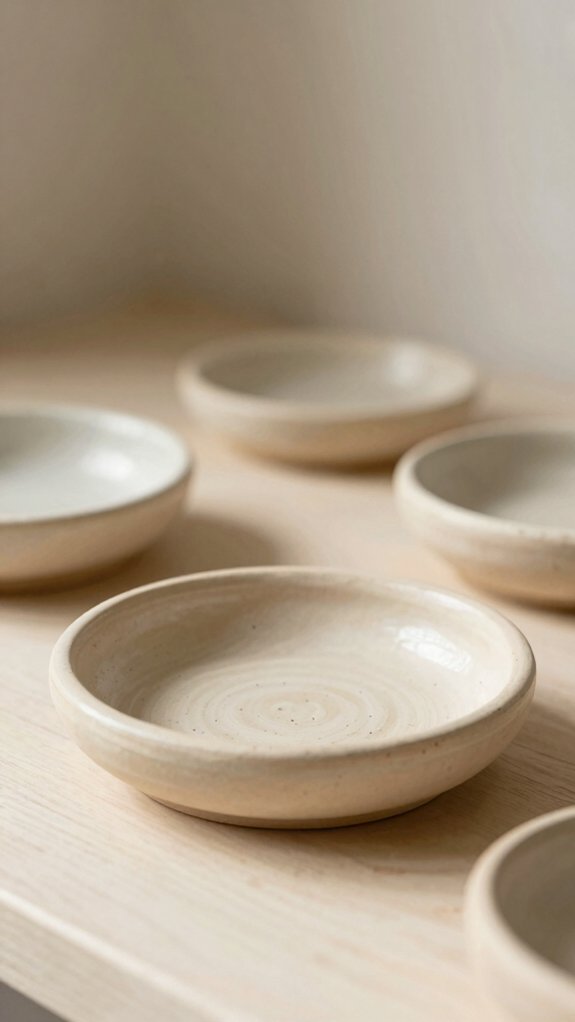
You can start your soap dish with a simple slab-and-mold setup, shaping a shallow tray over a bowl or gentle wedge so water naturally heads downhill, nice and easy!
Next, place 1–3 small drainage holes right at the lowest spot, then score, slip, and smooth any seams so the water doesn’t get stuck playing hide-and-seek.
Finish it with a thin raised rim and a little texture or pattern for style, and you’ll get a dish that looks handmade in the best way while still doing its job.
Slab-And-Mold Setup
A slab-and-mold soap dish is one of those tiny clay projects that looks delicate fast, but it’s actually very beginner-friendly—nice!
You can wheel thin slab, then drape it over a shallow bowl so the walls hug up and the base stays steady.
Trim the edge with clean rim finishing, add a little border ring under the bottom, and smooth the seam with slip so your crew’s dish won’t leak.
Pierce a few drainage holes, then dry it slowly.
Keep glaze thin, and you’ll get a neat, store-worthy dish that still lets soap breathe.
Drainage Hole Placement
Even the prettiest soap dish can turn into a tiny puddle trap if the drainage hole ends up in the wrong spot, so start by placing at least one small hole near the lowest point of the dish, usually about 3–6 mm wide. You’ll want a gentle slope too, because water flow needs a clear path, not a stubborn detour!
| Spot | Size | Result |
|---|---|---|
| Low side | 3–6 mm | Better draining |
| Center | 3–6 mm | Sometimes slower |
| Edge | 3–6 mm | Can miss runoff |
Do drainage testing on a flat surface, then check again after drying. Keep glaze off the hole, and you’re in the club!
Add Texture And Style
Texture is where a plain soap dish starts looking store-bought, and it doesn’t take elaborate tools to get there! You can use Texture tools like stamps, a comb, or a sponge to build grip patterns that keep soap from skating around like it’s late for work.
Roll your base thick enough, then add a slightly raised rim with rim styling that wraps the edges cleanly.
Press gentle grooves underneath for stability, and keep the border-to-base seam tight with slip and smoothing.
Finish by keeping the textured channels clear, so water drains fast and your dish feels handmade, sturdy, and totally one of your crew!
Simple Bowls That Feel Store-Bought
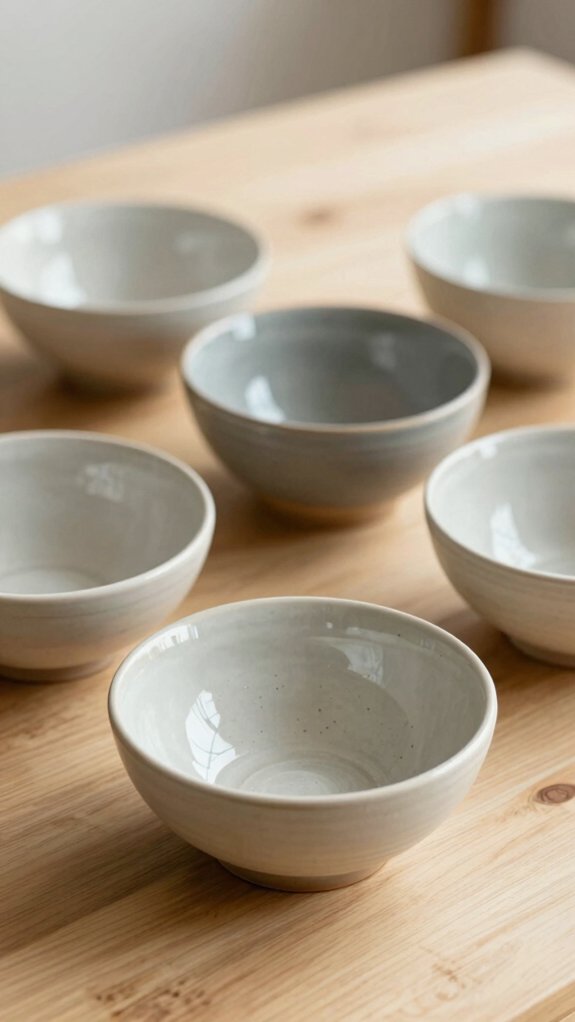
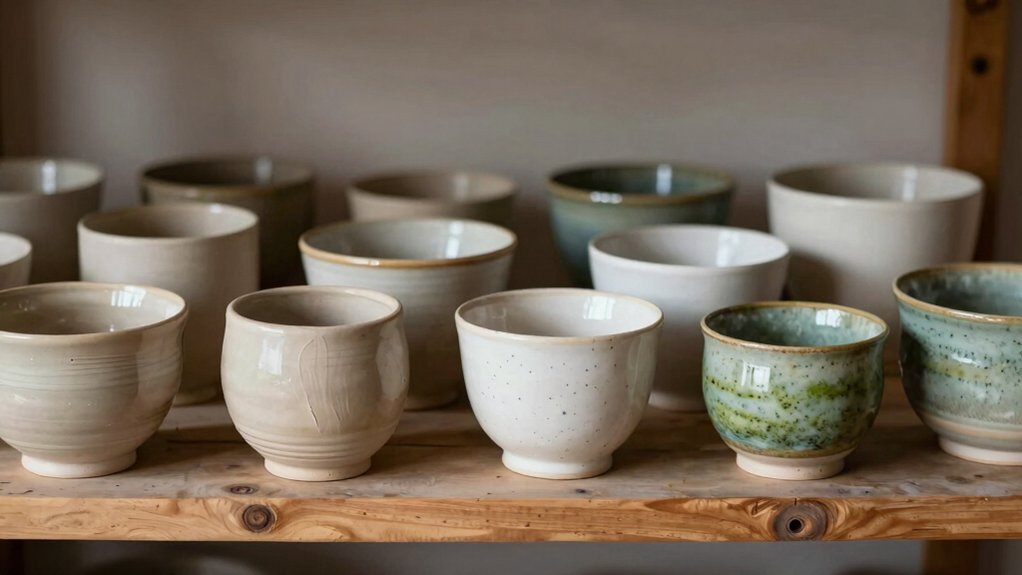
You can make a bowl that feels straight off a store shelf by starting with a slab or pinch pot, keeping the walls even, and smoothing it into a soft, rounded profile that looks clean and calm.
For dipping sauces or little snacks, try a slightly wider opening, and if you want that extra polished touch, a simple rim and a gentle glaze can make it look like it came with matching dishes.
Nice, right?
Let it dry fully, then finish it with a clear coat, because that shiny set look is where the magic really shows up!
Smooth Rounded Profiles
When you want a bowl that looks like it came straight from a shop shelf, start with a gentle rounded profile instead of a flat little “cookie” bottom.
Pick smart mold selection, then drape your slab over a smooth container, keeping the walls and base flowing together like they were always meant to belong.
Keep the clay about 6–10 mm thick, smooth the seams with steady pressure, and add a tiny outward lip, not a wavy drama queen.
Let it dry slowly, then do light sanding only at leather-hard.
Finish with glaze, one of the best finishing techniques, and wow—store-bought vibes!
Easy Dipping Variations
For a simple bowl that still looks like it came from a cute little boutique, start with a gentle cup shape from a slab or pinch pot, and keep the walls even so the glaze won’t puddle in weird little lakes!
Pick a dipping glaze with easy flow, then do test dipping on a scrap first, because glaze thickness can sneak up on you.
Dip only the inside or the upper band, leave the base clean, and let it drip on a rack.
A quick rim wipe gives drip control and a professional finish.
For extra charm, add a second color band—so fun!
Glazed Set Appeal
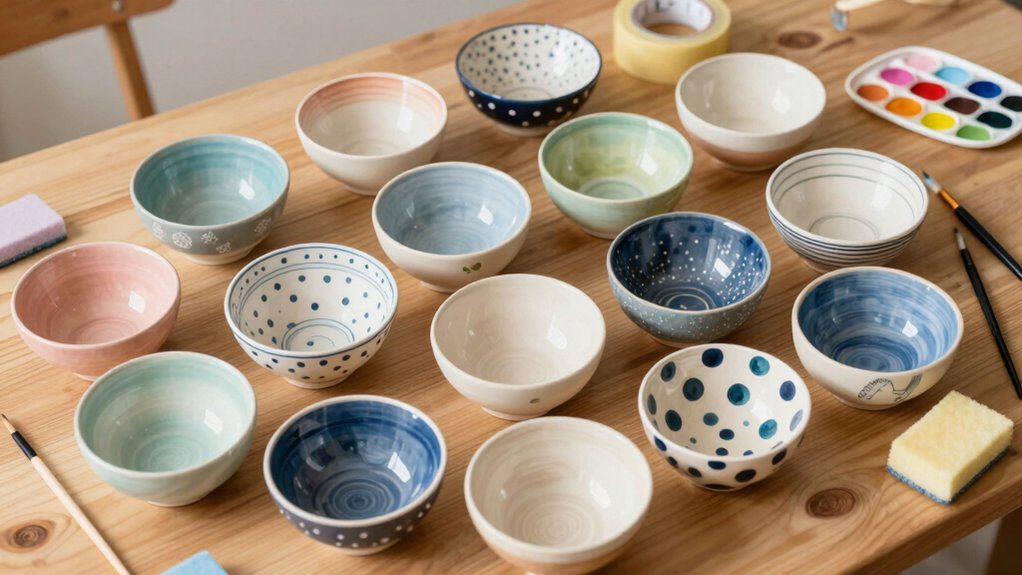
A tiny matching bowl set can look like it came straight from a charming little ceramics shop, and it’s easier than it sounds!
Make 2–4 small bowls by draping or slab-building rounded sides, not flat ones, then dry them evenly so they stay cute, not wobbly.
Keep the thickness even, about coin-width, and give each rim a gentle flare.
Then do glaze testing with two smooth coats, letting each one dry fully, for better firing consistency.
Want that store-bought vibe? Match the rim finish, and only change color or pattern.
Matte feels modern; gloss gives classic shine.
Nice little set, right!
Spoon Rests With Clean, Smooth Lines
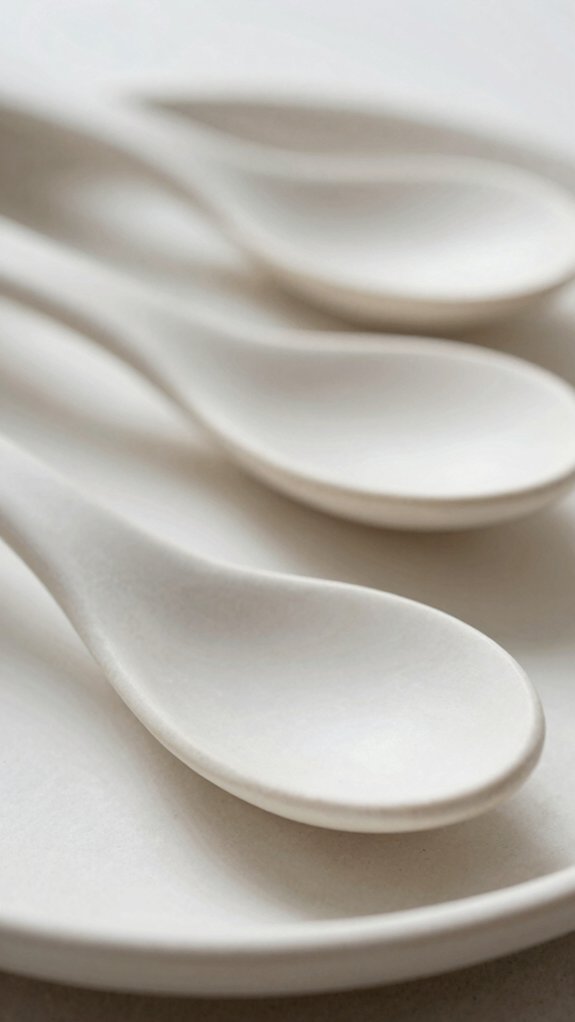
Clean lines can make even a simple spoon rest look like it came straight from a genteel pottery shelf! Start with a 1/4-inch slab, then curve it gently so it feels supportive, not bulky. Cut a simple horizontal bar, and add a center notch wide enough for your spoon bowl, so nothing slides around.
Use Texture practice techniques sparingly here, then smooth seams with a damp sponge or slip-thinned clay for sharp, continuous lines.
For Glaze finish prep, add a small raised lip or thicker ends, test with a spoon, and let it dry 24–48 hours. Easy, neat, and oddly elegant!
Jewellery Trays With Textured Edges
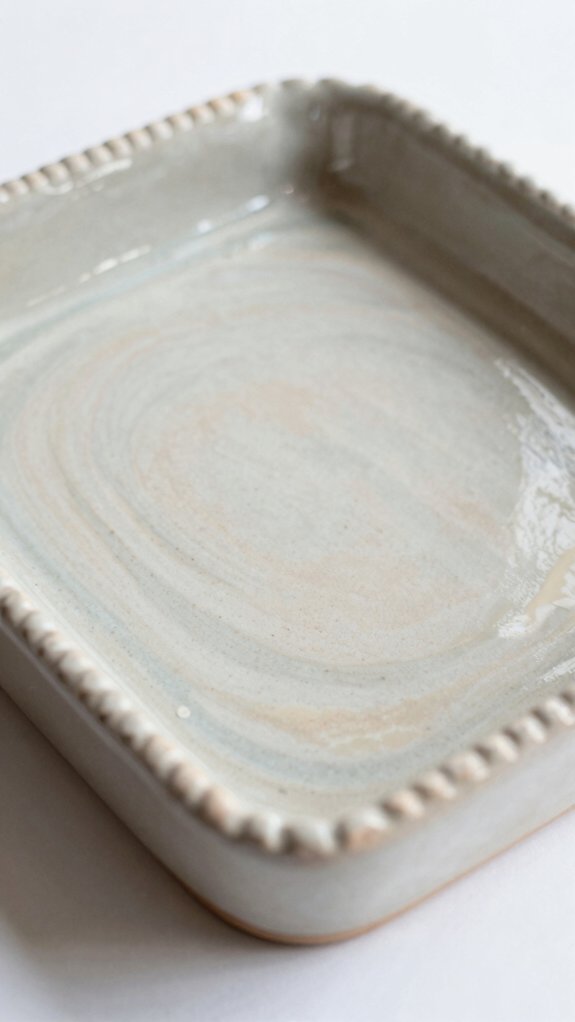
Jewellery trays are a fun next step if you liked those smooth spoon rests, because you can keep the same simple vibe and add a little personality too! Roll out a slab evenly, then cut 2–4 circles so you get great trimming consistency and a neat base.
Drape each circle over a shallow bowl or plate, and gently curve the edge upward for a ring-catching rim. During stoneware curing, stamp dots, lines, or leaf motifs into the rim, then smooth only the base. That crisp texture looks polished after glazing, and it’s cheap, easy, and seriously charming!
Salt Pinch Bowls for Everyday Use
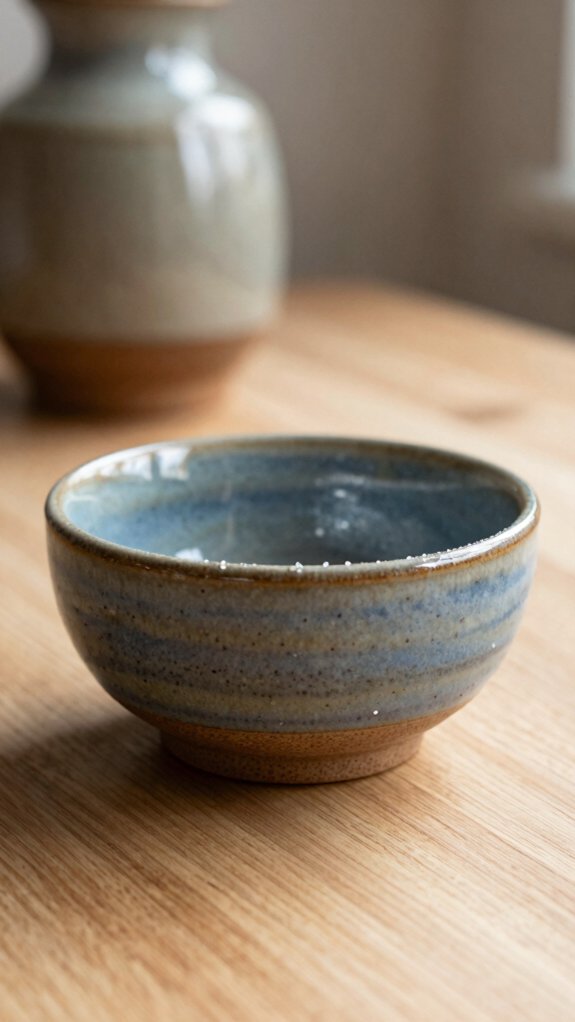
You can make a salt pinch bowl by shaping a small, shallow round with a gently curved base, so the salt slips right into the center like it’s being invited to dinner!
Try a pinched-slab or slab-built form, keep the walls even, and add a tiny foot ring or a few subtle texture marks for grip, because nobody wants a bowl doing the slip-and-slide routine.
If you’ll use it often, finish the inside with a food-safe glaze, and for extra-practical magic, add a couple tiny drainage holes for damp herbs or cleanup-friendly drying.
Easy Salt Bowl Shapes
Because a salt pinch bowl needs to be tiny, handy, and a little bit sturdy, start with a small shallow shape that has an easy-to-grip rim and a slightly cupped base so the salt stays centered instead of doing a dramatic exit off the side!
You can build it with a simple slab or hand-shaped pinch method, then smooth the inside so scooping feels clean and friendly.
Keep the walls even, about 1/4 inch, and use gentle curves for better kiln drying tips.
Add 1–2 tiny holes only if needed, and follow glaze safety steps for an everyday finish.
Textured Finishes For Grip
If your salt pinch bowl needs a little more “grab” and a lot less slippery drama, textured finishes are a total win!
You can make a Storage friendly pinch bowl by shaping a 2–4 inch shallow bowl, then pressing fork tines, sponge dabs, or a rubber stamp into leather-hard clay.
Keep the inside wall smooth so it feels comfy in your fingers.
Want extra confidence? Add Slip resistant handle bands, as raised rings near the rim, just 2–3 mm tall.
Finish the base bare or lightly glazed inside only, and if it’s for wet use, add tiny drainage holes.
Boom, easy grip, real charm!
Glazes For Tiny Dishes
Glaze is where tiny salt pinch bowls really start showing off! You can use a food-safe glaze for surface sealing, then keep it where salt will touch and skip bare, porous spots inside.
Brush or dip it thinly, add a lighter second coat after it dries, and you’ll dodge pinholes and crawling—nice little studio speedtips!
If you make extras for underglaze testing, you’ll see how tiny curves and glaze pooling shift the look fast.
Dry them slowly, cover loosely at first, and remember firing variations can change everything.
Want sauce bowls too? Add tiny drainage holes, then enjoy your polished, easy-wipe mini hero.
Mini Vases That Make Great Gifts
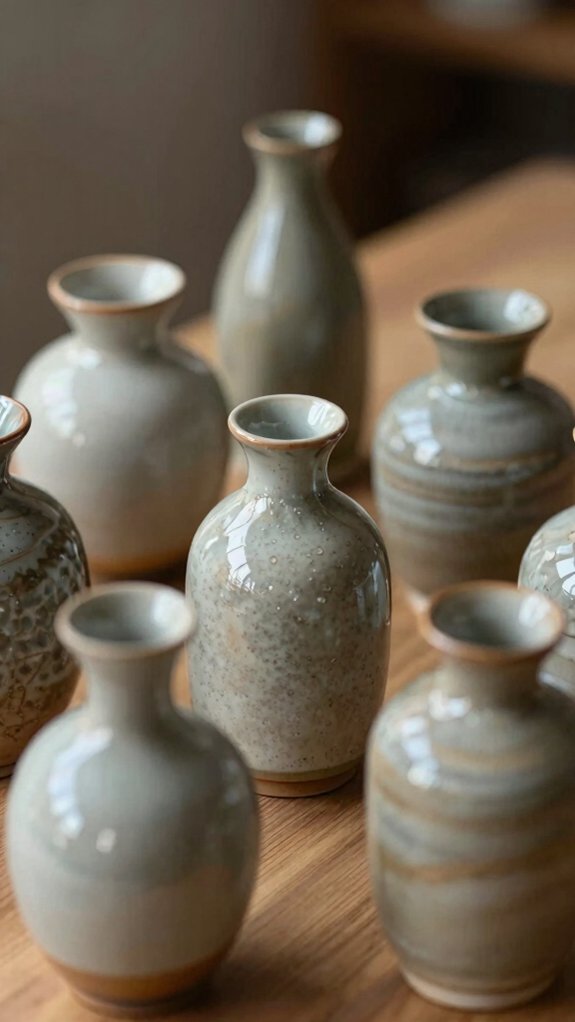
Mini vases are one of those little clay projects that look way fancier than the effort they take, and that’s exactly why they make such sweet gifts! Roll a slab into a small cylinder, then collar the neck with gentle pinches so it narrows cleanly. Keep the walls even, and tuck in a sponge for support if it starts to wobble, easy!
For Color coordination tips, make a matching set and swap glaze colors for each one, so every friend gets a vibe.
Remember kiln safety shortcuts, and decide early if you want a tiny drainage hole.
Cute, useful, and totally giftable!
Espresso Cups for Small-Scale Practice
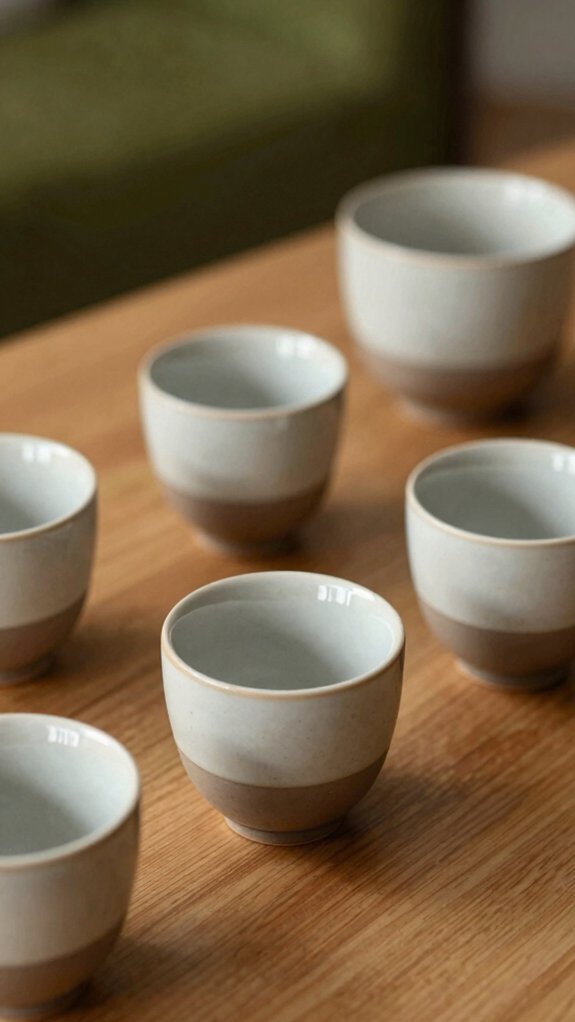
Start with a small cylinder and let it turn into something coffee-shop cute!
You can shape it into a tiny espresso cup, then adjust the rim and belly so it feels balanced in your hand. Add a scalloped texture while it’s leather-hard for crisp charm, and attach the handle with slip, smoothing the seam so it stays strong.
Keep costs low with one clay body and a tiny amount of glaze.
Because these cups are small, glaze-run risk is real, so do kiln testing before mixing new colors.
Want extra practice? Make a matching saucer, too, and you’ll build a sweet little set fast!
Coffee Mugs With a Handcrafted Finish
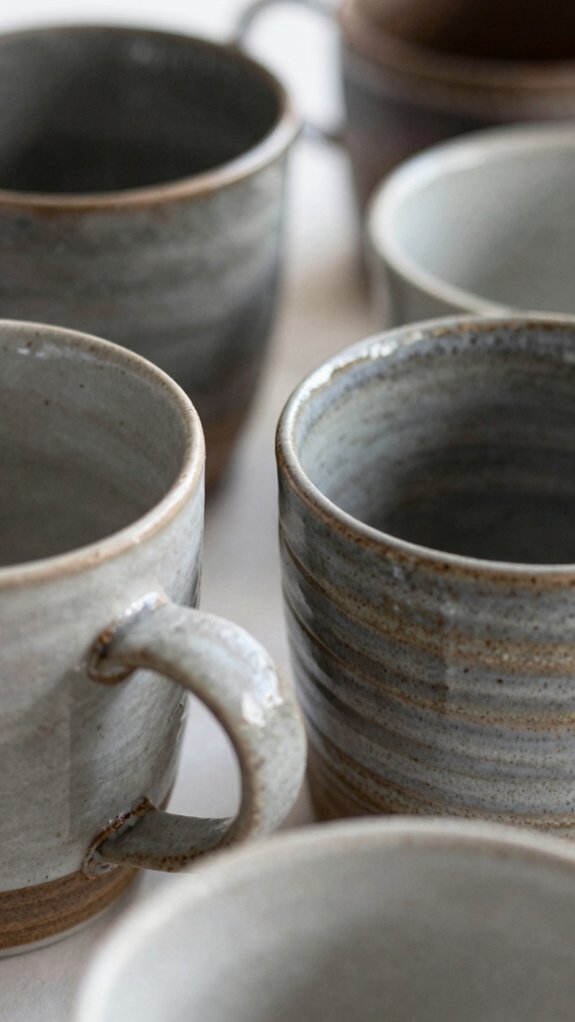
When you want a coffee mug that feels handmade in the best way, a simple body is your best friend! Start with a slab cylinder or wheel-thrown form bigger than an espresso cup, and leave extra clay for trimming precision later.
Once the walls are even and leather-hard, add the handle with scoring and slip sealing for handle stability.
For understated decoration, press a soft scallop or light stamp while the clay’s firm, then smooth the high spots so it looks intentional, not messy.
Test glaze samples first, because texture shifts pooling.
A matching saucer can make your mug feel totally studio-made!
Closed Slab Forms for Seam Practice
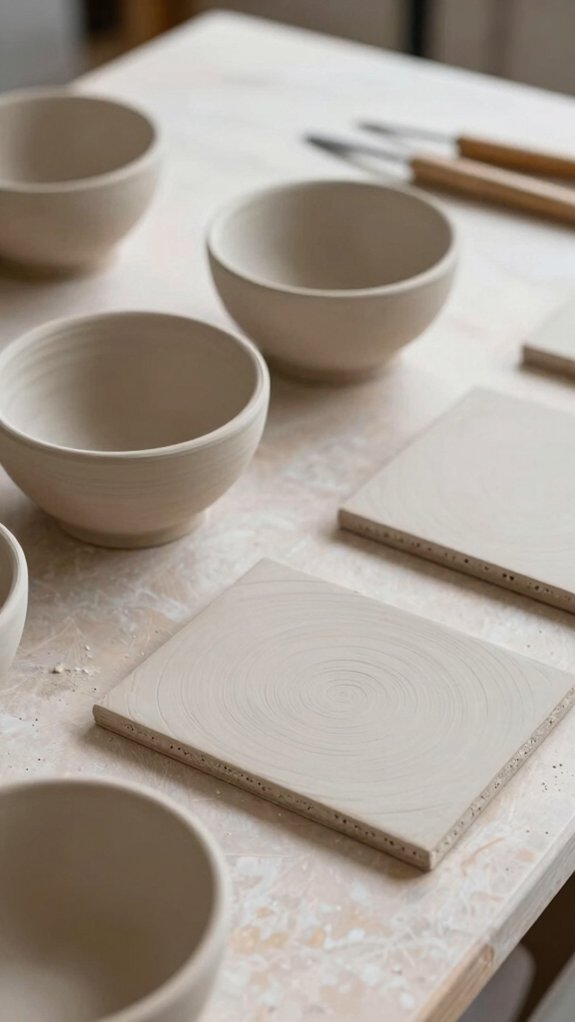
Because seam practice is a lot easier with a forgiving shape, a closed slab form is a super smart project to try!
You’ll join two same-size slab pieces into a sphere-like shell, slip the seam well, and smooth it in stages.
Use your fingers, then a rib or credit card, then a damp sponge.
- Keep walls 6–10 mm thick
- Measure thickness consistency as you go
- Let it reach leather-hard first
- troubleshoot seam cracks before bone-dry
It’s cheap, beginner-friendly, and weirdly satisfying!
After 24–48 hours, you can make final fixes and feel like you’ve joined the clay club.
Lidded Slab Forms for Confidence
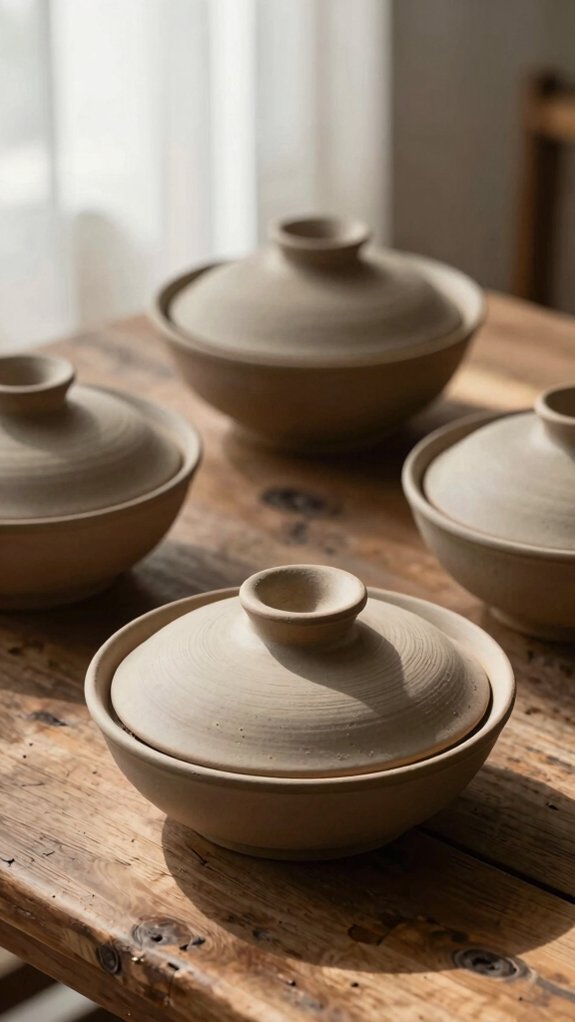
Cutting a lidded slab form feels a little like making a tiny clay treasure chest, and honestly, it’s a great confidence booster!
You’ll need a rolled slab, a base, a matching lid, slip, and a simple knob or tab. Cut the lid a touch larger, then trim it at leather-hard until it sits without rocking, like it belongs there.
Do a little slip testing, score well, and smooth the seam so your kiln safe seams look neat.
If it feels tight, ease it now. Make two or three, and each one gets smarter, cleaner, and more “you”!
Abstract Slab Sculpture Ideas
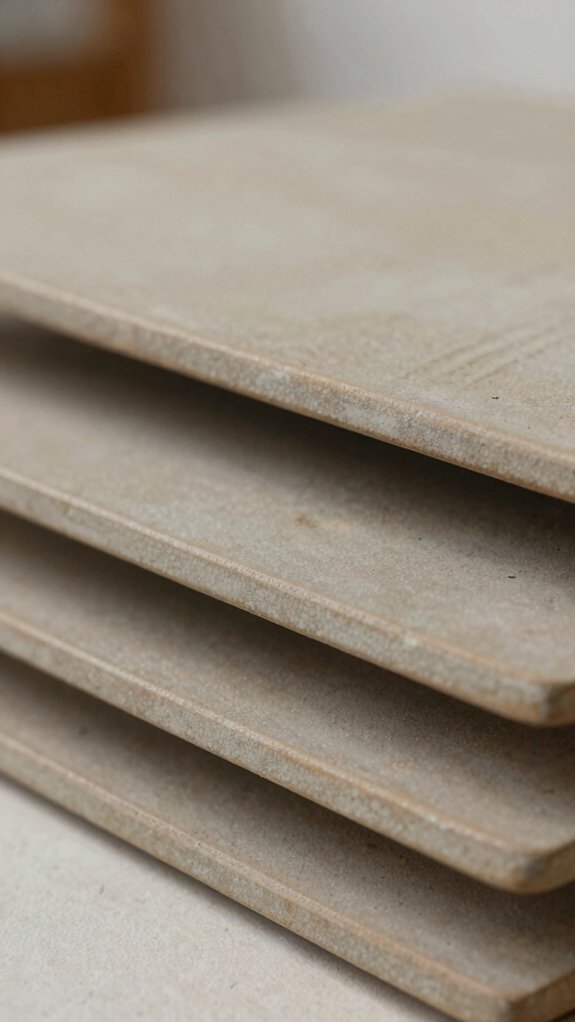
A single slab can turn into a surprisingly decorative-looking sculpture, and that’s where the fun starts! You’re not just making pottery, you’re joining the creative crew. Keep your slab thickness even, and your piece will feel sturdy and polished.
- Cut curved segments from one slab for a circular relief.
- Stack slab bands into a perched abstract bird with props.
- Build a hollow ring-and-plate form for extra drama.
- Add stamps, grooves, and bold glaze for wow!
Use slip-and-score, then smooth every joint for clean seam finishing. With stoneware durability and a little patience, your sculpture can look gallery-ready, even if you made it at the kitchen table.