15 Beginner Handbuilt Pottery Ideas You’ll Love Making
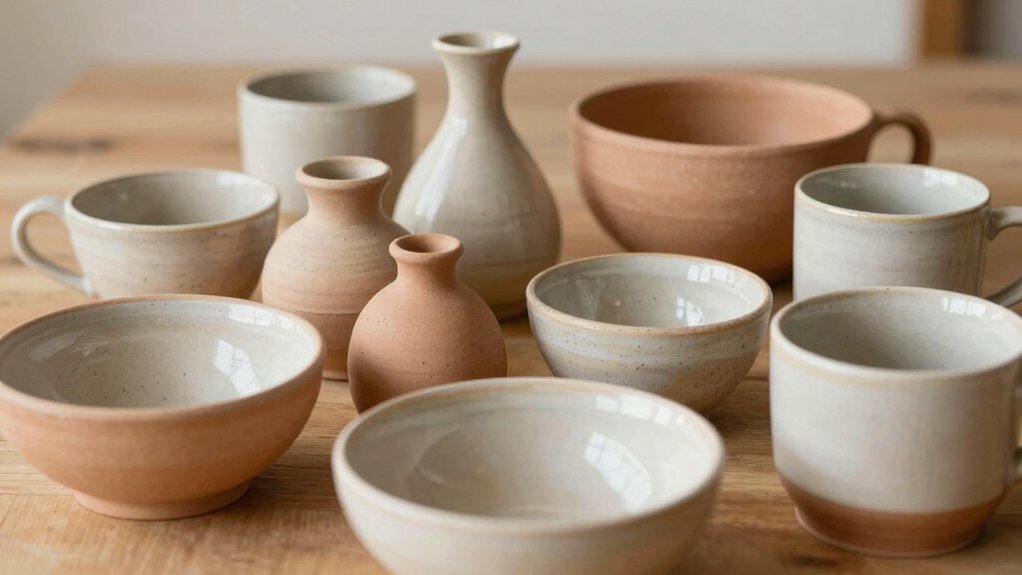
You can make 15 beginner handbuilt pottery ideas with just clay, water, and a few basic tools—easy wins like tealight holders, soap dishes, pinch pots, tiny trays, and simple mugs! Start with slabs, pinch forms, or a curved slab base, then score, slip, and smooth seams for sturdy results. Add cutouts, drainage holes, or texture for style and function. The best part? A few surprises, like lidded forms and closed shapes, get even cooler next, so stick around!
Love cozy DIY projects? 💕
Get free printable guides, exclusive tutorials & surprise craft goodies straight to your inbox.
Disclosure: This post may contain Amazon affiliate links, at no extra cost to you. Content on DiyCraftNest is created with research support from AI tools and carefully reviewed, edited, and fact-checked by the lead author, Daniel Pat, to ensure accuracy and reliability. Learn more
Key Takeaways
- Handbuilt pottery is beginner-friendly because you only need clay, simple tools, and patience for drying and firing stages.
- Slab projects like tealight holders are easy starter wins and add instant charm with cutouts, curves, and glow effects.
- Functional items like soap dishes work well for beginners when you add drainage holes, textured grip, and a smooth interior.
- Small forms such as pinch pots, trinket bowls, and jewellery trays help build confidence with shaping, even walls, and neat rims.
- Practice basic cylinder and seam-building skills to make stronger pieces, reduce wobbling, and prepare for more advanced closed forms.
Why Handbuilt Pottery Is Great for Beginners
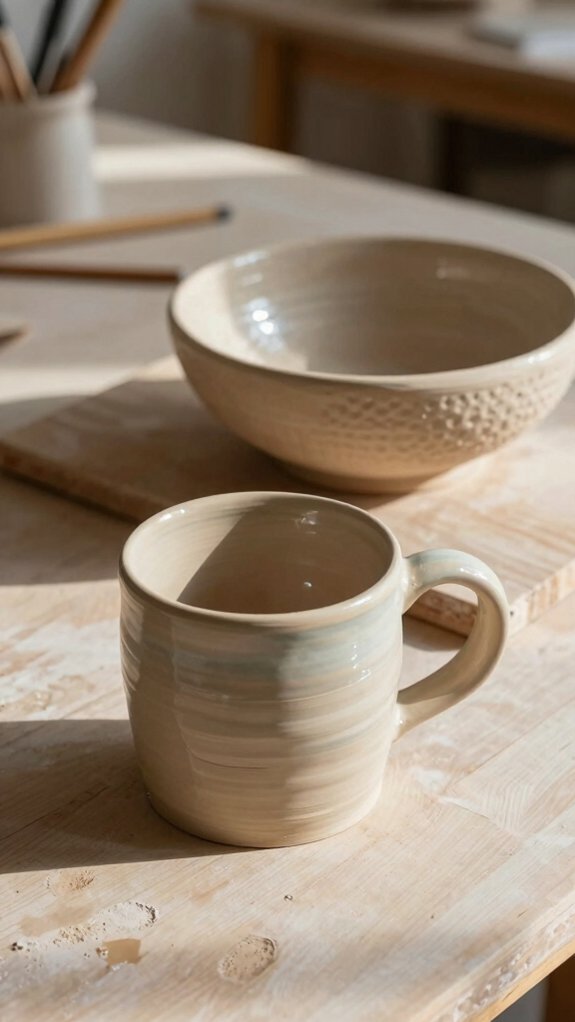
If you’re brand new to pottery, handbuilding is such a friendly place to start! You don’t need a wheel, impressive gadgets, or a secret wizard robe—just clay and curiosity.
Slab work begins with flat sheets, and pinch pots start from a simple ball, so you can build real forms with low tool learning.
You’ll practice Patience skills right away, because clay needs time to dry, settle, and later move from greenware to bisque to glaze.
Start with spoon rests, soap dishes, or trinket bowls, and you’ll spot progress fast.
Tiny tweaks, like texture or a handle, make each piece better and truly yours!
Tealight Holder Ideas for Beginners
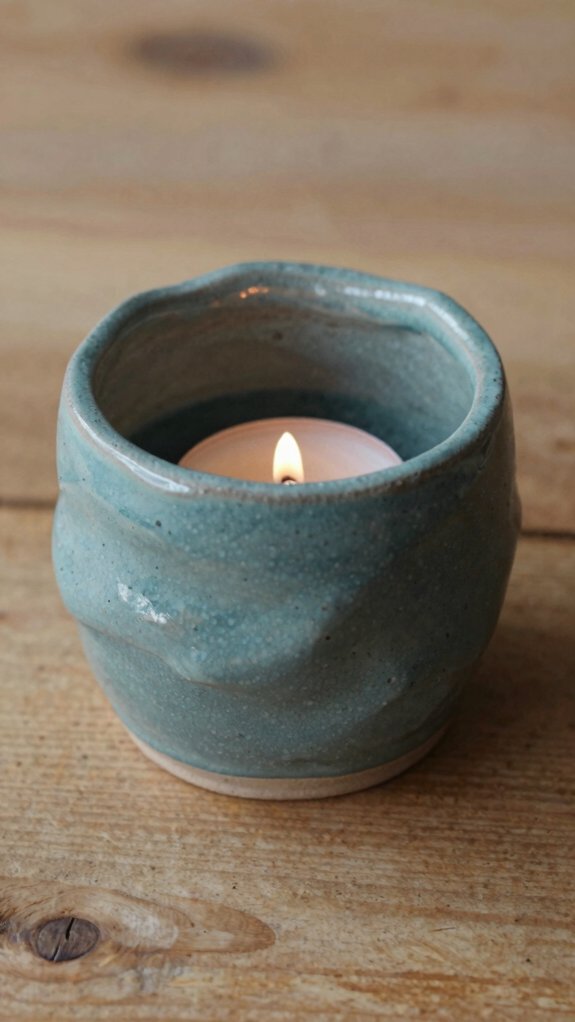
A simple slab-shaped tealight holder is a great beginner win, and you can curve the clay into a cozy little shelter for your candle with just a few easy moves.
Punch a small hole in the center, then add fun cutout shapes or quick carved patterns on the sides, because that’s where the magic starts to show!
Keep the cavity a bit deeper than the tealight, and you’ll get a safer glow that looks way fancier than the effort it takes.
Simple Slab Shapes
When you’re ready for a beginner project that feels stylish without getting fussy, slab-built tealight holders are such a fun place to start!
You roll a rectangle, curve it into a shallow shape, and let the candle guide your inside size.
Keep the clay a bit thicker than a coaster, so it stays steady.
- Try slab press patterns for easy repeat texture.
- Cut a neat opening for a warm glow.
- Test-fit the tealight before it dries.
- Dry slowly, then glaze or leave it raw.
These beginner kiln tips help you avoid cracks, and honestly, that’s pottery friend magic!
Cutout Light Effects
For a beginner tealight project that still looks seriously cool, cutout light effects are a total win! Roll a slab, cut a rectangle, curve it into a sleeve, and pinch the seam closed so you’ve got a sturdy little lantern wall.
Next, punch one center opening or a few tiny holes at the right height, then carve stars, hearts, or leaves with simple tools or a cookie cutter. Keep the base a bit thicker for light safety, and you’ll get a cozy, even glow.
After firing, think glazing placement carefully, leaving inner light paths clear so the shine pops!
Soap Dish Shapes That Work
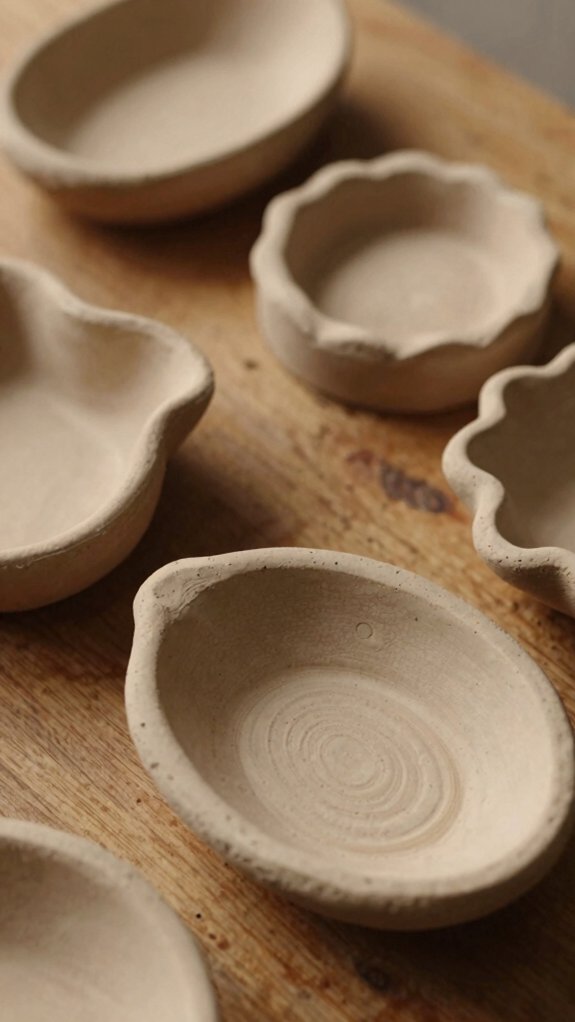
A curved slab base gives your soap dish a gentle bowl shape that cradles the bar instead of letting it skate around like it’s late for a meeting.
You’ll want to place a few drainage holes at the lowest point so water can escape fast, and that little detail makes a big difference!
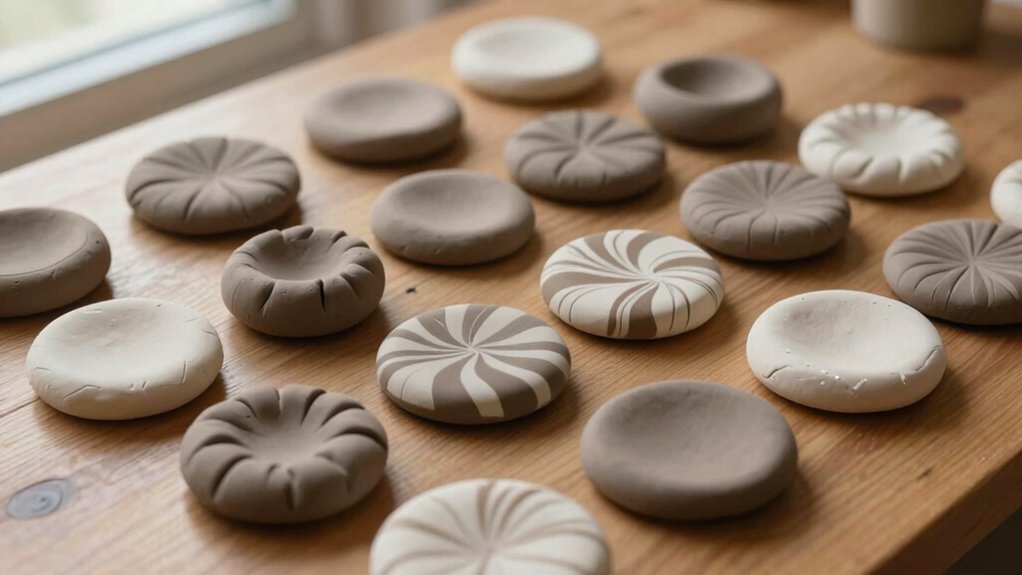
For extra grip and charm, add a textured outside with stamps or ridges, while keeping the inside smooth so your soap glides out easily.
Curved Slab Base
Since soap loves to slide around like it’s late for something, a curved slab base gives your dish a gentle little cradle that actually helps it stay put!
Set up your workspace setup, gather a tool checklist, and roll a flat slab.
Curve it over a bowl, add a border strip, then join everything with slip and scoring.
- Smooth the inside edges for a tidy feel
- Keep your drying tips slow and even
- Add tiny runoff holes for a drier dish
- Try beginner glazing after it’s firm
You’ll end up with a cozy, handmade piece that feels welcoming and works like a charm!
Drainage Hole Placement
Right at the lowest point of your soap dish, punch 1–2 tiny drainage holes so water can sneak out instead of pooling up like it owns the place!
| Tip | Why it helps |
|---|---|
| 0.2–0.4 in holes | Let water escape |
| Bottom piece only | Keeps the rim strong |
| 0.5–1 in spacing | Stops weak spots |
| Smooth both sides | Protects soap and fingers |
If you’re building a slab dish, keep holes in the base, not the border. For oval shapes, nudge them toward the center-low area. During glazing basics, plan for shrinkage, and use safe handling when smoothing edges. Cute, dry, sturdy—your crew’ll love it!
Textured Surface Grip
Textured surfaces can make your soap dish do more than just sit there looking cute—they help the bar stay put and give water a place to sneak away.
You can press in leaf prints, try textured stamp variations, or scratch in shallow grooves for extra grip.
Keep the base shallow, like a little pan, and add a raised border so the soap feels snug, not slippery.
- Test slip resistant glaze tests on the rim
- Smooth the seam so soap won’t snag
- Pierce tiny drain holes at the lowest spot
- Let it dry slowly, or cracks may crash the party
Simple Bowl Projects to Try
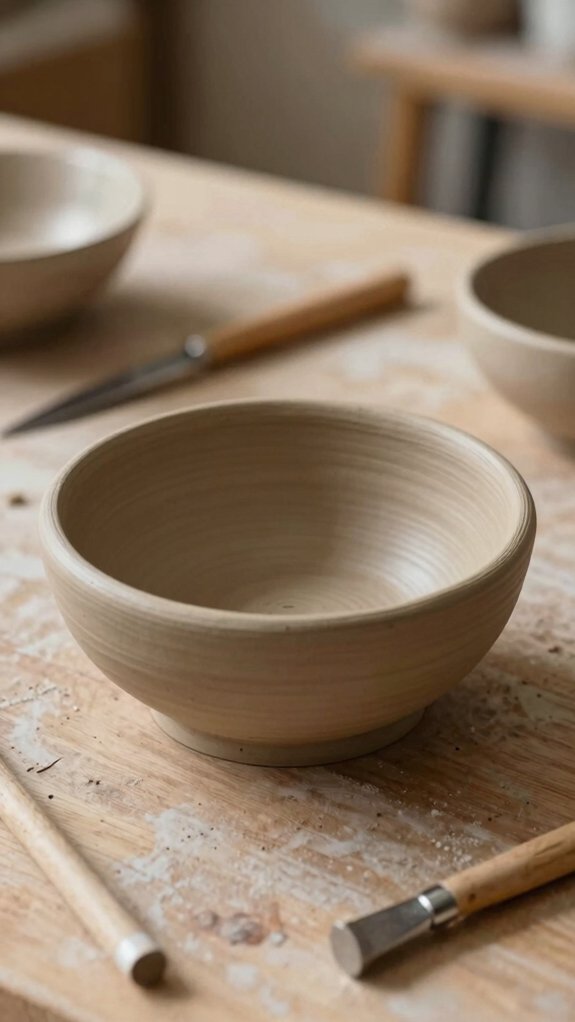
If you want a pottery project that feels doable but still looks adorable on the shelf, simple bowls are a fantastic place to start!
Roll out a slab, drape it over a bowl-shaped mold, and smooth the curve; you’ll get a cute form without drama.
Support it while it dries, and do drying time checks so the rim stays even.
Want a fruit bowl? Add tiny drainage holes, not giant ones, or it’ll get wobbly fast.
For extra fun, press in stamps or a textured roller, then try glazing color tests.
Make a few in batches, including fluted ones, and watch your confidence bloom!
Make Easy Mugs by Hand
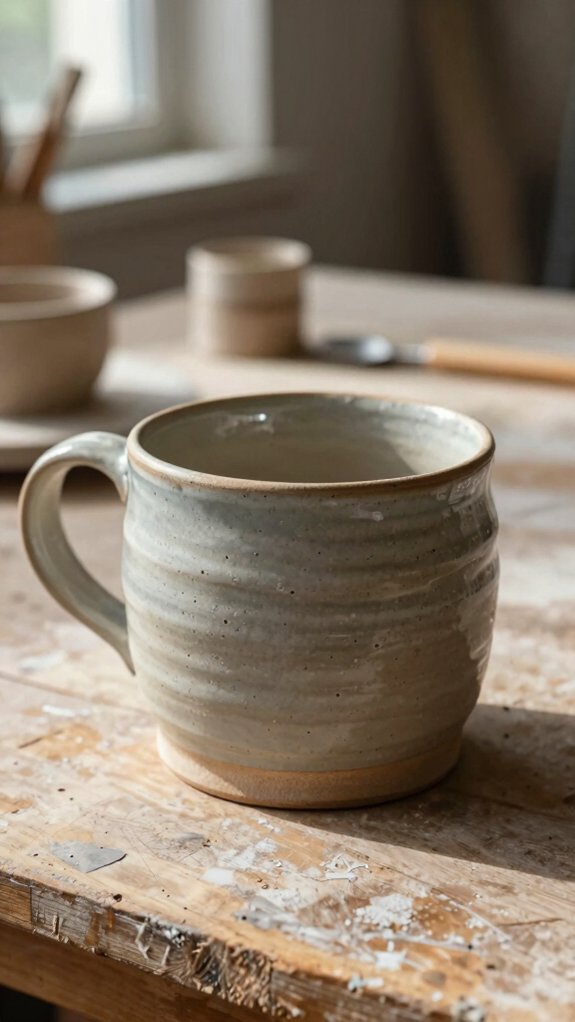
Start with a mug that feels friendly, not fussy!
Make a flat base, then raise the sides with slab strips or a pinch-pot base, and you’ve got a sturdy cylinder before you even think about a handle.
- Keep walls even for an easy grip.
- Use surface slip prep and a damp sponge on seams.
- Practice mug handles with a rolled coil loop.
- Try one texture or glaze test at a time.
Score, slip, and press the handle on, then adjust the join so it feels secure.
After bisque firing, glaze it for a smooth, sealed finish.
Small changes make your mug feel like yours, and that’s the fun part!
Espresso Cup Ideas for Small Forms
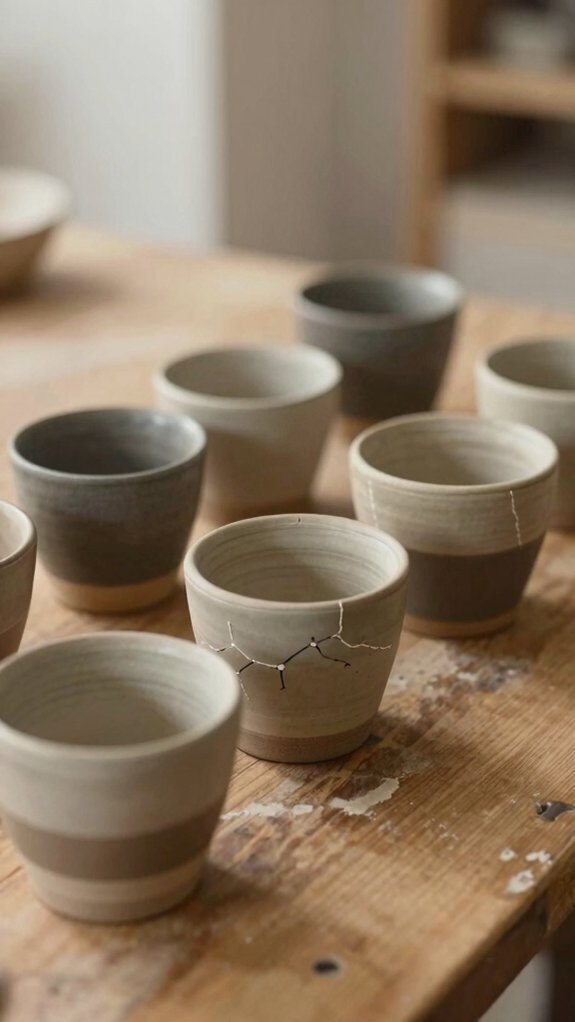
Tiny forms can be every bit as fun as big mugs, and honestly, espresso cups are a great place to play!
You can slab-build a tiny cylinder, keep the walls even, and smooth the seam so it doesn’t rebel in drying.
Want a little flair? Stamp a scalloped texture before assembly, then trim the rim tidy.
Clay drying tips: let it rest slowly, covered loosely.
After bisque firing, check your glaze plan; Kiln glazing checks matter because small cups can surprise you with drips.
Test color combos first, and match the inside shape to your pour for a comfy, glossy finish!
Coffee Mug Projects for Practice
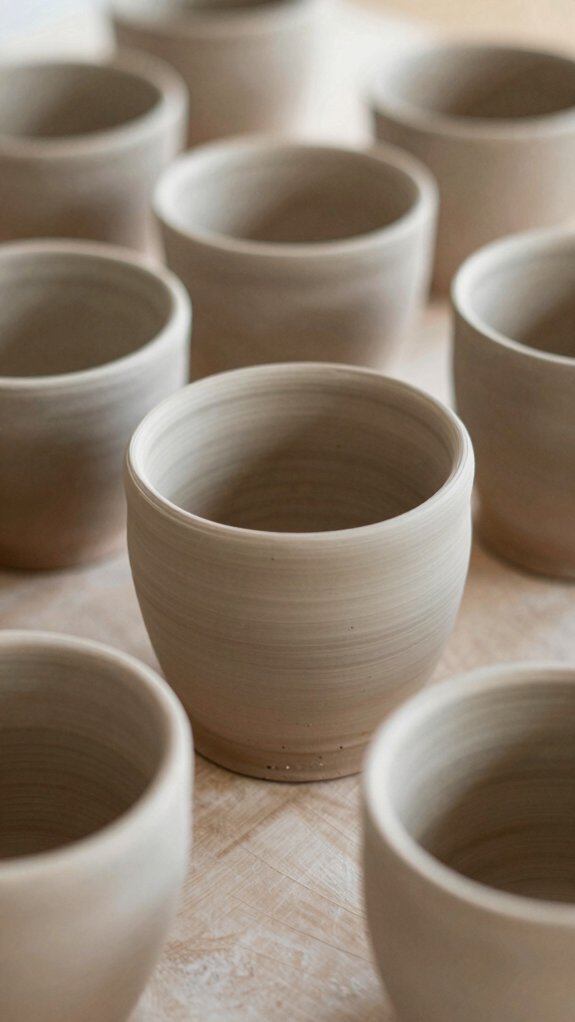
A handmade coffee mug is one of the best practice projects you can tackle, because it teaches you a little bit of everything without feeling too fussy! You’ll build an even base, shape slab walls, and attach a simple loop handle, so you can watch your slab thickness and drying speed from start to finish.
- Try espresso-sized tests first, then scale up.
- Make 2–3 mugs together for steady practice.
- Smooth seams where the handle meets the body.
- Fire test tiles for surprise glaze drips and underglaze accents.
Aim for a gently tapered workhorse mug, and you’ll get weathered pottery charm with real-use confidence—nice, right?
Mini Vases for Gifts and Decor
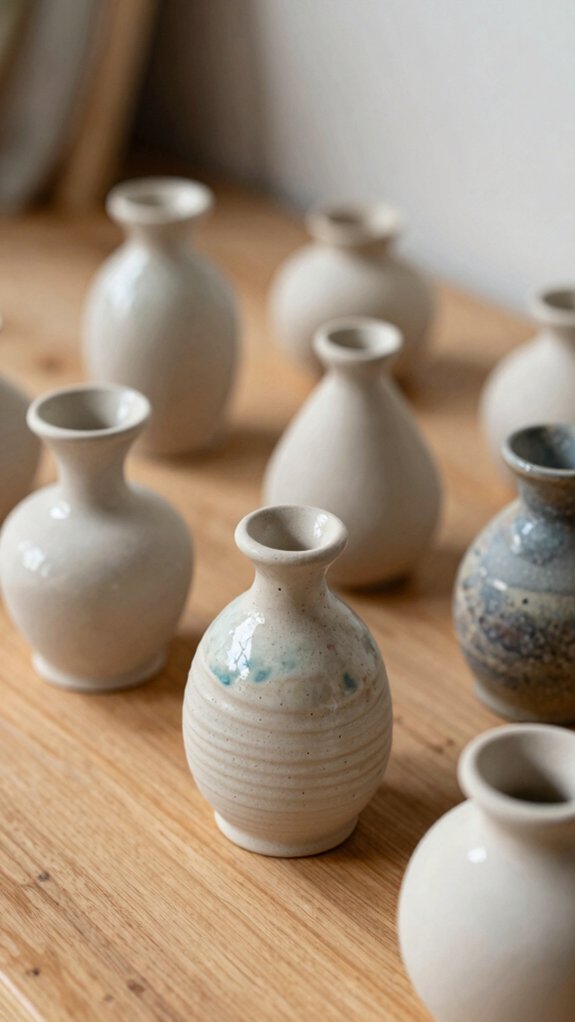
If mug-making has you feeling more confident with slabs and handles, mini vases are a fun next step, because they’re quick, charming, and just stylish enough to make people say, “Wait, you made that?!”
Roll a small slab evenly, shape a tight cylinder or narrow neck, then join the seam neatly.
Add a little texture before you form it, if you want extra character.
These Giftable mini forms work great with a simple flower sprig, and they’re easy to bundle into Desk décor sets.
Try different glaze combos, too, but make test pieces first if kiln time’s tight.
Practice Cylinder Shapes for Confidence
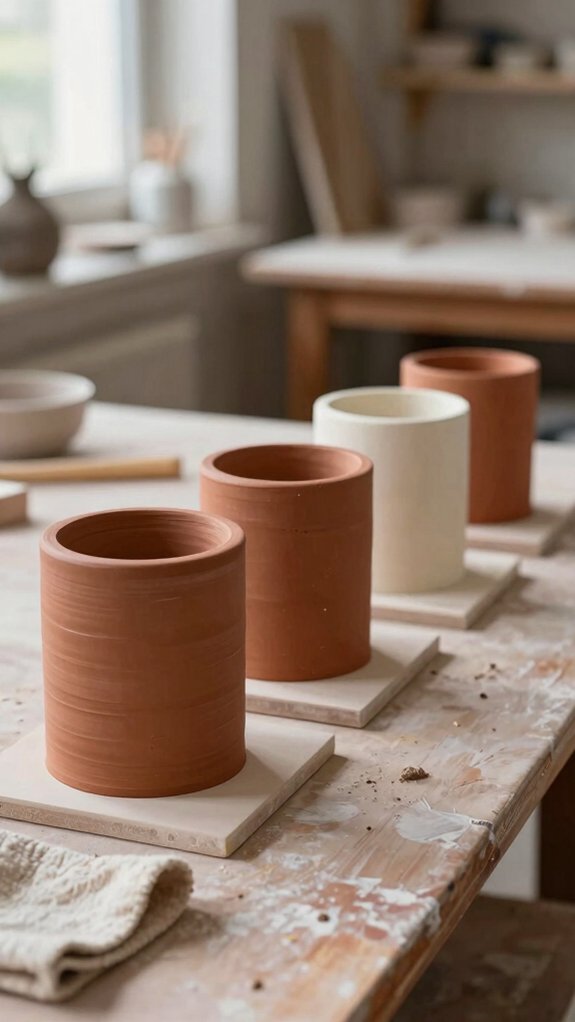
Try building a slab cylinder by rolling out an even sheet of clay, wrapping it into a tube, and smoothing that seam so it disappears like magic. Then tap the top and bottom flat, and lightly compress the base as you rotate the piece, because that little habit keeps the walls steady instead of wobbly.
Start with small cylinders first, repeat the same steps a few times, and you’ll gain real confidence fast—plus, your clay will stop acting like it’s got a mind of its own!
Build a Slab Cylinder
Start with one simple slab cylinder, and you’ll feel your confidence kick in fast!
Roll slab-wedges into a tube, then smooth the seam with seam blending techniques so it feels like one piece.
- Aim for centerline symmetry as you join the edges.
- Keep even wall thickness, so leather dry timing stays steady and warping stays low.
- Tap-and-flatten the ends on your table for a more level top and bottom.
- Check roundness, trim with a wire tool, and smile when it looks right.
Once it’s leather dry, this little cylinder becomes your friendly bridge to mugs, vases, and bigger wins!
Focus On Seam Smoothing
With a few simple slab cylinders, you can really get a feel for seam smoothing, and that’s where the magic starts to click!
You’ll score and slip if needed, then press the join flat so it doesn’t puff up like a tiny pottery zit.
As the clay firms, work in small sections with a damp sponge or rib for tool free seam finishing, keeping water control basics in mind so you don’t weaken the wall.
Tap the top and bottom to steady the shape, then make a few more cylinders.
That repetition builds your confidence fast, and the seams start looking clean and calm.
Repeat For Shape Confidence
Once you’ve smoothed a few seams, it’s time to repeat the shape and let your hands learn the rhythm! Build a simple slab cylinder, then make it again and again, because your muscles start to remember. These shape stability drills feel like little wins.
- Roll even slabs and wrap them into tubes.
- Tap the top and bottom flat so the base won’t wobble.
- Keep a finger in the center and circle forward, then back.
- Check wall thickness, then celebrate your symmetry confidence exercises!
Score seams as the clay turns leather-hard, and you’ll notice your cylinders standing taller, steadier, and way less wobbly.
Jewellery Trays With Texture and Style
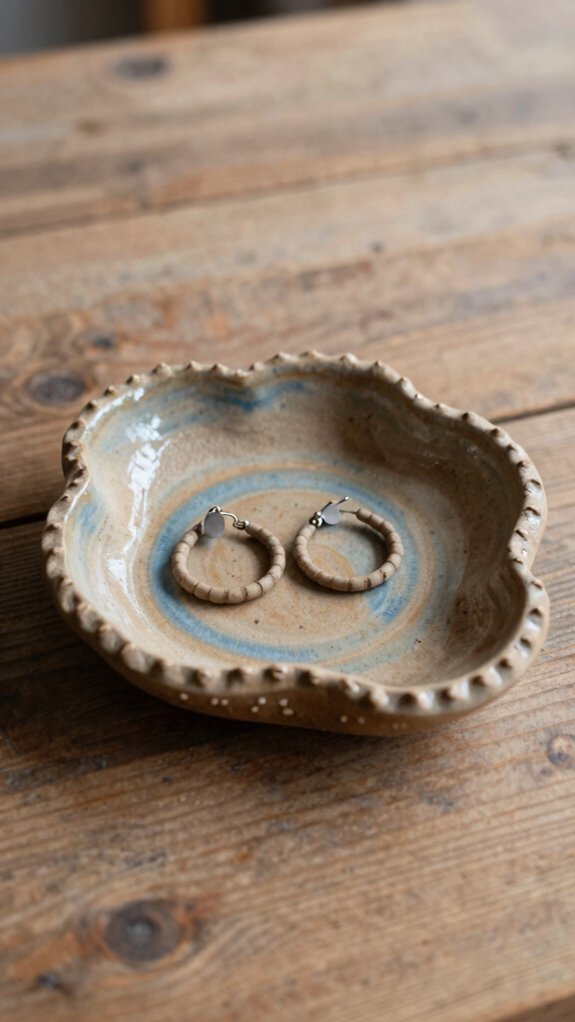
A tiny jewellery tray can pack a lot of style, and it’s honestly one of the easiest clay projects to make look glamorous! Roll out a slab evenly, cut 2–3 oval or round shapes, then gently curve the edges over a bowl for that shallow dish feel.
Before you join anything, stamp in texture with a mat or a homemade motif, so the glaze later plays across the surface like little sparkles.
Keep the thickness even, smooth the rim, and add a simple border or sculpted handle if you want extra charm.
Cheap, beginner-friendly, and yes—your rings will feel luxurious!
Salt Pinch Bowls for Everyday Use
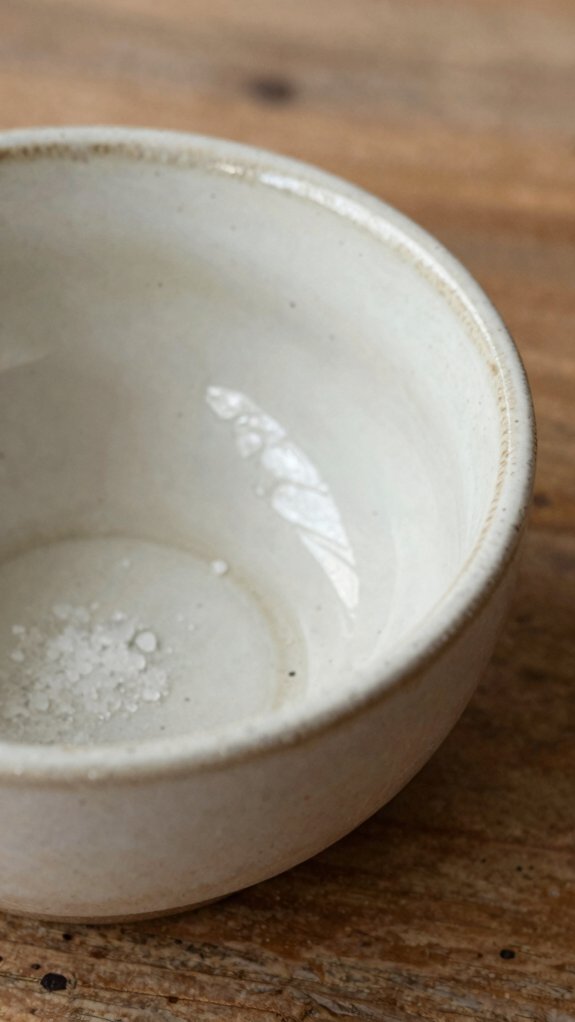
Tiny salt pinch bowls are one of those little clay projects that feel pretty without being fussy! You can roll or shape a small, shallow bowl, keeping it wider than deep so salt stays easy to grab. Aim for even walls and a softly irregular rim, then add 2–4 tiny pinholes on the bottom for functional storage tips that help fight clumps.
- Easy to make with scraps
- Costs very little
- Texture glaze options shine here
- Unfinished clay feels rustic and cozy
Let it dry slowly for 24–48 hours, then glaze, or keep a set for salt and pepper—cute and handy!
Try a Pinch Pot and Slab Combo
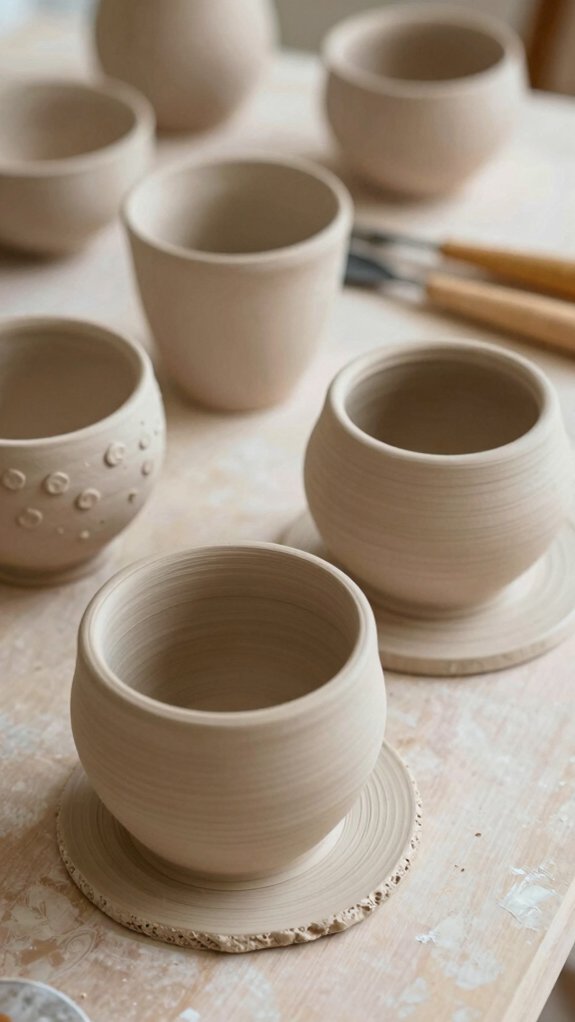
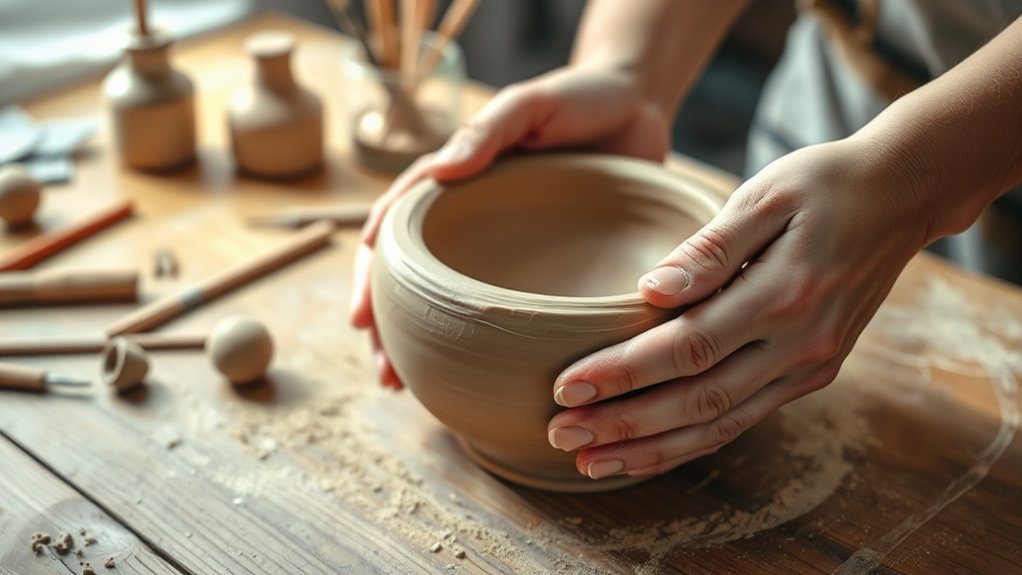
A pinch pot and slab combo is a fun way to make a mug or cup that looks handmade in the best way! You start with a tennis-ball-sized pinch pot base, then add rolled slab walls to build it up, which keeps the shape simple but gives you lots of room to play.
Once you score, slip, and smooth the seam, you’ve got a sturdy little piece that feels way fancier than the effort it takes!
Pinch Pot Base
If you want your handbuilt piece to feel sturdy without getting fussy, start with a pinch pot base and then level it up with a slab—yes, it’s as fun as it sounds!
You roll clay into a ball, press your thumb in, and pinch while rotating to keep thick vs thin in check.
- Shape the base evenly for a friendly, steady start
- Watch drying balance so one side doesn’t race ahead
- Score, slip, and do seam fixing like a pro
- Trim and practice rim shaping for a clean finish
That combo feels welcoming, and wow, it works!
Slab Wall Combo
Now that your pinch pot base is feeling steady and even, you can level things up with a slab wall combo, and honestly, it’s a super fun way to make your piece look way more polished without making it fussy!
Roll a slab to an even thickness, trim slab edges clean, and score-and-slip it onto the rim after you Release air bubbles from the clay.
Then smooth the seam with your fingertips or a rubber rib, keeping the walls strong.
Add texture contrast techniques if you want extra charm, maybe a coil handle too.
Let it dry slowly, then bisque, glaze, and admire your pro-looking mug!
Make a Slab Vase With Strong Seams
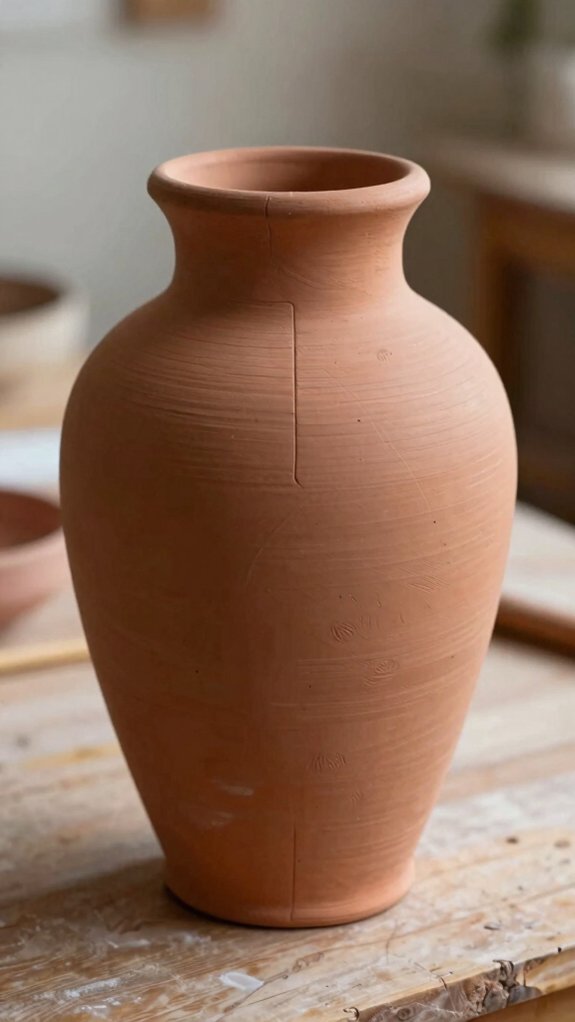
Stacking slab strips is a fun way to make a vase, and it’s easier than it sounds! Choose consistent slab thickness, score and slip each edge, then press everything together so your seams act like one strong wall.
- Roll strips, stack them, and build your shape.
- Add decorative seam textures if you want extra charm.
- Reinforce corners securely with your fingers or a rib.
- Use a simple core to prevent warping during drying.
Smooth inside and out, then let it dry slowly to leather-hard. You’ll get a sturdy, handmade vase that feels like it belongs on any shelf!
Practice Seam Work With Closed Forms
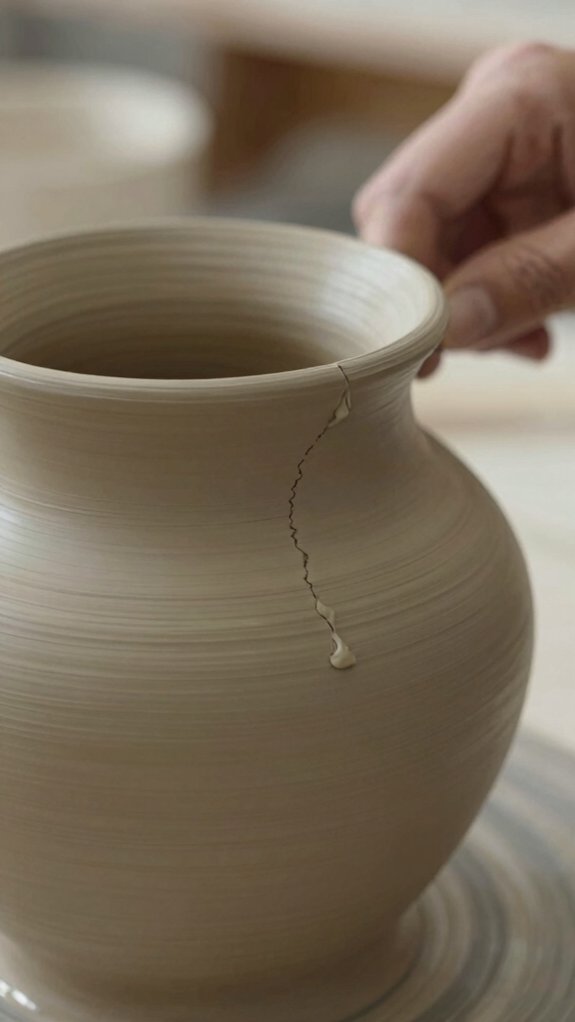
Shape a closed form and you’ll get a super-useful seam workout!
Join two slab-cut pieces into a sphere-like vessel, and you’ll practice real seam joining, not fake quick fixes. Score and slip the edges, press them together, then blend the joint while the clay’s leather-hard, so no bossy ridge steals the show.
Check wall thickness first, because even walls make smoothing easier and help with drying control.
Then use a damp sponge or rib inside and out, and peek under side lighting for bumps.
Do a little texture testing, keep going, and wait for the aha moment: that final pass turns “almost” into seamless!
Make Lidded Slab Forms Next
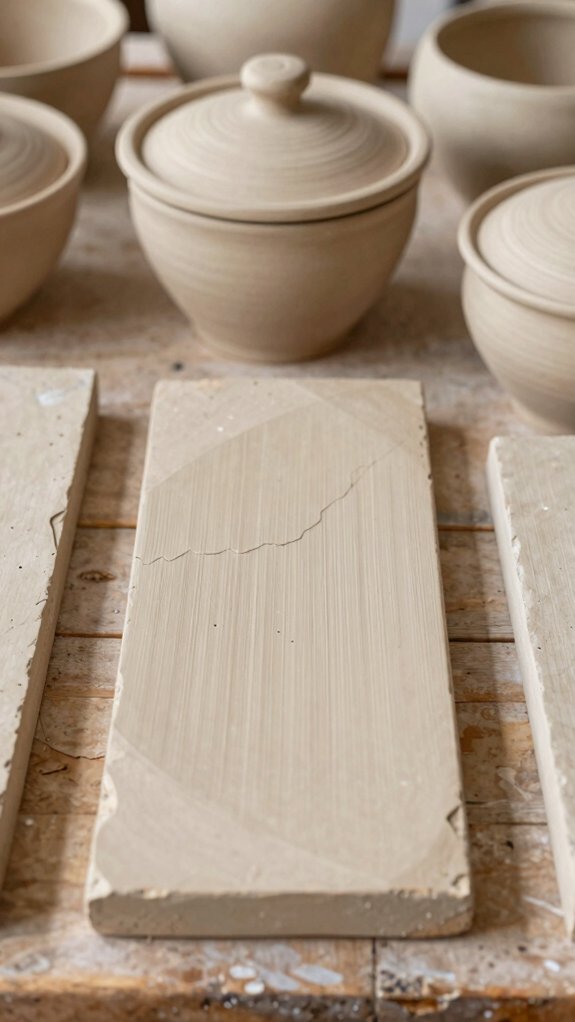
If your seam practice has you feeling brave, lidded slab forms are a fun next step, because they turn those flat pieces into something that looks impressive fast!
Roll a slab, cut a lid plate, and wrap a strip around the top for smart Lid rim design.
- Join side slabs into a hollow base.
- Let it firm up before you fit the lid.
- Leave a tiny gap so it won’t stick after drying.
- Try vent feature ideas, like a small knob, then dry slowly.
You’ll get a sturdy, friendly little container, and yes, your clay crew will cheer!