25 Beginner Sewing Projects That Build Real Skills Without Feeling Overwhelming
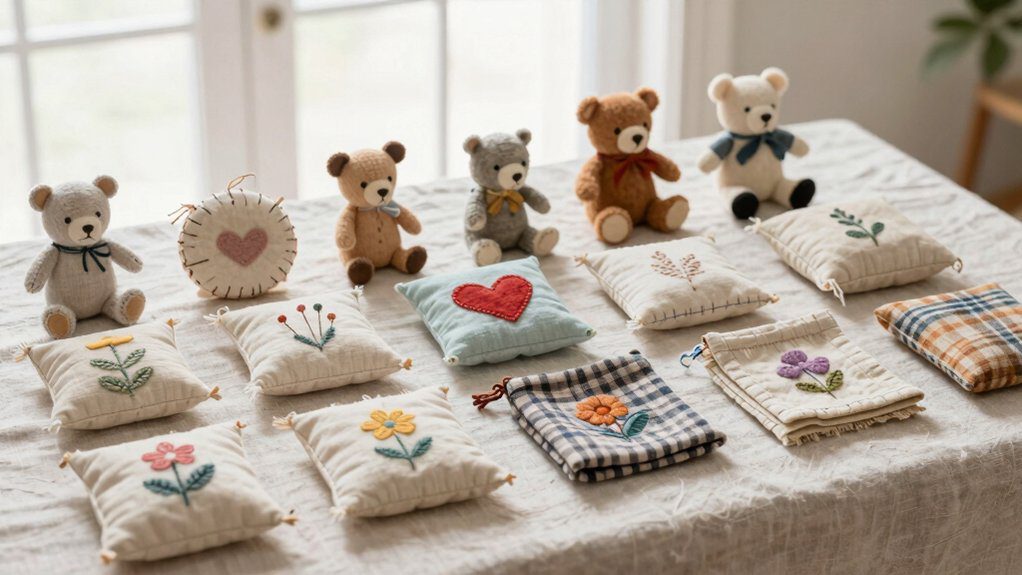
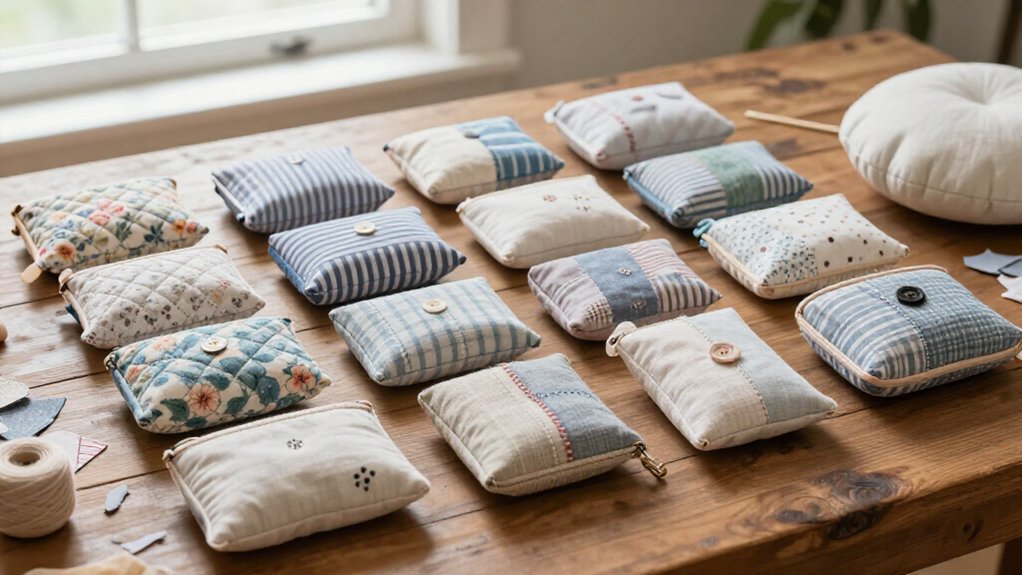
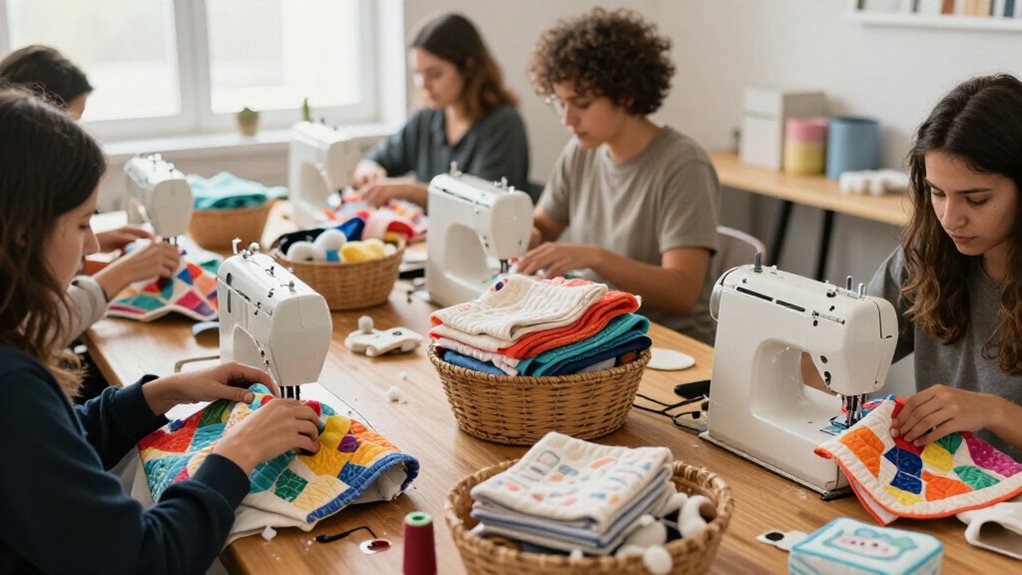
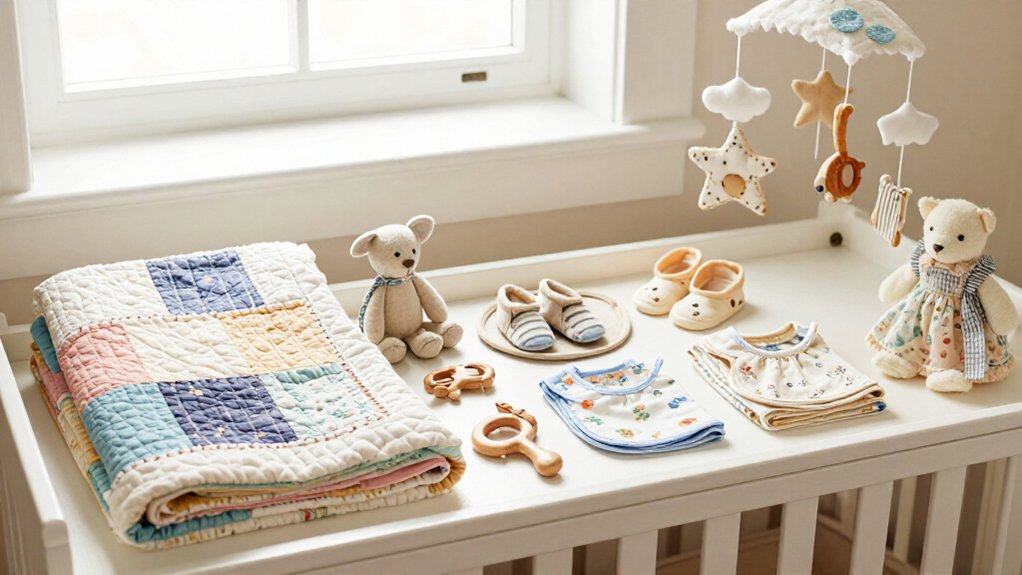
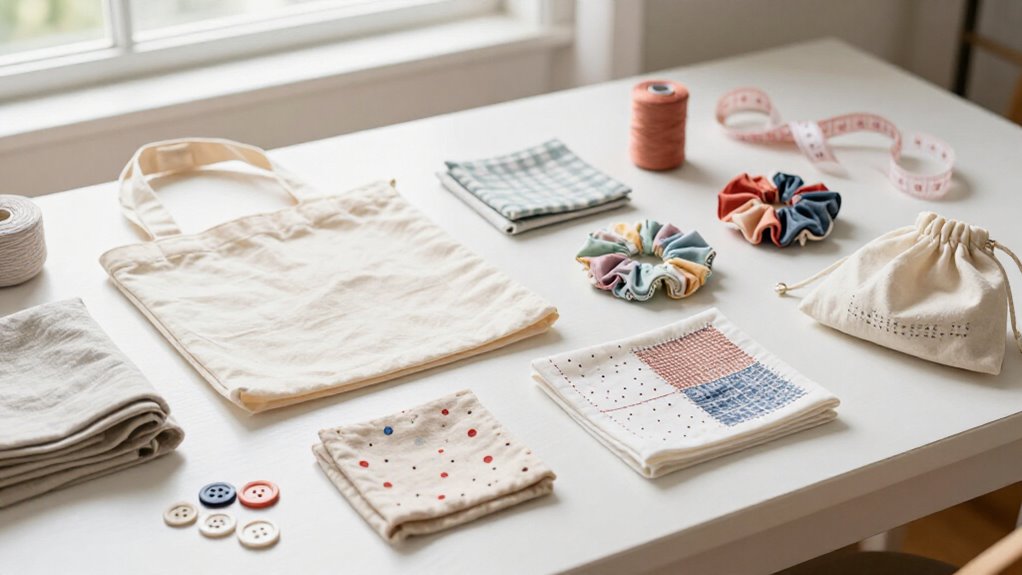
Start with easy wins: sew an envelope pillow cover from cotton, a simple apron from canvas, or a market tote with box-stitched handles. You’ll practice straight seams, pressing, hems, and sturdy backstitches without wrestling zippers—hooray! Try a drawstring backpack, fabric basket, hanging organizer, or laundry bag next; prewash woven fabric, use 5/8-inch seams, and zigzag raw edges. Soon, you’ll turn humble rectangles into useful gear, with more confidence-building projects ahead.
Love cozy DIY projects? 💕
Get free printable guides, exclusive tutorials & surprise craft goodies straight to your inbox.
Disclosure: This post may contain Amazon affiliate links, at no extra cost to you. Content on DiyCraftNest is created with research support from AI tools and carefully reviewed, edited, and fact-checked by the lead author, Daniel Pat, to ensure accuracy and reliability. Learn more
Key Takeaways
- Start with zipper-free projects like envelope pillow covers to practice accurate cutting, pressing, seams, and clean raw-edge finishes.
- Build straight-seam confidence with practical items such as napkins, table runners, bread basket liners, and simple drawstring bags.
- Choose prewashed cotton, canvas, denim, or medium-weight woven fabrics for predictable handling, shrinking, and washability.
- Press after every seam, use consistent 5/8-inch seam allowances, and backstitch at starts, stops, and high-stress points.
- Progress to useful wearables and bags—aprons, market totes, laundry bags, organizers—that teach hems, casings, pockets, and reinforcement.
Envelope Pillow Cover
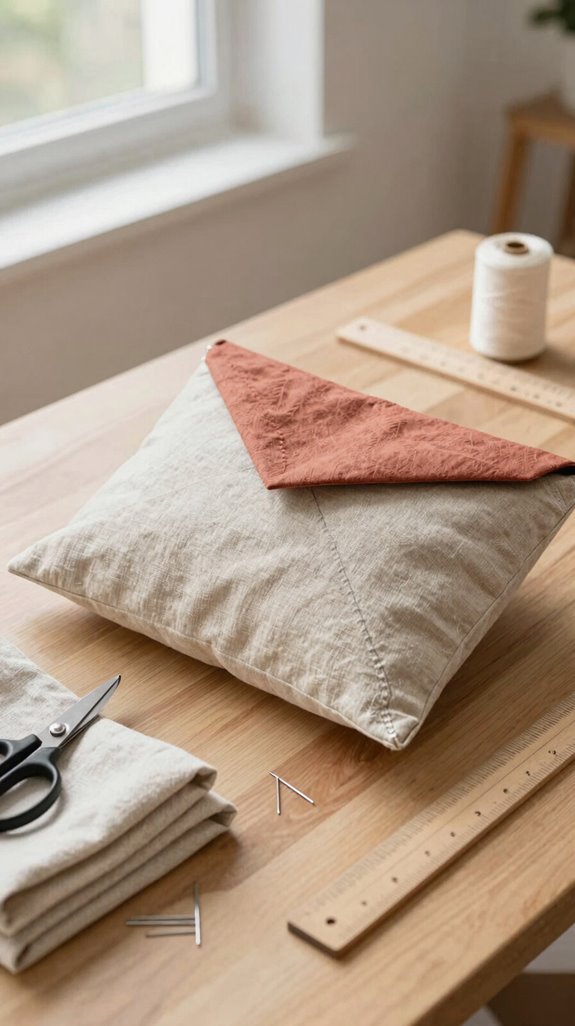
An envelope pillow cover is one of those beginner projects that looks polished but skips the zipper drama—hooray! You’ll join fellow new sewists using 100% cotton quilting fabric, or another mid-weight woven; prewash it so laundry won’t surprise you later.
For Fabric choice, cut a front panel to your insert’s finished size. Then plan flap construction with two back pieces and a 3–6 inch sizing overlap, depending on how snug you’d like it.
Press each folded flap edge, sew with 5/8-inch seams, and press as you go. Finish raw edges for tidy seam finishing.
Your insert slips inside neatly—no hardware, no fuss, just a cozy win!
Simple Apron
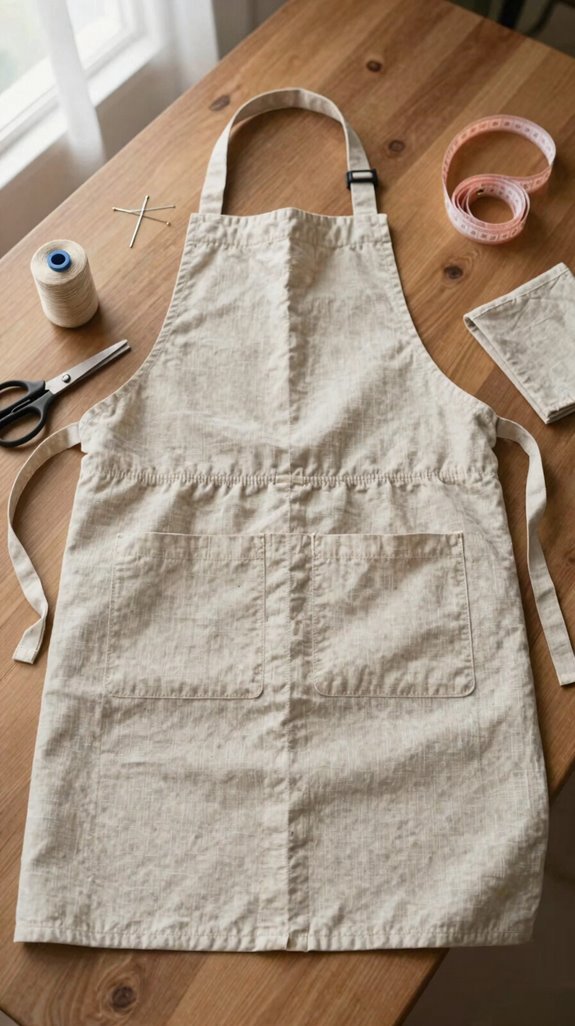
Ready for a project you can wear while you sew, cook, or battle garden dirt? A simple apron takes 2–3 hours and welcomes you into the maker crew!
| You’ll use | Try this | Why it helps |
|---|---|---|
| Canvas or denim | Pre-wash first | Prevents surprise shrinking |
| Iron | Press after steps | Keeps edges crisp |
| Check Pocket placement | Makes tools easy to grab | |
| Straps | Secure strap attachment | Adds lasting strength |
Cut 1–1.5 yards of durable woven fabric, hem the edges, and topstitch pocket hems close to the edge. Keep seam allowances even. Then backstitch at strap stress points—your apron will handle spaghetti splashes and soil like a champ!
Market Tote Bag
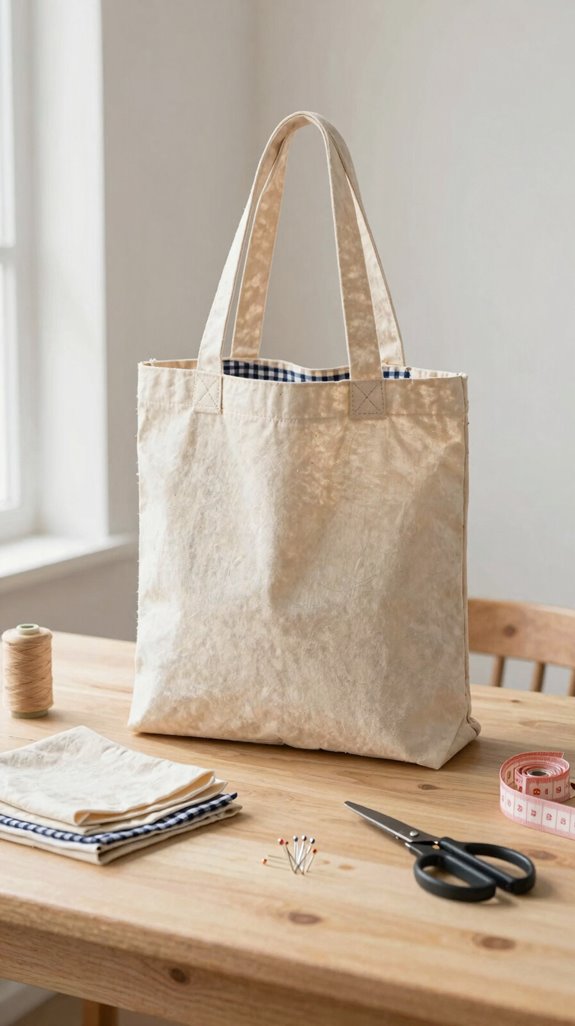
A market tote bag is a cheerful first sewing win—you’ll make a roomy, reusable carryall for groceries, library books, or that “I only needed one thing” store trip!
Choose canvas, denim, duck cloth, or quilting cotton, and pre-wash it for predictable laundry days.
This Beginner fit uses flat pieces, straight seams, and a careful 5/8-inch seam allowance.
Press after every seam, pivot neatly at corners, then zigzag raw edges so they don’t fray like a nervous haircut!
Next, choose a comfortable strap length, attach the handles, and topstitch for polish.
Reinforce each handle with a box stitch—the small detail that lets your tote proudly carry the whole neighborhood’s snacks.
Drawstring Backpack
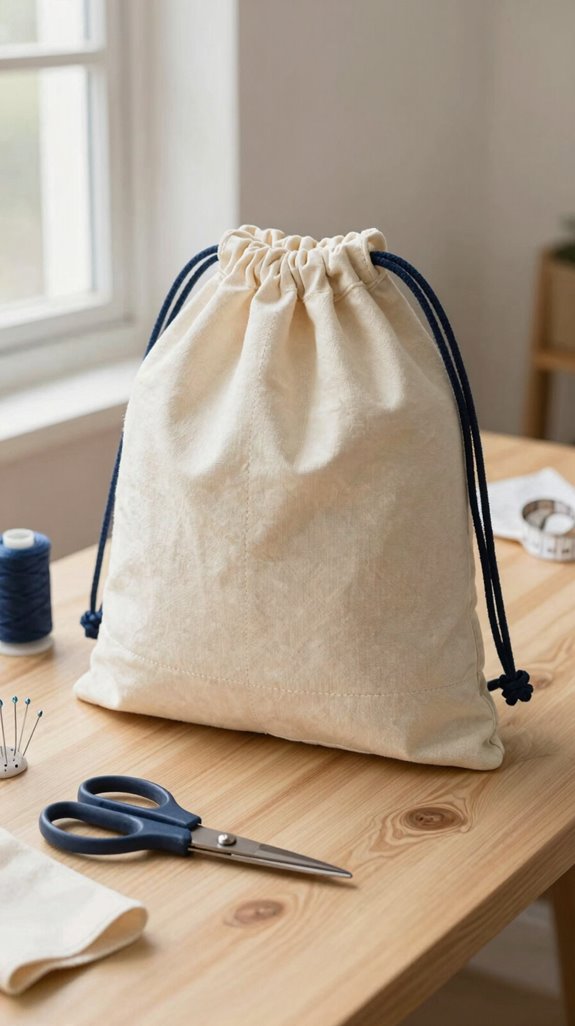
After your market tote, a drawstring backpack gives you another handy win, with a sporty shape that’s perfect for gym clothes, school supplies, or a quick park trip—snacks included!
For Fabric Selection, choose 1/2 to 1 yard of quilting cotton or medium-weight woven fabric, plus 1 to 2 yards of cord or twill tape. You’ll feel right at home with these familiar supplies!
Stitch straight seams, then press the top edge down twice for a smooth casing. Check Sewing Tension on a scrap first. Use your presser-foot edge for even lines, and backstitch casing ends—those little stress points matter!
Fabric Basket
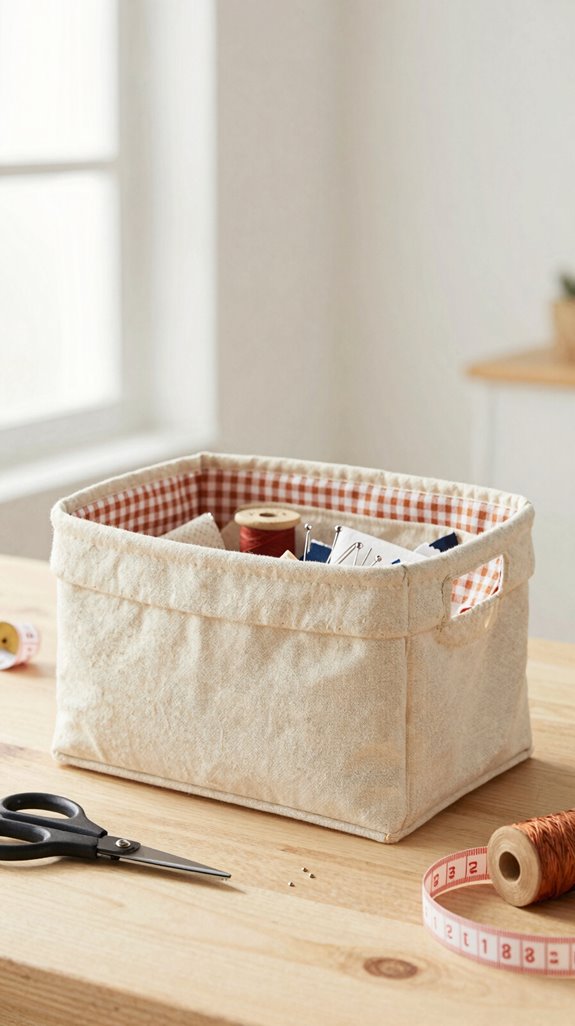
Fabric baskets turn leftover fabric into cheerful little organizers, and you’ll learn how to sew neat edges and gentle curves while you make one—what a win!
Choose fat quarters or scrap prints, thread, and a simple template. Cut outer and inner pieces, then sew straight seams with steady allowances. Square the corners carefully; it’s like giving your basket tiny feet!
Next, add Fabric bias binding for a crisp rim, or use a zipperless lining to keep the inside polished. Photos or a video tutorial can guide you through each turn.
Best of all, make it reversible: flip it for a fresh look whenever your sewing corner needs a little team spirit!
Zipper Pouch
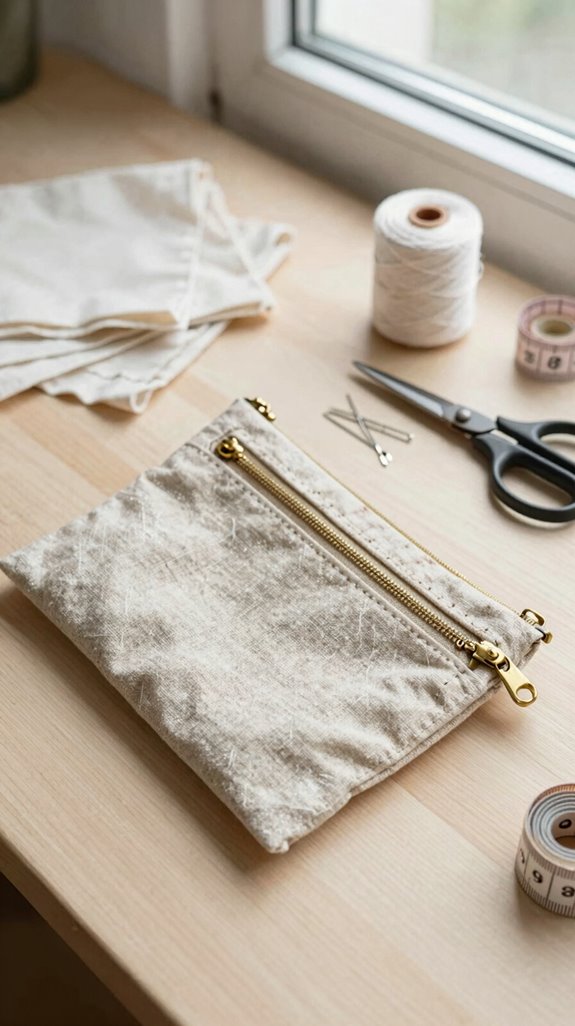
With a satisfying zip and a few straight seams, you can turn two small pieces of cotton into a handy zipper pouch—hello, instant pencil case, makeup bag, or cord catcher!
| You’ll need | Try this | Win |
|---|---|---|
| Pre-washed cotton | Cut shell and lining | Smooth feeding |
| 9–14-inch zipper | Clip for zipper alignment | Adjust easily |
| Fusible interfacing | Press before sewing | Less puckering |
| Matching thread | Topstitch neatly | Polished finish |
Baste the zipper first, then stitch with a consistent seam allowance. You’ll practice a gently curved zip opening without scary pattern shaping—welcome to the pouch club! Press the top edge, reinforce ends, and add boxed corners if you’re feeling bold.
Laptop Sleeve
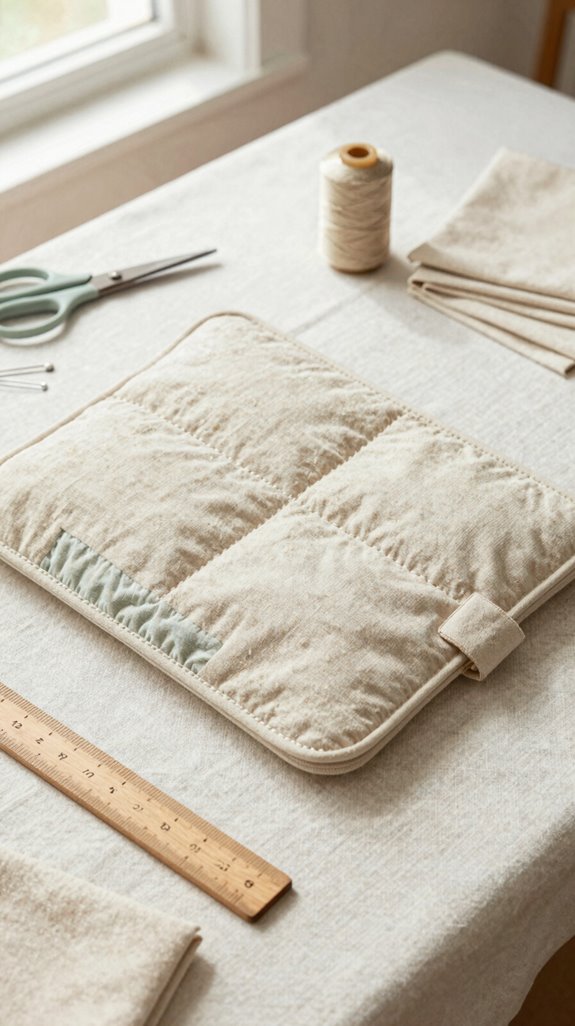
A laptop sleeve is a practical next project because you’ll sew mostly straight lines while making something you can use every day—pretty great, right?
Choose quilting cotton or canvas outside, plus cotton broadcloth for a tidy lining. Cut each piece 1/2–1 inch wider than your laptop, so it slips in easily without swimming around.
Sew straight seams, press each one, and turn corners carefully—your sewing crew would approve!
Add Beginner padding if your pattern allows, then pick easy closures, like an elastic band or button-tab, that feel comfortable.
Finally, topstitch key edges to reinforce them. Your laptop gets everyday protection, and you get a polished project!
Book Sleeve
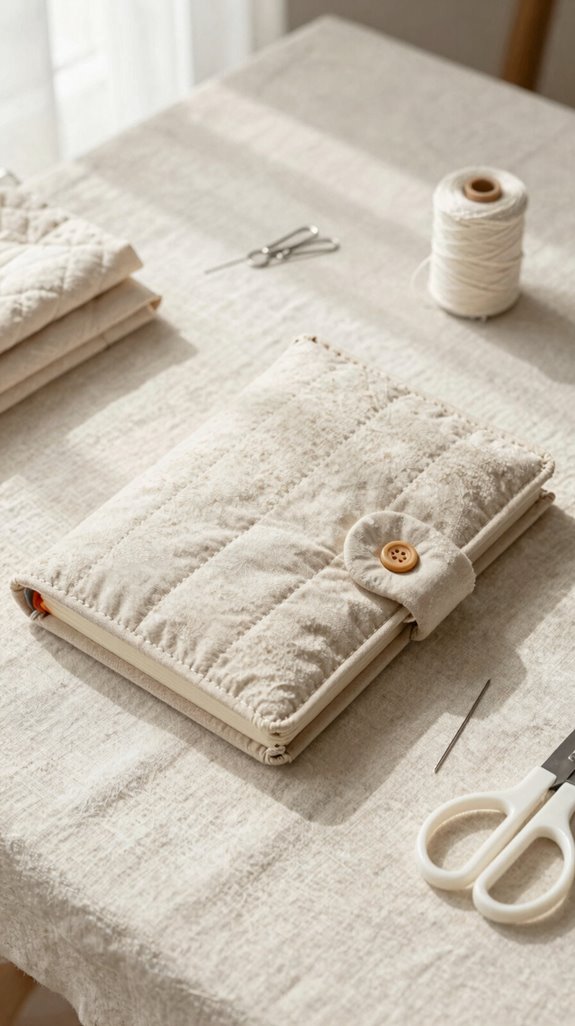
Turn a favorite book into a cozy little travel companion with a beginner-friendly book sleeve—no elaborate sewing tricks required!
Choose beginner fabrics like quilting cotton or sturdy canvas, then measure your book’s height, width, and thickness. Add 1/2 inch of ease so it slips in comfortably, not like it’s wearing skinny jeans.
Cut simple rectangles, sew straight seams, and press before and after stitching for crisp corners.
Add a hemmed opening, flap, or overlap closure, then topstitch edges for strength.
Want an extra-polished finish? Make it lined!
You’ll practice seam finishing by enclosing raw edges, creating a tidy inside that feels wonderfully handmade and ready for your reading club.
Bowl Cozy
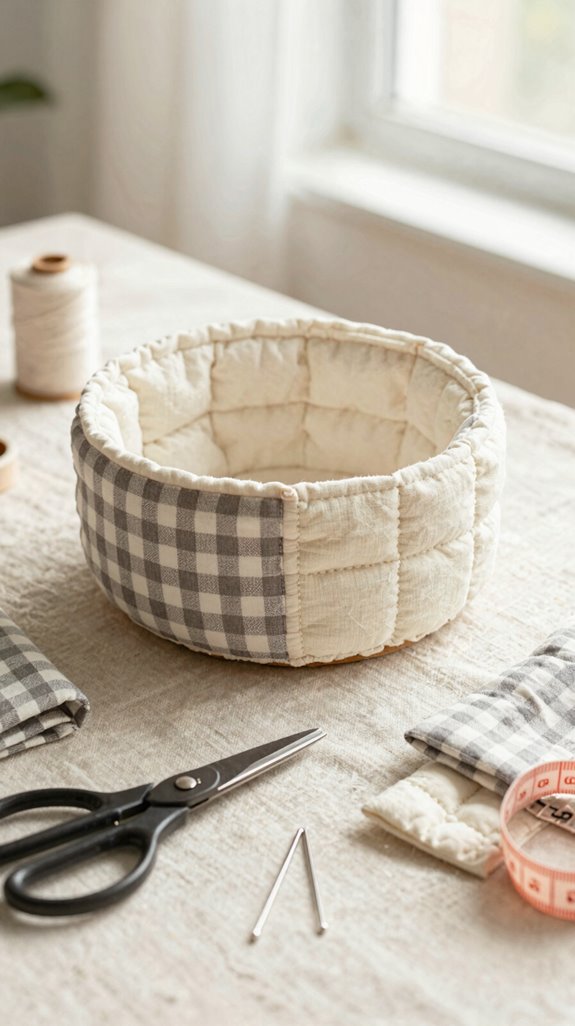
When soup night leaves your fingers doing the hot-bowl shuffle, a handmade bowl cozy comes to the rescue!
You’ll join plenty of sewists who love this quick, useful win.
Choose quilting cotton, batting, and a heat safe lining, then pre-wash everything.
Pattern sizing tips matter: use a bowl you reach for often, and pick simple rectangles or gentle curves.
Sew outer and lining right sides together, turn through an opening, tidy the corners, and topstitch the edge.
In under two hours, you’ll practice straight seams, pressing, and finishing—plus create a cushy helper that makes microwave meals feel much friendlier!
Fabric Coasters
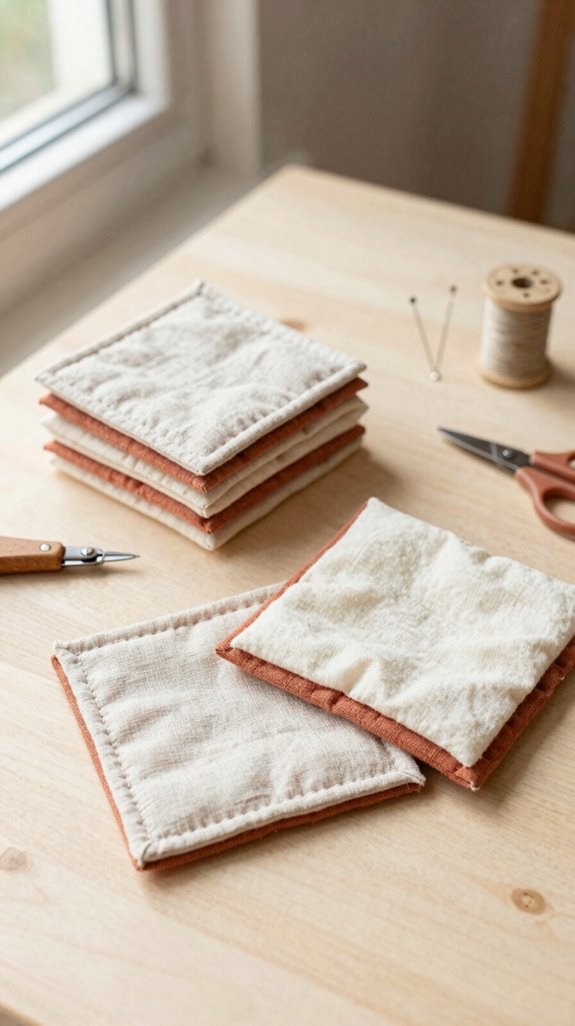
Hot bowls are handled—now you can protect the table with cheerful fabric coasters! This small project helps you practice a steady 5/8-inch seam allowance without the pressure of sewing a whole garment.
Start with Scrap fabric selection: quilt cotton, canvas, denim, or flannel, plus cotton batting or terry cloth. Cut matching squares or rounds, then layer outer fabrics right sides together with the absorbent middle.
Sew around the edge, leave a turning gap, clip corners, and turn. Press carefully, then topstitch 1/8 to 1/4 inch from the edge. Your quilted coaster stacking will look crisp, absorb drips, and make every shared drink feel a little more special!
Pot Holder
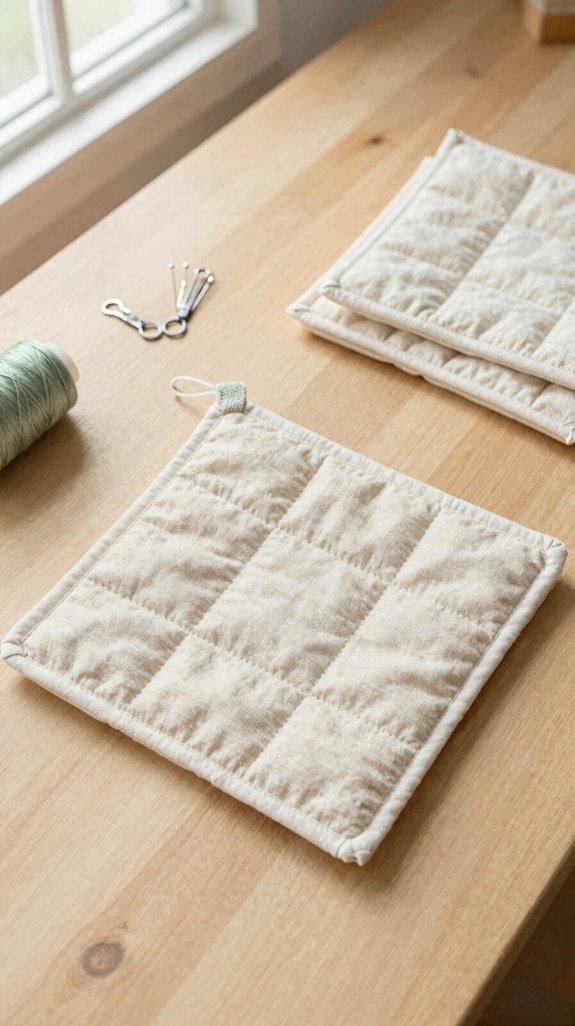
A quilted pot holder is a fantastic next step, because you’ll practice real quilting skills on a small project that won’t swallow your whole weekend—yay!
- Use cotton quilting fabric, heat-safe batting, and a beginner pattern with full-size pieces.
- Follow fabric selection basics, then use ironing tips to keep layers crisp.
- Cut accurately and build your quilt sandwich: top, batting, backing.
- Quilt straight lines, square it up, and bind the edges.
You’ll join the happy group of makers who turn small scraps into useful gifts! Best part: binding gives your holder a neat, durable finish and teaches a skill you’ll use again.
Table Runner
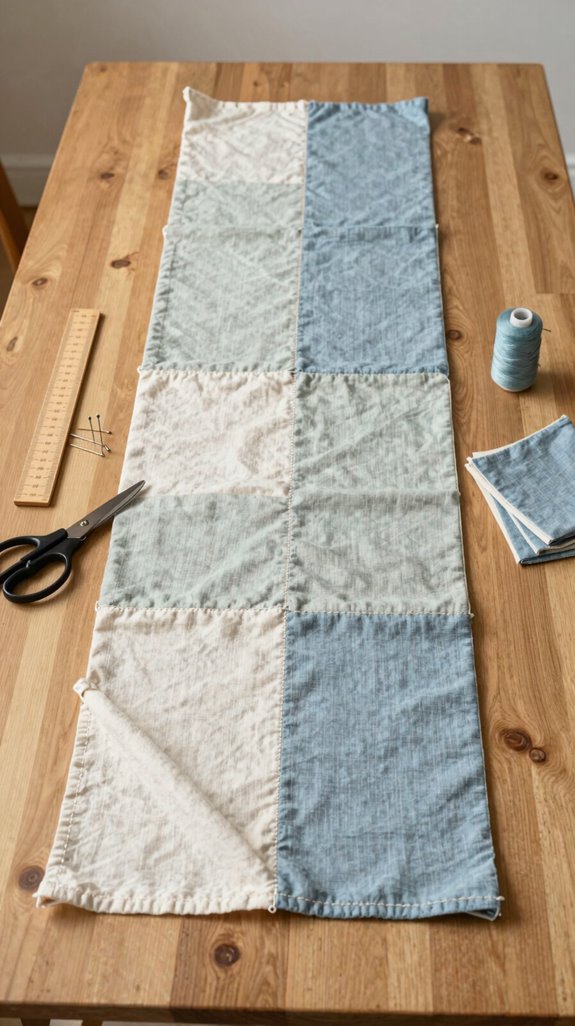
A table runner lets you create a polished, custom look with mostly straight seams—perfect for building confidence without wrestling a giant quilt!
Choose quilting cotton or another sturdy woven, using about 1/2 to 1 yard for the top and backing.
Pre-press everything, then cut long rectangles carefully; this helps you catch measuring mistakes before they become “design choices”!
Sew with a consistent 5/8-inch seam allowance, pressing after each seam.
Follow your presser-foot edge and needle-plate guides for straighter rows.
Finish with simple hems or easy binding, backstitching at each end.
Then add topstitching near the edge—your runner will look wonderfully crisp and ready for shared meals!
Napkin Set
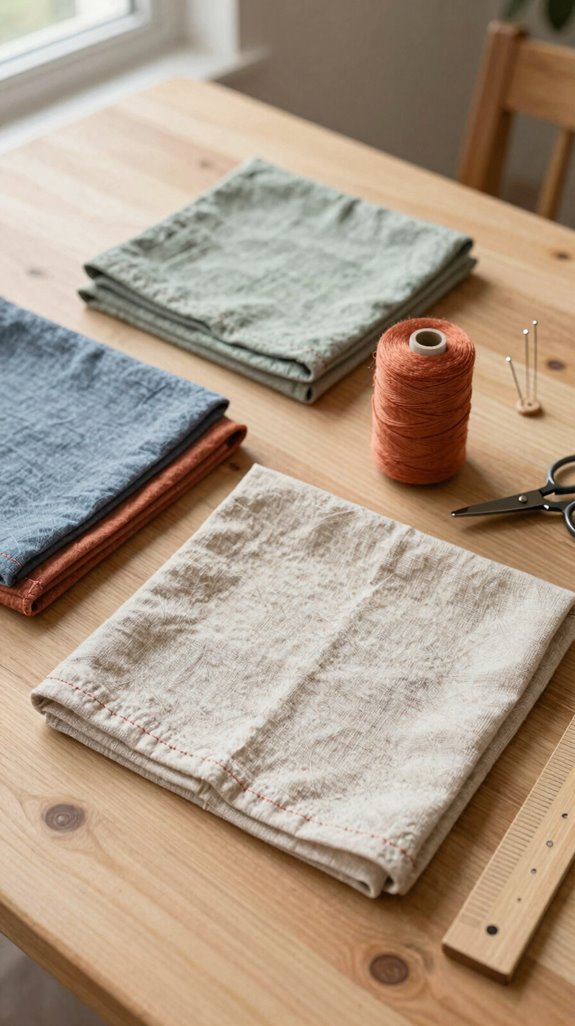
Sewing a napkin set gives you a fast, practical win: with cotton or linen, a few straight seams, and an iron, you can turn simple rectangles into crisp table linens!
- Cut four to eight matching rectangles.
- Fold a narrow double hem; fabric pressing keeps corners sharp.
- Stitch near the fold, using your presser-foot edge as a guide.
- Zigzag raw edges for wash-ready durability.
You’ll practice every learning stitch through cheerful repetition, and each napkin gets neater—no fancy tricks required!
Soon, you’ll have a coordinated set that makes your table feel welcoming, whether it’s taco night or a shared holiday meal.
Bread Basket
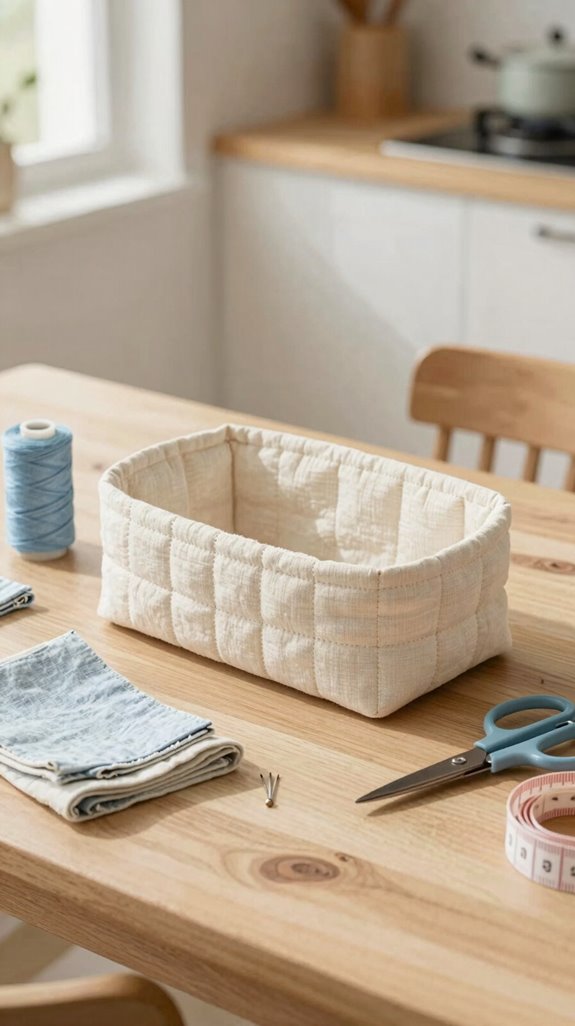
Turn a few cheerful cotton rectangles into a handy bread basket liner, and you’ll get a sturdy little project that looks far fancier than its straight seams suggest!
Choose 100% cotton quilting fabric, plus flannel if you’d like a softer inside. Cut simple panels for a basket about 10–12 inches wide, perfect for a boule or warm rolls!
Sew the straight edges, ease through the few curves, and practice neat seam finishing so nothing frays. Your pressing techniques matter here: press every seam flat before moving on.
Finally, topstitch the upper edge for a crisp, strong finish. You’ll bring a homemade touch to the table—and everyone will think you’ve joined the sewing pros!
Scrunchie
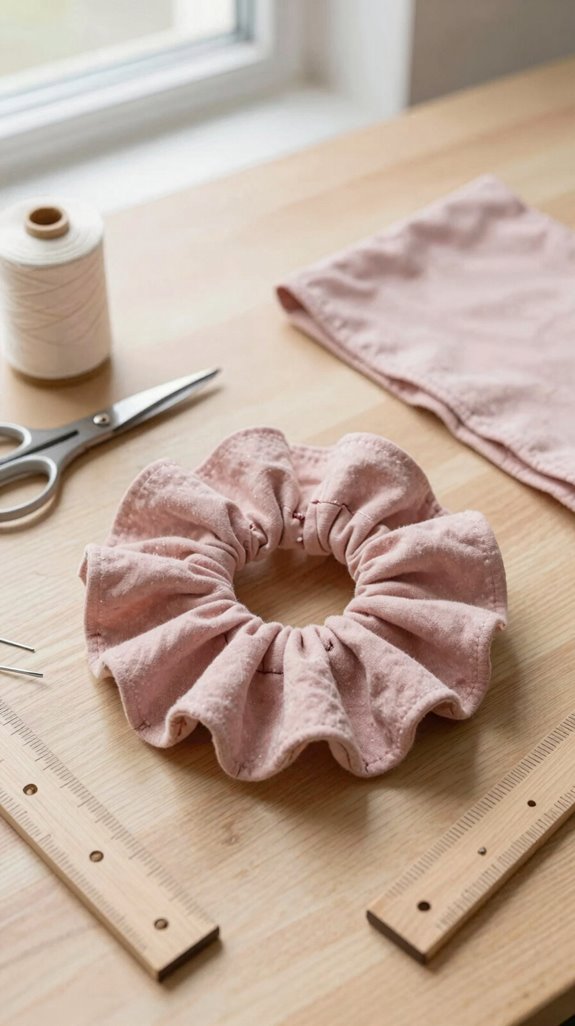
Scrunchies make a cheerful first project because you can stitch one from a fabric scrap, a bit of elastic, and a few easy straight seams—no elaborate pattern matching, no stress!
Gather your strip, elastic, pins, and thread, then join the growing circle of makers—yes, you belong here!
- Cut a fabric scrap, using a printable pattern for accuracy.
- Sew the long edge with a steady seam allowance.
- Turn it right-side out and thread in elastic.
- Close the opening for easy finishing.
Try several sizes to build consistency. Your stitches needn’t be perfect; the gathered fabric kindly hides tiny wobbles. Soon, you’ll have a useful accessory and confidence!
Knotted Headband
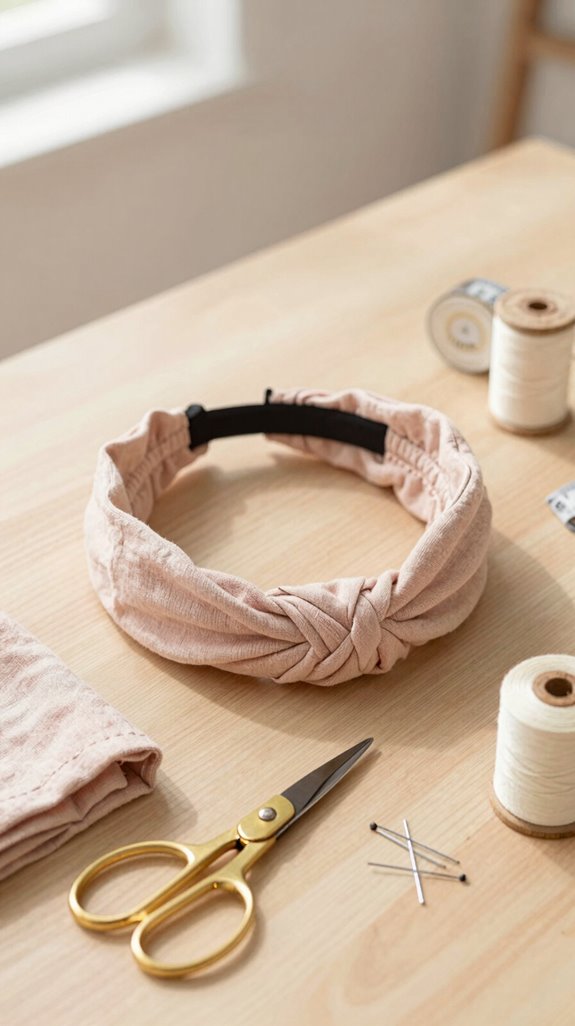
A knotted headband is a quick, comfy project that lets you turn a stretchy fabric strip into something cute enough for a school day, workout, or “my hair has plans of its own” morning!
Grab pre-washed cotton jersey, thread, scissors, and pins. It’s inexpensive, beginner-friendly, and mostly straight seams—hooray!
Check the fabric stretch first; it should run lengthwise so your headband hugs without warping.
Fold and stitch the strip into a tube, turn it right-side out, then form the knot and join the ends. Keep stitches even, not perfect; everyone starts somewhere.
Finally, add knot reinforcement with a small hidden seam or topstitch. You’ll have a polished accessory that feels handmade and totally you!
Travel Jewelry Roll
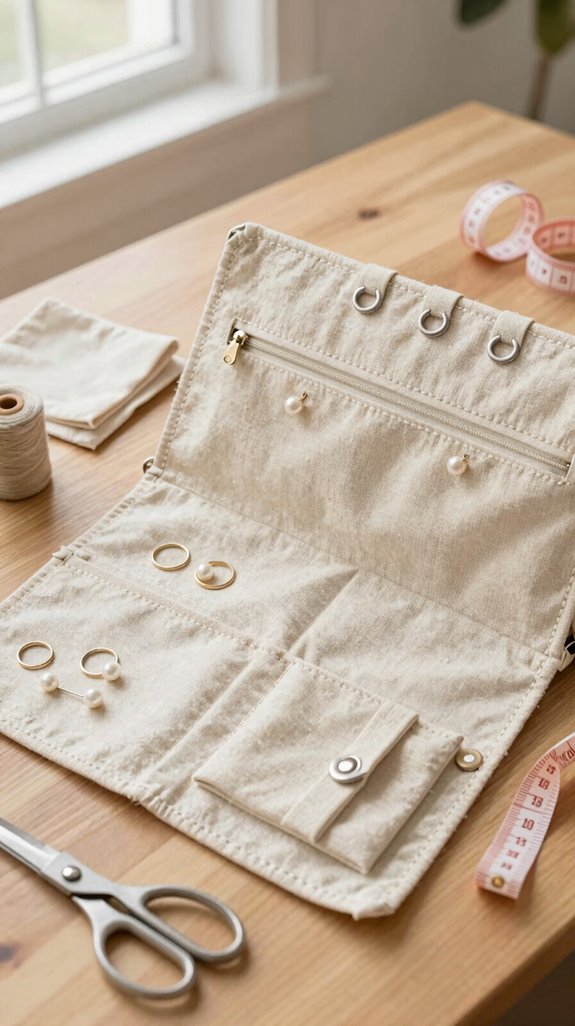
Keep necklaces from turning into a tiny suitcase-sized knot disaster with a travel jewelry roll—this beginner project uses simple fabric pockets and straight seams to keep every favorite piece in its place!
You’ll feel right at home making this useful little organizer. Gather firm canvas or cotton twill, quilting-cotton lining, thread, and a button or tie.
- Cut matching rectangles.
- Practice folding and topstitching edges.
- Try Choosing lining fabrics that protect delicate pieces.
- Build confidence by adding divider channels for rings and chains.
Add a small lined pocket for earrings, charms, or bobby pins—surprise, no more digging!
A tightly woven fabric wipes clean fast, and a snug closure keeps your roll compact.
Passport Holder
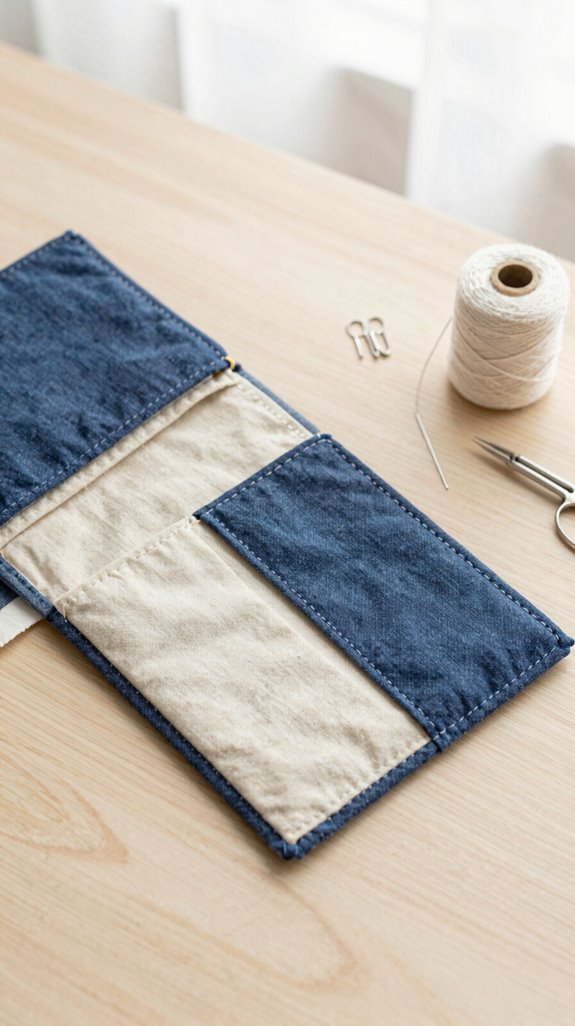
After organizing your jewelry, give your passport its own neat little home! Pre-wash cotton or canvas, then press it flat before cutting; this keeps your cover smooth and travel-ready.
For Choosing Interfacing, keep it light so your holder stays sturdy, not stiff as cardboard. Use a simple pattern, mostly straight stitches, and measure that 1–5/8-inch seam allowance carefully.
Fold and topstitch card pockets, then sew the lined sleeve, using finishing techniques that hide raw edges. Snaps, Velcro, or elastic make great beginner friendly closures. Press each seam and understitch the lining for crisp edges. Add a boxed X at a stressed corner, and voilà—your handmade cover looks impressively polished!
Dog Bandana
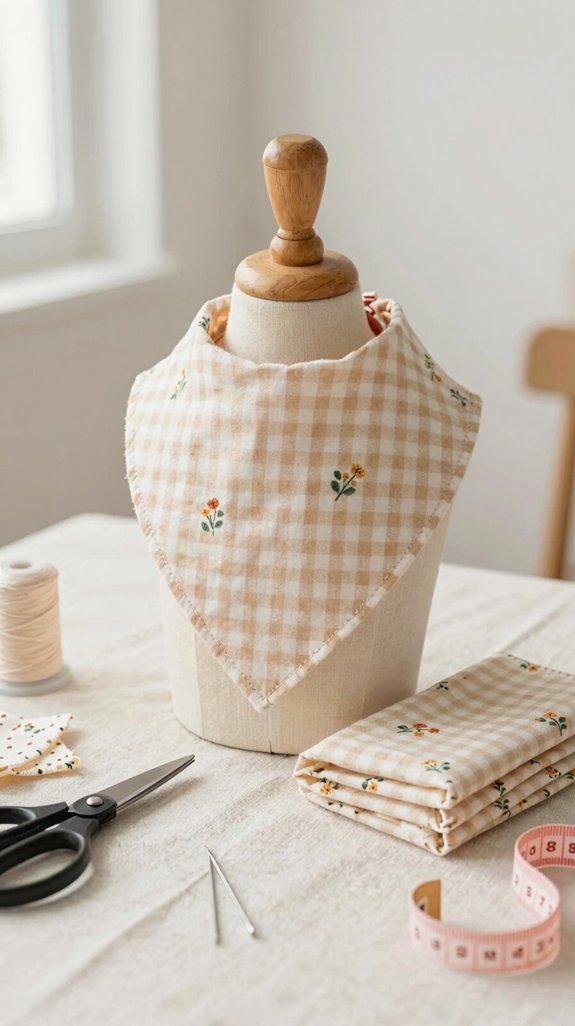
Turn a colorful scrap of cotton or denim into a cheerful dog bandana, and you’ll have a quick beginner project that looks tail-waggingly cute!
- Measure your dog’s neck, leaving comfy tying slack.
- Cut a triangle, or fold a rectangle into one.
- Press a 1/4–1/2-inch double-fold hem, then straight-stitch every edge.
- Match colors to your pup’s collar for easy Color matching!
Use a zigzag inside the hem if fraying worries you.
Want extra security? Sew short twill tape at the corners, backstitching firmly for no slip ties.
You’ll create a polished, washable accessory that helps your pup join the handmade crew—no fancy skills required!
Cat Toy
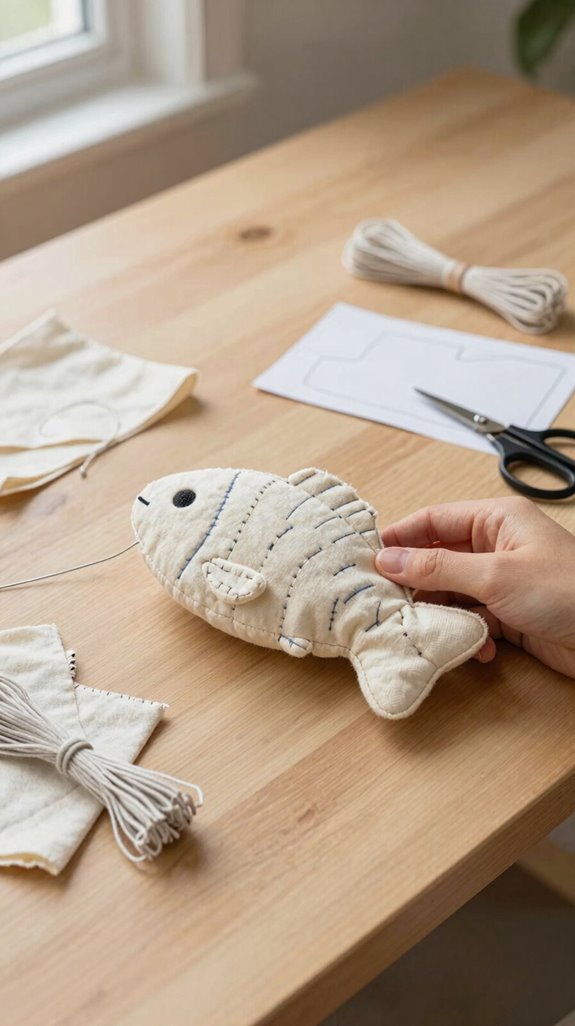
Sew a tiny cat toy pillow, and you’ll have a fast, budget-friendly project your feline can bat across the floor like it’s hunting a very dramatic mouse!
Choose Cat safe fabrics like lightweight woven cotton or no-fray felt.
Cut two 3–5-inch rectangles, stitch straight seams with right sides together, and leave a gap for turning.
Turn it right-side out, add a modest stuffing amount of polyfill, then close the opening with a neat topstitch.
You’re building confidence with every line!
For extra fun, tuck a twill-tape loop inside before sewing and backstitch seam ends.
That little loop lets your cat join the toy-game crew on a clip or play stand!
Baby Bib
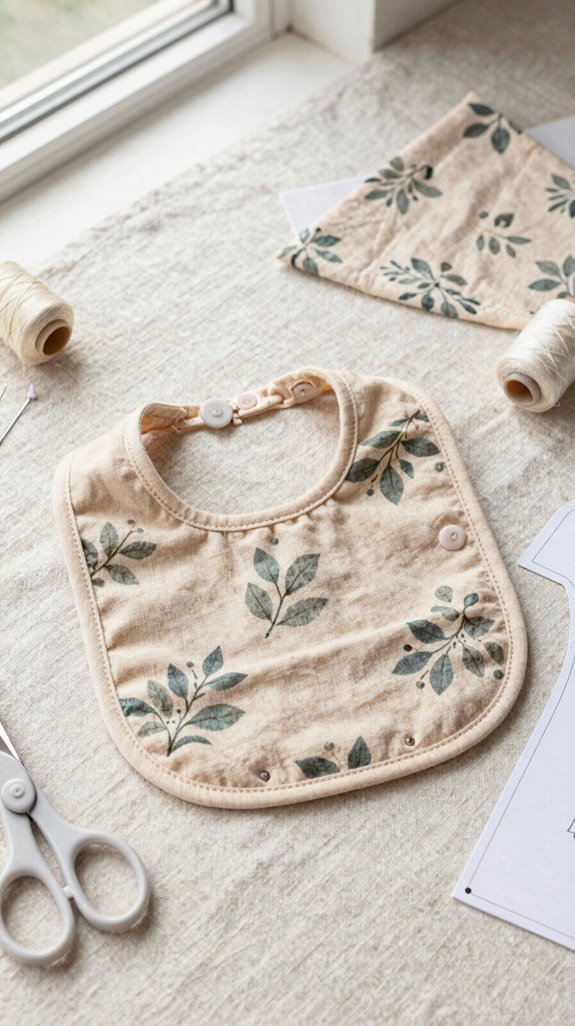
A baby bib is another quick win, and unlike a cat toy, it’s made to catch a much messier kind of chaos—think milk dribbles, mashed peas, and mystery stains!
Your pattern essentials are simple, and you’ll feel right at home with this project.
- Pick cotton or flannel for fabric selection.
- Add terry cloth for extra absorbency.
- Use pressing tips: press curves before topstitching.
- Try beginner closures, like snaps or ties.
You’ll practice straight seams, neat edges, and reinforcing stress points without scary buttonholes—yay!
Best of all, you’ll create something useful that looks surprisingly store-bought, especially when you make a matching burp cloth.
Crayon Roll
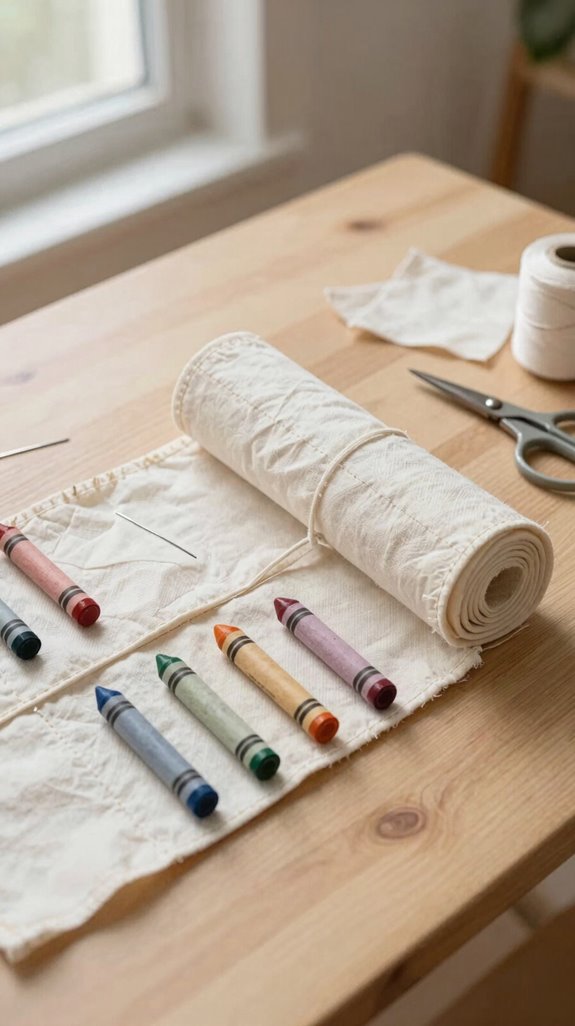
Crayon rolls are a cheerful little project that keeps art supplies from roaming loose in the bottom of a bag—huge win!
You’ll use scrap fabric or fat quarters, lining, thread, and simple ties, so it’s affordable and welcoming for new sewists.
Start with rectangles, finish raw edges with a zigzag or narrow hem, then press everything flat.
Next comes Crayon sizing: mark pockets for 8, 12, or 24 crayons and stitch evenly spaced lines.
You’re practicing straightstitch accuracy without battling curves—hooray!
Keep pocket rows coordinated and top edges smooth so crayons slide in easily.
Roll it up, tie it shut, and you’ve made a handy gift that feels wonderfully polished.
Reading Pillow
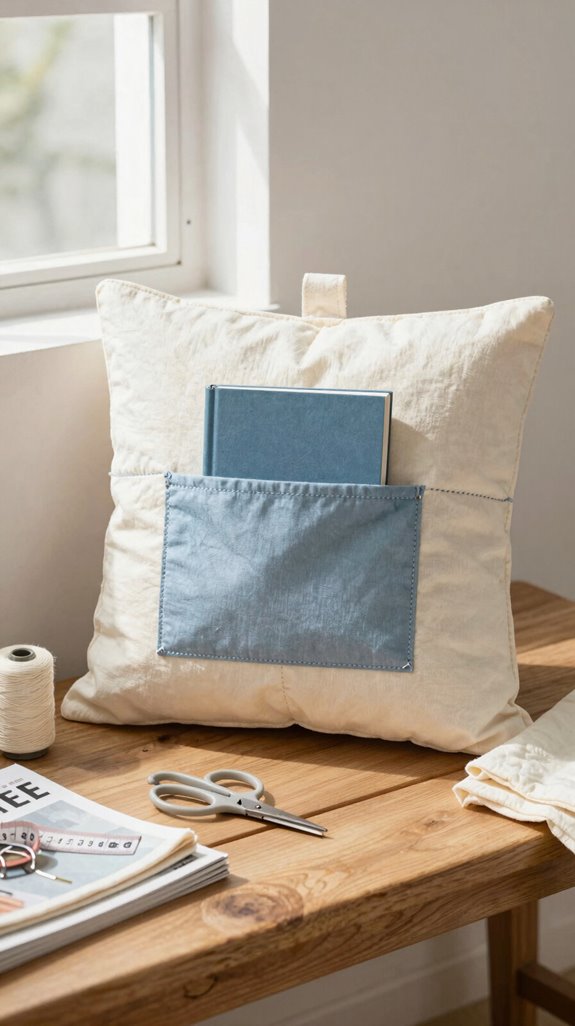
After organizing crayons, you can make a cozy reading pillow that holds a favorite book, tablet, or even a small stuffed buddy—pretty handy, right?
Choose cheerful fabric choices and an EASY beginner pattern; you’ll feel right at home with this friendly next step!
- Cut pillow and pocket pieces.
- Check Pocket placement before stitching.
- Use seam pressing around pocket edges.
- Sew straight seams, turn, and stuff!
You don’t need ordinary gear or garment-fitting skills, just fabric, thread, stuffing, and a little patience.
Stitch the pocket securely for daily story time.
Soon, your handmade pillow becomes the coziest spot in the room—bonus points if it guards a teddy!
Hanging Organizer
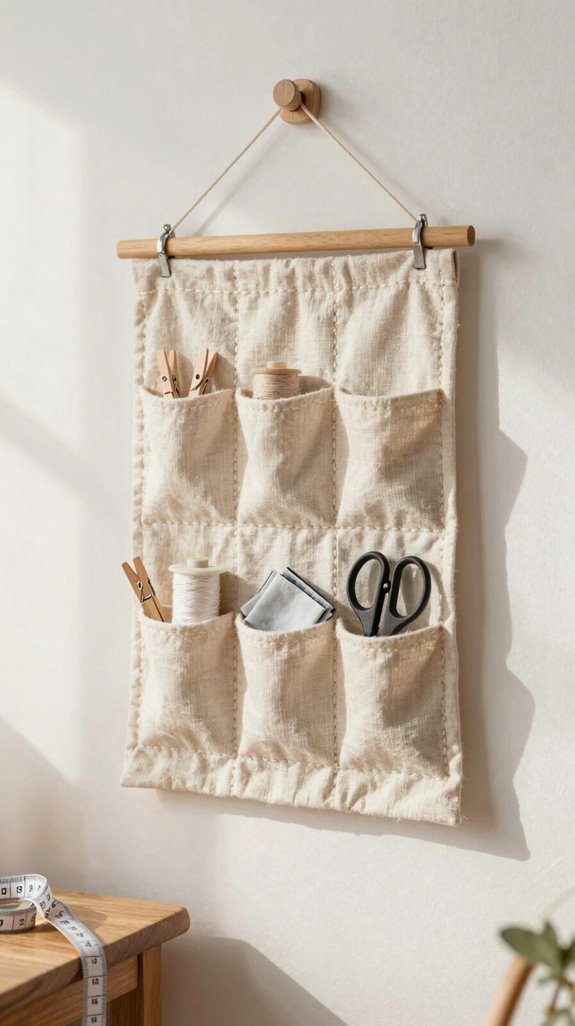
Turn a blank wall or closet door into useful storage with a simple hanging organizer—such a satisfying first “real” sewing project!
Choose quilting cotton or canvas, then use a straight-seam pattern with pockets or divided panels. You’ll get seam allowance practice, corner pivots, hems, and zigzag edge finishing without any sewing-drama surprises!
Try pressing techniques before cutting, and press each seam as you go; your organizer will hang neatly instead of looking like it slept in a drawer.
Finish with a top casing, loops, or buttonhole ties. Here’s the confidence boost: backstitch or box-stitch hardware corners, and your handy organizer can truly hold its weight!
Laundry Bag
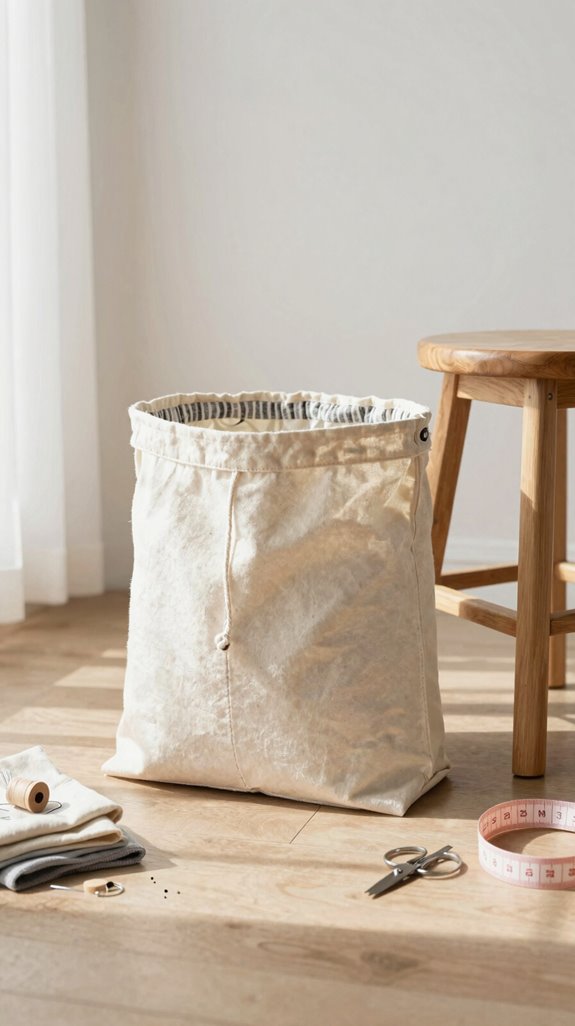
With a little sturdy fabric and a few straight seams, you can sew a laundry bag that makes hamper chaos look surprisingly organized—wow!
- Choose medium-weight woven fabric and pre-wash it if you’ll wash the bag often.
- Measure carefully, then stitch consistent 5/8-inch seam allowances for confident fabric handling.
- Press seams as you go, using easy hemming and zigzagging raw edges to fight fraying.
- Add a drawstring casing, then thread cord with a safety pin—teamwork makes it easy!
Backstitch around handle openings, and reinforce straps with a box-and-X. Your laundry finally gets a cozy home, not a floor-based social club!
The Best Fabrics for First Projects
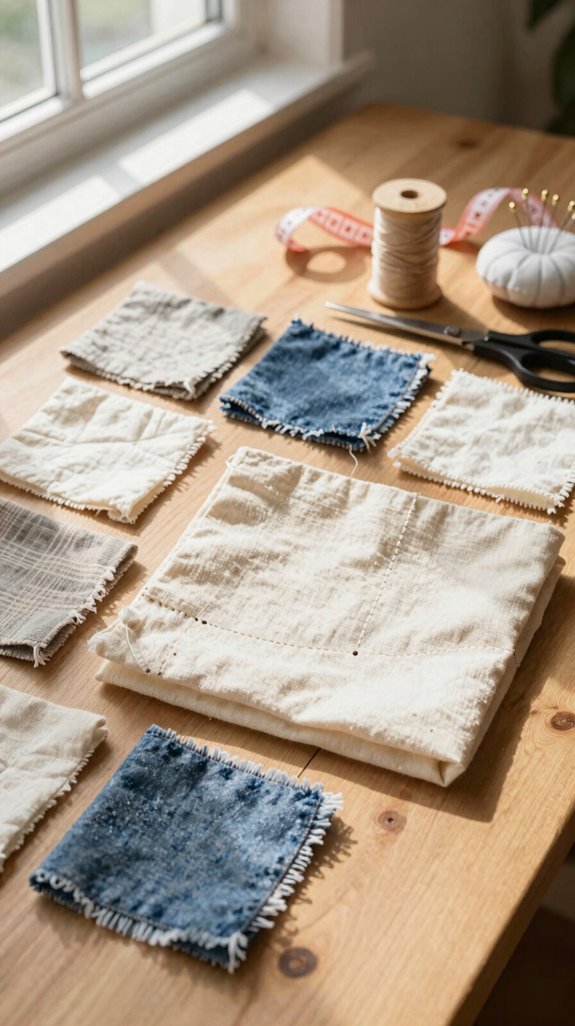
A sturdy laundry bag starts with fabric that behaves itself at the machine, and the same rule makes every first sewing project feel much less scary—yay!
For fabric selection, choose medium-weight quilt cotton, canvas, duck cloth, or denim. They hold their shape, help with seam consistency, and don’t wiggle like a sneaky knit.
Making a pillowcase or tote? Follow prewash tips: wash cotton first, so later shrinkage won’t twist your seams. For scrunchies, pouches, and key fobs, fat quarters and scraps are affordable, friendly choices.
For drawstring bags, use woven fabric so cords slide smoothly. Before sewing, practice handling corners on doubled scraps—the exact fabric you’ll use.
How to Improve Your Sewing Faster
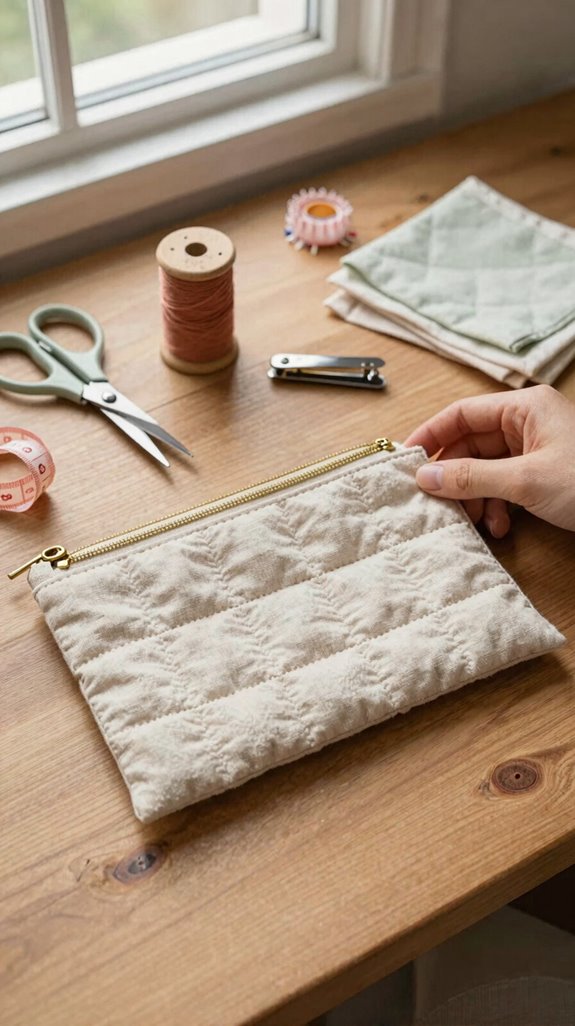
Sharpen your sewing skills one small habit at a time, and you’ll notice straighter seams, cleaner corners, and way fewer “why is this thread tangled again?” moments—yay!
- Follow the presser-foot edge and plate guides, not the needle, for better seam accuracy.
- Practice speed control on folded scraps; slow sewing builds stitch consistency.
- Check your 5/8-inch seam allowance with tape guides or a ruler before you stitch.
- Boost backstitch efficiency: stitch backward a few times at each end, then stop with the take-up lever raised.
Here’s the game-changer: press every seam, then pivot corners with the hand wheel and needle down. You’ve got this, sewing friend!