25 Sewing Letters on Fabric Ideas for Beautiful Personalized Projects
You can sew letters on fabric for tons of projects: tote bags, pillow covers, baby blankets, hoops, stockings, aprons, labels, and storage baskets. Pick bold fonts, trace big initials, add stabilizer, pin or glue, then zig-zag with width 4 and length 1. It’s cheap, beginner-friendly, and the clean edges look store-bought with a handmade wink! Keep your word choice simple, and you’ll find even more clever ideas hiding just ahead, too.
Love cozy DIY projects? 💕
Get free printable guides, exclusive tutorials & surprise craft goodies straight to your inbox.
Disclosure: This post may contain Amazon affiliate links, at no extra cost to you. Content on DiyCraftNest is created with research support from AI tools and carefully reviewed, edited, and fact-checked by the lead author, Daniel Pat, to ensure accuracy and reliability. Learn more
Key Takeaways
- Use medium-to-large fabric letters for easier sewing and cleaner curves on totes, pillows, napkins, and banners.
- Glue letters first, then add tear-away stabilizer behind them for smoother zigzag stitching and less shifting.
- Sew appliqué edges with zigzag settings around width 4 and length 1 for a neat, durable finish.
- Personalize quilts, towels, aprons, and bags with names, dates, initials, or words like JOY, NOEL, or HOME.
- Finish by trimming edges with pinking shears and removing stabilizer for reduced fray and crisp corners.
Monogram Tote Bags
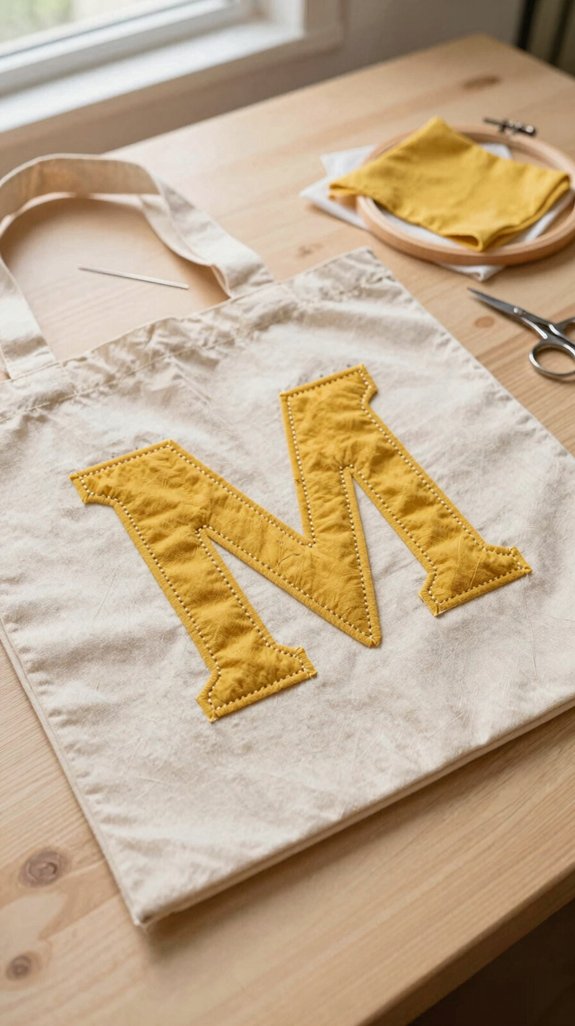
Turn a plain canvas tote into a one-of-a-kind carryall with a bold fabric monogram—no embroidery machine required!
Choose a medium or large initial; smart fabric letter sizing makes curves easier to sew and lets your everyday bag join the personalized crowd. You’ll need cotton scraps, fabric glue, pins, embroidery stabilizer, and thread.
Glue your letter in place, then pin stabilizer behind it. For appliqué stitch guidance, set zigzag width to 4 and length to 1, sewing around the edge.
Cut outside your stitching line, and use pinking shears for less fray. Tear away stabilizer afterward—your tote looks boutique-ready!
Personalized Pillow Covers
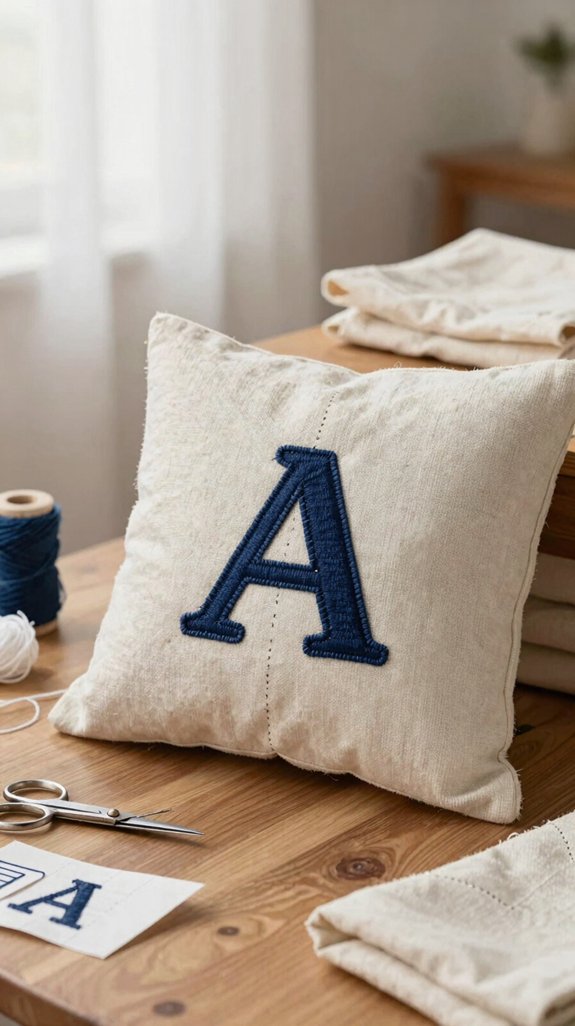
A cozy pillow cover becomes instantly yours when you add a bold fabric letter to the front—no embroidery machine, stylish skills, or mysterious sewing magic needed!
| Step | What you do | Result |
|---|---|---|
| Cut | Pick medium letters | Better fit |
| Secure | Pin or glue fast | Easy setup |
| Support | Follow stabilizer tips | Clean stitches |
| Stitch | Zig-zag around edges | Cute finish |
| Finish | Trim with pinking shears | Less fray |
Choose medium-to-large letters, because tiny initials can get fussy. For letter size selection, cut fleece, then pin it to the cover. Use stabilizer placement tips: slip stabilizer under the applique, zig-zag with width 4, length 1, and grin!
Baby Name Blankets
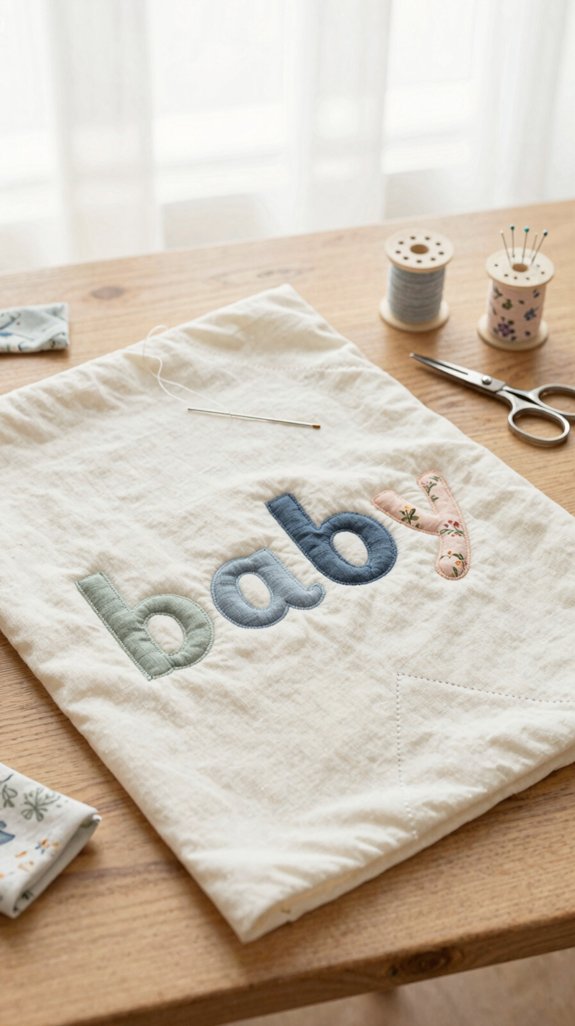
If you loved adding fabric letters to pillow covers, baby name blankets are the next fun project, because you can spell out a tiny name with cut-out fabric and stitch it right onto a soft backing—no embroidery machine required!
Print the name in a bold font, trace each letter, and place stabilizer underneath so nothing shifts.
Then use zigzag techniques, starting around width 4 and length 1, for neat edges.
After applique finishing, tear away the backing, trim with pinking shears, and you’ve got a cozy keepsake that feels handmade, welcoming, and totally yours for your little crew today!
Wedding Keepsake Hoop
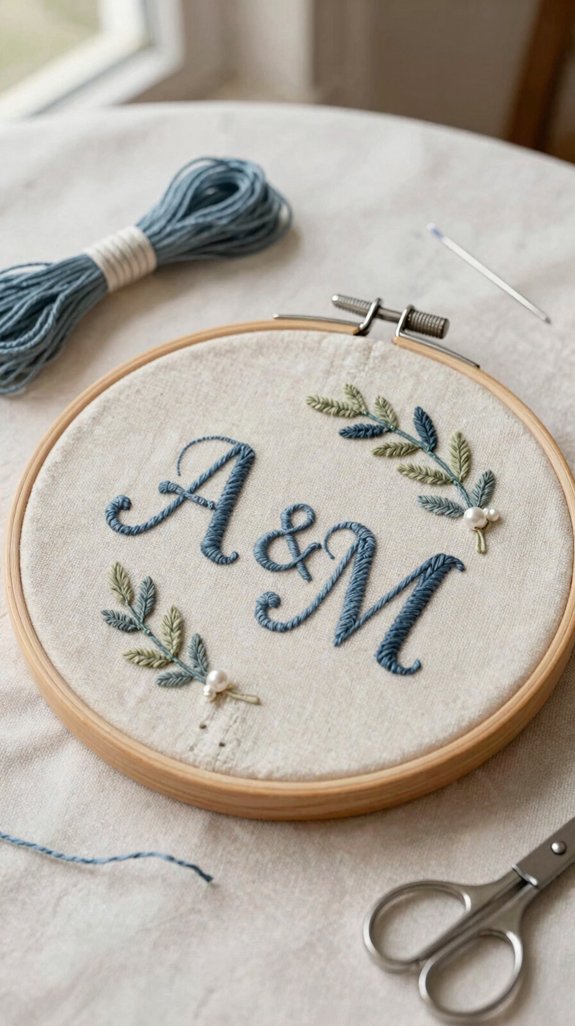
For a sweet keepsake that doesn’t feel stiff or fussy, make a Wedding Keepsake Hoop with an 8–10 inch hoop, fabric letters for the couple’s initials or wedding date, and a piece of tear-away stabilizer tucked underneath so everything stays put.
You can use fleece letters, pin them down, then zig-zag stitch around the edges for secure applique methods.
If you want a no-iron shortcut, add fabric glue first.
Try Alternative hoop fabrics, keep fabric color coordination soft and romantic, and finish with display ribbon styling.
Cute, quick, and totally gift-worthy!
Your finished hoop feels personal, warm, and wedding-ready.
Christmas Stockings
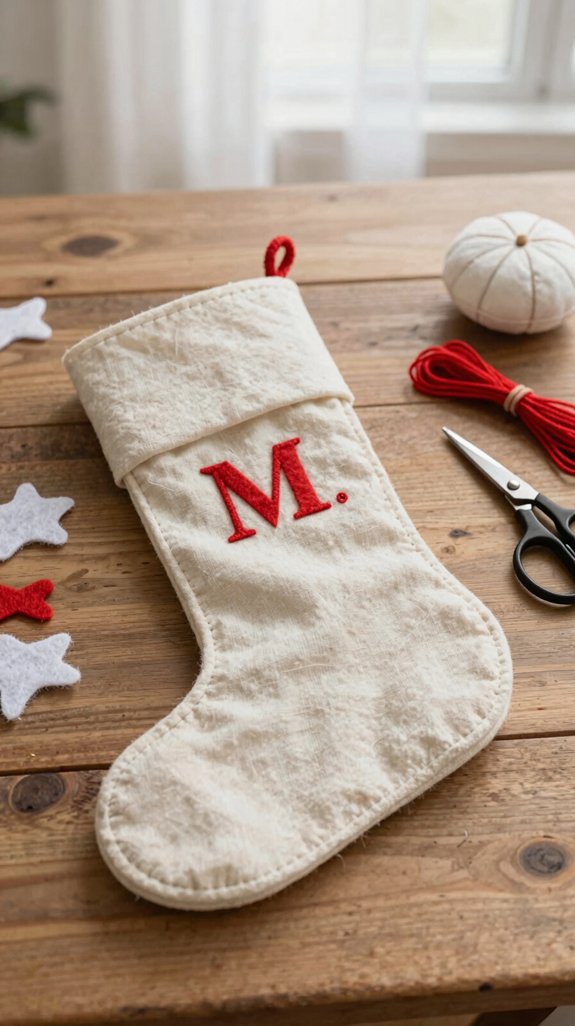
After that sweet wedding hoop, you can keep the handmade magic going with Christmas stockings that show off a name or festive word—cute, cheap, and way less fussy than they sound!
Trace medium-to-large letters from Letter sizing templates, glue them on, then stitch around each shape with zigzag stitch finishing details.
Slip stabilizer behind, and add batting if you want puffier letters that pop.
If your fabric frays, skip straight stitching, because zig-zag edges hold up better.
It’s a simple, budget-friendly make, and your stocking will look custom in the coziest way—like it belongs naturally by the fire!
Canvas Wall Banner
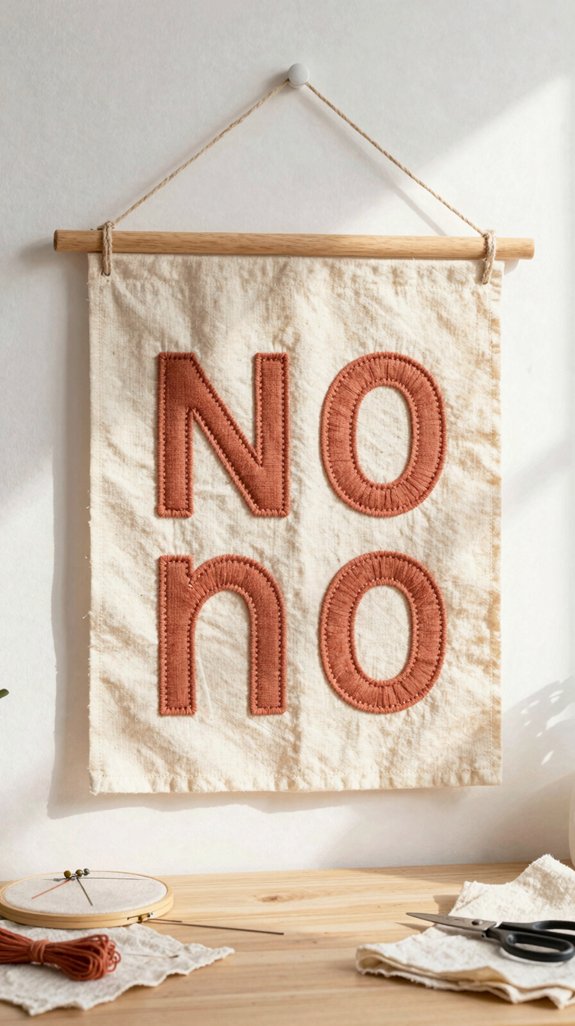
A canvas wall banner is such a fun way to show off a name, quote, or happy little word, and you don’t need skilled skills to make it look polished!
Pick medium-to-large fabric letters because tiny ones get fussy fast. Cut them out, clip the edges if you want, then pin them on your canvas.
Use fabric glue or heat setting fusible tips plus seam allowance prep to hold everything steady before you sew.
Stitch a zig-zag, width 4 and length 1, over tear-away stabilizer, then tear it out for a clean back.
Nice and tidy!
Every time, truly.
Kitchen Aprons
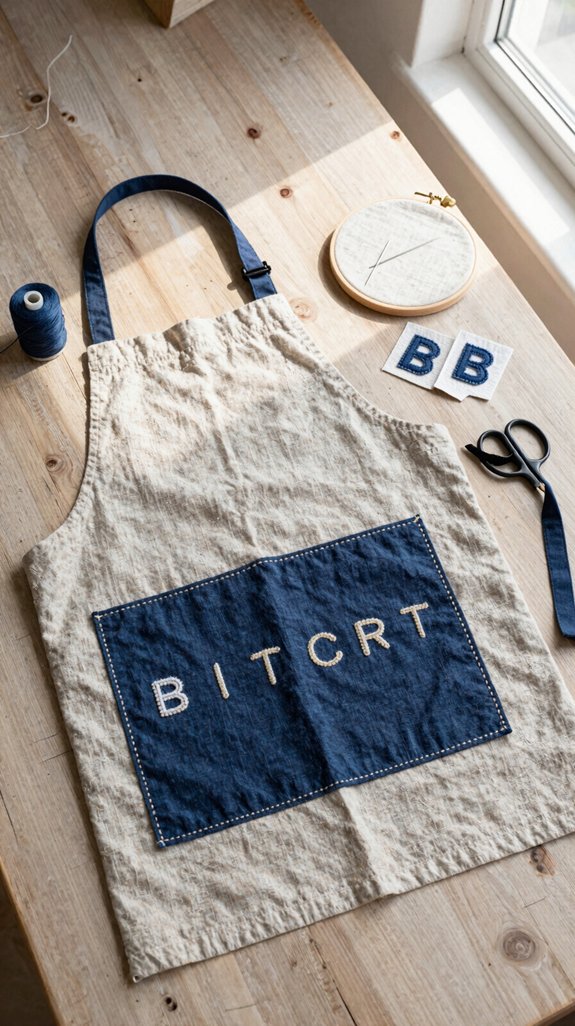
Kitchen aprons are a super fun place to stitch on a name, “Bake,” or a few bold initials, and you don’t need skilled sewing skills to make it look cute and polished!
- Mark the centerline and space letters evenly for durable fabric placement.
- Cut fabric letters, then pin or glue them down so they won’t wander.
- Stitch with a zig-zag, using Applique stitch tips: width 4, length 1.
- Add tear-away stabilizer, then trim edges with pinking shears for a neat, sturdy finish!
You’ll get a friendly, washable apron that feels made for your kitchen crew and daily flour fights.
Nursery Name Sign
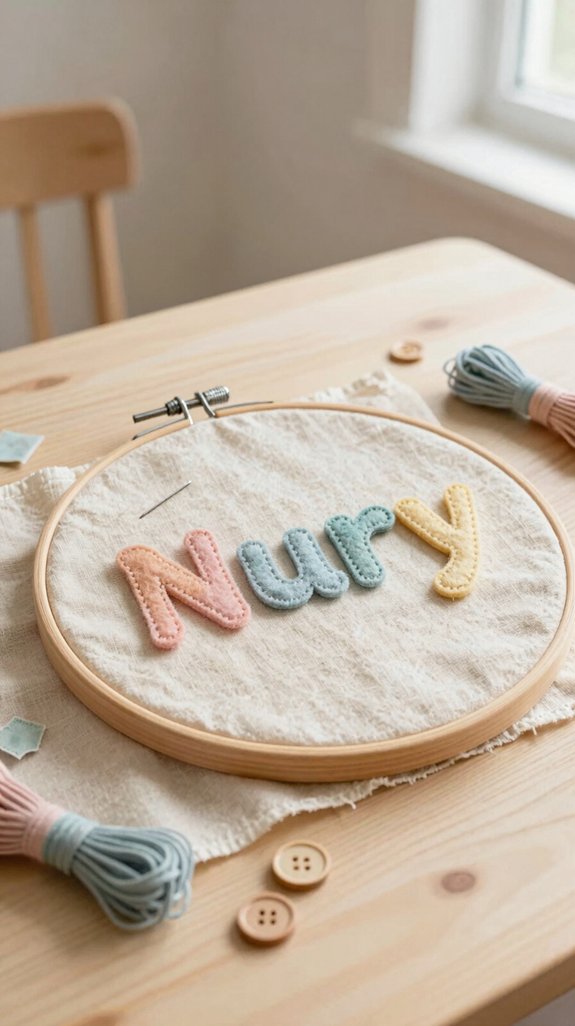
Little letters can turn a plain wall into a sweet nursery moment! You can make a nursery name sign with medium-to-large fabric letters, because tiny initials often get fussy. Print the name in a bold font, trace it onto fabric, then cut just outside the line with pinking shears.
Build a fabric-batting-fabric sandwich, pin it, and zig-zag around each letter for a neat finish. Color selection tricks help you match the room, and backing fabric options keep the back tidy.
Add stabilizer under the name, then tear it away if needed. Cute, quick, and totally welcoming for tiny hands!
Backpack Labels
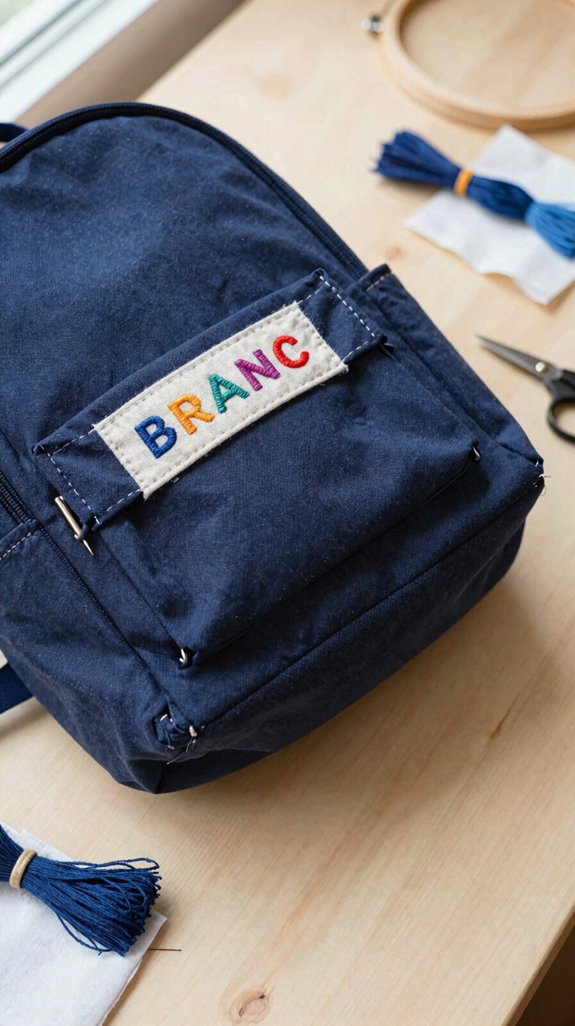
If you liked the soft, sweet look of a nursery name sign, you can use the same fabric-letter trick to make backpack labels that actually survive school days, lunch spills, and the mysterious black hole inside a kid’s bag!
Choose sturdy fabric from a quick fabric selection guide, like anti-pill fleece, then cut medium-to-large letters.
- Trace the name on the panel.
- Pin or glue letters in place.
- Stitch edges with a zig-zag, width 4, length 1.
- Pull stabilizer out after sewing.
That boosts Backpack label durability, and your bag looks proudly yours—no mix-ups, no fuss every single busy morning.
Book Sleeves
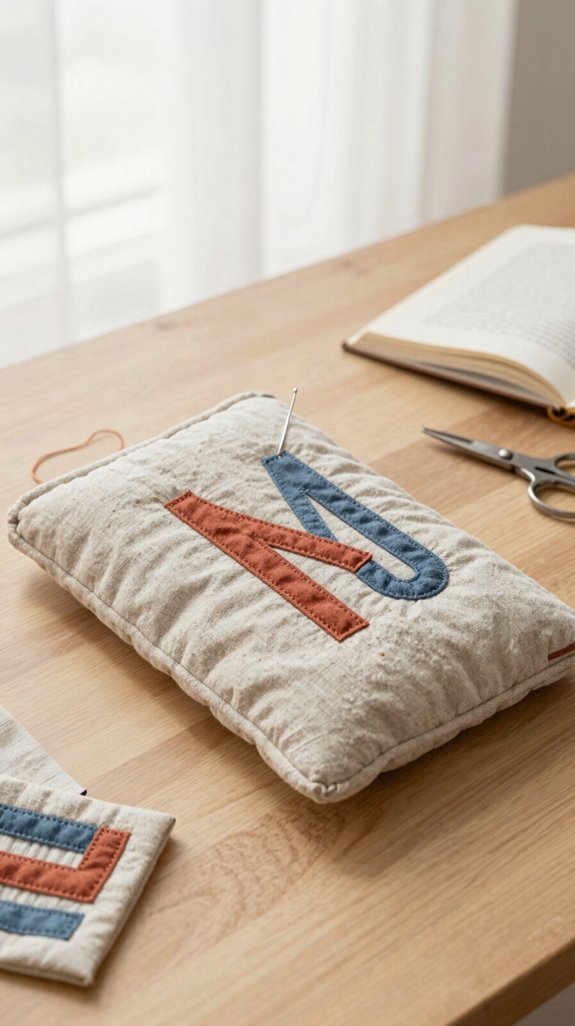
Because book sleeves usually don’t leave much room for an embroidery hoop, fabric letter applique is a cute, beginner-friendly way to add a name, quote, or tiny bookish tag.
| Step | What you do | Tip |
|---|---|---|
| Trace | Mark medium-to-large letters on cotton. | Keep names bold. |
| Pin | Place letters on the sleeve front. | Check the spacing twice. |
| Sew | Stitch with stabilizer or tissue paper. | Use zig-zag, width 4, length 1. |
Sewing without fusible means you can add fabric glue first, then stitch over it. For stabilizer alternatives, tissue paper works, and you’ll tear it away after sewing for a neat finish too.
Table Runners
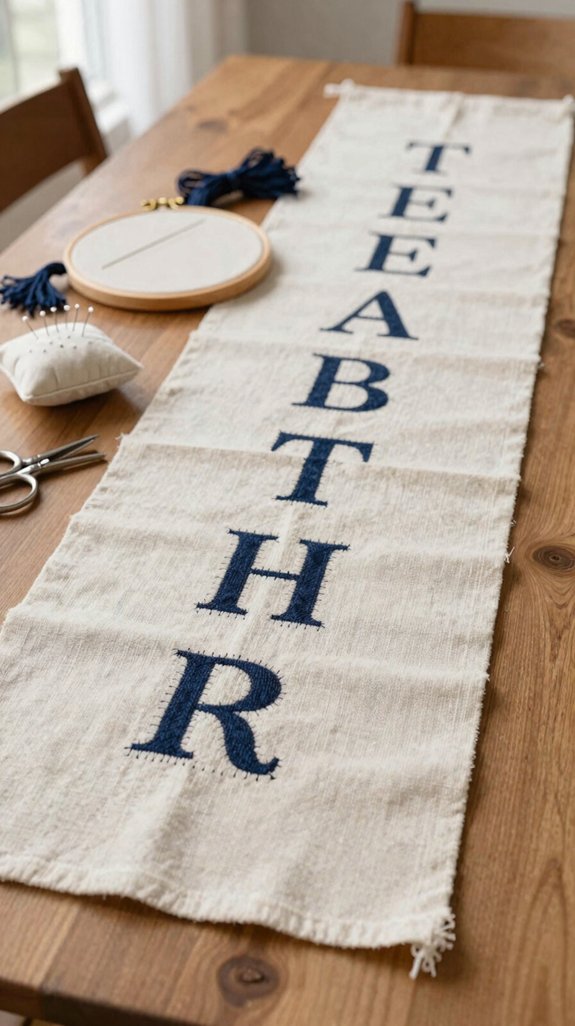
Table runners are a fun next step after book sleeves, and they give you a bigger canvas for playful fabric letters, names, or a holiday phrase that makes the whole table feel dressed up in a flash!
- Sketch a placement grid, then test monogram styles with letters.
- Cut 8×8 squares, stack fabric-batting-fabric, and thread basting keeps it steady.
- Glue, then zig-zag at width 4 and length 1, using appliqué fonts you love.
- Trim with pinking shears, tear away stabilizer if needed, and your runner looks tidy and handmade!
You’ll get welcome vibes, and zero drama!
Pet Bandanas
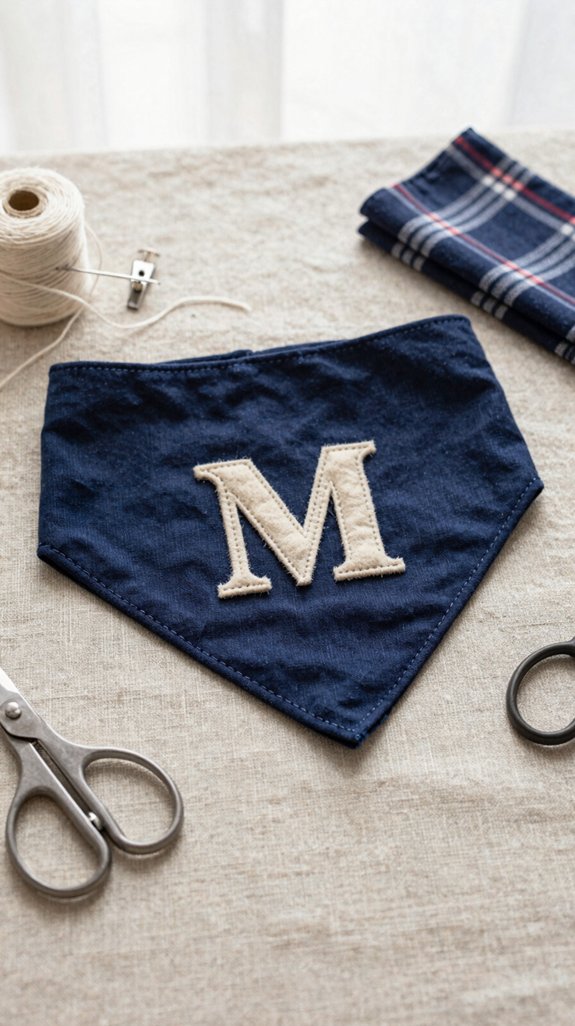
For a pet bandana that feels custom-made, you can add your dog or cat’s name with big fabric letters, and honestly, they’re way easier to sew than tiny initials!
Pick cotton scraps, thread, a needle or machine, and a tear-away stabilizer, then pin the letters on, stitch around the edges with zig-zag, and tear the backing away.
Bandana color coordination helps the name pop, and Font size selection keeps it bold and readable.
If you want a faster fix, use fabric glue to tack letters first, and you’ll get a neat, friendly bandana that feels made for your pack!
Linen Napkins
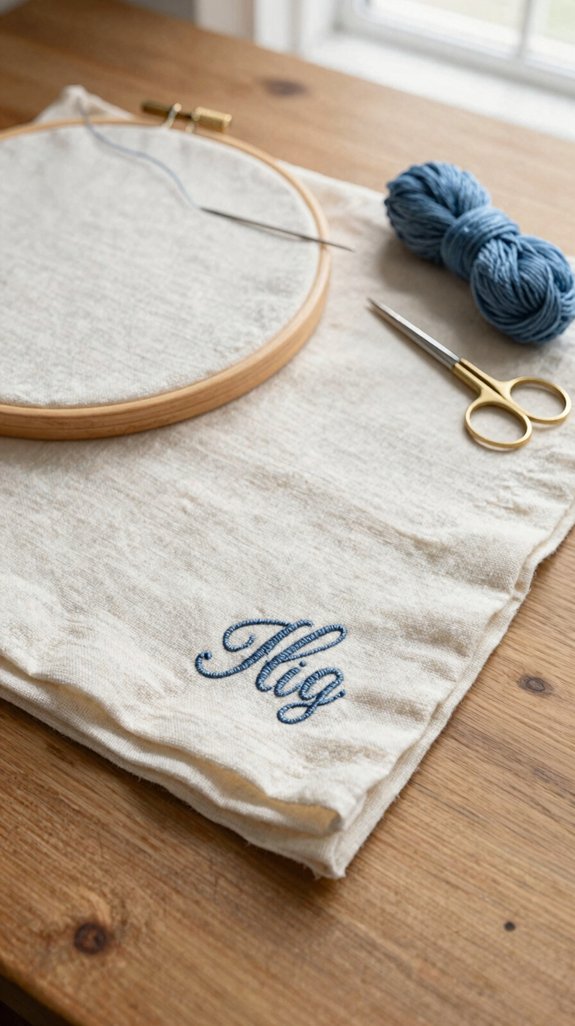
A set of linen napkins gets a whole lot more charming when you stitch on bold fabric letters, and you don’t need sophisticated tools to pull it off! Try this:
- Plan letter sizing and stitching prep with medium-to-large shapes.
- Pick stabilizer options: slide tear-away embroidery stabilizer under the napkin, wrong side up.
- Glue the letters, pin them, then zig-zag around edges at width 4, length 1.
- For edge finishing, trim with pinking shears, then sew perimeter.
Big letters stay smooth, tiny ones can wobble, and your table feels instantly more like home every single time!
Quilt Labels
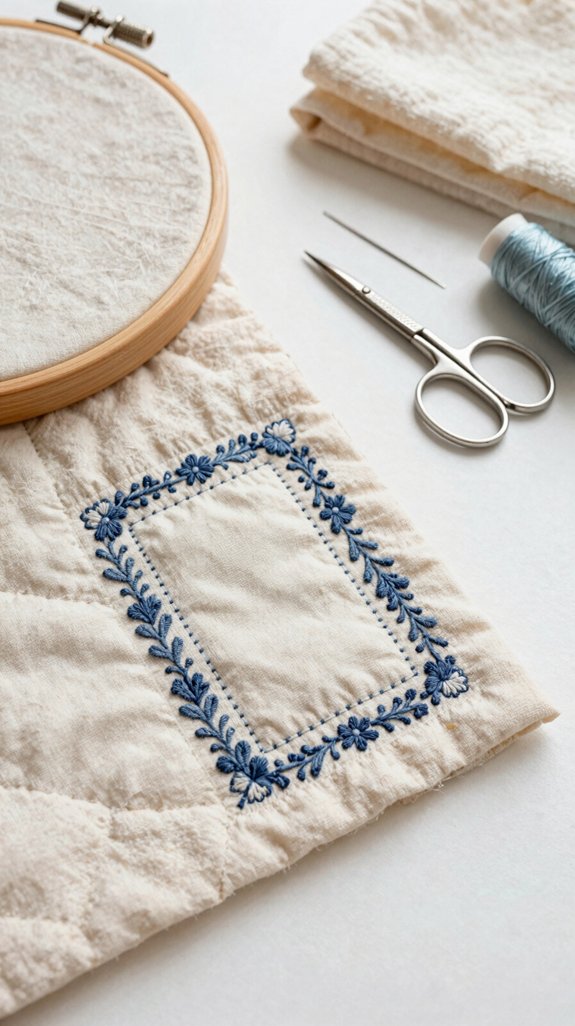
Once your quilt’s all pieced together, give it a personal signature with a separate label made from fabric letters—names, dates, or a little “quilt by” message look so sweet!
To figure out How to fabric lettering, pick larger letters, glue them on, then zig-zag stitch with your machine—easy and neat!
To keep the backside tidy, slip tear-away stabilizer under the label, pin well, and tear it out later if needed.
Trim with pinking shears for clean edge techniques, and your label stays crisp without bulky corners.
It’s a tiny finish, but it makes your quilt feel like home again, somehow.
Hand Towels
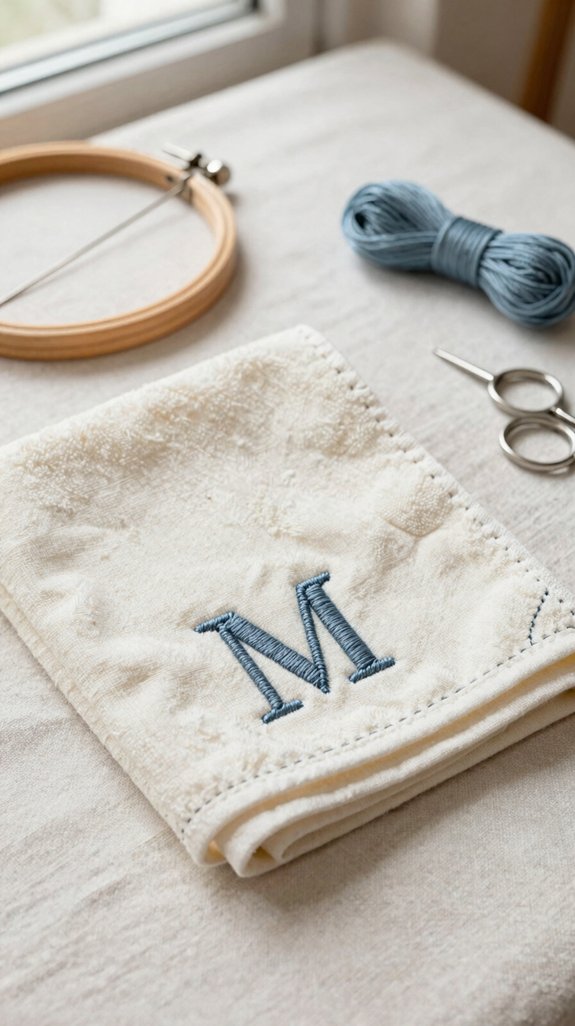
When you want your hand towels to feel a little more special, cut bold letters from sturdy fabric like anti-pill fleece, then pin them on the towel front and stitch around them with a zig-zag—set your machine around stitch width 4 and stitch length 1 for a neat little finish!
- Trace medium letters on paper.
- Add stabilizer under the towel.
- Glue if you’d rather skip pins.
- Trim with pinking shears, then wash.
Fabric paint stencils can mix in, but applique edge finishing keeps the edges neat and your towel crew looking polished every single time.
Fabric Gift Bags
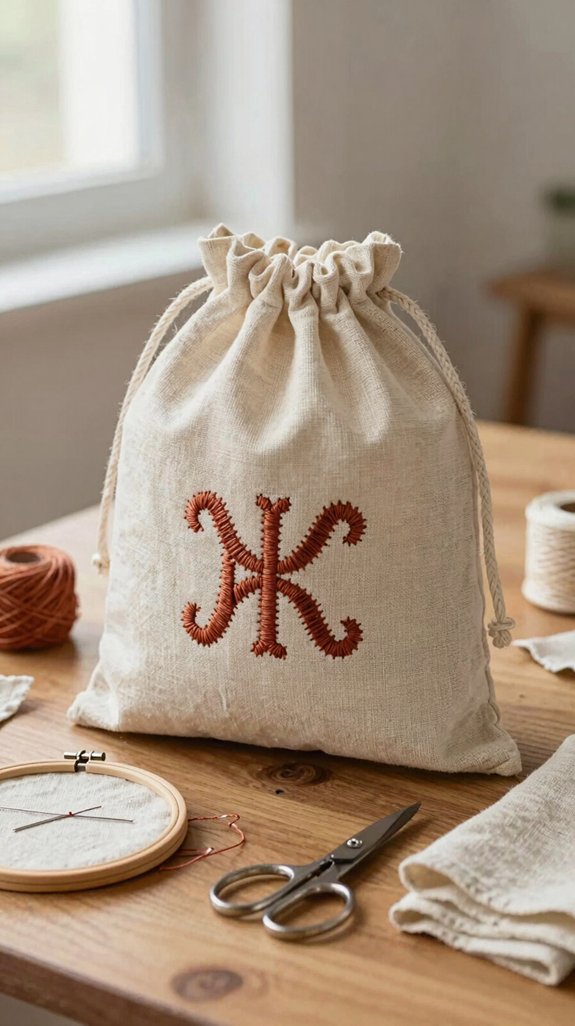
Your gift bag’s front can go from plain to party-ready fast: cut medium-to-large letters from a contrasting fabric, then pin or glue them in place and stitch around the edges with a zig-zag, starting around stitch width 4 and stitch length 1 for a neat applique finish.
Add a stabilizer behind the design, slightly larger than the letters, and you’ll get cleaner stitching. For a sturdier front, make a fabric-batting-fabric sandwich, then check monogram placement and gift bag sizing before you sew so everything feels balanced and gift-ready.
Finish with pinking shears, and your bag won’t fray at all.
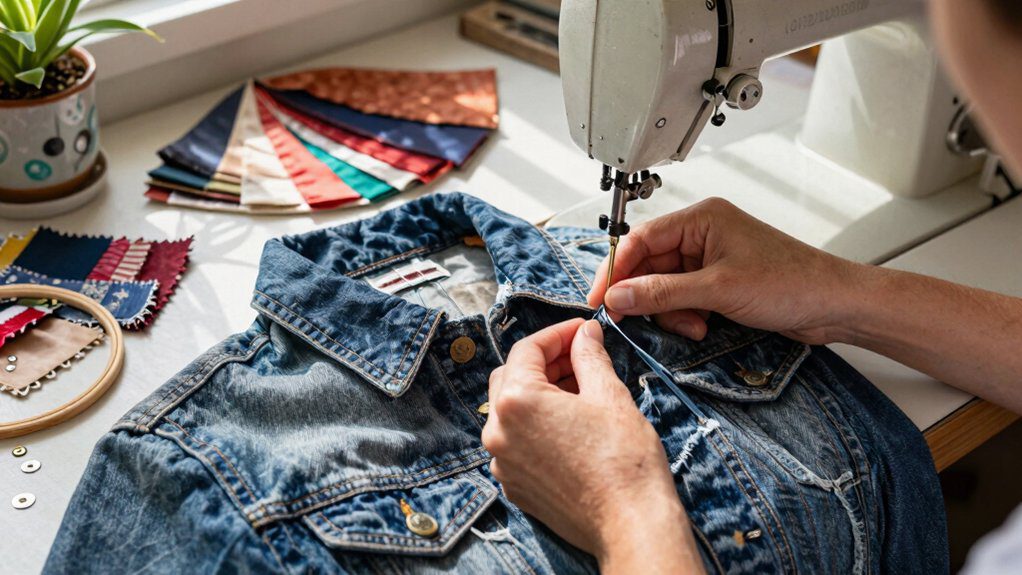
Denim Jacket Names
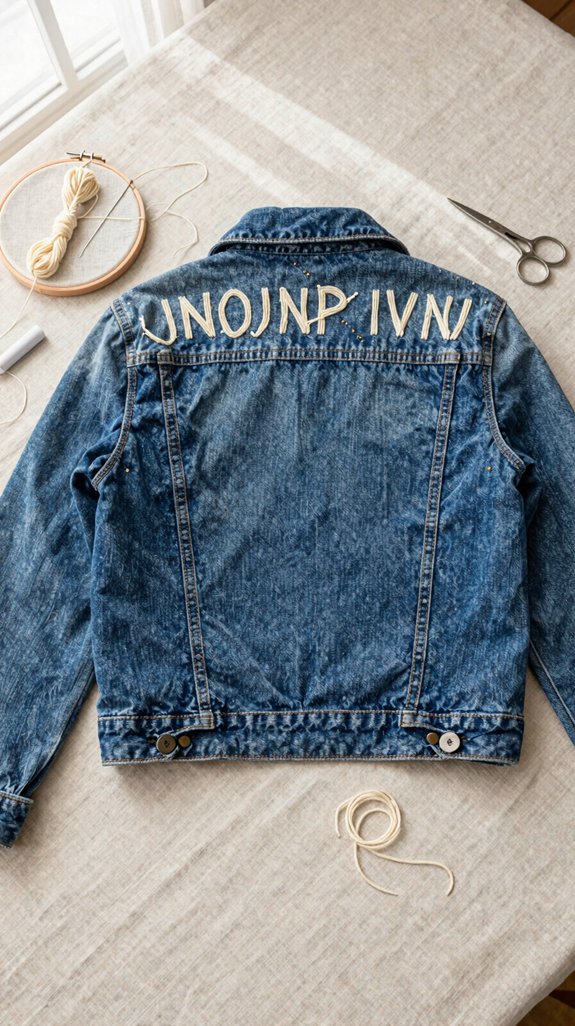
If you loved making bold fabric letters for gift bags, a denim jacket can wear that same handmade look with way more attitude—hello, custom name patch!
You can build your name with medium-to-large appliques, and it’s easier than it sounds.
- Trace letters on sturdy denim scraps.
- Cut slightly outside the line, then glue and pin.
- Stitch edges with a zig-zag.
- Add stabilizer for flat, clean results.
Upcycled denim patches feel cool, while faux chenille lettering adds cozy texture.
You’ll get a one-of-a-kind jacket that says, “You belong here!”
Easy win, big style, and your crew will notice the upgrade!
Kids Lunch Bags
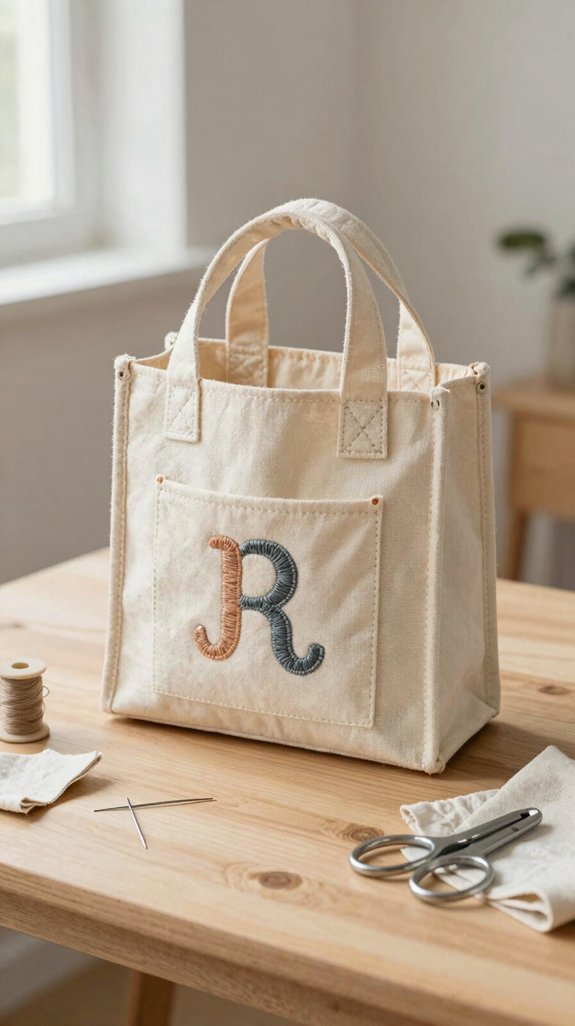
A plain lunch bag can turn into a mini name-tag parade with fabric letter applique—cute, fast, and way easier than hunting down an embroidery machine!
Pick medium-to-large letters, cut them from cotton, and place them on the front.
Choosing fabric stabilizers matters, so slip a tear-away backing underneath, pin it, and glue the letters first if you’d like no-iron ease.
Then stitch around the edges with easy zigzag finishing, about width 4 and length 1, for really clean, school-ready names.
Tear out the backing, and boom, your kid’s bag looks like it belongs to them, not the lost-and-found bin!
Memory Quilts
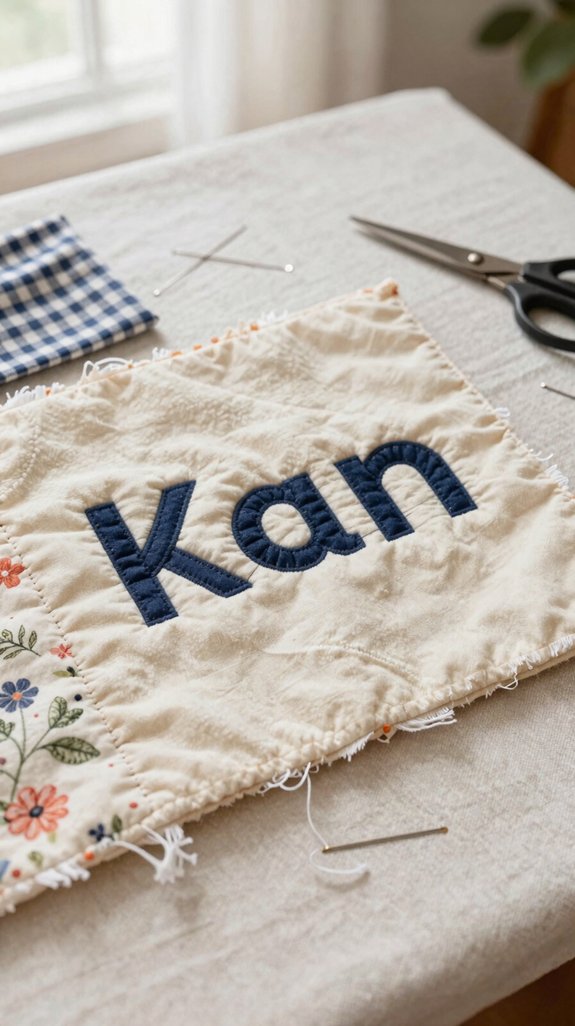
Memory quilts turn old shirts, baby blankets, and favorite fabric scraps into a hug you can spread across a bed, and the same fabric-letter trick from a lunch bag works beautifully here, too! You can add names, dates, or monograms, and you’ll feel like your people are stitched right in.
- Cut 8×8 letter blocks.
- Place stabilizer under the quilt sandwich.
- Zig-zag around letters then tear away backing.
- Use fabric glue plus stabilizer for memory quilt durability and try applique placement tricks before sewing.
This keeps costs low, and the finish looks cozy, not stiff today.
Pajama Sets
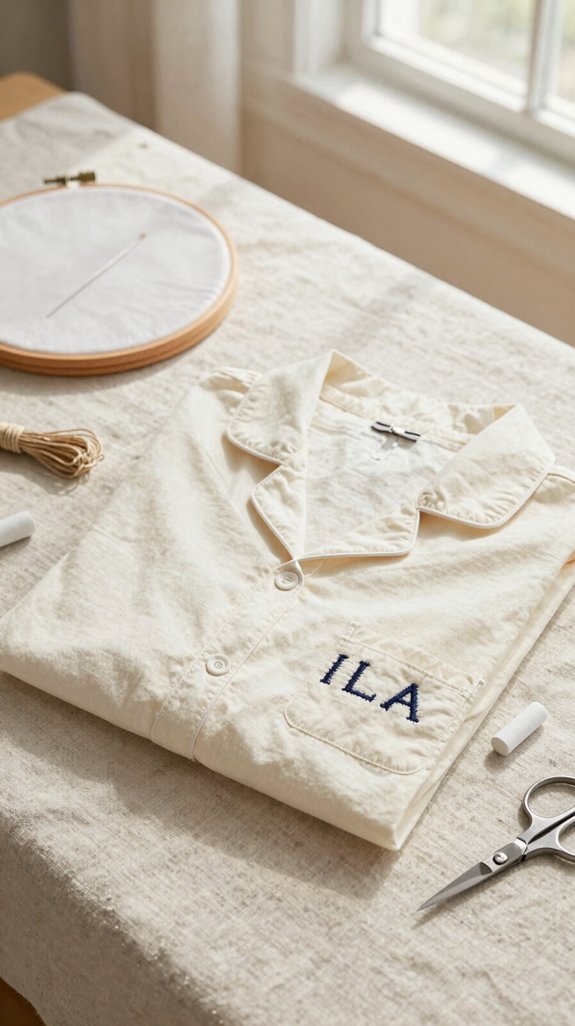
For pajama sets, fabric letter appliqué is a cute, low-cost way to turn plain sleepwear into something that feels custom-made—think bold initials on a top, a name on the pant leg, or a fun word across the chest!
Print Arial Black, trace medium letters onto cotton or anti-pill fleece, then cut outside your sewing line. Pin each piece over embroidery stabilizer, or use fabric glue if you don’t want fusible, and stitch with a zig-zag, width 4, length 1. Trim edges with pinking shears; you’ll get a set of embroidered motifs, with fabric stretching tips keeping seams neat. Nice!
Travel Pouches
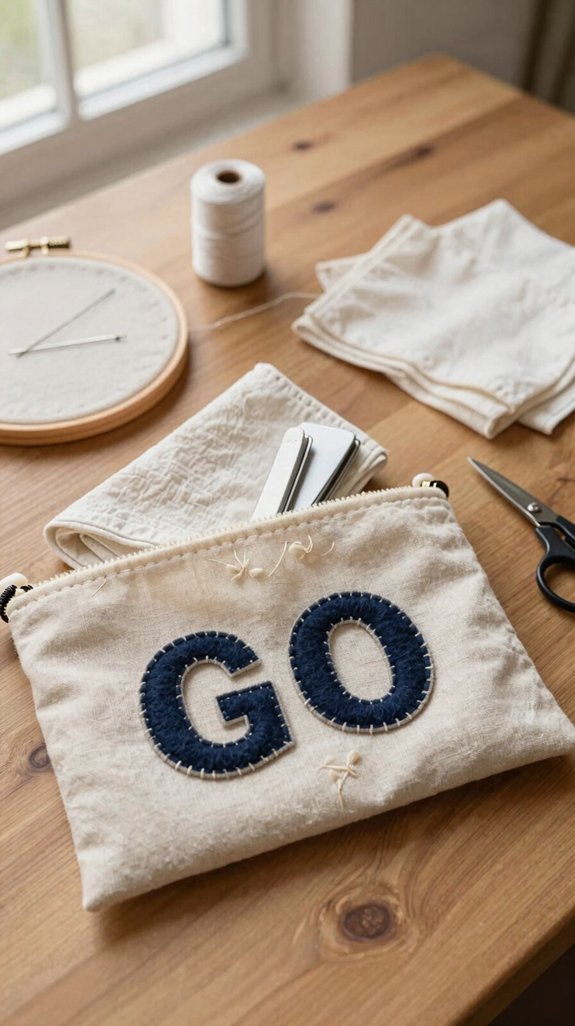
When you want your travel pouches to look a lot less “store shelf” and a lot more “made just for me,” fabric letter appliqué is a super cute, budget-friendly trick!
- Trace medium names in chalk, then cut fabric letters a touch wide.
- Pin or glue them on, add stabilizer or tissue, and sew with a zigzag.
- Start with stitch width 4, and length 1, for neat edges, even on thin fabric.
- For no iron applique, skip fusible web, use glue, then trim with pinking shears.
You’ll feel part of the club every time you pack.
Laundry Bags
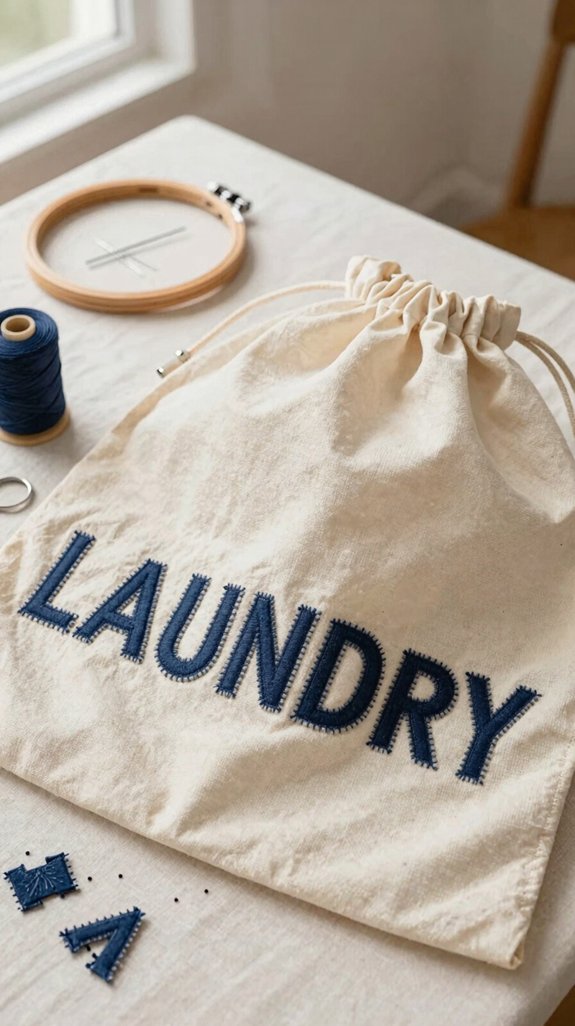
A plain laundry bag can go from blah to “that’s mine!” fast with fabric letter appliqué, and it’s a super budget-friendly project too!
Cut your initial from a template like Arial Black, then place a small piece of embroidery stabilizer under the bag, pin the letter on top, and stitch around it with zigzag stitching.
Use fabric applique with a stitch width of 4 and a length of 1, and skip iron-on fusibles if you want the fabric to stay soft.
For tiny initials, go bigger, or hand-sew once trimmed neatly, your bag looks clean, cute, and unmistakably yours!
Christmas Tree Skirts
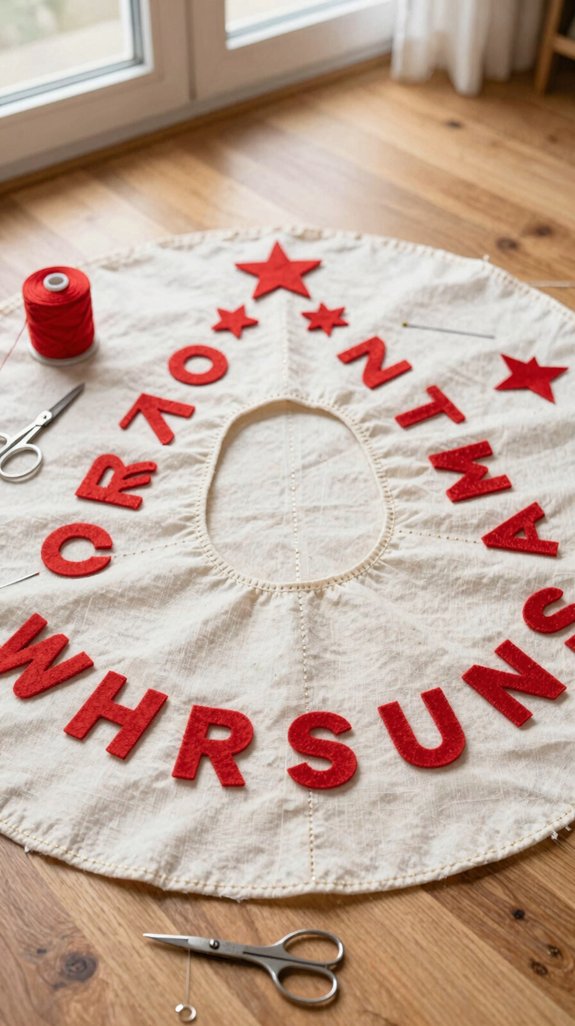
Since your Christmas tree skirt sits right under the star of the show, it’s the perfect place for big, bold fabric letters that say “JOY” or “NOEL” and make the whole room feel extra festive!
Try these Beginner applique techniques:
- Cut medium-to-large letters a bit bigger than your final line.
- Slip stabilizer or tissue underneath, then pin and dab glue.
- Sew a zig-zag edge, around 4 wide and 1 long, for sturdy seam finishing methods.
- Trim with pinking shears, build JOY or NOEL before display, and enjoy a cozy wow!
You’ll feel like part of the holiday crew, truly!
Reading Pillows
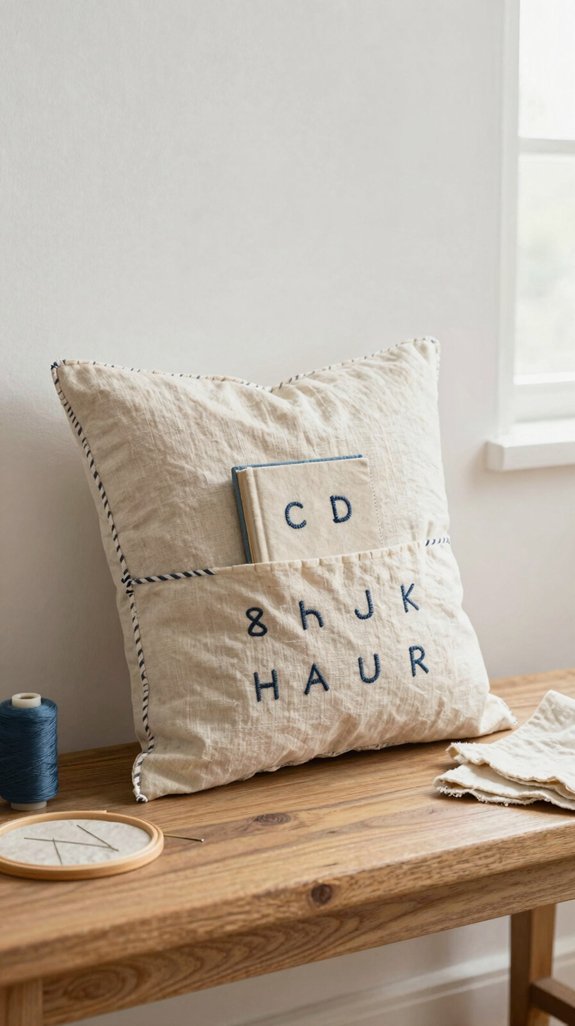
What better spot for a few cheerful fabric letters than a reading pillow? Choose bold applique letters, trace them big, and cut each piece a touch larger than your sewing line.
| Step | Tip |
|---|---|
| Glue | Tack letters on first, no bulky pins! |
| Sew | Use zig-zag stitch, then tear away stabilizer. |
| Finish | Try Scissor Finish Techniques and Thread Color Matching for a neat, cozy look. |
You’ll feel right at home with this small project, and the crisp edges make every page-night cuddle feel extra special; plus, it’s beginner-friendly and cheap, so your cozy crew can cheer you on every single time.
Fabric Storage Baskets
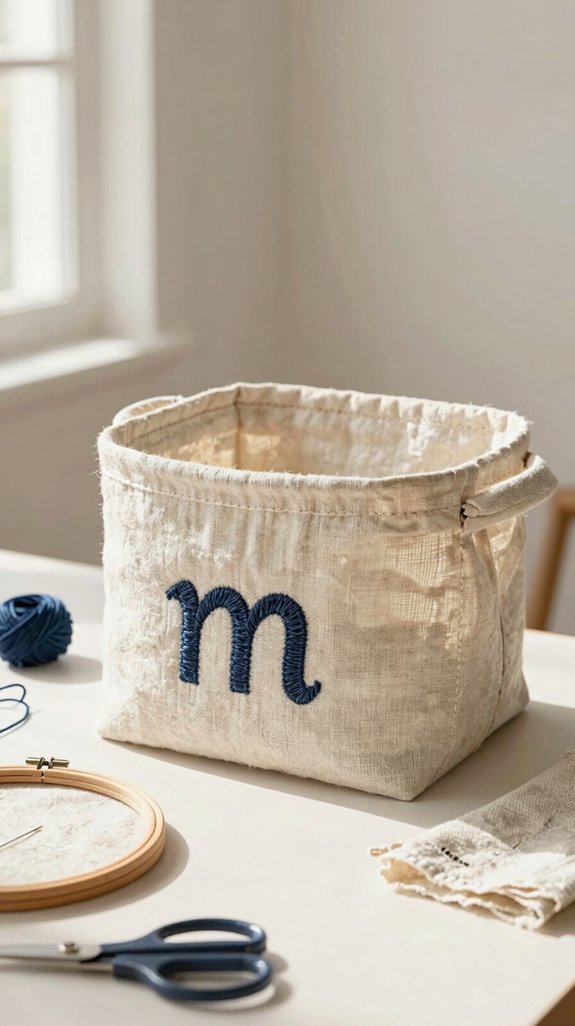
After cozy reading pillows, fabric storage baskets are another fun spot to show off cheerful letters—think bold appliqués on the front panel that can turn a plain bin into a custom catch-all! For how to choose applique letters, pick medium-to-large templates, like chunky block shapes, so your basket feels friendly and clear.
- Cut letters from fabric.
- Place tear-away stabilizer underneath.
- Zig-zag around edges.
- Sew the outer layer before assembling.
If stitching looks wobbly, try troubleshooting uneven stitching by basting more and trimming later. Neat, you’ll get a bin that looks store-bought, but more you, truly.
Best Embroidery Fonts
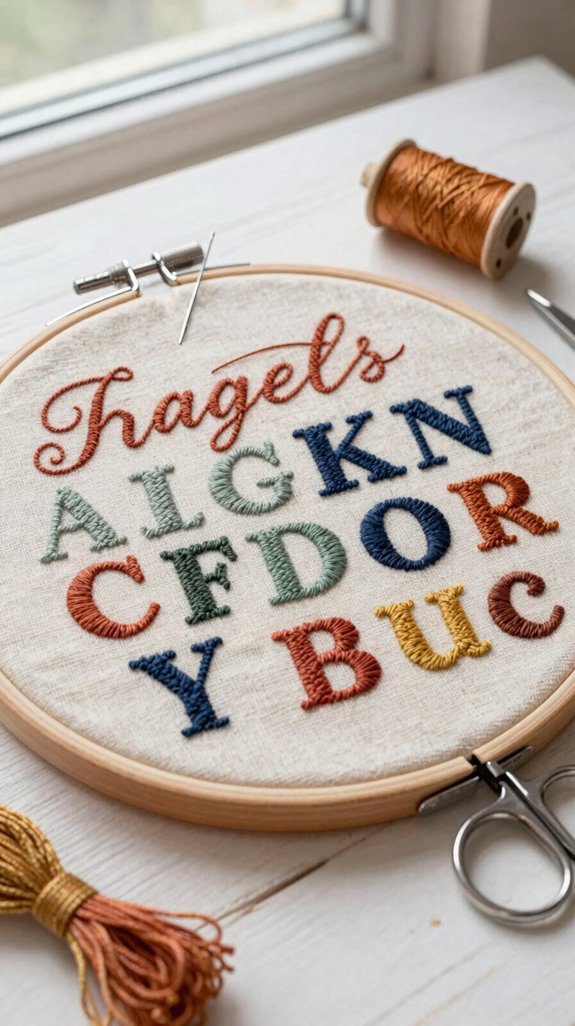
If you want your stitched letters to look crisp instead of tiny and fussy, start with bold, dense fonts that have thick strokes and clean curves—think Arial Black–style shapes blown up big, around 500 pt, so your zig-zag stitches actually have room to shine!
For applique, pick fonts with strong curves and separate tops and bottoms, like A or R, because script can get wobbly fast.
Print an outline version to trace, and keep uppercase plus lowercase in custom alphabet for a neat look.
Thread choice tips help, and quilt block lettering feels better when fabric edges stay neat.
Letter Placement Tips
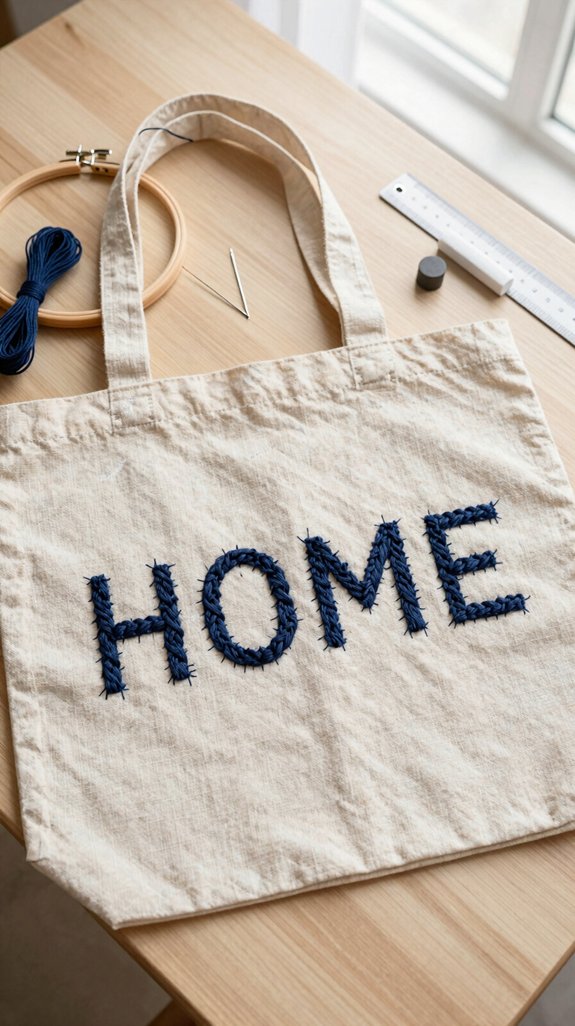
For neat letter placement, you’ll want to pin each appliqué in place, then give it a tiny dab of fabric glue so it stays put before you stitch—no slippery-letter circus here!
- Lay out your name first, using matching font and size, so centering before sewing feels easy.
- Use stitching placement guides, then pin the word flat and even.
- Slip stabilizer under the wrong side, a bit bigger than the word, for cleaner zig-zags.
- Stitch with a zig-zag, about width 4 and length 1, and your letters will look crisp, for your crew’s proud, polished finish everywhere.