13 Sewing on Paper Ideas That Blend Fabric and Creativity
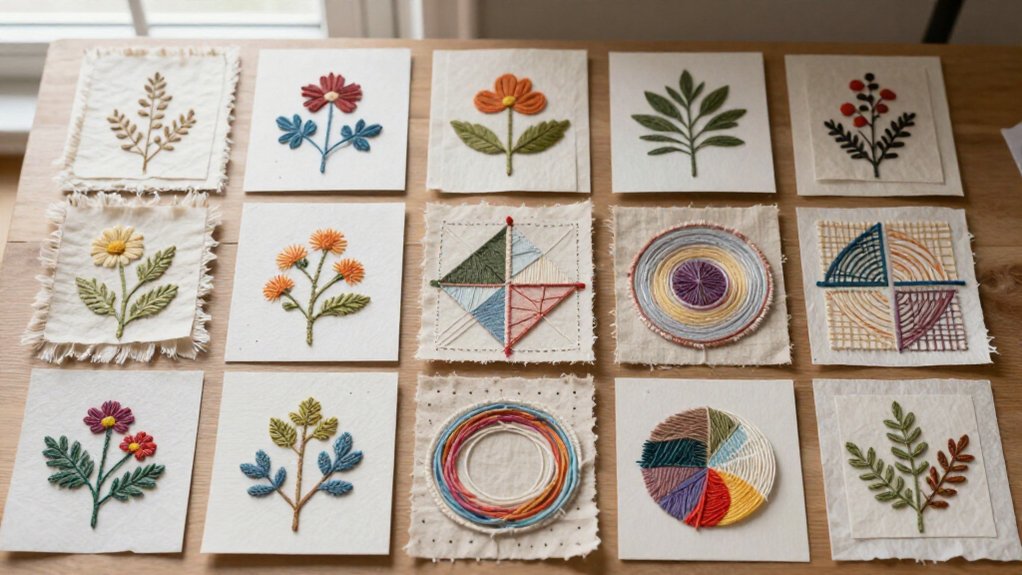
Turn cardstock, thread, and a needle into 13 easy projects: greeting cards, bookmarks, quilt blocks, name art, leaves, photo frames, gift wrap, tags, constellations, portraits, holiday cards, pockets, and layered paper scenes. You’ll sketch, pre-punch holes, then use 3–4 mm running or backstitches for neat lines. Choose watercolor paper or Bristol, not flimsy copier sheets, and sew slowly—paper isn’t a superhero! Start simple, then stick around for the surprisingly gorgeous fabric-backed ideas ahead today.
Love cozy DIY projects? 💕
Get free printable guides, exclusive tutorials & surprise craft goodies straight to your inbox.
Disclosure: This post may contain Amazon affiliate links, at no extra cost to you. Content on DiyCraftNest is created with research support from AI tools and carefully reviewed, edited, and fact-checked by the lead author, Daniel Pat, to ensure accuracy and reliability. Learn more
Key Takeaways
- Start with sturdy cardstock, watercolor paper, Bristol, or manila folders; avoid flimsy copy paper that tears easily.
- Pre-punch holes along a penciled design using an awl to create neat, evenly spaced stitches.
- Make hand-stitched greeting cards, gift tags, bookmarks, and holiday cards with running, backstitch, blanket, or cross-stitches.
- Add fabric, felt, or fusible-web-backed layers to create paper quilt blocks, leaf art, textured portraits, and dimensional designs.
- Use 3–4mm stitches, sew slowly around corners, and secure thread ends behind the paper with knots or glue.
Hand-Stitched Greeting Cards
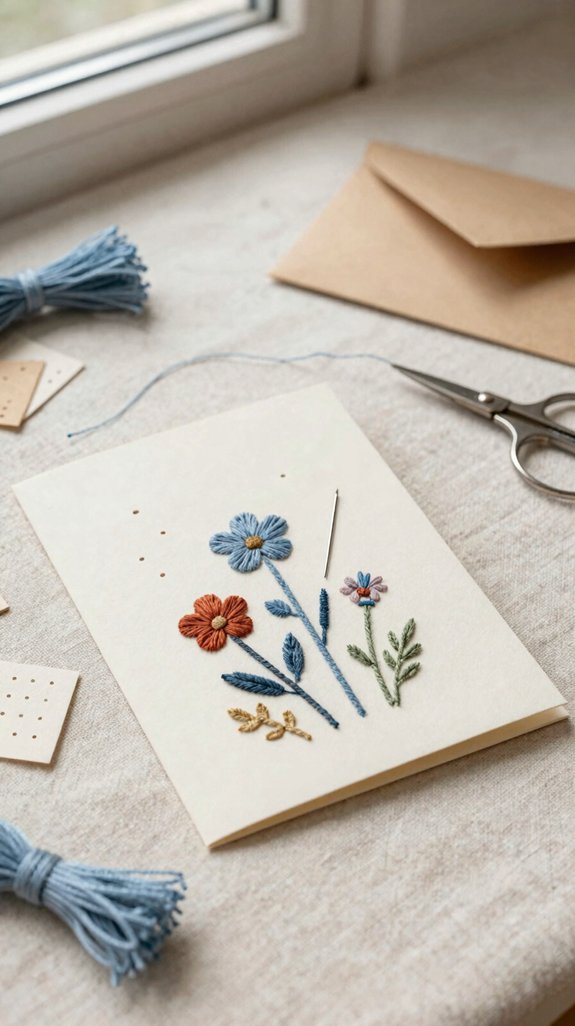
Hand-stitched greeting cards turn a plain piece of cardstock into a tiny piece of art, and you don’t need elaborate supplies to make one look special!
Start with Card stock selection: choose thick cardstock, watercolor, or Bristol paper so stitches don’t tear through. Test a scrap first; holes are permanent, like glitter’s stubborn cousin!
Next, use an awl, brad setter, or unthreaded machine to make a stitch spacing guide. Thread a small-eye needle with a manageable length, then try running, backstitch, blanket, or cross-stitch. Trim, knot or glue the back.
You’ll create a textured hello your people love opening!
Embroidered Bookmarks
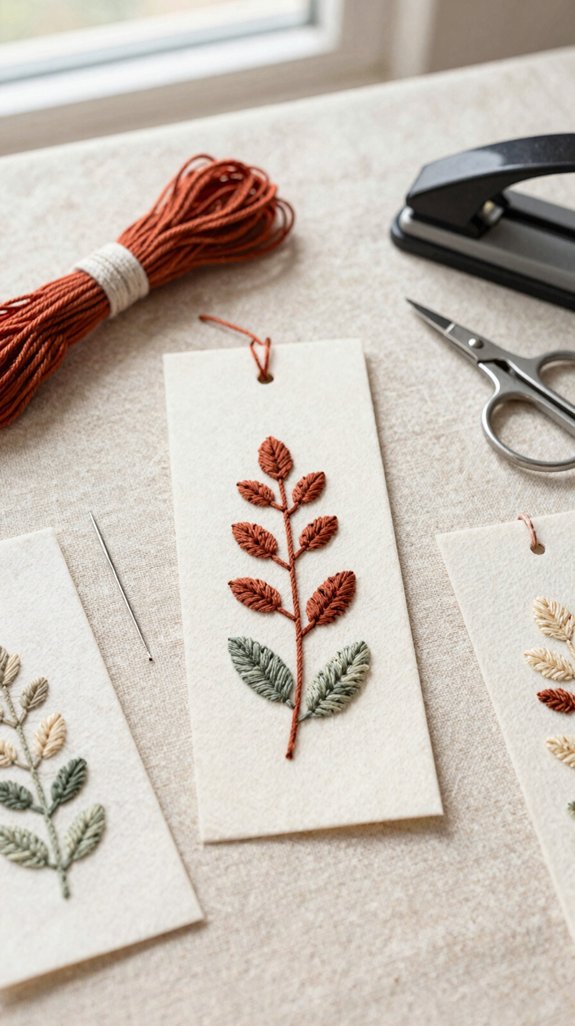
With a few stitches, a plain strip of cardstock can become an embroidered bookmark that peeks from your book like a little piece of treasure—so much more charming than a crumpled receipt!
Cut sturdy cardstock or watercolor paper, then pencil tiny flowers, dots, or lines.
If it feels thin, back it with fabric and fusible web for a cozy, lasting finish.
Hand-stitch through awl holes, or machine-sew slowly with a denim needle and 3–4mm stitches.
Secure ends behind.
Here’s the surprise: add a stitched pocket or page protector at the top, and you’ve made a friendly reading companion!
Paper Quilt Art
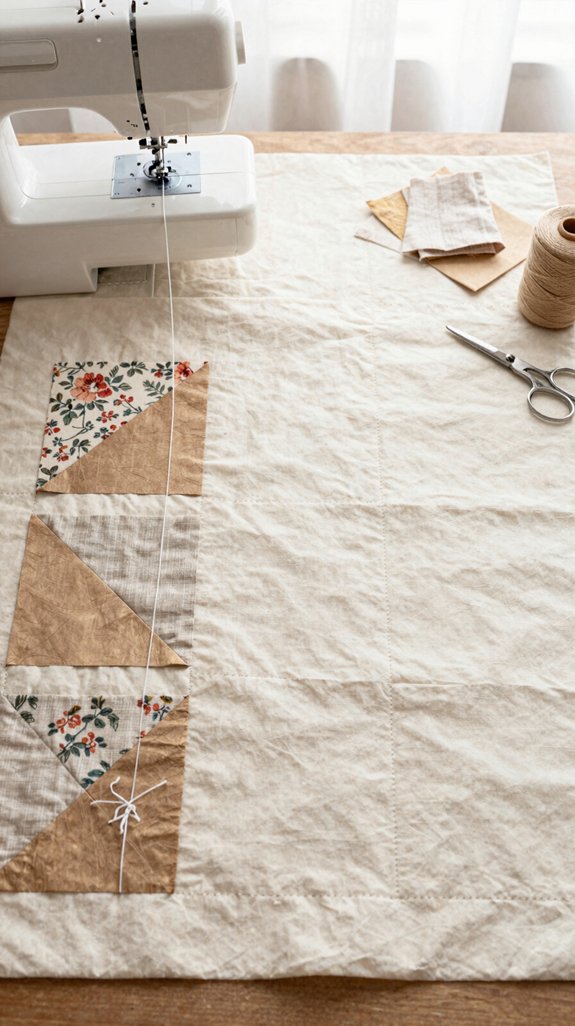
Paper quilt art turns your favorite scraps of paper into a tiny patchwork masterpiece—no antique sewing basket required!
Build community spirit with quilt block assembly: arrange cardstock squares, then fuse them to fabric using fusible web. Keep its backing on while ironing, peel it away, and press.
Stack your pieces into a quilt sandwich, then stitch by hand or machine. Choose sturdy paper, set stitches to 3–4 mm, and sew grids or gentle waves.
At corners and curves, stop, lift, turn, and continue slowly. Finish edges with zigzag or blanket stitches for cozy needlework texture effects—your little quilt shines!
Thread Typography
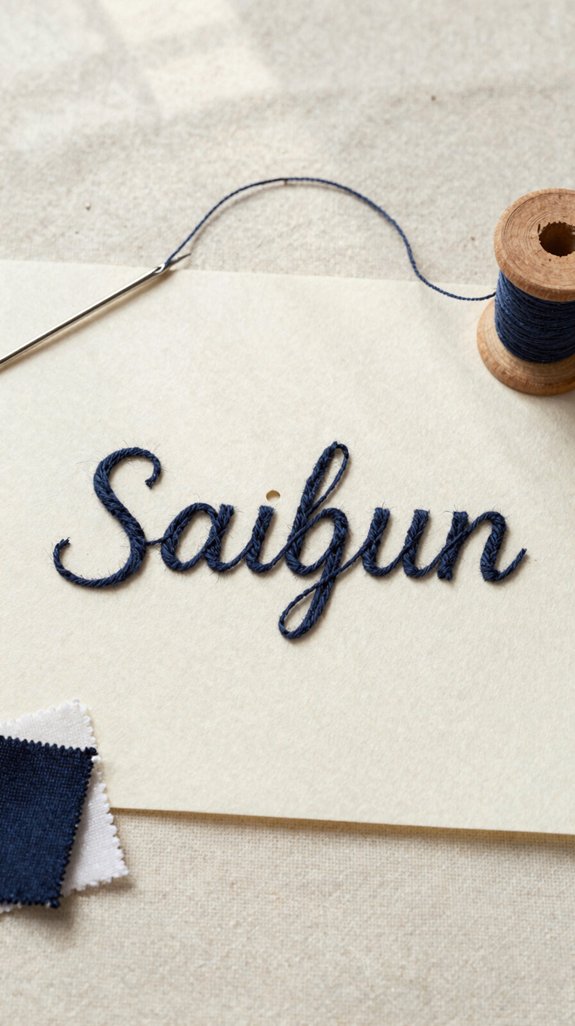
Turn a simple paper quilt into a message piece by stitching words right onto cardstock—thread typography works like drawing with yarn, only much cooler!
Lightly pencil your phrase, then use a hand needle or machine with 3–4 mm straight stitches. Choose sturdy cardstock, guide it slowly with light pressure, and pause at corners to lift and turn the presser foot.
Now make it yours: switch colors, add zigzag or blanket accents, and thicken outlines over fills. An embossed monogram looks welcoming, while fabric backed lettering hides the underside and gives your shared message a polished, tactile finish everyone will love.
Stitched Leaf Art
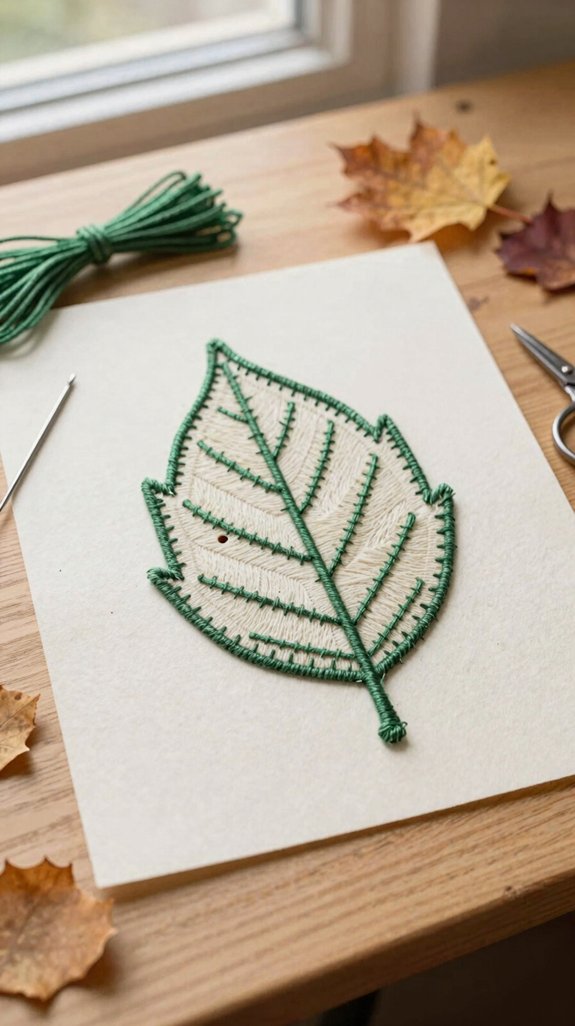
Even a simple leaf shape can become a tiny work of art when you stitch its veins in colorful thread—so cozy, so crisp, and way easier than it looks!
Start with watercolor paper or a manila folder backed by fusible web; it behaves like fabric without a fuss. Sketch veins lightly, and use a 3–4 mm straight stitch for clean lines and less tearing.
Choose thread color contrast that feels like your shared autumn palette.
Next, leaf silhouette layering creates the sweet surprise: tuck thin felt or fabric between two slightly larger paper leaves, fuse them, and stitch the edges.
Constellation Thread Art
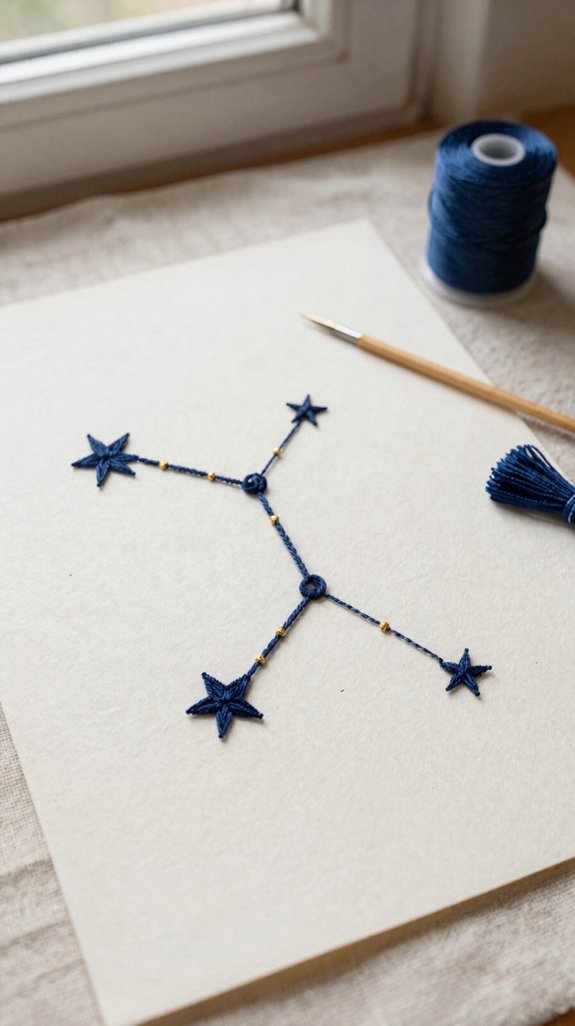
Stars make a magical little map when you stitch them across a piece of cardstock, and this project looks far fancier than it feels to make—score!
For galaxy map making, grab pre-cut cardstock, embroidery floss, a needle, and pencil. Sketch points first; star pattern testing lets your favorite sky design shine.
Connect dots with short, 3–4 mm running stitches. Add tiny knots or backstitches at stars, then mix white, silver, and deep-blue thread for brighter twinkles.
Secure ends with a knot or glue dab. Want the wow finish? Frame your shared little universe with a zigzag or blanket-stitched edge!
Minimal Line Portraits
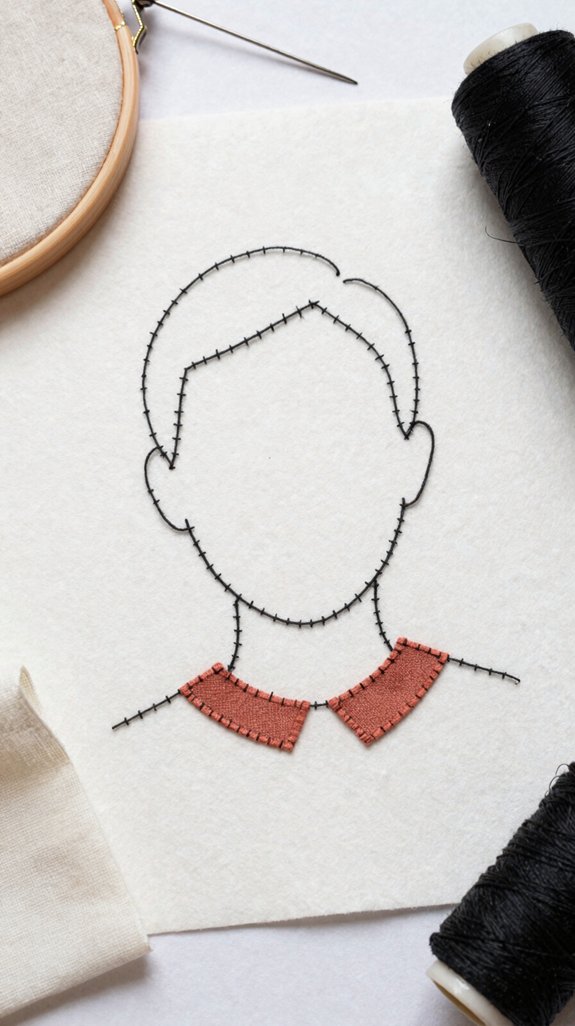
Minimal line portraits give ordinary paper a cool, modern makeover—seriously, one stitched curve can turn into a face!
Join your creative crowd with cardstock, such as watercolor or mixed-media paper, plus thread and a machine. Lightly sketch a face, then stitch its forehead, nose bridge, jaw, and lips using 3–4mm straight stitches; slow feeding keeps tearing away.
For portrait stitching tips, make eyes and brows denser, while leaving the rest airy. Investigate thread line variations, then pause at curves, lift the presser foot, turn, and continue. Here’s the magic: knot threads behind or dab glue, so crisp portrait shines.
Paper Gift Tags
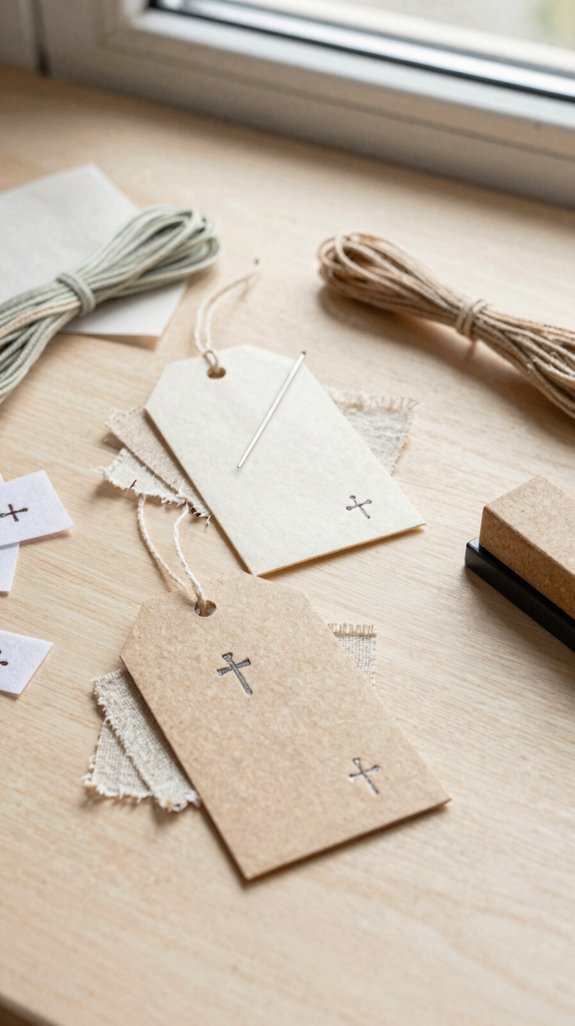
Turn a sheet of sturdy cardstock into a tiny stitched gift tag, and suddenly a simple present looks thoughtfully wrapped—no elegant supplies or expert sewing skills required! Cut cardstock or watercolor paper, clip on fabric layering, and stitch a 3–4 mm outline on the front. You’ll make a Colorful border that feels handmade and welcoming!
| Step | Why it helps |
|---|---|
| Pre-punch holes | Keeps paper calm |
| Glue backs | Hides threads |
| Knot, then ribbon | Makes gifts feel shared |
Use an awl or threadless machine pass for precise holes, then secure thread ends with glue. It’s inexpensive, and your tag says, “You belong!”
Holiday Cards
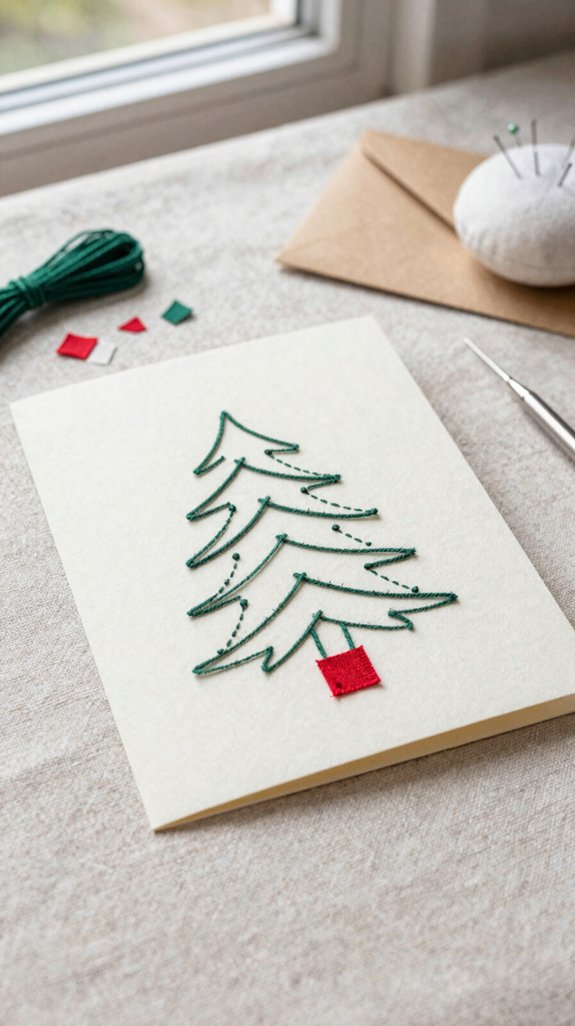
A stitched holiday card brings a cheerful, cozy surprise to the mailbox, and you don’t need elaborate tools to make one—hooray!
Choose medium-heavy cardstock, watercolor paper, or a scrapbook sheet that isn’t overly thick. Use stitching placement guidance: sketch trees, stars, or snowflakes lightly, since holes stay put!
Sew slowly at 3–4mm, with light pressure, and pivot at corners.
Try Mixed material techniques next: stitch a tiny felt mitten or fabric tree onto the front, then add embroidery lines.
Finish with a zigzag or blanket-stitch border. Your card looks warmly framed, personal, and ready to make someone feel included.
Mixed Media Wall Art
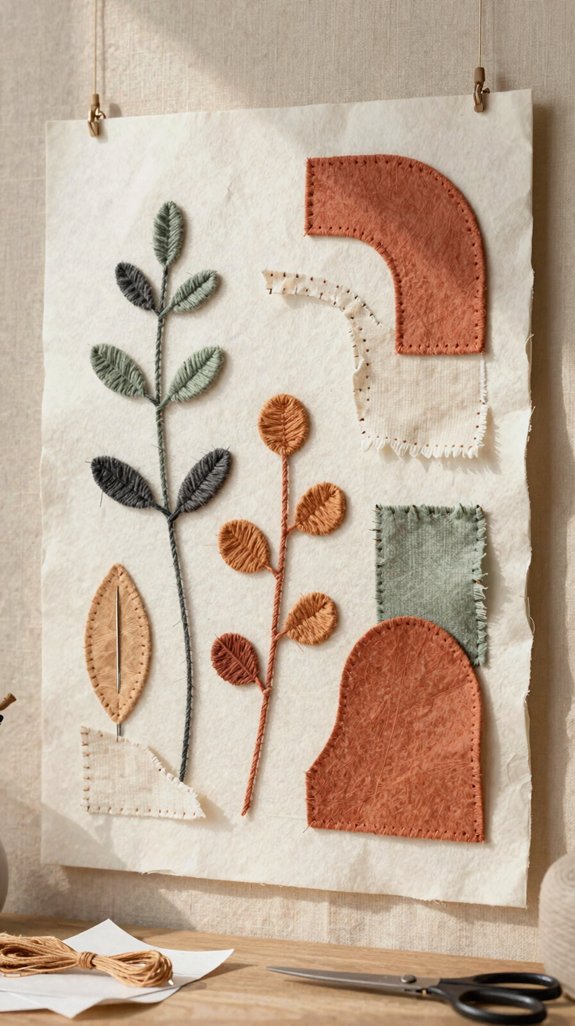
Mixed media wall art lets you layer paper, fabric, paint, and thread into one bold little piece—no stylish studio or giant budget required!
For a Threaded collage, gather cardstock or watercolor paper, fusible web, fabric appliqué scraps, trim, clips, and paint. Iron the web between layers, then stitch straight 3–4 mm lines into a grid, wave, or loose frame; clips beat pins here!
Keep the right side facing up, add zigzag or blanket stitching for a seamless edgefinish, and glue cardstock behind it. Dab glimmer beside seams for depth—the tiny surprise that boosts gallery wall durability and feel included.
Travel Journal Covers
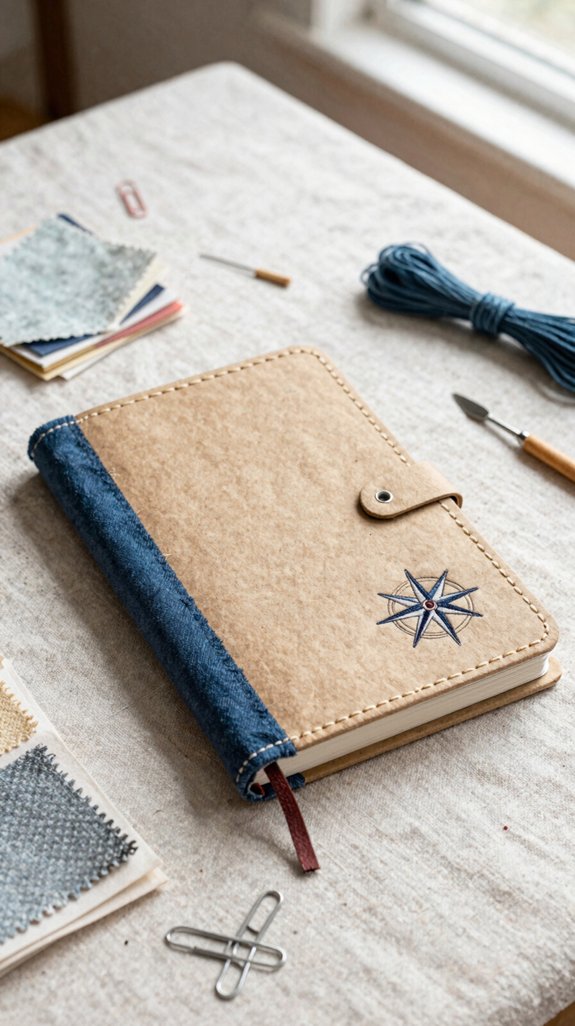
Choose cardstock or mixed-media paper, then fuse on thin felt with fusible web; trim clean borders. It’s affordable, beginner-friendly, and made for your travel-loving crew!
| Detail | Do this | You get |
|---|---|---|
| Grid | Stitch 3–4 mm lines | mapmaking inserts |
| Edge | Zigzag or blanket stitch | ticket stub storage |
| Corners | Needle down, pivot slowly | crisp turns |
Add wavy words, route lines, or tiny clusters. Your cover becomes a shared-story keeper—no passport required! Use photos or notes inside, and you’ll feel ready to roam together!
Paper Photo Frames
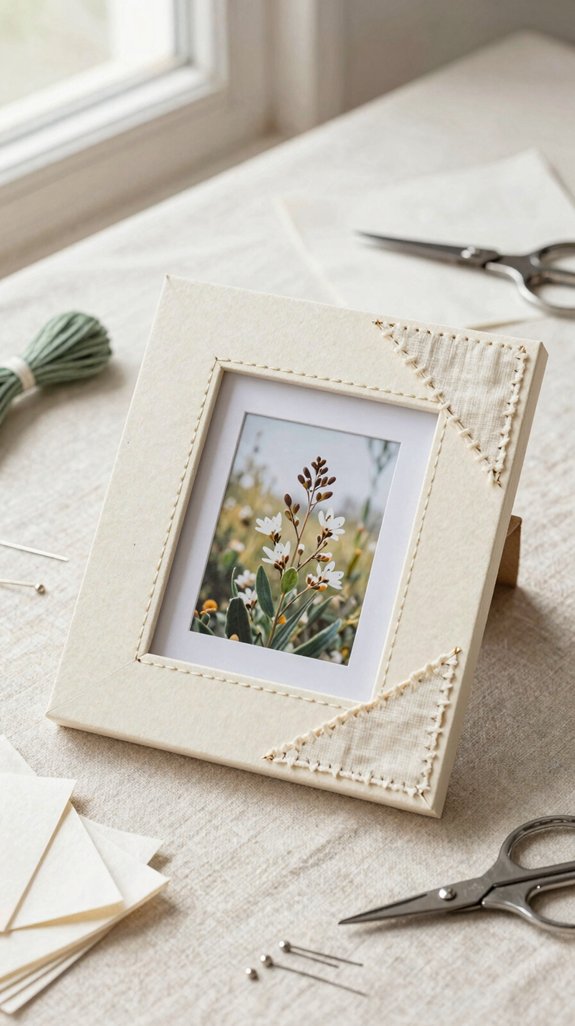
Turn favorite snapshots into stitched paper photo frames, and you’ll get a cheerful little display that feels handmade without costing much—hooray!
Choose sturdy watercolor paper or bristol cardstock, cut a window, and tuck your photo behind it. Trace a simple border, then fuse or glue thin cotton or felt inside for a cozy, layered look.
Next, use a sharp denim needle and stitch slowly at 3–4mm; lift the presser foot at corners. Trim threads, add scrapbook style trims, and finish with Satin stitch accents or a blanket edge—your shared-memory frame will look wonderfully special for your whole creative crew!
Handmade Gift Wrap
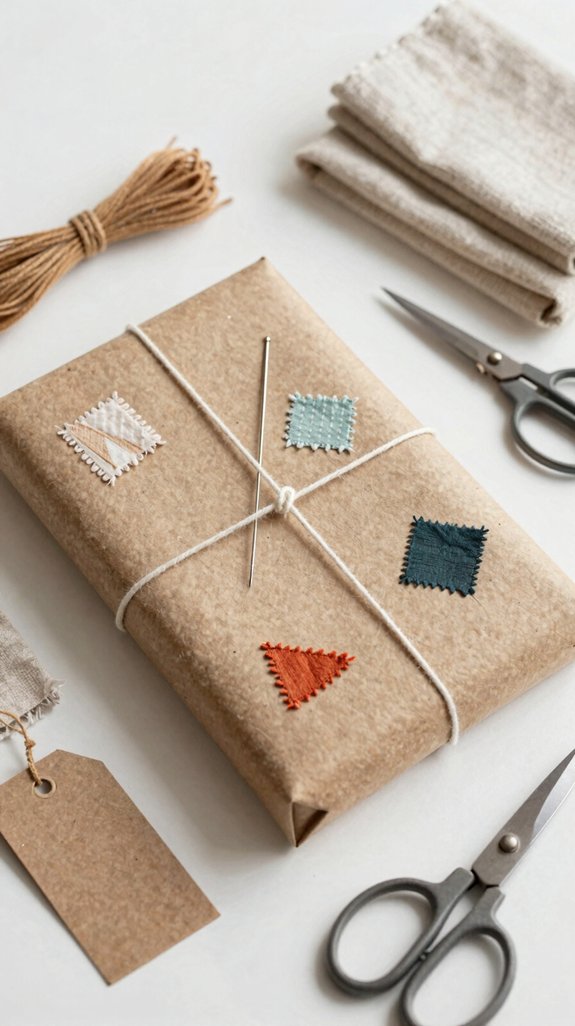
After framing those favorite photos, wrap your next gift in a little stitched personality—hooray!
Choose sturdy wrap, a needle, thread, an awl, and a cutting mat for this easy, budget-friendly project.
Draw a pencil path, then pre-punch holes so your stitches stay tidy.
Try running, backstitches, or blanket stitches with longer spaces; they’ll add cheerful Fabric y texture without tearing the paper.
Use stitching templates for hearts, stars, or a name, and everyone will know this present came from your creative corner.
Knot the thread on the back, or add a glue dot, and it’s ready to delight someone.
Best Paper Types for Stitching
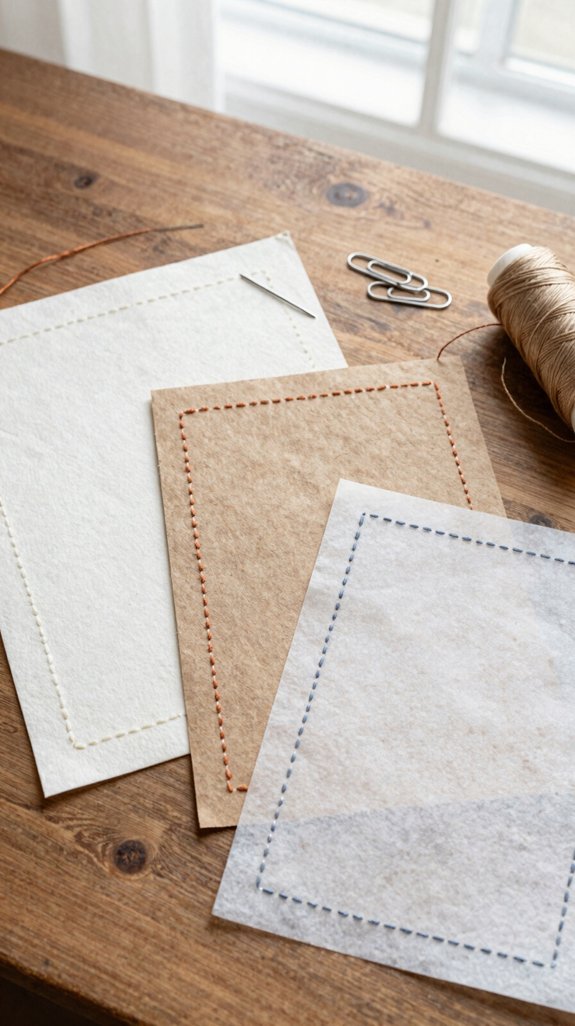
For stitches that look neat instead of turning into tiny paper tears, start with a sturdy sheet like heavy card stock, manila folder paper, watercolor paper, bristol, or mixed-media paper—yay, your needle needs a little backbone!
Paper weight tips: choose sheets with enough body to hold decorative lines and welcome you into this friendly craft circle. Skip flimsy copy paper, tissue, and fragile old-book pages; they’re better saved for collage.
Needle size guidance is simple: match heavier paper with a standard sharp, heavy-duty, or denim-grade machine needle. For thin paper paired with fabric, fuse support behind it first—magic, right?
Tips to Prevent Paper Tearing
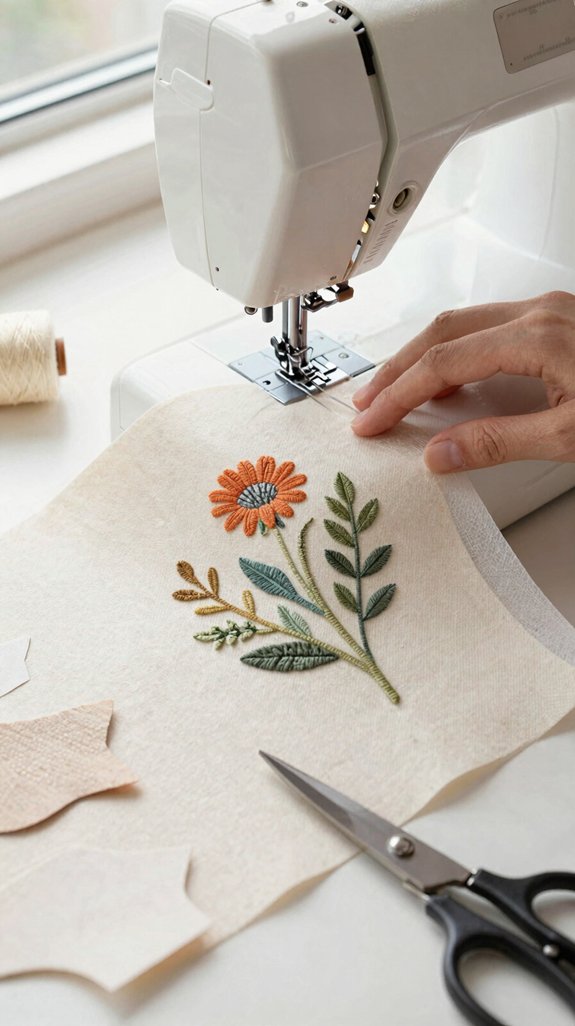
Gentle handling keeps your paper art crisp instead of turning it into a perforated snack—yay! Choose cardstock, manila folders, or watercolor paper; copier sheets can snag and split. Set your Stitch length to 3–4 mm, then sew slowly with only light guiding pressure. That’s easy tear prevention your creative crew can trust!
For hand stitching, use wider spacing and a needle choice with a smaller eye, and don’t yank thread tight. Need extra backup? Paper reinforcement saves flimsy treasures: iron fusible web dry, peel its backing, or add a muslin liner. You’ll get sturdy, share-worthy stitches without drama today.