17 Sewing Pillow Ideas That Add Handmade Charm to Any Room
You can sew farmhouse grain-sack, pumpkin, Christmas, animal-face, rainbow, star, denim, floral, quilt-style, and monogram pillows with cotton, scraps, an insert, and basic stitches—easy win! Cut panels one inch larger than your 16-inch form, sew right sides together, leave a turning gap, then stuff and hand-close. Add piping, pom-poms, or an envelope back for polish. Best surprise? Turn old jeans or a wedding keepsake into a pillow with real story—keep going for more charming ideas.
Love cozy DIY projects? 💕
Get free printable guides, exclusive tutorials & surprise craft goodies straight to your inbox.
Disclosure: This post may contain Amazon affiliate links, at no extra cost to you. Content on DiyCraftNest is created with research support from AI tools and carefully reviewed, edited, and fact-checked by the lead author, Daniel Pat, to ensure accuracy and reliability. Learn more
Key Takeaways
- Sew cozy grain sack pillows by centering striped fabric on a simple square cover for an easy farmhouse-inspired accent.
- Refresh rooms seasonally with interchangeable fall pumpkin, Christmas, and spring floral pillow covers using reusable inserts.
- Create playful kids’ pillows with animal faces, rainbow cushions, or star shapes finished with piping or pom-pom trim.
- Turn fabric scraps into cheerful floral patchwork pillows by arranging two or three coordinating prints into a balanced panel.
- Repurpose old jeans into durable denim patchwork cushions, topstitching seams and adding piping for a polished handmade finish.
Farmhouse Pillow Ideas
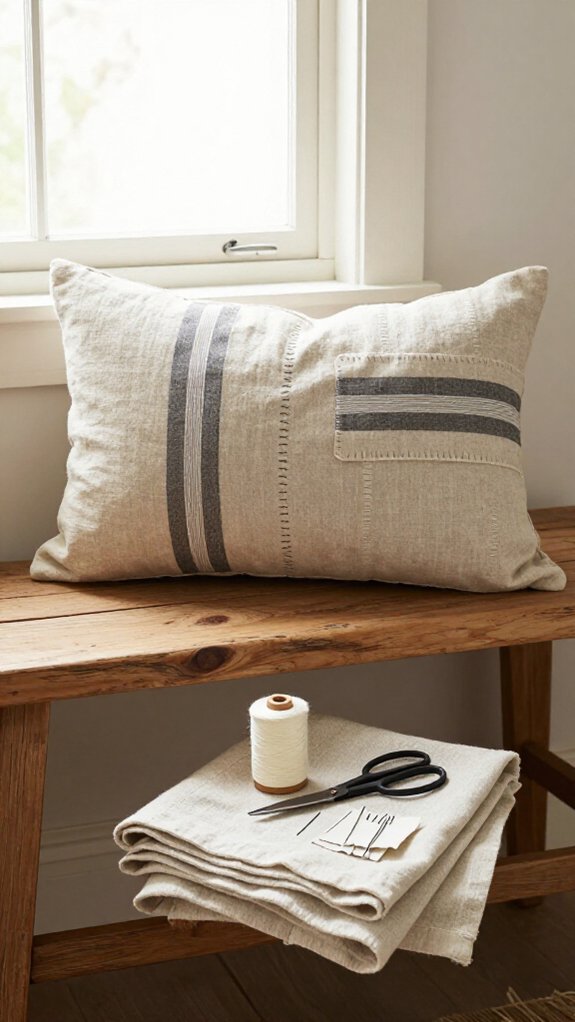
You can sew grain sack pillows with simple striped cotton, neutral linen covers, and a few easy seams—so charming!
Start with a square cover sized for your insert, then add a centered vintage stripe or rustic print for that cozy, old-farmhouse feel.
And wait until you try piping or pom-pom trim around a vintage stripe design; it’s the little detail that makes your pillow look surprisingly special!
Grain Sack Pillows
Grain sack pillows bring cozy farmhouse character to a sofa, bench, or bed, and they’re wonderfully beginner-friendly—no antique feed sack required!
Choose washed-look striped fabric, then use color matching to echo your room’s favorite shades. For a 16-inch insert, buy about 1/2 yard and cut two 17-inch squares. Center the stripe on the front for a gathered, lived-in look!
Sew right sides together, leaving a 3–6-inch opening for the form. Love extra detail? Add piping 3/8 inch from the edge before sewing.
Textile dyeing can create a custom stripe, too—perfect for making your space feel like home.
Neutral Linen Covers
Neutral linen covers give a sofa, chair, or bed that easy farmhouse warmth, especially beside weathered wood, creamy whites, and soft woven throws! Choose linen blends in oatmeal, flax, or warm ivory for a look that feels like home.
For an easy fit, cut panels about 17 inches for a 16-inch insert, including seam allowances. Sew an envelope back with a neat overlap, so you can remove the form without wrestling a zipper—hooray!
Stitch right sides together, press your seams, and turn. The fabric’s soft drape keeps the cover relaxed, not stiff.
For a welcoming finishing touch, add piping or tiny pom-poms about 3/8 inch from the edge.
Vintage Stripe Designs
Vintage stripes bring instant farmhouse character to a plain sofa or bed, and cotton ticking, grain-sack-inspired fabric, or even thrifted curtain panels can make the project feel delightfully one-of-a-kind!
Cut two panels one inch larger than your insert; a 16-inch pillow needs about 1/2 yard.
Center the front stripes with a ruler and marking pen for easy stripe matching and balanced fabric texture.
Sew right sides together, leaving a 3–6-inch turning gap, then trim corners before turning.
You can finish with a Button envelope or concealed zipper, too!
For the coziest surprise, pin piping or pom-pom trim along a stripe edge, stitch close, and stuff your form inside.
Crisp corners, shared-home charm—no skillful skills required!
Seasonal Pillow Designs
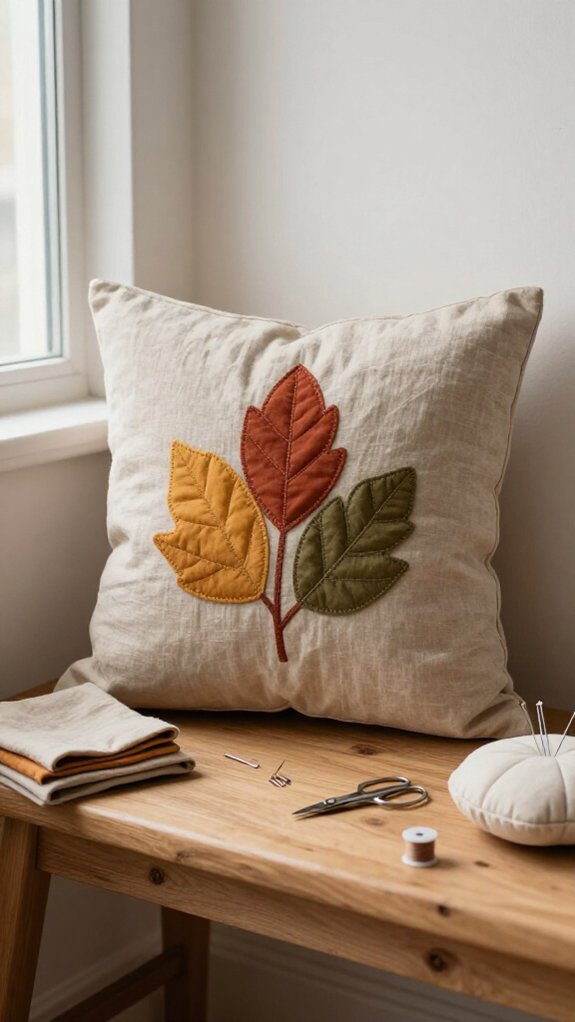
You can refresh your space with fall pumpkin pillows, cheerful Christmas covers, and bright spring floral designs—no major sewing marathon required!
Start with a simple square cover, center your seasonal fabric, and swap the front panel as the months change.
Add piping for an extra polished touch, and your pillow will look far fancier than its humble seam allowance suggests!
Fall Pumpkin Pillows
Fall pumpkin pillows bring instant cozy color to a sofa, bed, or reading chair, and they’re surprisingly easy to sew—no *elaborate* gadget wizardry required!
Choose pumpkin-print cotton, warm canvas, or russet fabric, then cut two 17-inch squares for a 16-inch insert.
For centered motif placement, fussy-cut the front so your favorite pumpkin sits proudly in the middle.
Pin optional piping along its edge for contrasting trim finishing, and sew panels right sides together, leaving a 3–6-inch opening.
Clip the corners, turn, and add your insert.
Hand-stitch the gap closed for crisp edges.
You’ll have a welcoming accent that makes everyone feel right at home—cute, sturdy, and totally autumn-ready!
Christmas Pillow Covers
Christmas pillow covers keep that cozy handmade feeling going, now with candy-cane stripes, evergreen sprigs, or a cheerful Santa print—hooray!
Choose Christmas fabric and a cover size matching your insert, such as 16, 18, or 20 inches.
Cut two pieces one inch larger than the form.
Sew right sides together, leaving a 3–6-inch opening, clip the corners, turn, stuff, and hand-stitch closed.
Easy, affordable, and ready for movie-night guests!
Want the clever upgrade?
Make an envelope-style removable cover, or add piping 3/8 inch from the edge.
You’ll reuse the same matching pillow insert year after year—your holiday crew will think you’re a sewing elf!
Spring Floral Pillows
Spring floral pillows bring a fresh, happy pop to the sofa, especially when you choose cotton or linen-blend fabric with tulips, daisies, or soft watercolor blooms—instant sunshine, no watering required!
For How to fussy cut, center one favorite bloom before cutting panels. Choose 16, 18, or 20-inch inserts, then cut each cover panel one inch larger for seams.
Spring colorways tips: mix buttery yellow, leaf green, and blush for a look that feels welcoming. Sew right sides together, leave a turning opening, clip corners, and stuff.
Want the easiest seasonal switch? Add an envelope back or piping! You’ll create a polished, made-for-your-home pillow without buying new inserts.
Kids Room Pillows
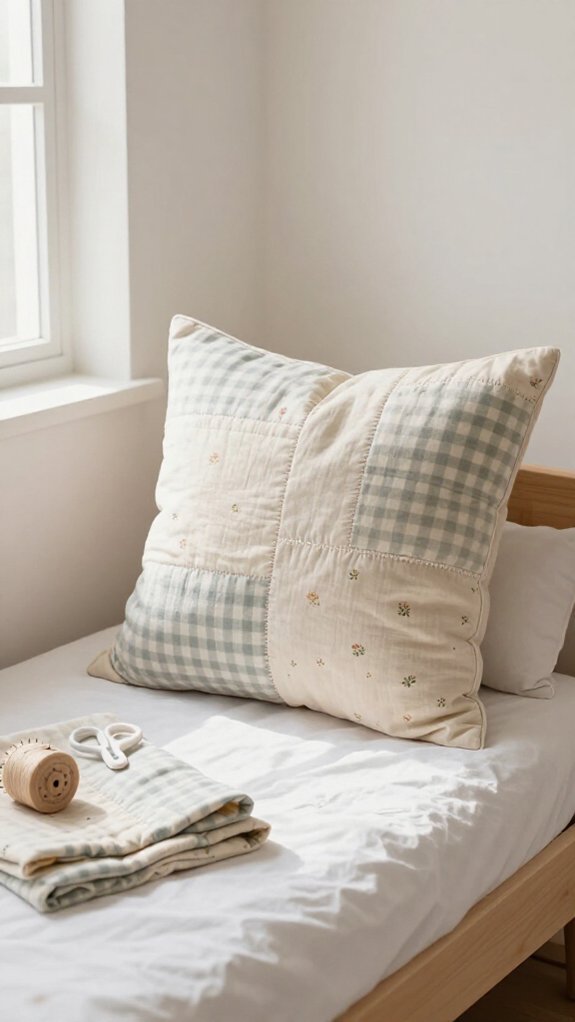
You can sew playful animal face pillows, bright rainbow cushions, and cheerful star pillows that make a kid’s room feel extra special—no decorative skills required!
Choose sturdy cotton canvas, plan a 16×16 or 18×18 cover, and fussy-cut your favorite prints so those smiling animals land front and center.
Then add piping if you’re feeling brave; it gives a simple star pillow a polished pop!
Animal Face Pillows
Animal face pillows bring instant personality to a kids’ room, and they’re surprisingly easy to sew—no advanced “pillow wizard” skills required!
Choose cotton or sturdy canvas, then center your fox, bear, or bunny face on a 16-inch square. Kids character themes help your space feel like part of the family!
- Cut two panels with 1/2-inch seams.
- Appliqué felt eyes and a nose first.
- Sew, turn, and stuff through a small opening.
For crisp corners, clip excess fabric diagonally before turning.
Use these cushion stuffing tips: add polyfill gradually, especially around ears, then hand-stitch closed.
Add piping for a polished, store-bought-looking finish—your little one gets a cuddly new room buddy!
Rainbow Cushions
Rainbow cushions bring the same playful charm as animal face pillows, but with bright color bands that can wake up a plain kids’ room in a flash!
Choose washable cotton and a 16-, 18-, or 20-inch form, then cut each panel 1 inch larger.
For easy color matching, fussy-cut strips and center your fabric striping on the front panel before sewing.
Add piping along the front edges for a cozy, “made just for us” look—use a zipper foot and stitch about 3/8 inch from the edge.
Sew right sides together, leaving a 3–6-inch opening.
Turn, fill, and hand-stitch it closed.
Your kid gets a cheerful cushion that survives snack-time adventures!
Star Pillows
Star pillows turn an ordinary kids’ bed or reading nook into a little sky scene—no magic wand required! You’ll create a cozy, made-for-us look with sturdy cotton or upholstery fabric.
- Use Beginner friendly patterns: cut two matching stars with 1/2-inch seam allowances.
- Follow Fabric layering tips: pin panels right sides together, then sew edges, leaving a turning gap.
- Stuff evenly with polyfill or a fitted form, so every point stays puffy!
Choose 16-, 18-, or 20-inch sizing for a coordinated set.
Want extra sparkle? Stitch pom-pom trim near the edge with a zipper foot before stuffing.
Your kid gets a playful pillow, and their space feels wonderfully theirs!
Patchwork Pillow Ideas
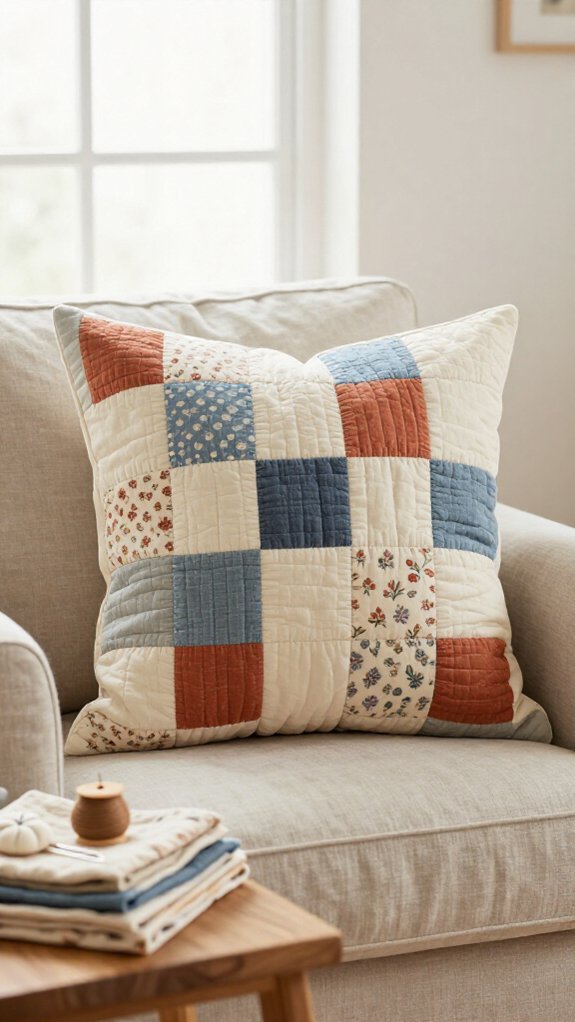
Turn old jeans into a rugged denim patchwork pillow, or stitch cheerful floral scraps into a soft, garden-like cover—so fun!
You’ll cut and sew simple squares into a panel, press the seams flat, then attach a backing around a 16×16 or 18×18 pillow form.
For a cozy quilt-style cushion, add piping at the edges before you sew it closed, and wow, those corners will look extra polished!
Denim Patchwork
Denim patchwork pillows turn old jeans into something cozy, sturdy, and full of character—no ornate quilting skills required!
Cut matching 4-inch squares, then stitch a front that feels like it belongs in your favorite lived-in room. These Denim texture tips keep it easy and budget-friendly!
- Press seams flat carefully; Patchwork seam pressing prevents bulky bumps.
- Use sturdy thread, finish raw edges, and topstitch each patch for extra hold.
- Make an envelope back for a 16-inch form, cutting panels about 17 inches square.
Add piping around the border for a surprisingly polished finish—your old jeans just joined the sofa club!
Floral Patchwork
Floral patchwork pillows let you mix cheerful cotton prints and leftover scraps into a soft, garden-inspired accent—without needing ornate quilting tools! Choose two or three friendly fabric colorways, then cut matching squares or rectangles.
Arrange them so seam lines create balanced quilting motifs, and size the panel for your 16-, 18-, or 20-inch form, plus seam allowances. Press each seam as you go—your edges will look wonderfully crisp!
Next, sew the front to a solid back, leaving an opening for turning. Clip corners, insert the form, and close it.
For the sweetest finish, add piping or top-stitch 3/8 inch from the edge. Hello, cozy community charm!
Quilt Style Cushions
A quilt-style cushion gives you that cozy, heirloom look without asking you to make an entire quilt—thank goodness!
You’ll feel right at home mixing simple patchwork blocks with fabrics that remind you of your favorite people.
- Cut 4-patch or 9-patch blocks; for a 16-inch form, make two 17-inch panels.
- Sew the patchwork front to a coordinating solid back, leaving a 6-inch bottom opening.
- Trim corners, turn, stuff, and hand-stitch closed.
Lay out fussy-cut prints first so they land centered—small detail, big payoff!
Add contrasting piping before closing for a polished edge.
For a surprise finish, sew on quilted buttons; they create a charming, gathered look everyone will notice.
Personalized Pillow Projects
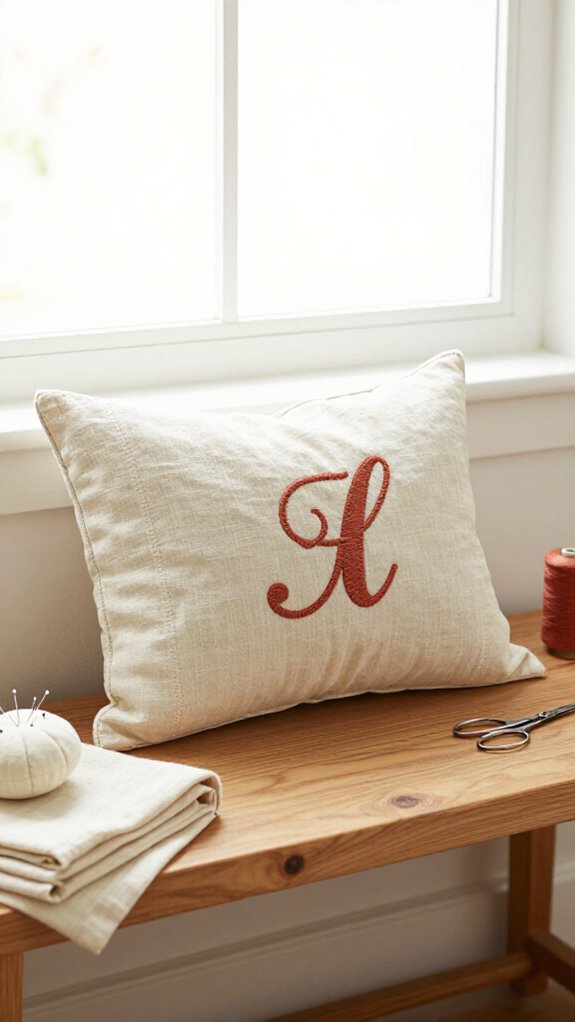
Make a simple pillow feel one-of-a-kind by adding your initials for a cheerful monogram, using an invisible marking pen to keep every letter centered and straight.
You can turn wedding fabric or a favorite photo transfer into a sweet keepsake cushion—no sophisticated skills required!
For a truly memorable finish, stitch your family name across the front, then add piping for a polished look that says, “Yes, you made this!”
Monogram Pillows
Nothing adds a personal touch quite like a monogram pillow—it turns a simple cushion into a charming gift, a cozy bedroom accent, or a “yes, this spot is mine” statement!
- Start by selecting Pillow Sizes: choose a 16×16, 18×18, or 20×20 insert, then add seam allowance when cutting.
- For Fabric Monogramming, center heat-transfer vinyl or embroidered letters on the front panel before sewing—no crooked initials allowed!
- Sew right sides together, leave a 3–6 inch opening, turn, insert, and hand-stitch closed.
Want extra polish? Add piping to the front panel before assembly. Your finished pillow will look custom, welcoming, and proudly yours.
Wedding Keepsakes
Turn treasured wedding details into a pillow you’ll actually want to display—yes, even that lace tucked away in a drawer!
Center wedding veil lace, a vintage handkerchief, or a keepsake photo transfer on a 16-, 18-, or 20-inch pillow front.
Cut two panels 1 inch larger than your form, then add initials or your wedding date with embroidery, appliqué, or heat-transfer vinyl.
It’s beginner-friendly and far more meaningful than another framed photo!
For a polished surprise, sew piping 3/8 inch from the front edge.
Stitch panels right sides together, leave a 3- to 6-inch opening, clip corners, turn, stuff, and close.
Your shared story gets a cozy new place at home!
Family Name Cushions
A family name cushion gives your sofa, entry bench, or guest bed a custom touch without a custom-price headache—so fun!
Choose a 16×16 or 18×18 insert, then cut Textured Fabric panels one inch larger.
- Trace an old pillowcase for easy square panels, then center your surname.
- Paint, iron on, or appliqué letters before sewing the panels together.
- Add piping 3/8 inch from the edge, leaving a turning gap.
Turn it right-side out, insert the form, and stitch closed.
Want the clever upgrade? Make envelope-style Removable Covers, so your family’s favorite gathering spot can change with every season—no pillow hoarding required!
Choosing Pillow Inserts
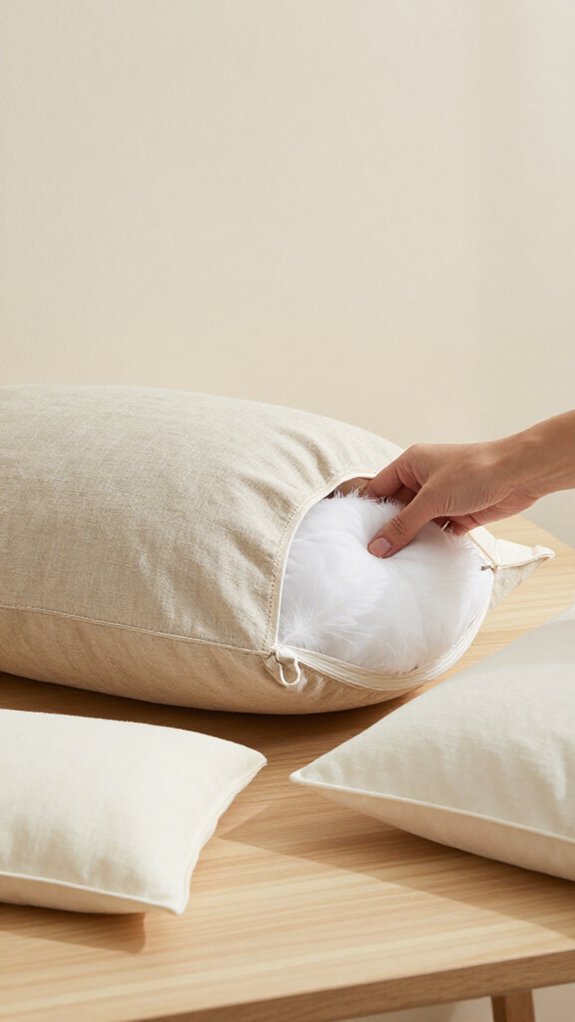
Choosing the right pillow insert gives your handmade cover that full, cozy “just fluffed it” look—so don’t treat it like an afterthought!
Start with Pillow fill options: a pillow form holds its shape, while loose polyfill feels flexible but can shift around like a tiny escape artist. For square accents, choose 16×16, 18×18, or 20×20 inserts based on your space.
Here are handy insert sizing tips: measure your form, then cut fabric about 1 inch larger in each direction before seams. A 16-inch insert usually needs 17-inch pieces, and about 1/2 yard of fabric.
Your finished pillow will look wonderfully plump, polished, and ready to join the family sofa!
Best Fabrics for Decorative Pillows
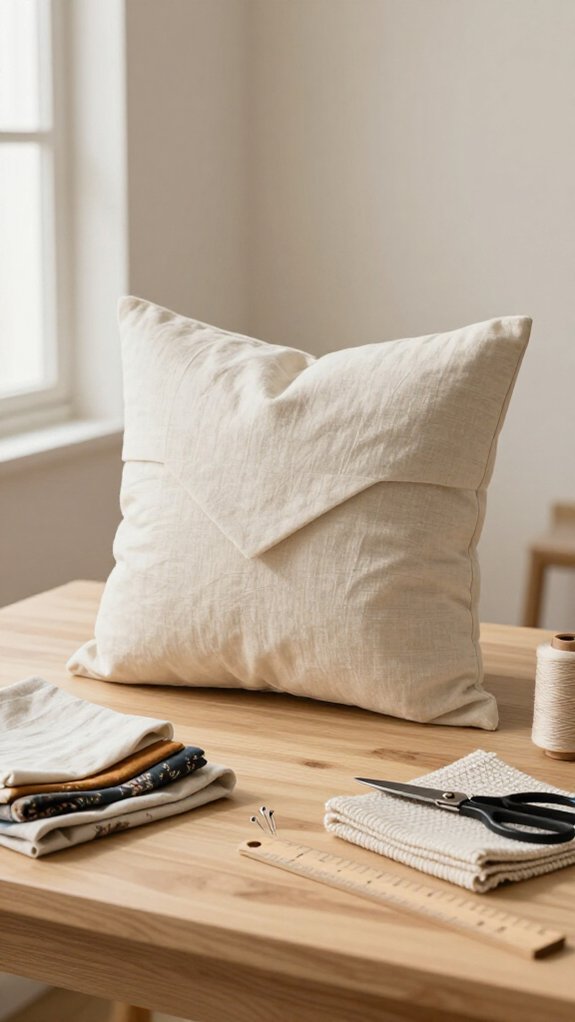
Fabric sets the whole mood for your decorative pillow, so start with a print, texture, or color that makes you smile—cotton prints, quilting cotton, and home décor linen blends are all easy, beginner-friendly picks!
- Choose cotton for cheerful, low-stress sewing with your crew.
- Pick outdoor fabric choices near sunny windows, patios, or splash-prone spaces.
- Try canvas or faux suede for Upholstery durability in busy family rooms.
For piping or trim, use medium-weight, tightly woven fabric so edges stay neat—no floppy noodle effect! Centering a bold print? Buy extra yardage beyond your pillow’s measurements, so the design lands just right.
Your pillow will look thoughtfully made, warm, and ready to belong in your favorite room.
Easy Pillow Closures
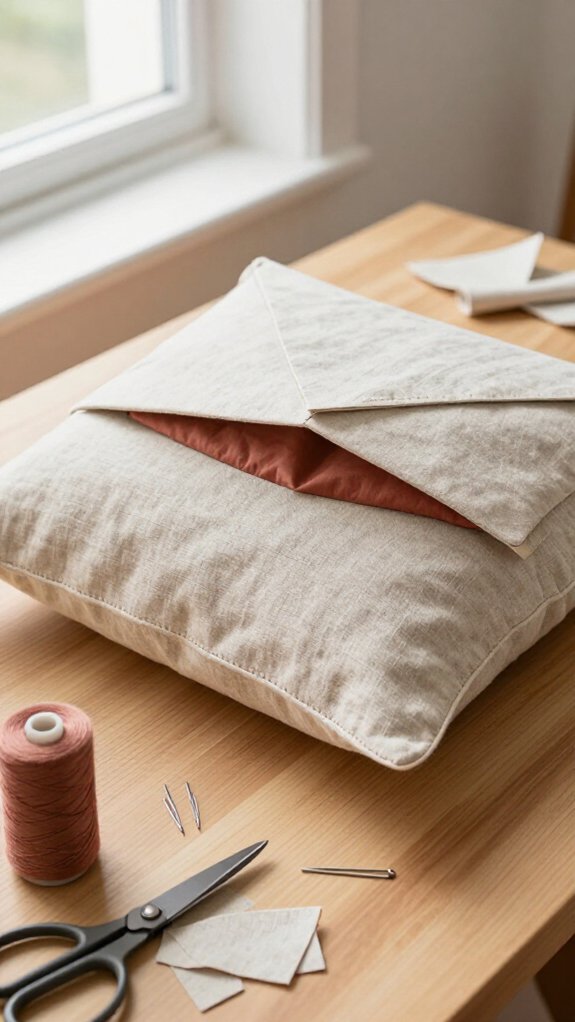
With your favorite fabric picked out, it’s time to give your pillow a finish that looks neat and feels doable—no elaborate sewing-machine wizardry required!
For a simple, budget-friendly option, leave a 3–6-inch turning gap, flip, add the form, and use Hidden stitch methods with matching thread. This invisible seam finishing creates a polished look your cozy space deserves!
Want a removable cover? Sew overlapping back flaps for an envelope closure; the insert slides in, and the fabric cleverly hides the opening.
Adding piping? Stitch trim to the front first, keep the back opening clear, and use a zipper foot for smooth edges. Shorter stitches help everything stay crisp—like pillow magic!