22 Easy Scrap Wood Projects That Transform Leftover Wood Into Beautiful Home Décor
Disclosure: This post may contain affiliate links, at no extra cost to you. Content on DiyCraftNest is created with research support from AI tools and carefully reviewed, edited, and fact-checked by the lead author, Daniel Pat, to ensure accuracy and reliability. Learn more
Love cozy DIY projects? 💕
Get free printable guides, exclusive tutorials & surprise craft goodies straight to your inbox.
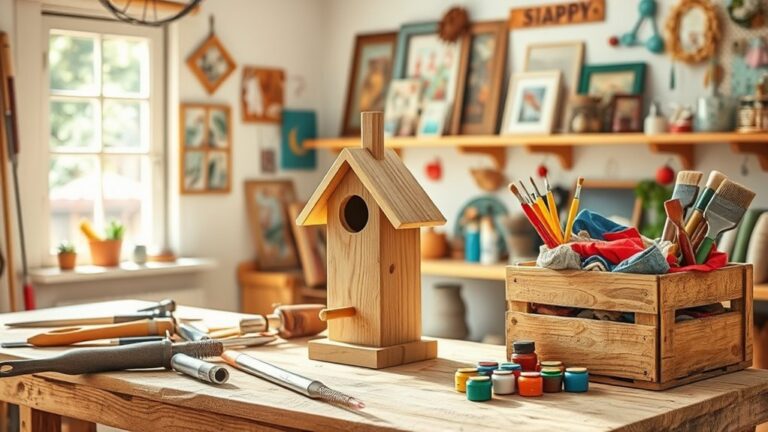
Got a pile of leftover wood scraps taking up space in your garage? Don’t toss them! These 22 beginner-friendly projects will turn those forgotten pieces into stunning home décor and useful items.
I’ve been woodworking for over 15 years and started with simple scrap wood projects. Each project builds your skills while creating something meaningful for your home. Let’s dive into these budget-friendly ideas that even complete beginners can master.
Why Choose Scrap Wood Projects?
Working with leftover wood pieces offers several benefits:
Cost savings: Use materials you already have instead of buying new lumber.
Skill building: Perfect your techniques without expensive mistakes.
Environmental impact: Reduce waste by giving wood scraps new life.
Most projects need basic tools like a saw, drill, and sandpaper. You can complete many in a weekend afternoon.
Key Takeaways
- Create functional home items like herb drying racks and phone stands using scrap wood
- Build decorative projects such as picture frames and bookends for personal style
- Make outdoor and garden projects like planters and wine racks
- Develop essential woodworking skills through measuring, cutting, and assembly
- Express creativity by customizing each project with different finishes and designs
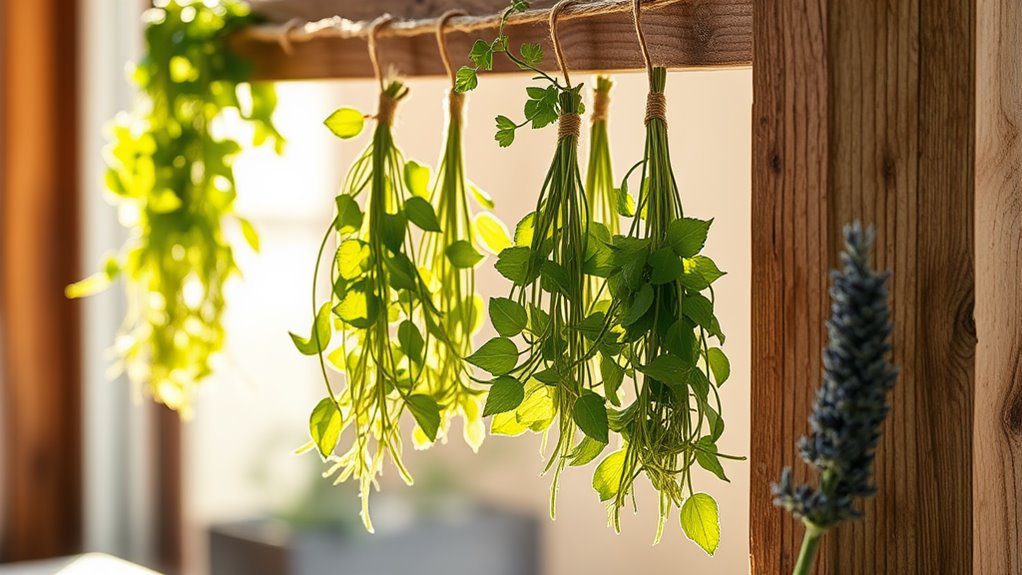
1. Herb Drying Rack
Transform leftover wood strips into a practical herb drying station. This project works perfectly for preserving garden herbs or store-bought bunches.
Cut your scrap wood into equal-length pieces for the frame. Create multiple levels using crossbar supports spaced 6-8 inches apart. The open design allows proper airflow around hanging herbs.
Add mesh or screen material between wooden layers for better air circulation. Sand all surfaces smooth to prevent snagging delicate herb stems. Apply a food-safe finish like mineral oil to protect the wood.
Pro tip: Include small hooks or dowels for hanging individual herb bundles. This keeps different varieties separated during the drying process.
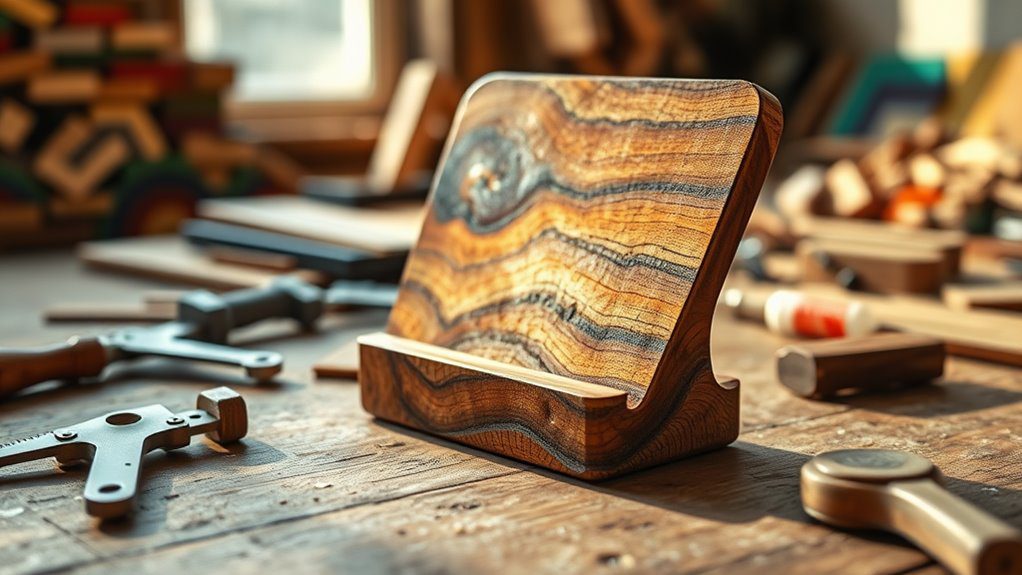
2. Phone Stand
Create a custom phone stand that holds your device at the perfect viewing angle. This simple project needs just a few wood scraps and basic tools.
Start with a triangular base design for stability. Cut the back support at a 60-70 degree angle for comfortable viewing. Make the base deep enough to prevent tipping.
Drill a small groove in the base to hold your charging cable. Sand all edges smooth to protect your phone from scratches. Apply your favorite stain or paint for a personalized touch.
Different wood types create unique grain patterns and colors. Oak provides durability while pine offers a lighter, more affordable option.
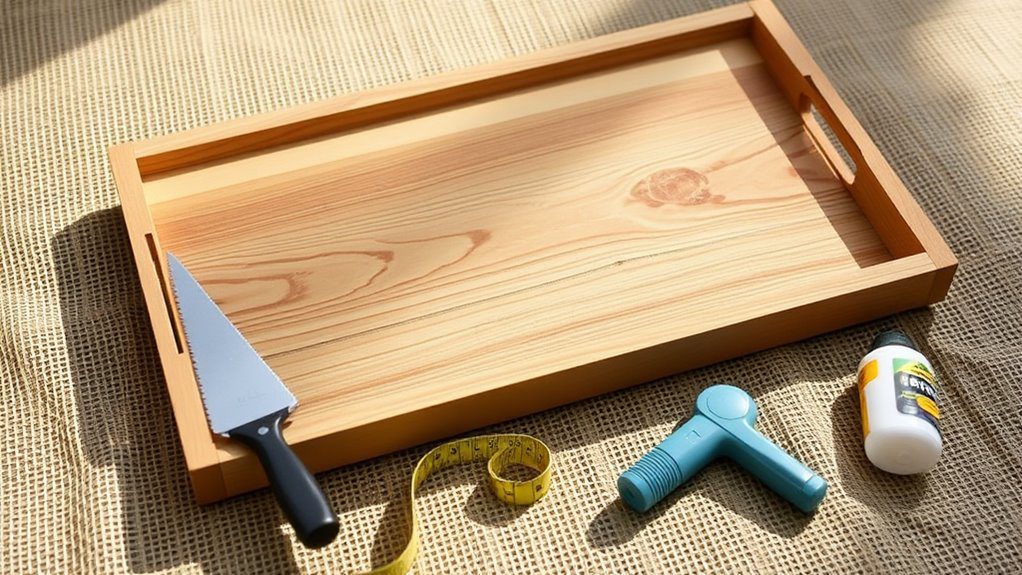
3. Shallow Serving Tray
Build a versatile serving tray perfect for breakfast in bed or entertaining guests. Size it between 12-18 inches long and 8-12 inches wide.
Cut your base piece first, then measure side pieces for a snug fit. Use wood glue and small finish nails to attach the sides. Clamp everything while the glue dries completely.
Sand the entire tray with 120-grit, then 220-grit sandpaper for a smooth finish. Round over sharp edges slightly for comfort and safety.
Add rope handles by drilling holes near each end. Thread natural jute rope through and tie knots underneath. This creates an attractive rustic look that’s Pinterest-perfect.
4. Picture Frame
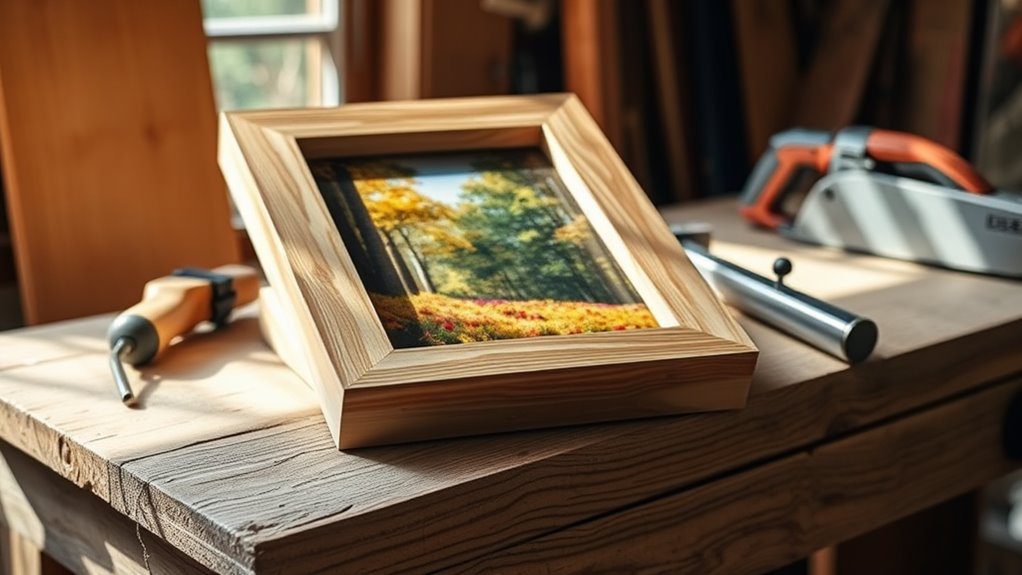
Custom picture frames showcase your favorite memories while practicing precision cuts. Choose wood pieces slightly wider than your photo dimensions.
Measure each piece carefully before cutting 45-degree angles at the corners. A miter box helps achieve perfect angles without expensive tools. Test-fit all pieces before applying glue.
Apply wood glue to miter joints and clamp firmly. Use corner clamps or rubber bands to hold pieces while drying. Check that corners are perfectly square.
Create a rabbet (groove) on the back to hold glass and photo. Route this groove 1/4 inch deep around the inside perimeter. Add small metal tabs to secure the backing.
Frame finishing options:
| Finish Type | Description | Best For |
|---|---|---|
| Natural | Clear polyurethane preserves wood grain | Showcasing beautiful wood species |
| Painted | Chalk paint creates vintage farmhouse look | Matching specific room colors |
| Stained | Dark walnut stain adds elegance | Formal or traditional décor |
| Distressed | Light sanding after paint creates shabby chic | Cottage or vintage themes |
5. Decorative Bookends
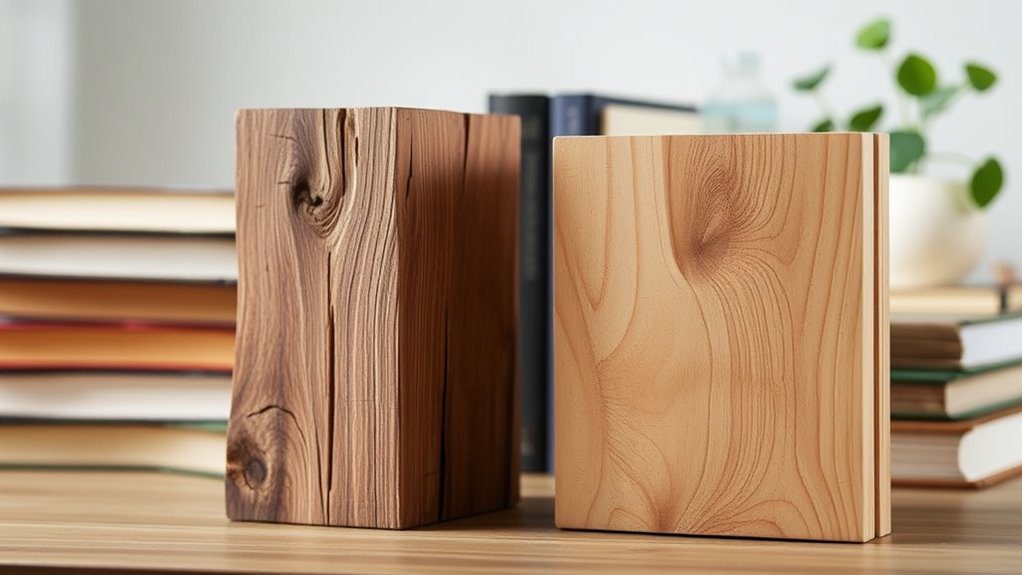
Stylish bookends keep your favorite reads organized while adding personality to shelves. Start with simple geometric shapes like triangles or rectangles.
Cut two identical pieces for each bookend base and back support. The base should be at least 6 inches deep for stability. The back piece height depends on your book collection.
Join pieces with wood screws driven from underneath the base. Countersink screws slightly and fill holes with wood putty. Sand smooth when dry.
Weight the base for better stability by routing a cavity and adding metal washers. Cover with a thin wood cap glued in place.
Creative bookend ideas:
- Cut animal silhouettes with a jigsaw
- Stack different wood species for contrast
- Add LED strip lighting underneath for a modern look
- Burn designs with a wood burning pen
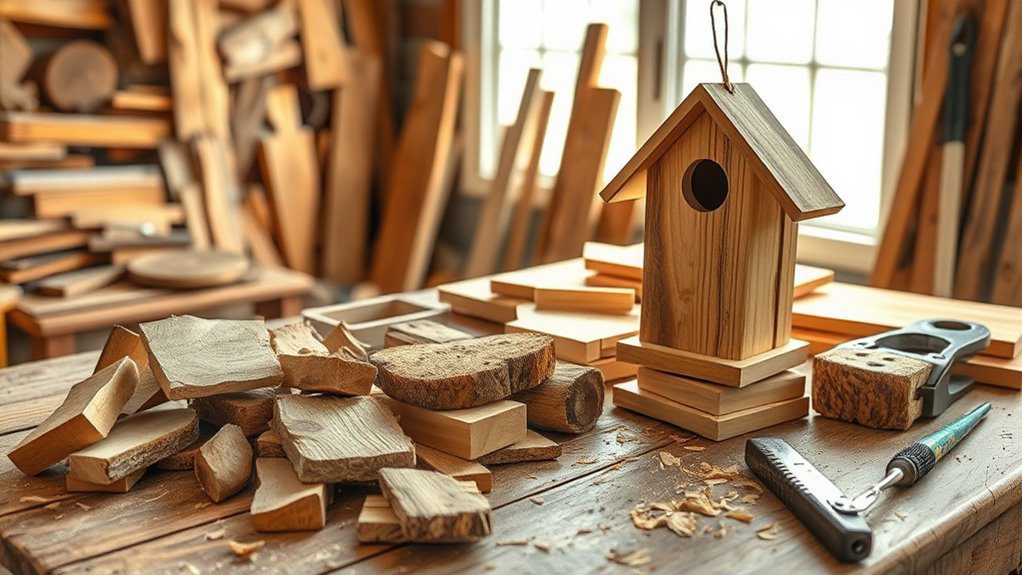
6. Simple Birdhouse
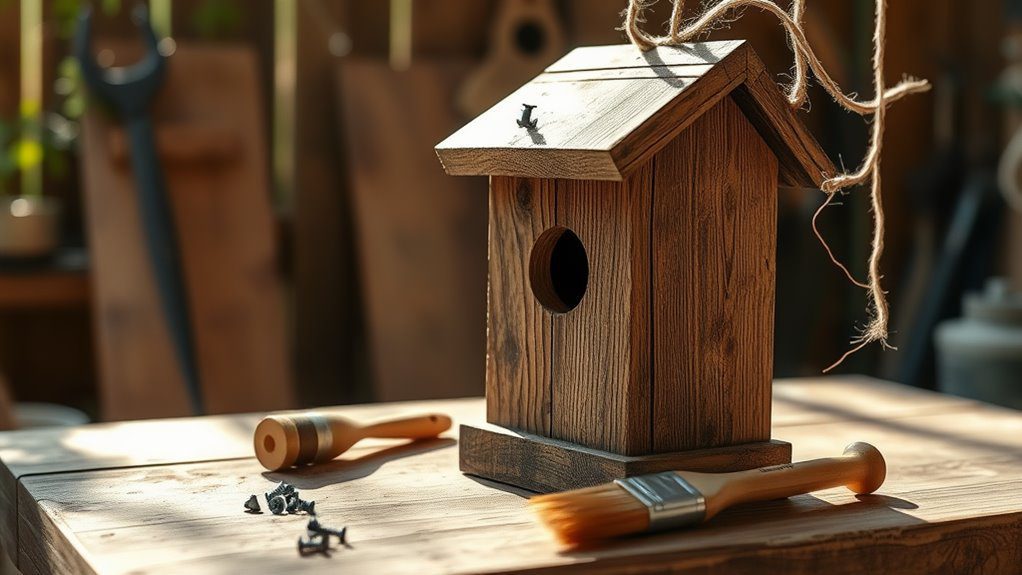
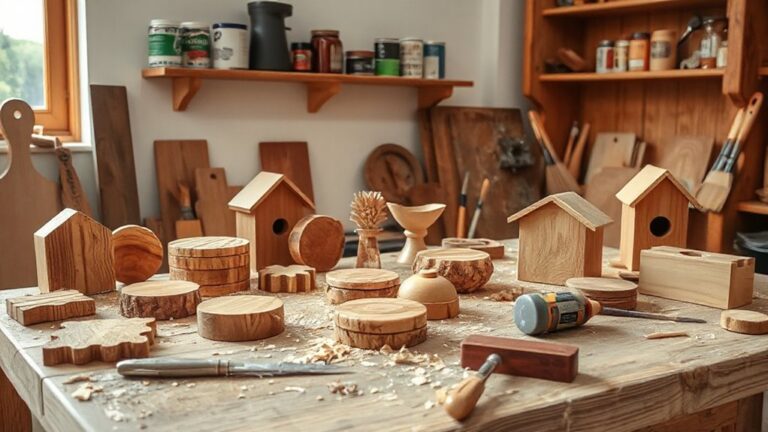
Welcome feathered friends with a handmade birdhouse from your scrap pile. Use only untreated wood to keep birds safe from harmful chemicals.
Standard birdhouse dimensions work for most common songbirds. Make the floor 4×4 inches with 6-inch tall walls. The roof should overhang slightly for weather protection.
Drill the entrance hole 1.25 inches diameter for chickadees and wrens. Position it 1.5 inches from the top edge. Add 1/4 inch drainage holes in the floor.
Include ventilation gaps under the roof overhang. This prevents overheating during hot summer days. Mount the house 4-6 feet high facing away from prevailing winds.
Bird-safe finishing tips:
• Skip paint on the inside completely
• Use only exterior latex paint on outside surfaces
• Natural wood weathers beautifully without any finish
• Add a small perch 2 inches below the entrance hole
7. Rustic Wall Art
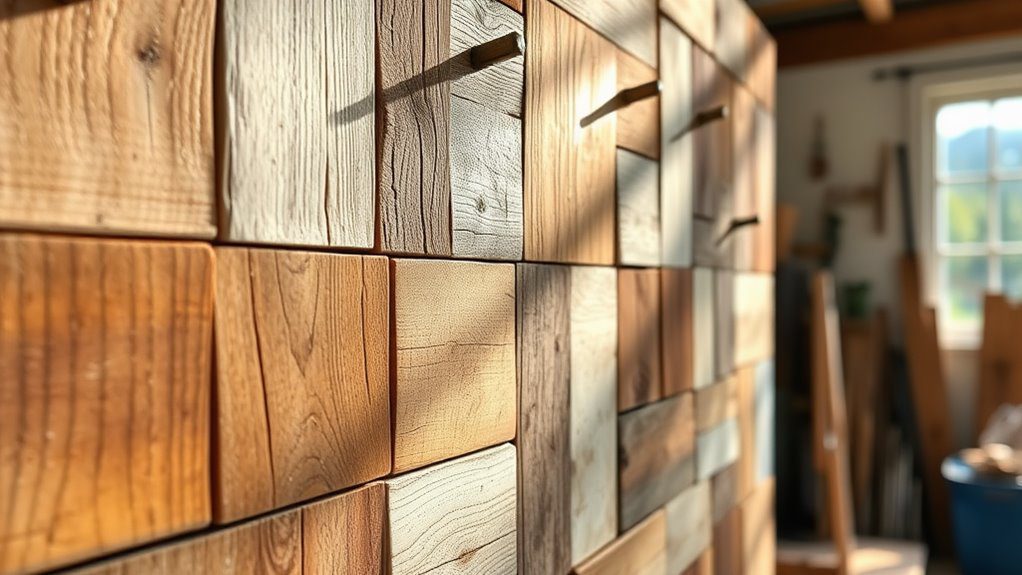
Create stunning wall décor by arranging scrap wood pieces in artistic patterns. Mix different wood types and grain directions for visual interest.
Start with a backing board cut to your desired finished size. Arrange smaller pieces on top in geometric patterns or organic flowing designs. Play with different layouts before gluing anything down.
Use wood glue to attach pieces permanently. Weight down with heavy books while drying. Sand lightly between coats if adding any finish.
Stencil inspirational quotes over the wood using acrylic paint. Choose fonts that match your home’s style – script for farmhouse or block letters for modern looks.
Popular wall art themes:
| Theme | Design Ideas |
|---|---|
| Geometric patterns | Herringbone, chevron, or diamond shapes |
| Nature scenes | Mountain silhouettes or tree branch patterns |
| Typography | Family names, favorite quotes, or house numbers |
| Abstract designs | Random piece arrangements that create flow |
8. Tiered Plant Stand
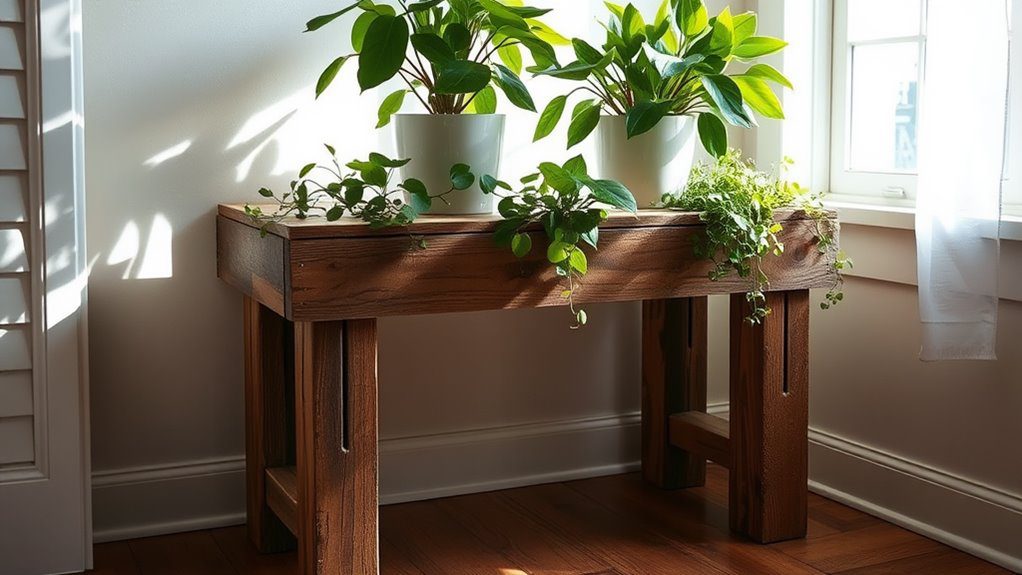
Display your houseplant collection at different heights with a custom plant stand. This project adapts easily to fit any space or plant size.
Build a basic ladder-style frame using 2×2 scrap pieces. Cut legs to your desired height and shelf supports to fit your space. Sand all pieces before assembly.
Attach shelves at different heights to create visual interest. Space them 10-12 inches apart for most houseplants. Pre-drill holes to prevent wood splitting.
Add a water-resistant finish like polyurethane to protect against plant watering spills. Apply at least two coats for better protection.
Consider mobility by adding casters to the bottom. This lets you move plants to follow sunlight or rearrange your space easily.
9. Entryway Key Holder
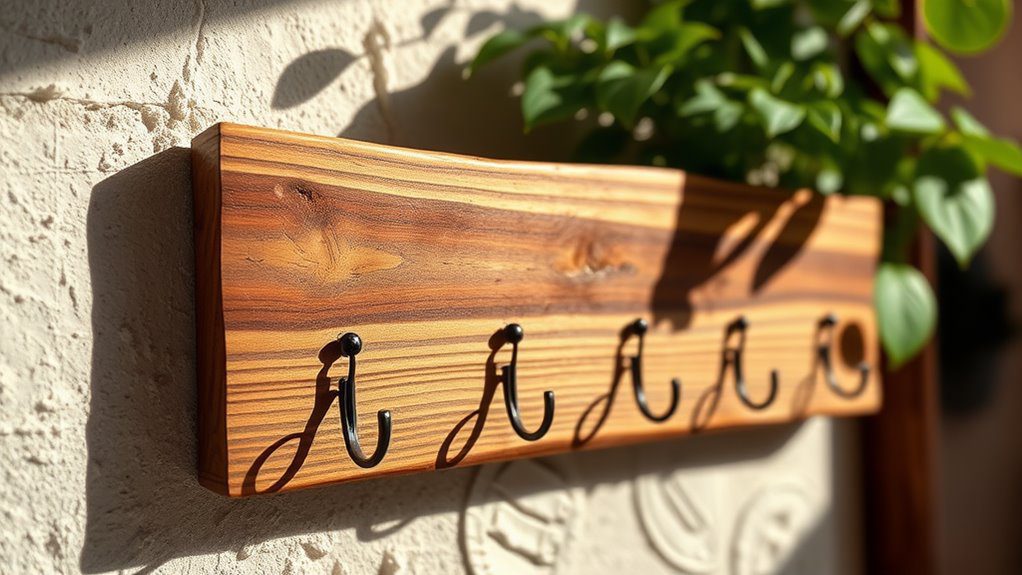
Stop searching for lost keys with a dedicated key holder by your front door. This simple project combines function with farmhouse charm.
Cut a backing board 12-16 inches wide and 6-8 inches tall from scrap lumber. Sand smooth and round over sharp edges for safety.
Install 3-5 decorative hooks spaced evenly across the board. Choose hooks that match your home’s style – black iron for industrial or brass for traditional looks.
Add a small shelf above the hooks for sunglasses or mail. Route a groove to prevent items from sliding off the edge.
Personalization ideas:
- Burn family name with wood burning tool
- Add chalkboard paint section for notes
- Install small mason jar for spare change
- Include battery-operated LED strip for accent lighting
10. Drink Coasters Set
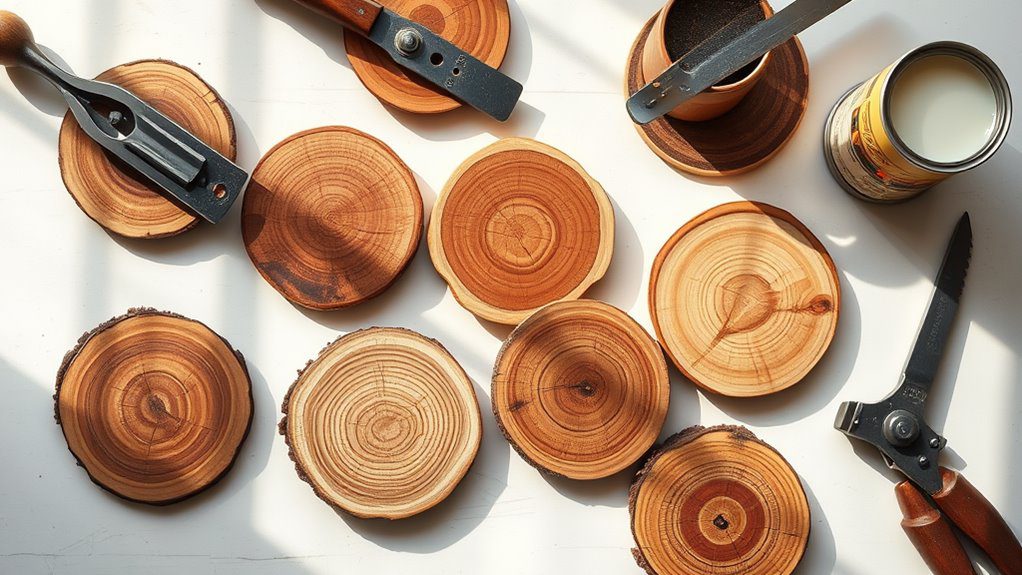
Protect your furniture with custom coasters made from wood scraps. Cut 4-inch squares or circles for standard drinking glasses.
Use a hole saw attachment for perfectly round coasters. Square ones are easier with a miter saw or hand saw. Sand with progressively finer grits up to 220.
Apply multiple coats of polyurethane for water resistance. Sand lightly between coats with 320-grit paper. This prevents water rings on your tables.
Create matching storage holder by cutting a shallow box. Size it to hold 6-8 coasters with easy access for guests.
Creative coaster variations:
| Variation | Technique | Difficulty |
|---|---|---|
| Inlay design | Route shallow patterns and fill with contrasting wood | Intermediate |
| Tile mosaic | Glue small ceramic tiles to wooden base | Beginner |
| Photo transfer | Apply family photos with Mod Podge | Beginner |
| Epoxy resin | Pour clear resin over decorations for smooth finish | Advanced |
11. Jewelry Organization Station
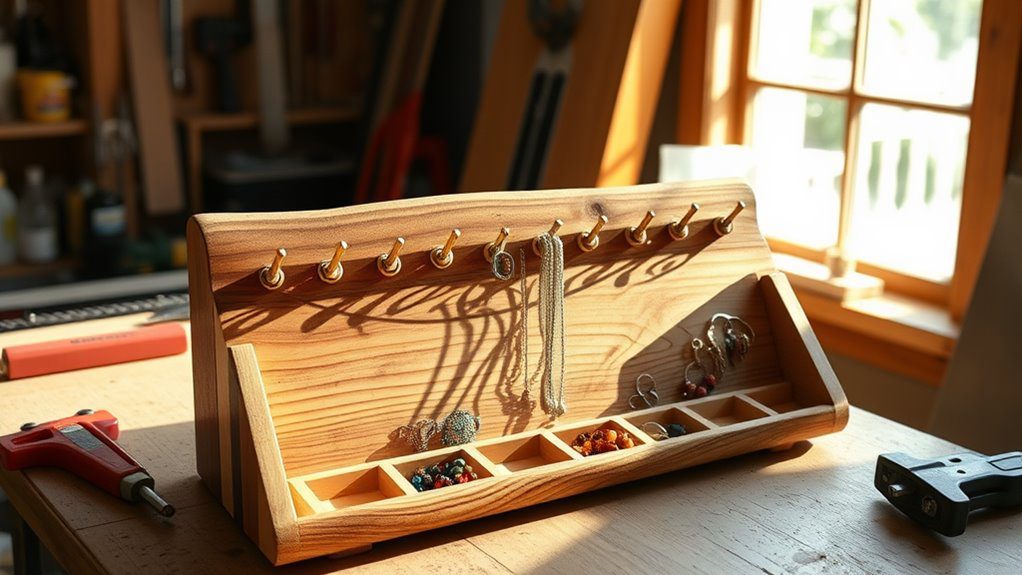
Keep jewelry untangled and easily accessible with a custom organizer. Design compartments for different types of accessories.
Start with a flat base piece 12×8 inches. Add dividers to create sections for rings, earrings, and bracelets. Use thin strips of wood or purchase pre-made dividers.
Install small dowels or hooks along the back edge for hanging necklaces. Space them 1 inch apart to prevent tangling.
Line compartments with felt fabric for a luxurious look. This also protects delicate jewelry from scratches.
Add a hinged lid for a jewelry box effect. Install small hinges and include a chain stay to prevent over-opening.
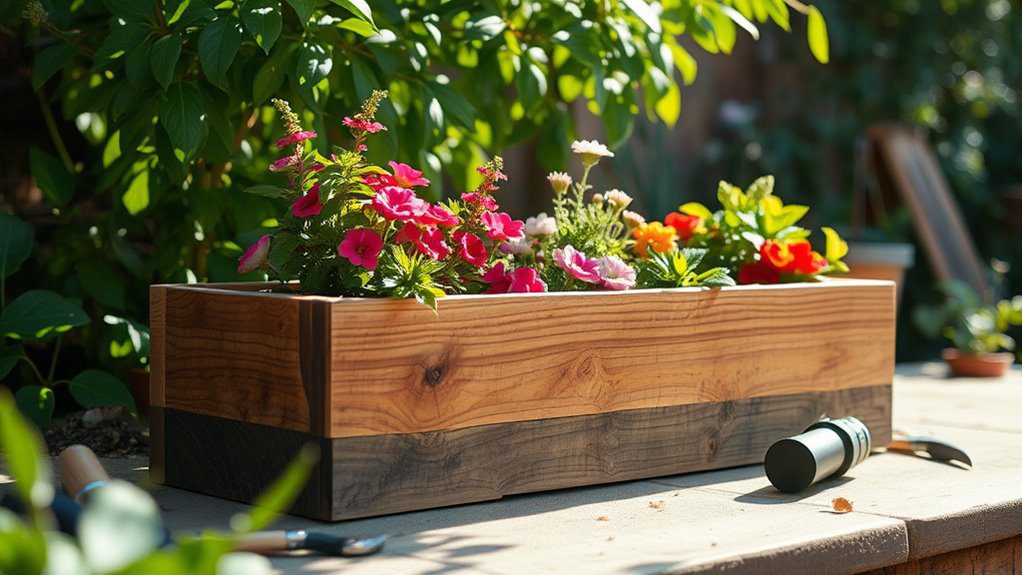
12. Garden Planter Box
Grow herbs and vegetables in custom-sized planters built from scrap lumber. Cedar and redwood naturally resist rot and insects.
Build a simple rectangular box with mitered or butt joint corners. Size planters based on your plants’ root depth requirements. Lettuce needs 6 inches while tomatoes require 12+ inches.
Drill multiple drainage holes in the bottom every 6 inches. Poor drainage kills more plants than any other factor.
Line the inside with landscape fabric to prevent soil from washing through drainage holes. Staple fabric to the upper inside edges.
Planter box finishing:
| Finish Option | Best For | Maintenance |
|---|---|---|
| Natural | Cedar or redwood weather to gray patina | None required |
| Stained | Semi-transparent stain preserves wood grain | Reapply every 2-3 years |
| Food-safe | Linseed oil for edible plant containers | Reapply annually |
| Modern | Exterior latex paint in bold colors | Touch up as needed |
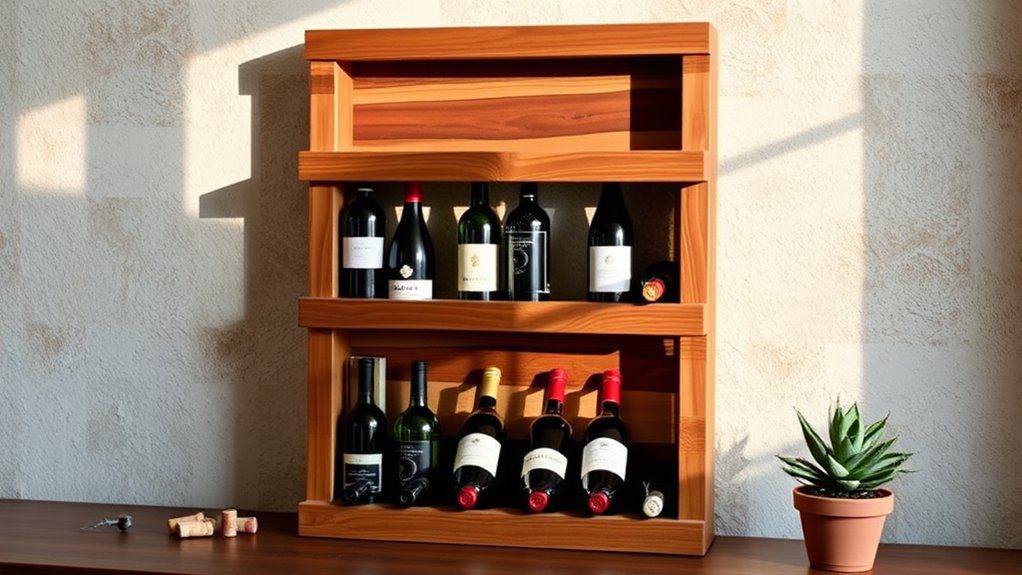
13. Wine Storage Rack
Display your wine collection with a handmade storage rack. This project teaches precision cutting and assembly skills.
Cut angled slots to cradle wine bottles at a slight downward tilt. This keeps corks moist and wine properly stored. Use a circular saw with a guide for consistent angles.
Space bottle slots 4 inches apart center to center. This accommodates most wine bottle sizes comfortably. Sand all surfaces smooth to prevent label damage.
Add a top shelf for wine glasses or decorative items. Include a small lip to prevent items from sliding off.
Build modular units that stack or connect side by side. This lets you expand your storage as your collection grows.
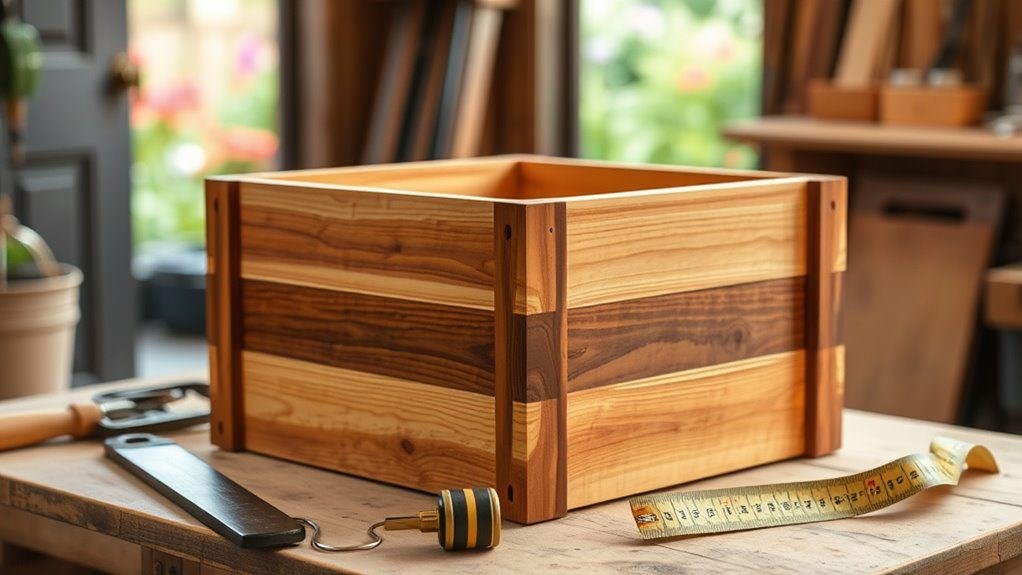
14. Multi-Purpose Storage Crate
Organize any room with stackable storage crates built to your exact needs. Use thicker boards for heavy-duty storage or thinner ones for lightweight items.
Cut all pieces to consistent dimensions for uniform stacking. Standard milk crate dimensions work well – 13x13x11 inches. Pre-drill holes to prevent splitting during assembly.
Join corners with wood screws driven from the inside. Countersink screws slightly and cover with wood putty if desired. Sand smooth when dry.
Add rope handles by drilling holes and threading natural fiber rope through. Tie knots on the inside to secure. This creates comfortable carrying handles.
Storage crate uses:
• Kids’ toys: Paint bright colors for playroom organization
• Laundry: Size for folded clothes or dirty items
• Pantry: Store root vegetables or canned goods
• Garage: Hold automotive supplies or seasonal items
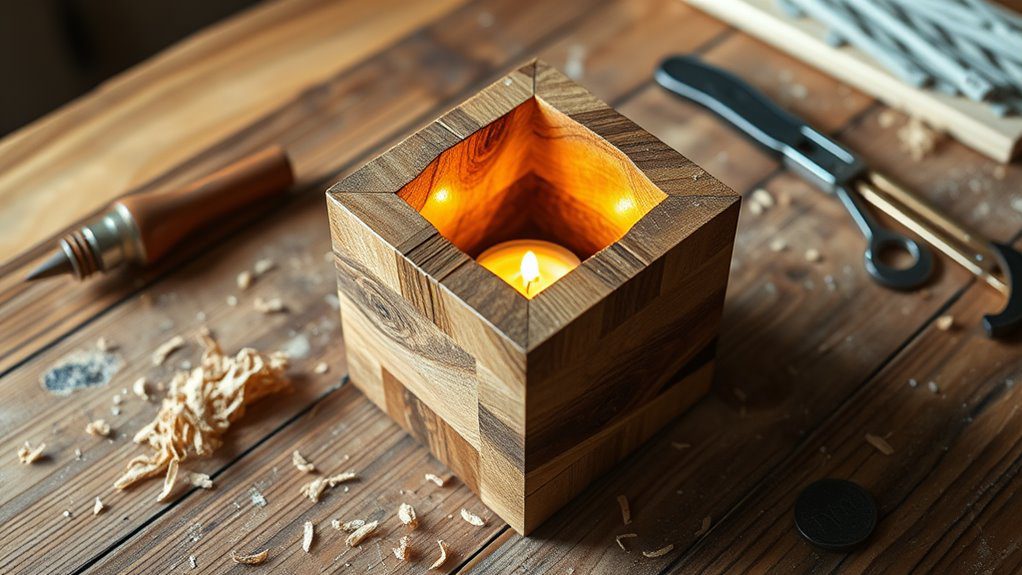
15. Tea Light Candle Holder
Create ambient lighting with handmade candle holders from scrap wood blocks. Focus on fire safety with proper design and placement.
Drill holes sized for standard tea light candles – typically 1.5 inches diameter and 0.75 inches deep. Use a Forstner bit for clean, flat-bottomed holes.
Space multiple candles at least 3 inches apart to prevent overheating. Sand all surfaces smooth and remove any sawdust that could ignite.
Apply a flame-retardant wood finish or leave natural for rustic appeal. Never leave burning candles unattended regardless of holder design.
Group multiple holders at different heights for dramatic effect. Place on stable surfaces away from curtains or flammable materials.
16. Kids’ Step Stool
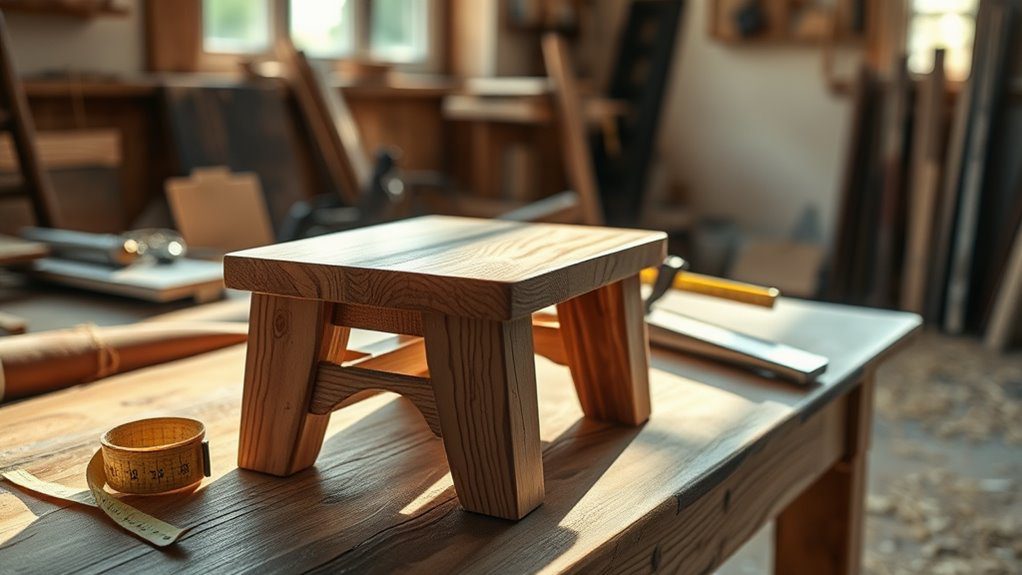
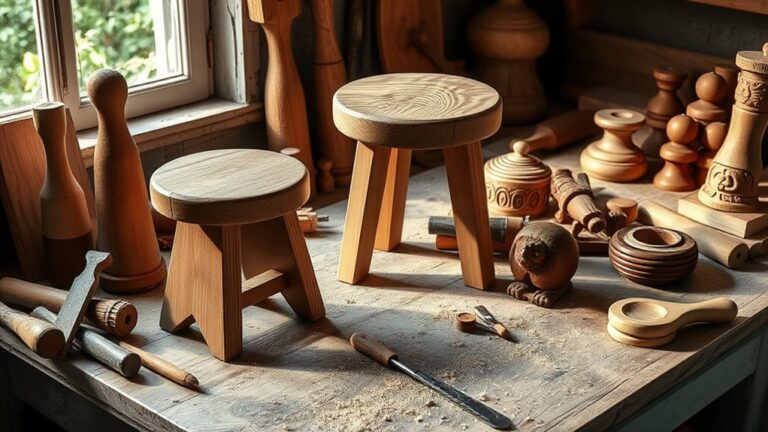
Help little ones reach counters and sinks safely with a sturdy step stool. Design with wide base for stability and comfort.
Cut the top platform 12×8 inches from 3/4 inch thick wood. Size the base 16×12 inches for tip-resistant stability. Connect with angled side supports.
Round over all edges with sandpaper to prevent splinters. Kids’ furniture needs extra attention to safety details.
Apply non-toxic finish suitable for children’s furniture. Water-based polyurethane dries quickly and has minimal odor.
Add non-slip pads to the bottom to prevent sliding on smooth floors. Stick-on furniture pads work perfectly for this purpose.
17. Elevated Pet Bed Frame
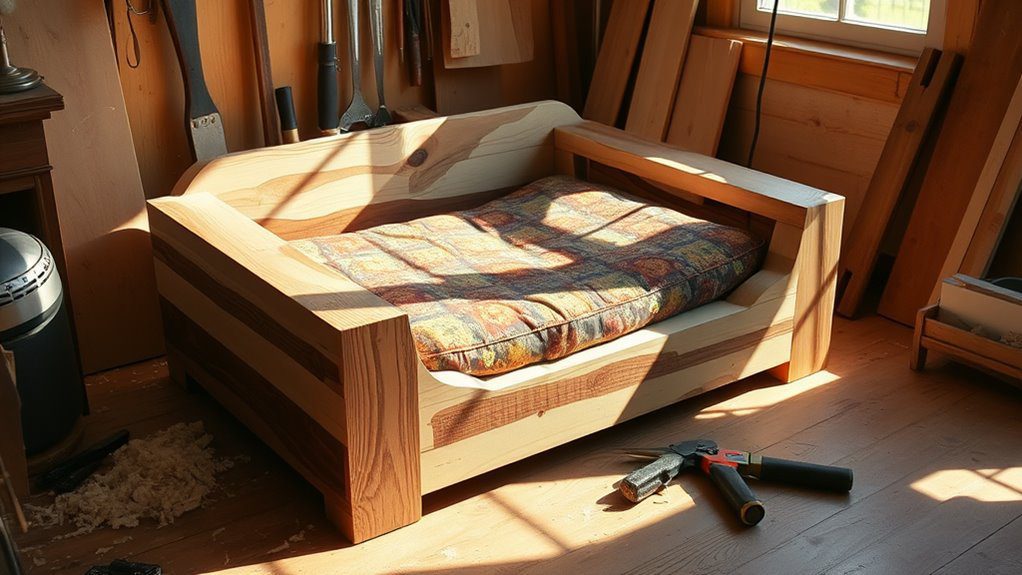
Build your furry friend a comfortable elevated bed frame. Raising the bed improves air circulation and keeps pets off cold floors.
Size the frame to fit a standard dog bed or cushion. Leave 2 inches extra in each direction for easy bed changes. Use pocket hole joinery for strong, hidden connections.
Elevate the bed 4-6 inches off the floor. This height works for most dogs while preventing jumping injuries for older pets.
Choose durable woods like oak or maple for large dogs. Pine works fine for smaller pets and costs less.
Sand all surfaces smooth to prevent snagging pet bedding. Apply pet-safe finish or leave natural for easy replacement if damaged.
18. Floating Display Shelves
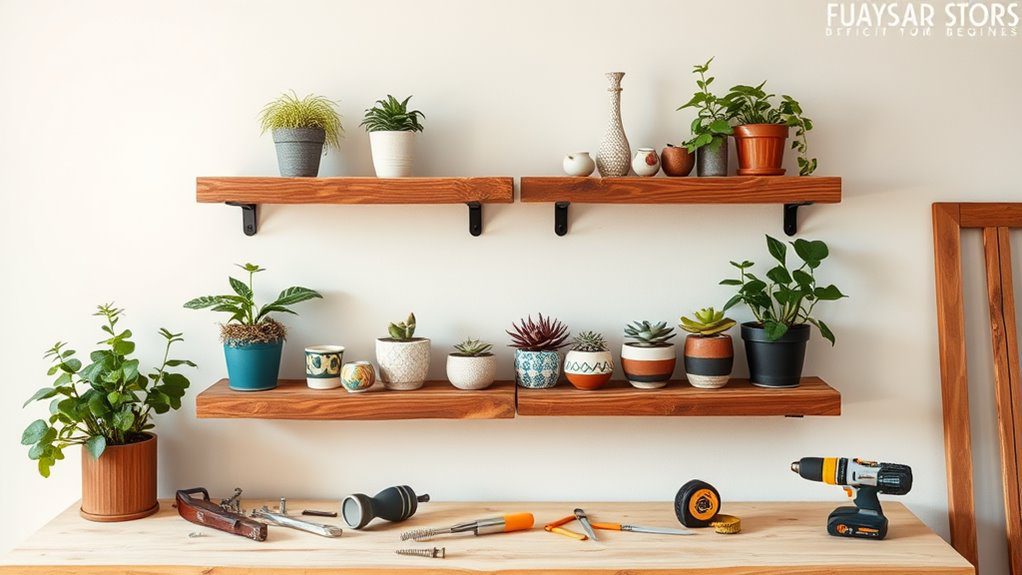
Add storage and display space with clean-lined floating shelves. Hidden brackets create the illusion of shelves attached directly to walls.
Rout a groove on the back of each shelf to fit over a wall cleat system. This provides strong support while remaining completely hidden.
Install the wall cleat level and into at least two wall studs. Use a quality level and stud finder for proper placement.
Sand shelves progressively through 220 grit for smooth finish. Apply stain or paint to match your room’s décor.
Floating shelf styling tips:
• Group shelves in odd numbers for visual appeal
• Mix shelf lengths for dynamic wall arrangement
• Leave some shelves partially empty to avoid cluttered look
• Include a mix of books, plants, and decorative objects
19. Outdoor Garden Bench
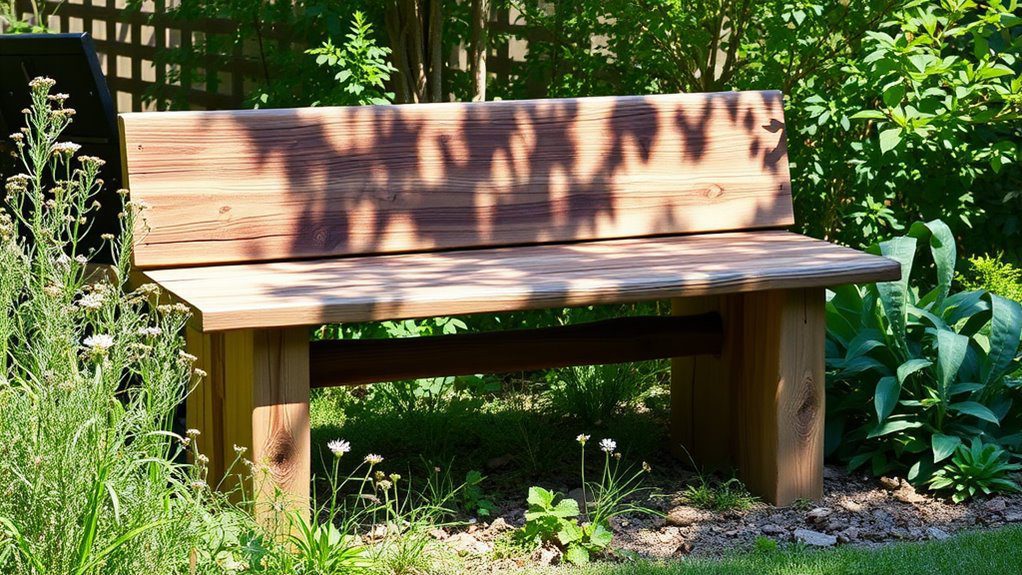
Create a peaceful garden retreat with a handbuilt wooden bench. Choose weather-resistant wood species for longevity outdoors.
Build a simple design with seat, back, and leg assembly. Standard bench height is 17-18 inches for comfortable seating. Make the seat 15-16 inches deep.
Angle the back support slightly for comfort – about 15 degrees from vertical works well. Test-sit your design before final assembly.
Use galvanized or stainless steel fasteners to prevent rust stains. Outdoor projects need hardware that withstand weather exposure.
Apply exterior wood finish annually to maintain appearance. Semi-transparent stains preserve wood grain while providing UV protection.
20. Workshop Tool Organizer
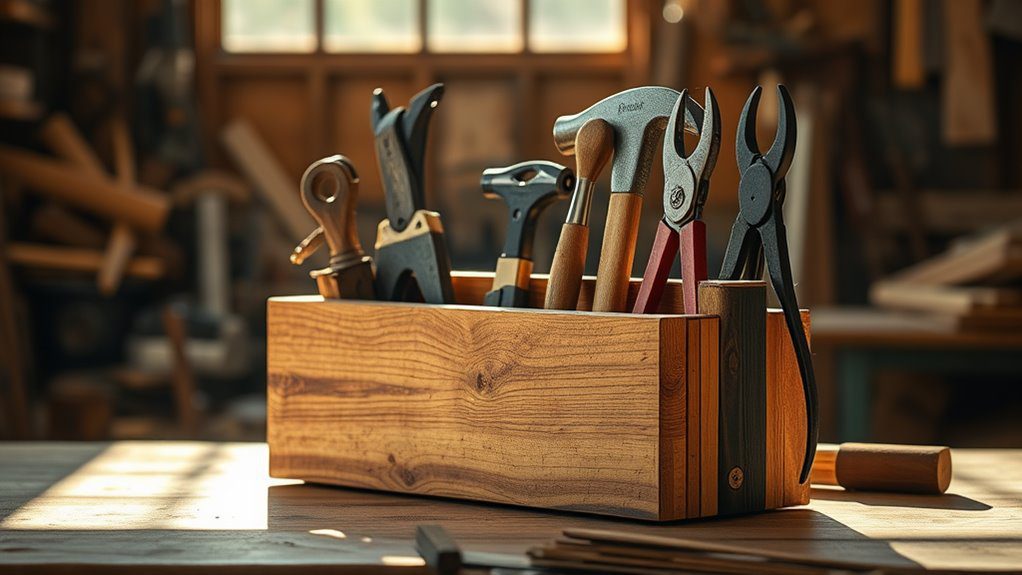
Keep workshop tools organized and easily accessible with custom storage solutions. Design compartments for your specific tool collection.
Build pegboard backing systems with removable hooks and holders. This allows flexible arrangement as your tool collection changes.
Create dedicated slots for frequently used items like screwdrivers and chisels. Size each slot slightly larger than the tool for easy access.
Add shallow drawers for small hardware like screws and washers. Include dividers to separate different sizes and types.
Label everything clearly for quick identification. Use a label maker or hand-lettered signs for a personal touch.
21. Desktop Organization Station
Tame desktop clutter with compartments sized for your specific supplies. This project adapts to any desk size or work style.
Create sections for pens, paper clips, sticky notes, and other office essentials. Use thin wood strips as dividers within a shallow box framework.
Include a smartphone slot angled for easy viewing. Size it wide enough for phones in protective cases.
Add a small drawer underneath for items you use less frequently. Install simple wooden slides or let the drawer rest on shelf supports.
Finish with a smooth, easy-to-clean surface. Light-colored stains show pencil marks less than dark finishes.
22. Picnic Utensil Caddy
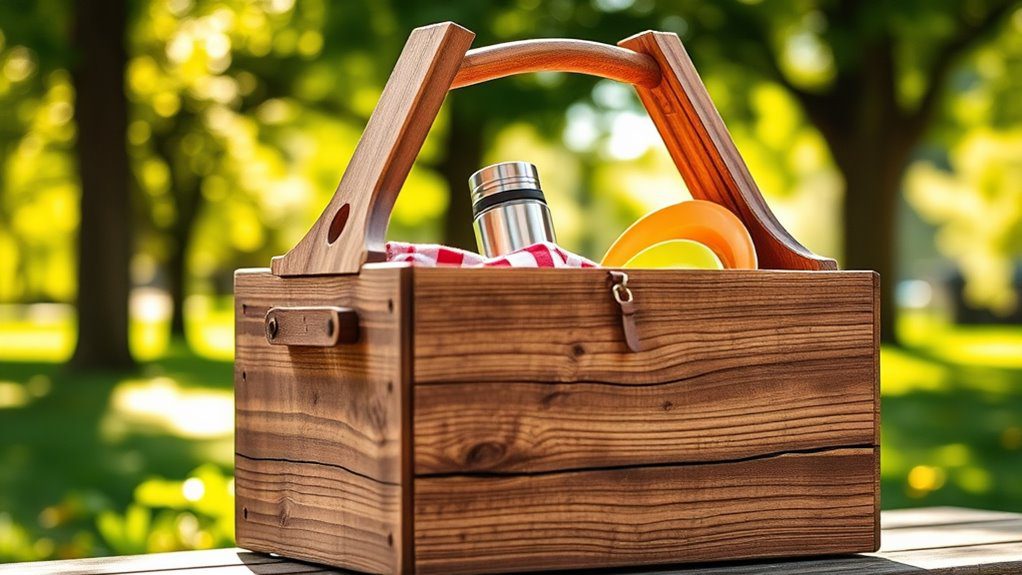
Transport outdoor dining essentials in style with a handmade utensil caddy. Design with compartments for plates, cups, and silverware.
Build a handled carrier with a center divider creating two main compartments. Size openings for your specific dinnerware and serving pieces.
Add smaller sections along the sides for salt, pepper, napkins, and condiments. Include lids or covers for items that need protection from bugs.
Use a comfortable handle design – either a single center handle or double handles on each end. Round over handle edges for comfort.
Apply food-safe finish like mineral oil or leave unfinished for easy cleaning. Outdoor use means easy maintenance is important.
Building Skills and Confidence
These projects progress from simple to more complex, building your woodworking skills systematically. Start with coasters or picture frames, then advance to furniture pieces like benches and plant stands.
Each project teaches specific techniques:
| Skill Category | Techniques Learned | Best Starter Projects |
|---|---|---|
| Measuring and marking | Foundation of accurate woodworking | Coasters, picture frames |
| Cutting | Hand saws, circular saws, and miter saws | Serving tray, bookends |
| Joining | Screws, glue, and basic joinery methods | Storage crate, plant stand |
| Finishing | Sanding, staining, and protective coatings | Wine rack, floating shelves |
Essential safety reminders:
- Always wear safety glasses when cutting or drilling
- Use dust masks during sanding operations
- Keep fingers away from saw blades and drill bits
- Work in well-ventilated areas when applying finishes
Material Selection Guide
Different wood species work better for specific projects. Here’s what works best for beginners:
| Wood Type | Best For | Cost Level | Beginner Friendly |
|---|---|---|---|
| Pine | Indoor projects, painted finishes | Low | Excellent |
| Cedar | Outdoor projects, natural pest resistance | Medium | Good |
| Oak | Furniture, high-wear items | High | Challenging |
| Plywood | Painted projects, backing boards | Low-Medium | Excellent |
Tool Recommendations for Beginners
Start with these essential tools and add more as your skills develop:
Must-have tools:
- Circular saw: Versatile cutting for most projects
- Drill/driver: Holes and fastening screws
- Random orbit sander: Smooth finishes quickly
- Measuring tape: Accurate measurements every time
- Speed square: Mark perfect angles and guide cuts
Nice-to-have additions:
- Miter saw: Perfect crosscuts and angles
- Router: Decorative edges and joinery
- Pocket hole jig: Strong, hidden connections
- Clamps: Hold pieces during glue-up
- Wood burning pen: Add custom designs
Finishing Your Projects Like a Pro
The finish can make or break your project’s final appearance. Follow these steps for professional results:
Step-by-step finishing process:
1. Sand progressively: Start with 120 grit, progress to 220
2. Remove all dust: Use tack cloth or compressed air
3. Apply pre-stain conditioner: For even stain absorption
4. Stain evenly: Work with the grain, maintain wet edge
5. Seal with topcoat: 2-3 coats of polyurethane or lacquer
6. Sand between coats: Light sanding with 320 grit
Project Cost Breakdown
Most scrap wood projects cost very little since you’re using leftover materials. Here’s what to budget for supplies:
| Project Type | Material Cost | Hardware Cost | Total Range |
|---|---|---|---|
| Small items | Free (scrap wood) | $2-5 | $2-5 |
| Medium projects | Free-$10 | $5-15 | $5-25 |
| Furniture pieces | $10-30 | $10-25 | $20-55 |
Troubleshooting Common Beginner Mistakes
Every woodworker makes mistakes. Here’s how to fix the most common ones:
Problem: Tear-out when cutting
Solution: Score cut line with utility knife first. Use painter’s tape over cut area. Choose proper blade for your material.
Problem: Gaps in joints
Solution: Mix sawdust with wood glue to fill small gaps. For larger gaps, cut thin wood strips to fit.
Problem: Uneven stain absorption
Solution: Always use pre-stain conditioner on soft woods. Sand to consistent grit across entire surface.
Problem: Screws splitting wood
Solution: Always pre-drill pilot holes. Use drill bit slightly smaller than screw diameter.
Sharing Your Creations
Document your projects to inspire others and track your progress. Take before, during, and after photos of each build.
Share on social media with hashtags like #scrapwoodprojects #DIYwoodworking #handmade. The woodworking community loves seeing creative repurposing ideas.
Consider starting a project journal noting what worked well and what you’d change next time. This helps improve your techniques with each build.
Conclusion: Your Scrap Wood Journey Starts Now
Don’t let those wood scraps gather dust any longer. Start with one simple project that excites you most. Each piece you complete builds confidence for the next challenge.
Remember that woodworking is about enjoying the process, not achieving perfection. Every mistake teaches valuable lessons for future projects.
The satisfaction of creating something beautiful and functional with your own hands never gets old. Plus, you’re helping the environment by giving new life to materials that might otherwise end up in landfills.
Ready to start building? Choose your first project, gather your materials, and set aside a weekend afternoon. Your next amazing creation is waiting in that pile of scrap wood.
Which project will you tackle first? Share your plans in the comments below – we’d love to see what you create!

