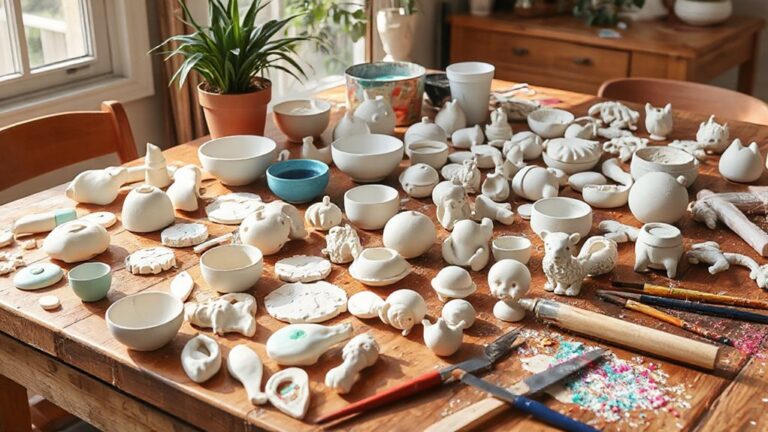
29 Polymer Clay Ideas for Beginners You’ll Want to Try
Disclosure: This post may contain affiliate links, at no extra cost to you. Content on DiyCraftNest is created with research support from AI tools and carefully reviewed, edited, and fact-checked by the lead author, Daniel Pat, to ensure accuracy and reliability. Learn more
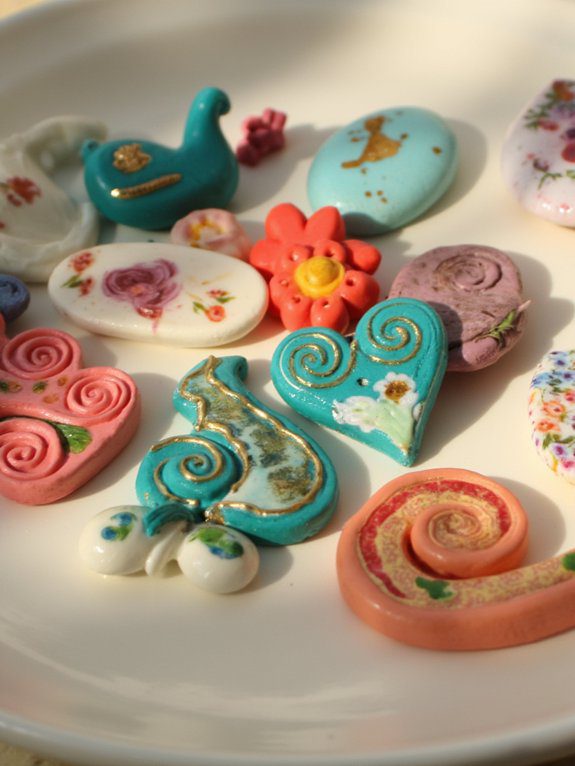
I’ve found that starting with simple marble beads or tiny heart charms is a blast—they’re easy, colorful, and perfect for beginners! You can mix up mini fruit keychains like strawberries or bananas for a pop of fun, or try cute cookie stud earrings that look good enough to eat. Bold color block pendants and playful button magnets add style without stress. If you want, a tiny turtle figure or star-shaped magnets bring charm and personality. There’s lots more creative goodness ahead to spark your imagination!
Key Takeaways
- Create simple marble beads by mixing colors, rolling, slicing, and baking for unique jewelry pieces.
- Shape tiny heart charms and cookie stud earrings as easy, personalized accessories for gifts or personal use.
- Craft mini fruit keychains and star-shaped magnets using basic shaping, texture, and baking techniques.
- Experiment with floral petals, pastel cloud charms, and cactus pot toppers for charming nature-inspired designs.
- Make durable coasters and playful button magnets by baking and sealing clay for practical, colorful gifts.
Simple Marble Beads
Even if you’re brand new to polymer clay, you’ll love making simple marble beads because they’re fun, colorful, and surprisingly easy to create!
Start by conditioning your clay until it’s soft and pliable—that’s key for perfect marble clay techniques. Mix two or more colors, twist and roll them, then slice with a craft knife to reveal unique marble patterns.
Use bead shaping tips like rolling each bead between your palms to smooth imperfections and keep sizes uniform. After baking at 275°F for 15-30 minutes, you’ll have beautiful, one-of-a-kind beads ready to shine in your jewelry!
Tiny Heart Charms
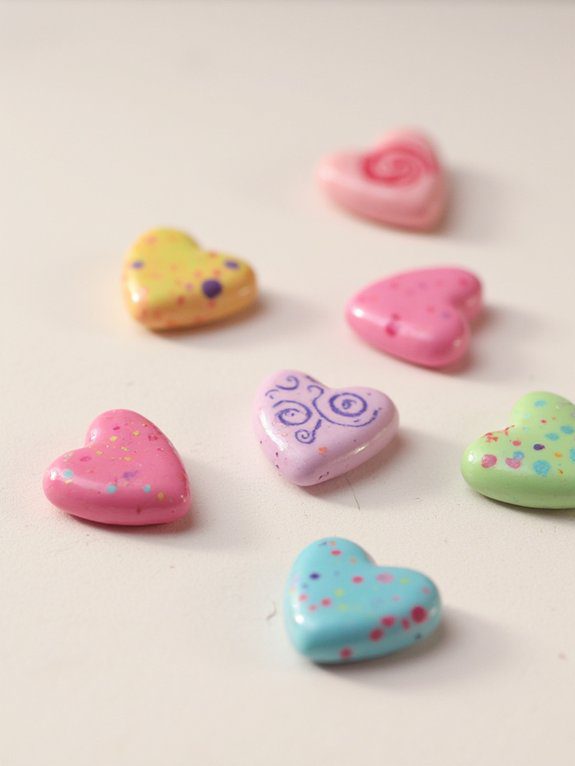
Tiny heart charms are such a fun way to dip your toes into polymer clay crafting! I love how simple shaping a tiny heart can be, and you can get creative with heart charm variations—mix colors, add glitter, or even tiny patterns.
Conditioning the clay, rolling a ball, then shaping it into a heart is surprisingly satisfying. After baking them in the oven, these little charms become sturdy and ready to personalize.
Adding a jump ring or cord turns your personalized charm designs into cute necklaces or keychains. Trust me, once you start, you’ll want to make a whole bunch!
Mini Fruit Keychains
If you enjoyed making those little heart charms, you’re going to love creating mini fruit keychains—they’re a blast and let your imagination run wild!
Using simple fruit design techniques, you can shape strawberries, bananas, or watermelons, adding texture and color that really pop.
After baking your tiny creations, attaching a keyring turns them into perfect, personalized accessories.
These keychain personalization ideas make great gifts or fun treats for yourself. Plus, mixing different fruits lets you practice skills and show off your style.
Trust me, crafting these cute mini fruits will bring you joy and a sense of belonging to our creative community!
Easy Star-Shaped Magnets
Making a batch of easy star-shaped magnets is one of my favorite quick polymer clay projects—it’s fun, creative, and perfect for beginners who want a little crafting win!
Crafting star-shaped magnets is a quick, fun project perfect for beginners craving a creative win!
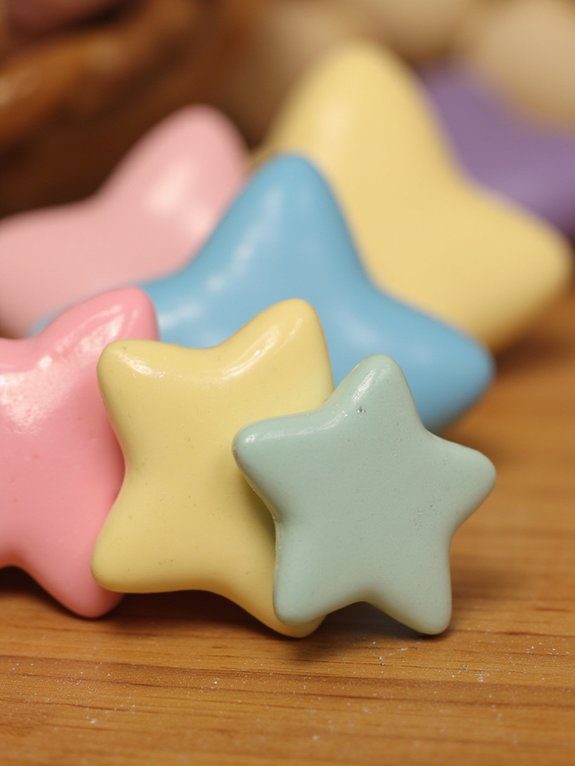
I love experimenting with creative color combinations, mixing clay hues to make each star pop. After rolling out the clay, I cut stars with a cookie cutter, add textures with stamps, then bake them.
Once cooled, I attach magnets for instant magnet customization magic! A glossy glaze seals the deal, making these stars shiny and durable.
They’re perfect for gifts or sprucing up your fridge—everyone’s gonna want one!
Cute Cookie Stud Earrings
Nothing beats the charm of cute cookie stud earrings to add a sprinkle of fun to your outfit!
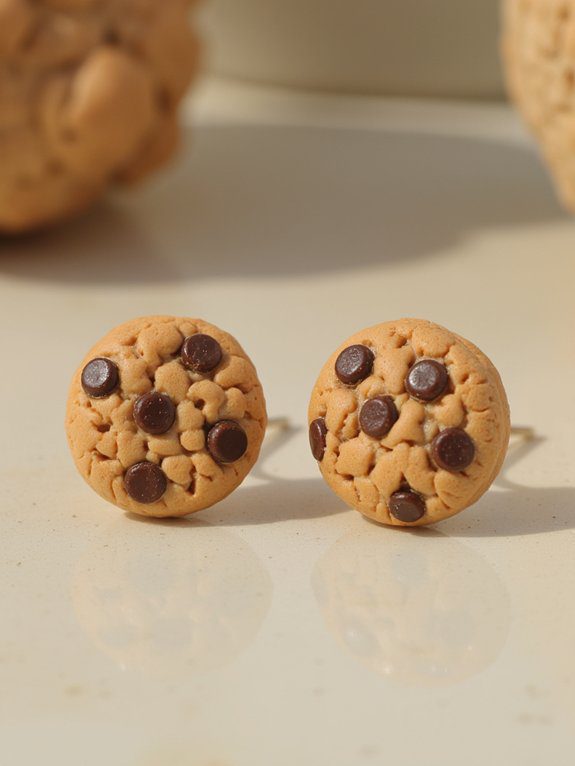
Using simple cookie design techniques with polymer clay, like mimicking chocolate chips or colorful sprinkles, you can create adorable accessories that really pop.
I love starting with Sculpey Primo because it’s beginner-friendly and perfect for detailed work.
Grab a round cutter, shape your cookies evenly, and bake them on parchment paper for the best results.
Don’t forget the glossy glaze—it gives a shiny, realistic finish!
Plus, earring customization ideas let you express your style or gift a sweet treat to friends!
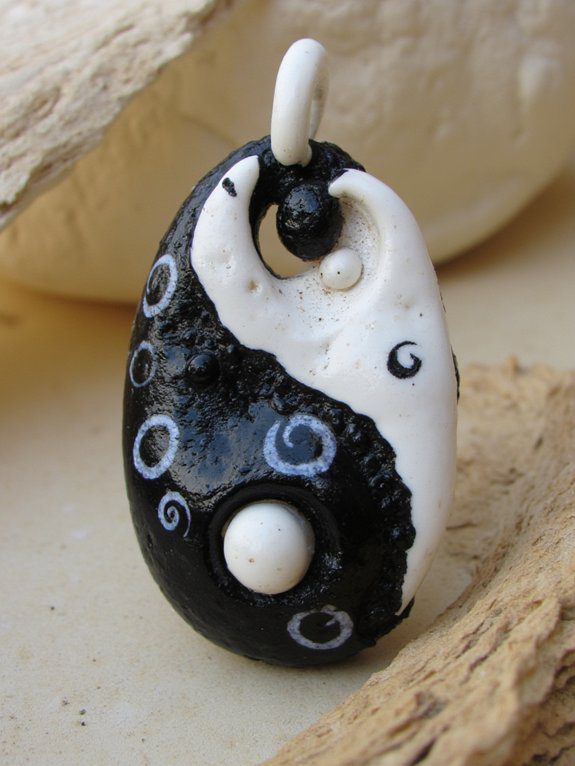
Classic Yin Yang Pendants
While the classic Yin Yang symbol might seem tricky at first, creating your own pendant with polymer clay is actually a fun and rewarding project!
I love how the Yin Yang symbolism perfectly captures balance, and making one lets you plunge into pendant customization like a pro.
Just condition your black and white clay until smooth, then carefully cut the iconic shape with a craft knife—don’t forget those tiny circles!
After baking, a glossy glaze seals the deal, making your pendant pop and last.
Trust me, once you try this, you’ll want to wear your balanced creation everywhere!
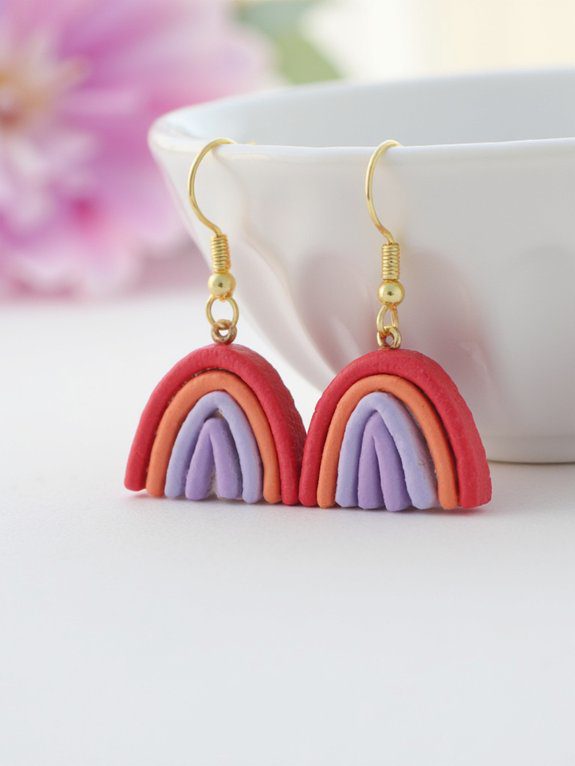
Rainbow Arch Dangles
If you’ve ever wanted to add a splash of color to your accessories, rainbow arch dangles are the perfect project to brighten your day—and your outfit!
I love using color layering techniques by stacking vibrant polymer clay strips to create that eye-catching arch. Make sure to condition your clay well for smooth shaping, then bake at 275°F for about 30 minutes.
When it’s time for earring assembly, I recommend clean edges with a craft knife and lightweight embellishments for flair. Finally, attach hooks or studs using simple earring assembly tips—voila! You’ve got fun, trendy dangles ready to wear!
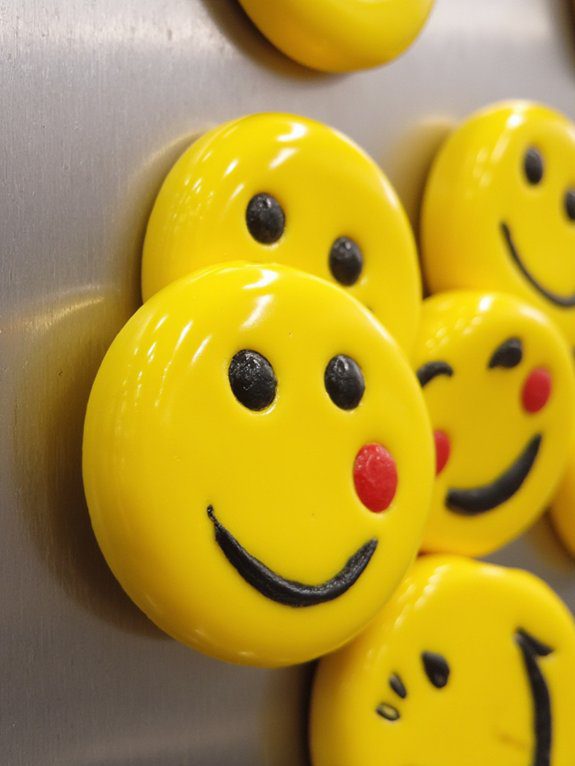
Smiley Face Fridge Magnets
After having fun with those colorful rainbow arch dangles, why not switch gears and brighten up your kitchen with some smiley face fridge magnets?
Using vibrant polymer clays like Sculpey Primo or Fimo Soft, you can easily shape balls into flat discs and add cute smiley face variations—think winks, grins, or surprised looks!
Baking them is simple, then comes the fun part: magnet attachment techniques. I like using strong adhesive to secure small round magnets on the back—super reliable!
These cheerful magnets aren’t just functional; they create a warm, welcoming vibe, making your kitchen feel like a happy, creative community.
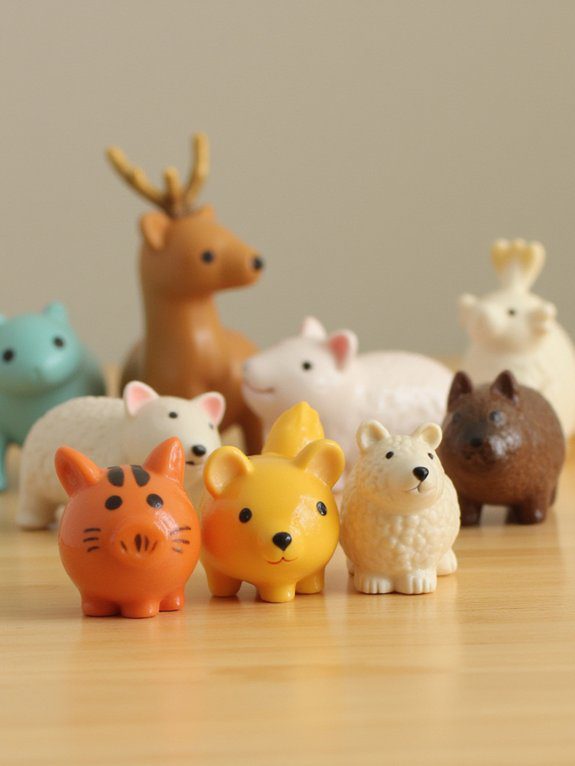
Tiny Animal Figurines
Since polymer clay comes in so many vibrant colors, creating tiny animal figurines is a fantastic way to bring your imagination to life! You can experiment with different color combinations to design everything from cute cats to playful puppies. If you’re new to this art form, there are plenty of mini clay project ideas for beginners that can guide you through the process and inspire you to create even more intricate designs. With a little practice, you’ll be able to refine your skills and maybe even develop your own signature style!
I love using sculpting techniques like shaping and adding details with dotting tools to make my little cats and rabbits pop. Color blending is a game-changer too—it lets me mix hues for realistic fur or whimsical designs.
Sculpting with dotting tools and blending colors brings tiny animals to life with vibrant, detailed fur and playful designs.
Baking them in the oven seals all that hard work, making each piece sturdy. If you’re like me and want to grow, joining online communities offers tons of inspiration and tips.
Trust me, these tiny critters make perfect gifts or decorations!
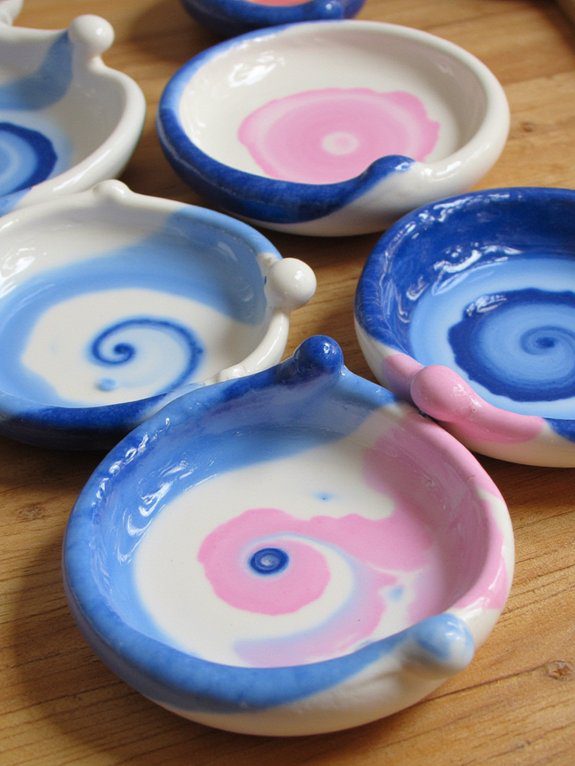
Swirl Pattern Ring Dishes
Moving from tiny animal figurines to something just as fun but a bit different, swirl pattern ring dishes are a fantastic way to play with color and design!
Using swirl techniques, I love blending two or more clay colors together for that mesmerizing, marbled look. Here’s why you’ll enjoy making them:
- Thoroughly condition and twist the clay for vibrant color blending.
- Shape the swirled clay into a dish perfect for rings or trinkets.
- Bake as instructed, then add a glossy finish for shine and durability!
These dishes aren’t just pretty—they’re a cozy way to keep your treasures close!
Personalized Name Tag Pins
Crafting personalized name tag pins is one of the most fun and creative projects you can immerse yourself in with polymer clay!
I love using custom design techniques to shape letters and add vibrant colors that really pop. Adding unique embellishment ideas like glitter or tiny charms turns each pin into a little work of art that’s totally you.
Using a craft knife helps me get those clean edges for a polished look. Plus, attaching pin backs means I can share my creations on jackets or bags, sparking conversations and connecting with others who appreciate handmade style!
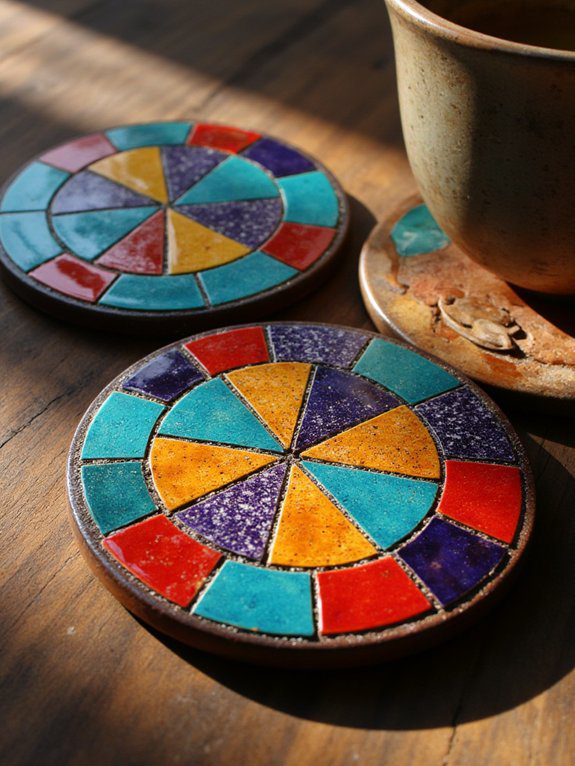
Mosaic Tile Coasters
When you want to add a splash of color and personality to your home, making mosaic tile coasters with polymer clay is an awesome project to try!
I love how mosaic color blending lets you mix and match shades for stunning effects. Here’s why you’ll enjoy it:
- Conditioning and rolling clay into tiny tiles sparks creativity.
- Exploring coaster pattern techniques helps you design unique arrangements.
- Baking and sealing your work makes durable, glossy coasters that brighten any table.
Plus, they’re fantastic gifts that showcase your personal style.
Jump in, and let’s craft colorful memories together!
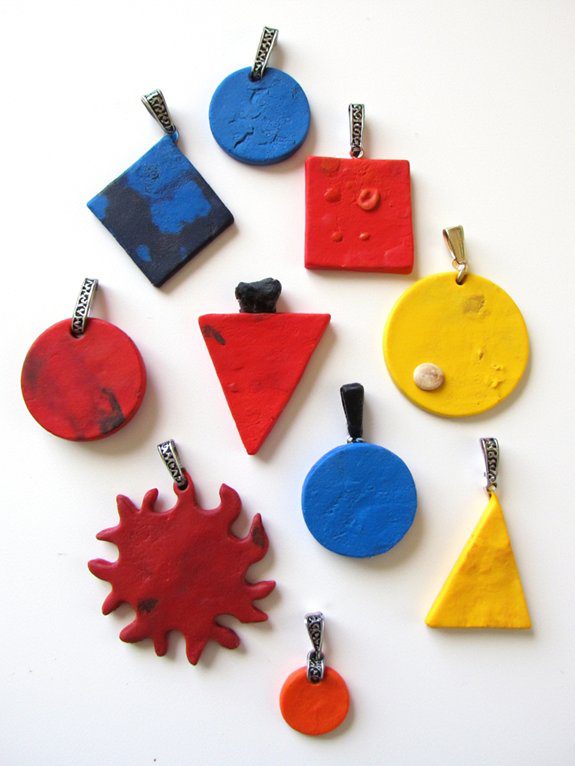
Minimalist Geometric Pendants
Anyone can plunge into making minimalist geometric pendants with polymer clay, and I’m here to tell you why these simple shapes are such a blast to create!
Triangles, squares, and circles come alive when you play with bold geometric color combinations, stacking or mixing them for a fresh look. Adding textured surface techniques, like stamping or pressing tools, gives your pendants depth and personality, turning plain shapes into eye-catching pieces.
Whether you go glossy or keep it matte, these pendants are perfect for anyone wanting to express their style with quick, fun projects that feel totally yours!
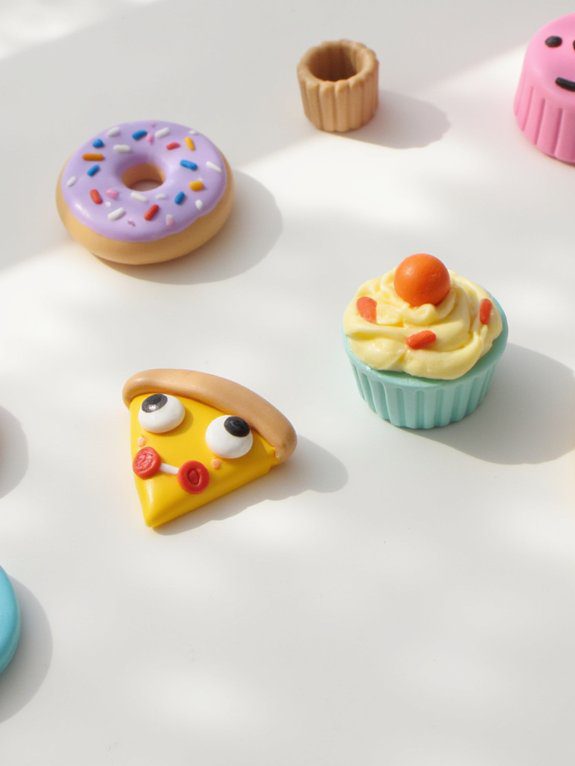
Funny Food Cabochons
Funny food cabochons bring a playful twist to polymer clay projects that you’re going to love!
These tiny, whimsical designs turn food crafting into colorful creations, perfect for making creative accessories that stand out.
I’ve found that using playful techniques like simple rollers and silicone molds makes shaping cartoonish fruits or silly desserts super fun.
Don’t forget these baking tips to harden your pieces just right!
Plus, the best part? Community sharing! You’ll connect with fellow polymer inspirations who swap ideas and cheer you on.
Here’s what I recommend trying first:
- Quirky fast food shapes
- Cartoonish fruits
- Silly dessert miniatures
Beginner Flower Petals
Although working with polymer clay can seem tricky at first, crafting beginner flower petals is a fantastic way to plunge into and see some beautiful results quickly!
Start by conditioning your clay until it’s soft and easy to shape. Use flower petal techniques like flattening to about 1/8 inch, then cutting petals with a cutter or knife.
Don’t forget color blending tips—mix different shades to create stunning hues that make your petals pop! Adding texture with a dotting tool or mold gives them life.
Bake carefully, and you’ll have charming petals ready to show off!
Pastel Cloud Charms
Now that you’ve mastered shaping delicate flower petals, it’s time to have some fun with pastel cloud charms—they’re like little puffs of happiness you can hold in your hand!
I love mixing pastel color combinations like soft pinks, blues, and yellows with translucent clay for that dreamy effect.
When crafting, remember these charm baking techniques to keep them perfect:
- Bake at the right temperature to keep shape and color
- Add tiny eyes or smiles for personality after baking
- Use as keychains, pendants, or cute decor pieces
These charms bring joy and a cozy vibe to any project!
Donut Phone Accessories
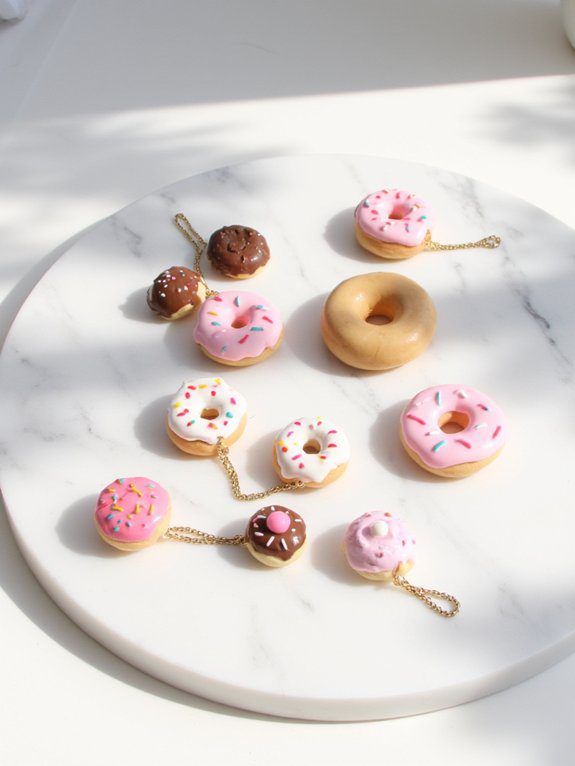
Donut phone accessories are such a fun way to jazz up your device and show off your personality! I love experimenting with donut charm techniques, especially mixing colorful frosting options like bright pinks and sunny yellows to create playful, eye-catching designs.
Using polymer clay, you can shape tiny donuts, add sprinkles, and bake them to perfection. The best part? A glossy glaze makes them look deliciously real!
These cute accessories aren’t just for me—they’re perfect gifts or even little treasures to sell. If you want to stand out and share your creativity, donut phone charms are a sweet start!
Simple Leaf Brooches
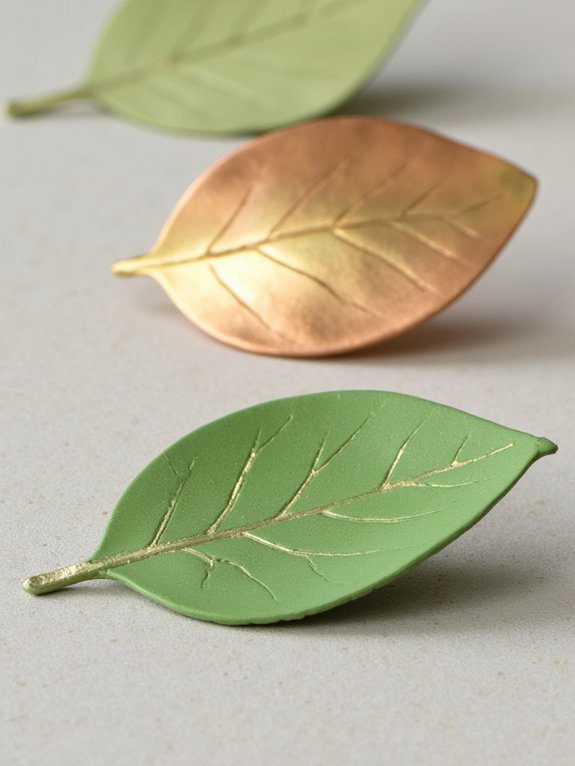
When you immerse yourself in making simple leaf brooches, you’ll find it’s a super fun way to bring a bit of nature’s beauty right onto your outfit!
I love experimenting with leaf brooch techniques like rolling clay, cutting shapes, and adding textured veins using needles or even a toothbrush.
Playing with colorful leaf variations—think maple reds or tropical greens—really makes each piece pop!
Experimenting with vibrant leaf colors like fiery maple reds or lush tropical greens brings your brooches to life!
Here’s what I recommend:
- Mix pigments or paint after baking for vibrant colors
- Choose different leaf shapes to match your style
- Use strong glue to attach pin backs for wearability
It’s creative and totally rewarding!
Faux Stone Bead Bracelets
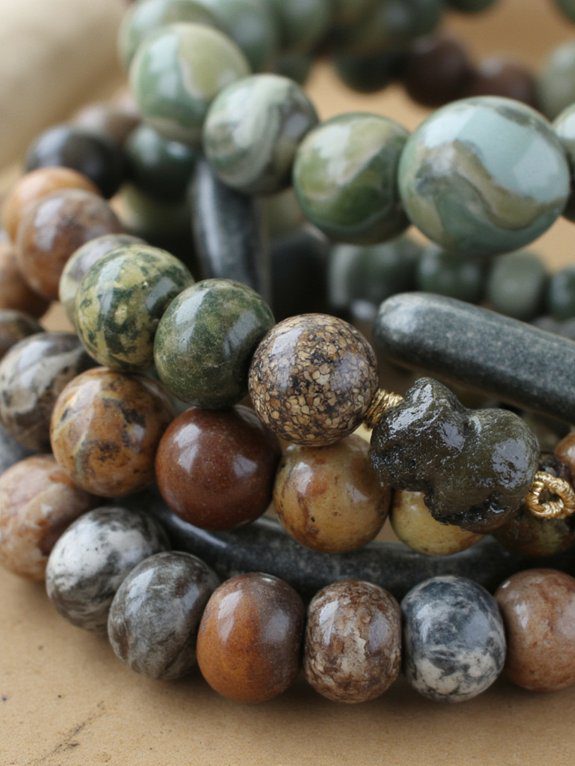
Creating faux stone bead bracelets is such a blast, and it’s a fantastic way to add a touch of natural elegance to your handmade jewelry collection!
I love using faux stone techniques by mixing colors like marble or granite, then rolling the clay into beads that look super real. Adding texture with a toothpick gives each bead a unique stone-like feel.
After baking, string them on elastic or wire, and don’t be shy—bracelet customization with spacers or charms really makes your creation pop!
Trust me, once you try this, you’ll want to make a whole set to share with friends!
Cat Paw Trinket Bowls
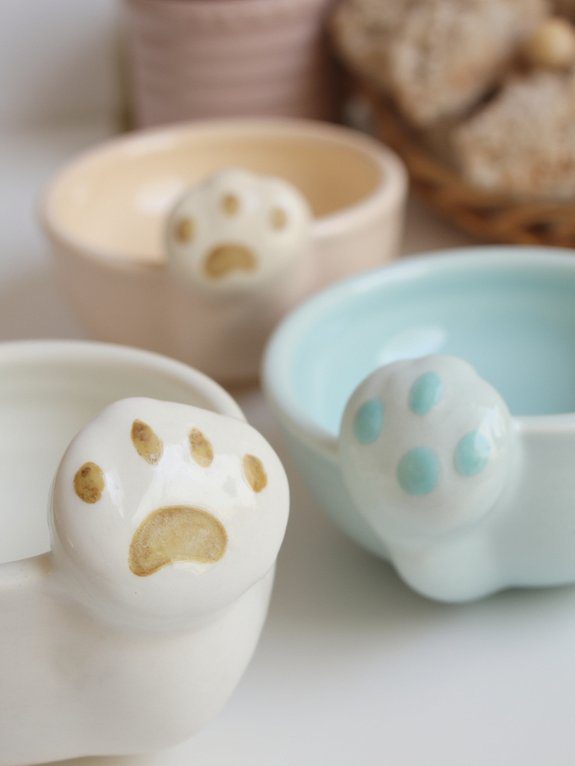
Even if you’re totally new to polymer clay, making cat paw trinket bowls is a super fun way to jump in and create something both adorable and useful!
Starting with polymer clay? Crafting cat paw bowls is a fun, easy way to make something cute and practical!
I love how you can experiment with clay mixing techniques to blend colors and craft unique cat paw designs. Plus, these bowls are perfect for holding jewelry or keys.
Here’s what you’ll need to get started:
- Polymer clay and a rolling pin for shaping
- A small bowl or mold to form the paw print
- An oven to bake your creation safely
Join me and let’s make something cute and practical together!
Puppy Dog Pencil Toppers
If you’d fun making those cat paw trinket bowls, wait till you try your hand at puppy dog pencil toppers—they’re just as adorable and a bit more playful!
Start by conditioning your clay so it’s soft and easy to shape, then pick your favorite dog color combinations—maybe classic brown and white or playful black spots—and sculpt a simple pup. Once you’ve shaped your dog, consider adding details like a collar or playful accessories to bring your creation to life. If you’re looking for more inspiration, check out some clay sculpture ideas for beginners that can help you explore different styles and techniques. Experimenting with other animals or even abstract forms can also enhance your skills as you become more comfortable with the medium.
Use small tools to add eyes, ears, and a nose for personality. After baking, attach your creation to a pencil using pencil topper techniques like adhesive or direct fitting.
Trust me, these little pups bring pure joy to your desk!
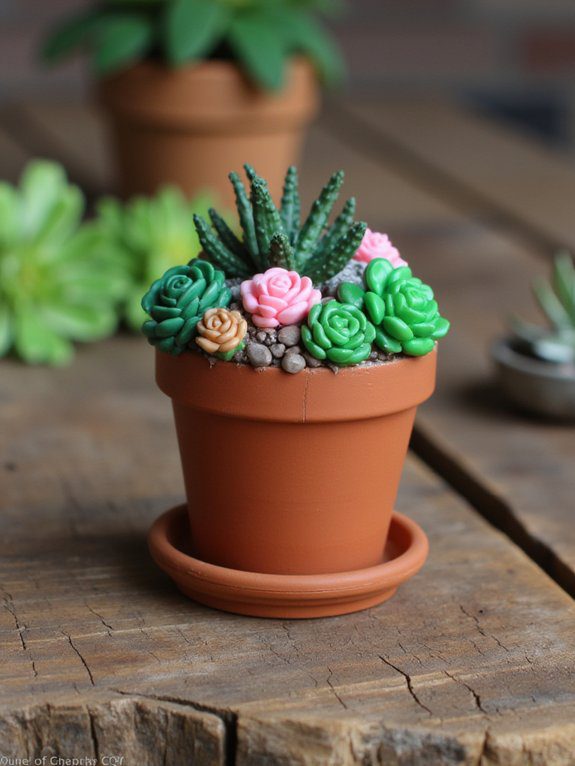
Cactus Plant Pot Toppers
Nothing brightens up a dull plant pot like a quirky cactus topper made from polymer clay!
I love experimenting with cactus color combinations—bright greens, soft pinks, and sunny yellows really pop.
Using simple pot topper techniques, like shaping spikes and adding tiny flowers, anyone can create these charming accents.
Crafting cute cactus toppers is easy with simple techniques like shaping spikes and adding tiny flowers.
Plus, baking them at home is super easy!
Here’s why you’ll enjoy making them:
- They add personality to your plants
- Great for beginner-friendly sculpting
- Perfect gifts for your plant-loving pals
Join me and let’s make your pots the coolest on the block!
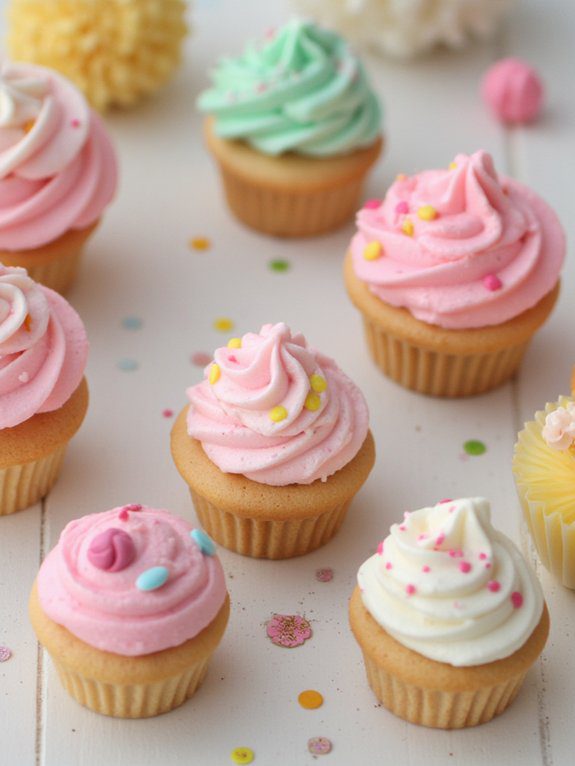
Mini Cupcake Ornaments
Crafting a dozen mini cupcake ornaments from polymer clay is a delightful way to sweeten up your creative projects!
I love diving into mini cupcake decorating, where cupcake color mixing lets me experiment with frosting shades and sprinkle hues. Using simple tools, I add texture to the frosting and cake layers, making each ornament look deliciously real.
After baking them in the oven, they harden perfectly, ready to charm as gifts or festive decorations. Mixing tiny clay fruits or charms on top adds a fun, personal touch.
Trust me, these little cupcakes will make you feel right at home in our creative community!
Starburst Earrings
When you plunge into making starburst earrings with polymer clay, you’re opening the door to a world of vibrant colors and playful patterns that are as fun to create as they’re to wear!
I love experimenting with starburst variations, blending color combinations to make each pair uniquely mine.
Here’s what I’ve found makes them pop:
- Mix marbling and blending techniques for cool effects
- Play with size to match your style
- Bake carefully at 275°F for 30 minutes to nail that perfect finish
Once cooled, add hooks, and voilà—your own dazzling starburst earrings that scream creativity and belonging!
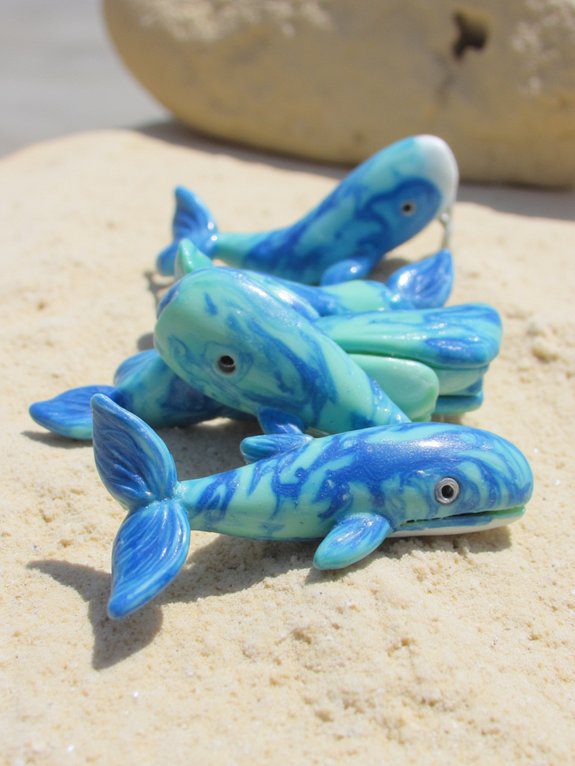
Whale Tail Bag Charms
A pair of whale tail bag charms can instantly add a splash of personality and ocean-inspired charm to your everyday gear! Using simple whale tail techniques, you can shape polymer clay by hand and master color blending with blues, greens, and whites. Add a keychain loop before baking at 275°F, and voilà—your charm is ready! Check out these ideas to inspire your own creations:
| Size | Colors Used | Embellishments |
|---|---|---|
| Small | Blue/White Marbled | Glitter accents |
| Medium | Green/Blue Blend | Metallic highlights |
| Large | White with Blue Tips | Tiny shells |
| Custom | Mixed Shades | Personalized tags |
Dive in and craft your unique charm!
Tiny Turtle Figure
If you loved shaping those whale tail bag charms, wait until you try making a tiny turtle figure—it’s just as fun and way too cute!
Getting started with turtle figure techniques is easy: condition your clay well to create smooth polymer clay textures, then shape the body and shell using different greens. Don’t forget the details!
Start by conditioning your clay for smooth textures, then shape the turtle’s body and shell with lovely green tones.
- Use a toothpick to add shell patterns
- Position tiny black clay balls for eyes
- Bake at 265°F for 15–30 minutes
Once baked and cooled, add a glossy finish for that perfect shine.
Join me—let’s craft some adorable turtles together!
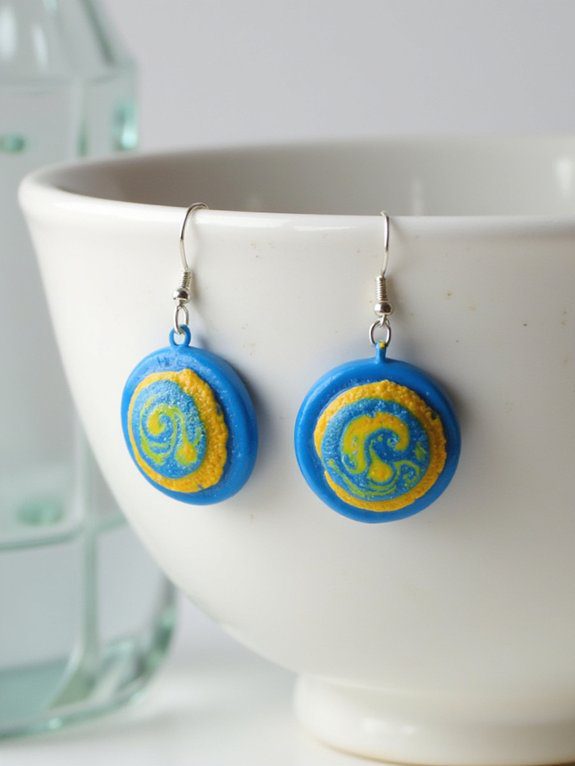
Bold Color Block Pendants
Since bold color block pendants pack such a punch with their vibrant, eye-catching designs, I can’t wait to show you how to create your own statement pieces that really stand out!
Start by conditioning and rolling out different colors of clay, then cut them with a sharp blade for clean edges.
Play around with color combinations and pattern layering to craft a look that’s totally you—think bright blues with sunny yellows or soft pastels stacked in fun shapes.
Once you’ve assembled your pendant, bake it to harden. It’s a fantastic way to join a creative community and wear your art proudly!
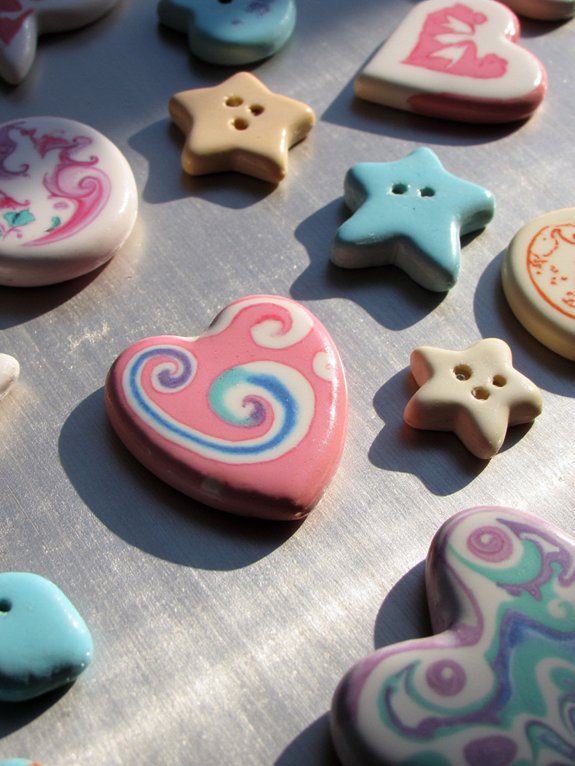
Playful Button Magnets
Three simple steps can get you started on making playful button magnets that brighten up any space and spark joy!
First, choose your favorite colors and shape small polymer clay pieces into charming button designs, adding fun textures or holes. Once your buttons are shaped and textured, let them dry completely before applying a coat of varnish for a glossy finish. These charming creations not only serve as unique embellishments for your sewing projects but are also great examples of modeling clay projects for newcomers who want to explore their creativity. Experimenting with various colors and techniques will further enhance your skills and make your designs stand out.
Next, bake them at 275°F for 15-30 minutes to harden perfectly.
Finally, attach magnet attachments to the back with strong glue, turning your creations into fridge-ready art!
Here’s why you’ll love this craft:
- It’s perfect for beginners experimenting with shapes and colors.
- Your magnets make great personalized gifts.
- Crafting builds a fun, welcoming community vibe!
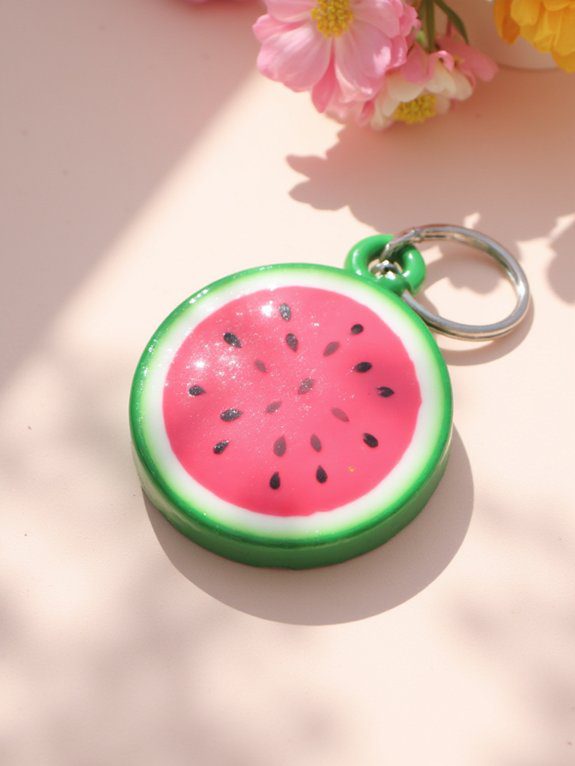
Watermelon Slice Key Fobs
Watermelon slice key fobs are one of my favorite quick polymer clay projects because they’re bright, cheerful, and super easy to make! Just condition your clay, roll out a triangle, and add tiny black seeds on the pink part. Baking them seals the deal, then attach a keyring for a fun accessory. Here’s a quick look at why this project rocks:
| Step | Why It Matters |
|---|---|
| Condition Clay | Makes shaping easier |
| Shape Triangle | Mimics watermelon slice |
| Add Seeds | Adds realistic detail |
| Bake & Attach | Creates a lasting key fob |
You’ll love carrying this cheerful charm!

