3-Ingredient Slime Without Activator (Safe & Stretchy Every Time!)
Disclosure: This post may contain affiliate links, at no extra cost to you. Content on DiyCraftNest is created with research support from AI tools and carefully reviewed, edited, and fact-checked by the lead author, Daniel Pat, to ensure accuracy and reliability. Learn more
Want to make safe, stretchy, and fun slime at home? You only need three ingredients. Grab white school glue, liquid dish soap, and water. This easy recipe avoids harsh chemicals and works great for kids.
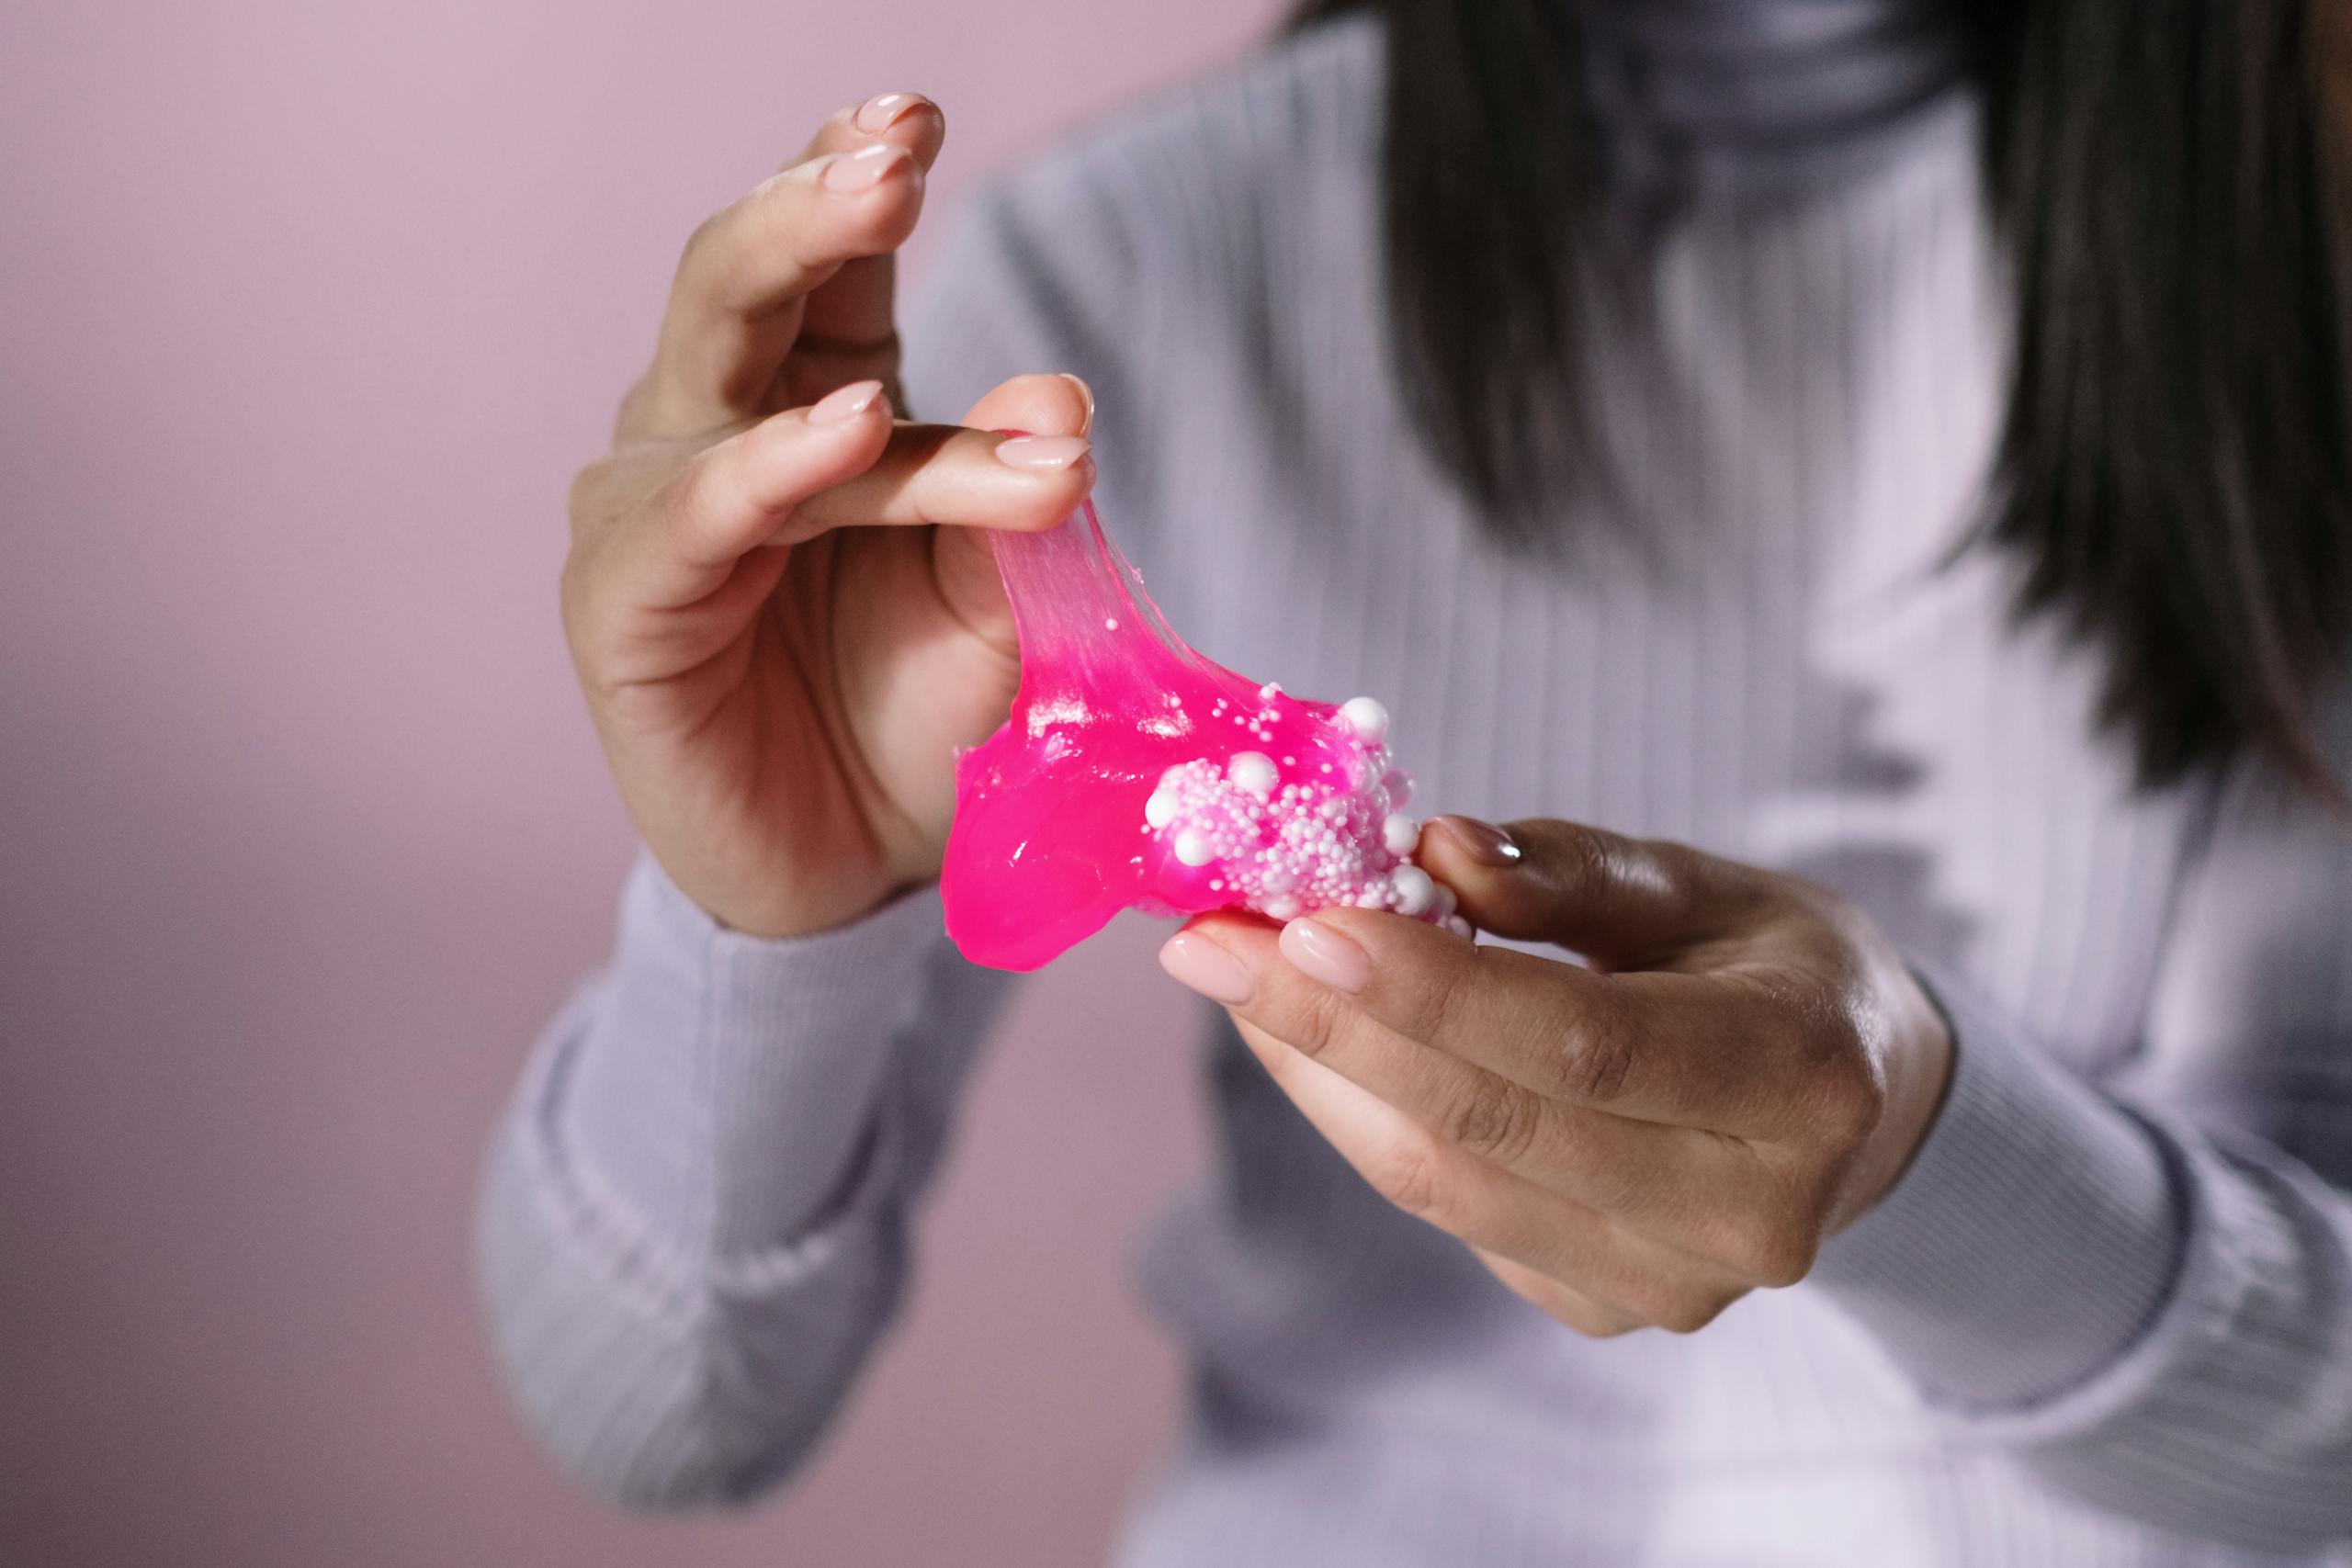
Pour one cup of glue into a bowl. Add one tablespoon of dish soap and mix until smooth. Knead for one to two minutes. If sticky, rub in a few drops of baby oil or lotion. Try adding food coloring for bright shades kids love.
“Homemade slime gives kids sensory fun without harsh ingredients.” — DIY Craft Nest
Slime Recipe Quick Facts
- 1 cup white school glue
- 1 tablespoon liquid dish soap
- Lotion or baby oil to reduce stickiness
- Optional: food coloring for bright colors
- Store slime in airtight container
Understanding the Ingredients
Glue is the base that makes slime stretchy. Dish soap changes texture and gives a smooth feel. Water balances thickness and keeps slime flexible. Food coloring adds personality. Baby oil or lotion fixes sticky messes.
Pro tip: Cornstarch can thicken slime for a firmer feel.
Step-by-Step Process
Start by mixing glue and dish soap until slightly thick. Knead the mixture with your hands for two minutes. If sticky, add baby oil or lotion and knead again. Add drops of food coloring for a rainbow look. Store in a sealed container to keep slime fresh.
Customizing Slime
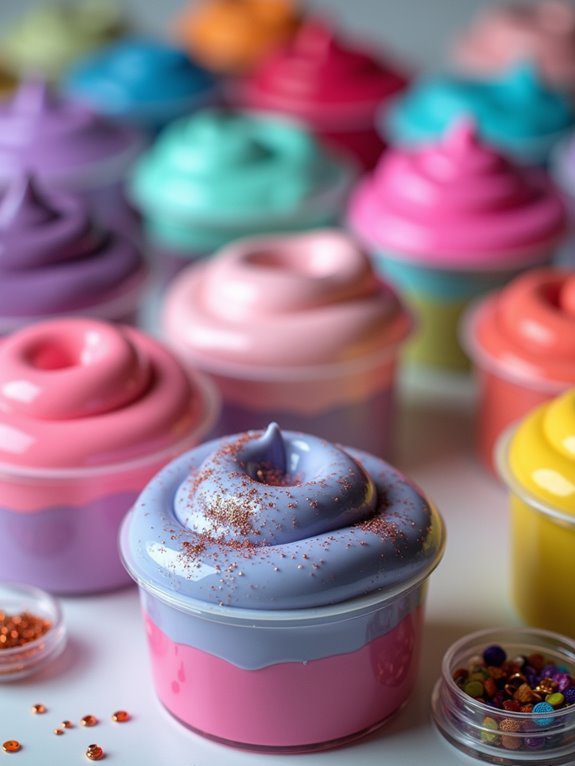
Want bright shades? Add drops of food coloring and mix. Want glitter? Sprinkle in glitter or confetti for sparkle. Add scented oils for a fun sensory twist. Try mixing different glues for new textures. Lotion or oil adds softness and stretch.
“Slime is more than a toy—it’s a creative canvas.”
Troubleshooting Slime Problems
Sometimes slime does not turn out right. Here are quick fixes that work every time:
| Problem | Fix |
|---|---|
| Too sticky | Mix 1/2 teaspoon baking soda with contact lens solution and knead. |
| Stringy texture | Add one tablespoon liquid starch, stir, then knead until smooth. |
| Rubbery feel | Add a squirt of lotion and knead until stretchy again. |
| Dried out | Add drops of warm water and knead until soft. |
Storing and Maintaining Slime
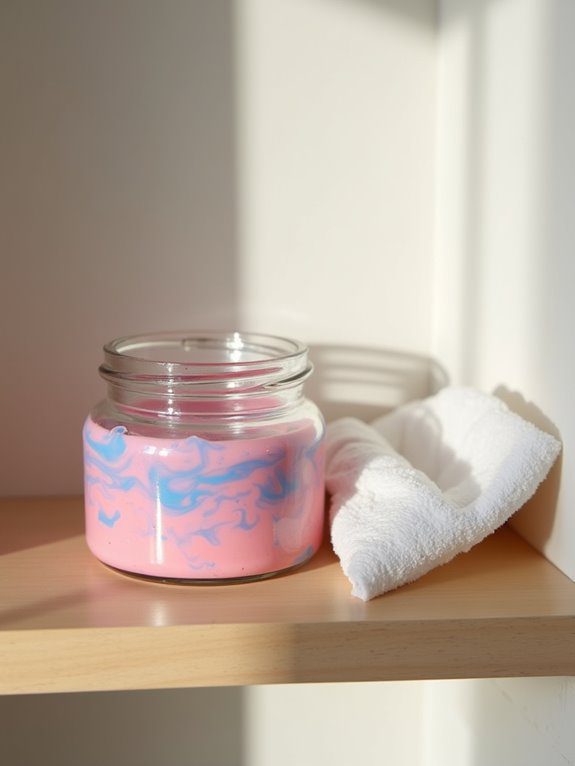
Always store slime in an airtight container at room temperature. This prevents drying. Keep slime away from direct sunlight or heat. If it gets too sticky, add a drop of water and knead again. For longer storage, seal in a zip-top bag.
Check slime often for mold. If you see any, throw it away. Fresh slime is always best for kids.
Sources:
- “Glue Safety Information,” Elmer’s, 2023, elmers.com
- “Household Products Database,” U.S. National Library of Medicine, 2022, whatsinproducts.com







Excellent article. I’m facing many of these issues as well.