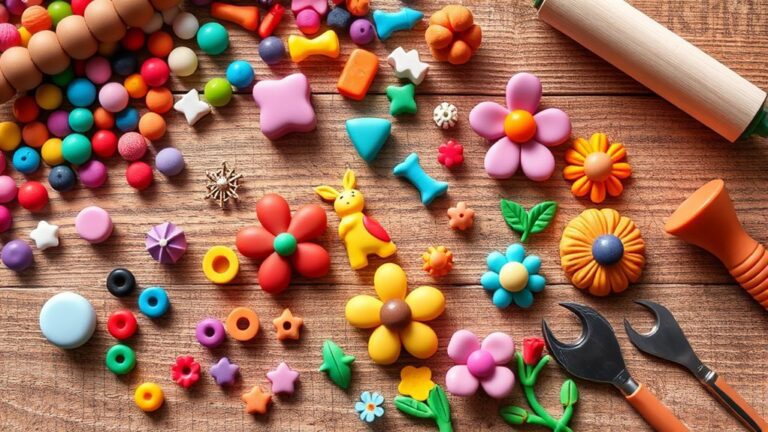
How to Make Air Dry Clay Crafts A Complete Beginner Guide
Disclosure: This post may contain affiliate links, at no extra cost to you. Content on DiyCraftNest is created with research support from AI tools and carefully reviewed, edited, and fact-checked by the lead author, Daniel Pat, to ensure accuracy and reliability. Learn more
If you’re new to air dry clay, start by picking a soft, easy-to-use clay like Das or Crayola, and roll it out about a quarter-inch thick to avoid cracks. Keep your workspace clean with a silicone mat and have sculpting tools and a damp sponge ready for shaping and smoothing. When joining pieces, score and use slip for strong bonds. Let your project dry slowly in a cool spot—flip larger items to dry evenly. Stick around, and you’ll soon master everything from finishing touches to preserving your creations.
Key Takeaways
- Choose air dry clay like Das or Crayola and keep thickness about a quarter inch to avoid cracks during drying.
- Prepare a clean workspace with a silicone mat or wax paper and organize sculpting tools like wooden sticks and a rolling pin.
- Use basic techniques such as scoring surfaces, applying slip for adhesion, and smoothing with a damp sponge for strong, smooth joins.
- Dry projects in a cool, dry place away from sunlight for 24-72 hours, flipping larger pieces to ensure even drying.
- Once dry, paint or seal your crafts to enhance durability and finish.
Understanding Air Dry Clay Basics
Air dry clay is a fantastic material for anyone wanting to plunge into crafting without the fuss of ovens or kilns.
There are several clay types to choose from, like Das or Crayola, both affordable and easy to find.
The drying process is simple but important: keep your creation about a quarter inch thick and avoid direct sunlight or heat to prevent cracks.
This natural clay hardens just by sitting out, making it perfect for beginners like us.
Once dry, you can paint or seal your projects to make them last longer.
Let’s get crafting!
Essential Materials and Tools
Gathering the right materials and tools makes all the difference when crafting with air dry clay. First, investigate the types of clay like Das or Crayola—each offers unique textures and drying times. Consider pairing your clay with a variety of tools, such as sculpting tools, rolling pins, and texture stamps, to enhance your creations. For those new to crafting, exploring beginner air dry clay projects can be an enjoyable way to develop your skills and spark your creativity. Experimenting with simple shapes and designs will help you gain confidence before moving on to more complex pieces.
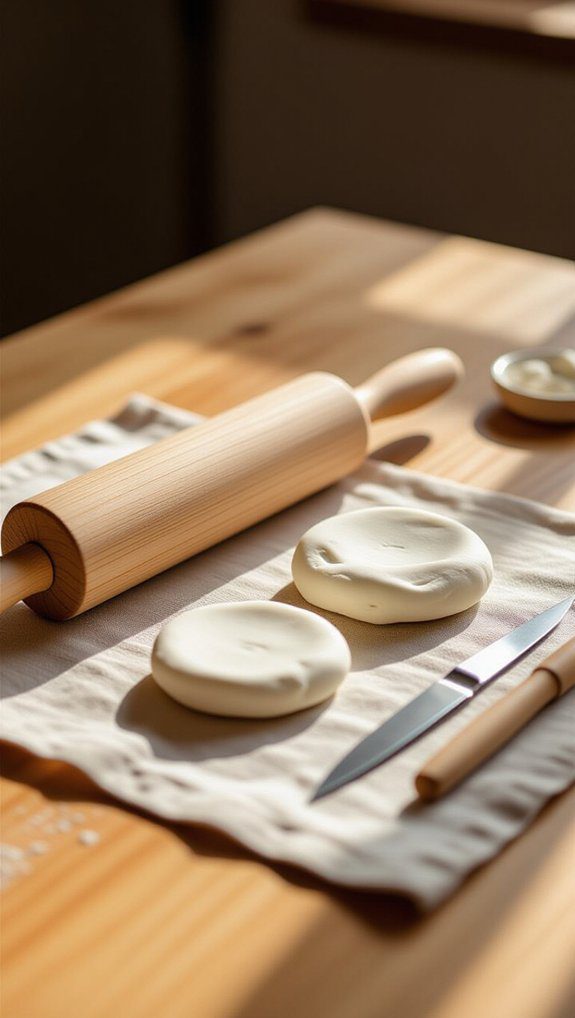
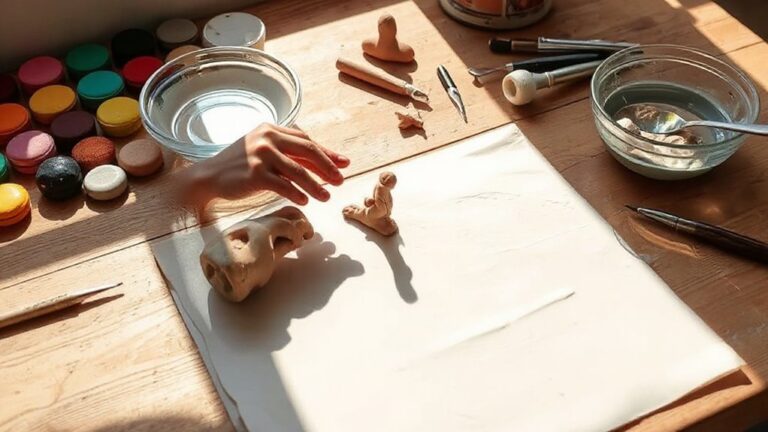
Crucial tools include wooden sculpting sticks and steel detailing tools, which help shape and enhance your work. Don’t forget a rolling pin for even thickness and a sponge to smooth surfaces.
Optional armatures, made from wire or foil, support bigger projects and prevent cracks. With these necessities, you’ll feel confident and ready to bring your creative ideas to life alongside fellow clay lovers.
Preparing Your Workspace
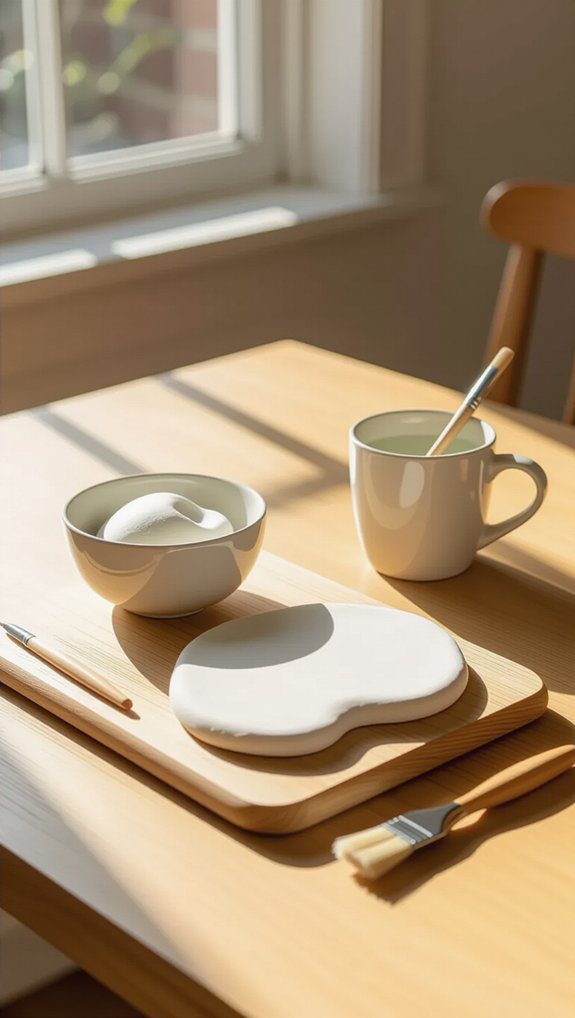
Before diving into your clay project, I always make sure to prepare my workspace carefully—it really sets the tone for a smooth and enjoyable crafting session. Workspace organization and surface preparation help me avoid dust and lint, keeping my clay clean and pristine. I lay down a silicone mat or wax paper, and keep tools close by. Here’s a quick setup checklist:
| Task | Why It Matters | Tip |
|---|---|---|
| Clean surface | Prevents dirt on clay | Wipe with damp cloth |
| Use mat/wax paper | Stops sticking | Silicone mats work best |
| Organize tools | Easy access | Group by function |
| Have sponge ready | Smooths imperfections | Keep damp, not wet |
This prep makes crafting joyful and mess-free!
Conditioning Your Clay
Once your workspace is ready and your tools are within reach, it’s time to get your clay feeling just right.
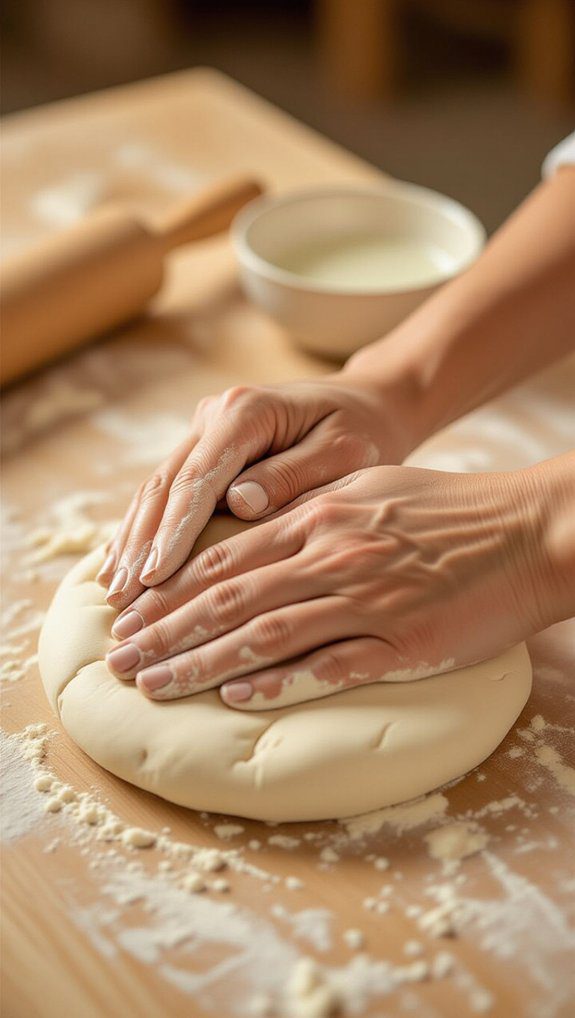
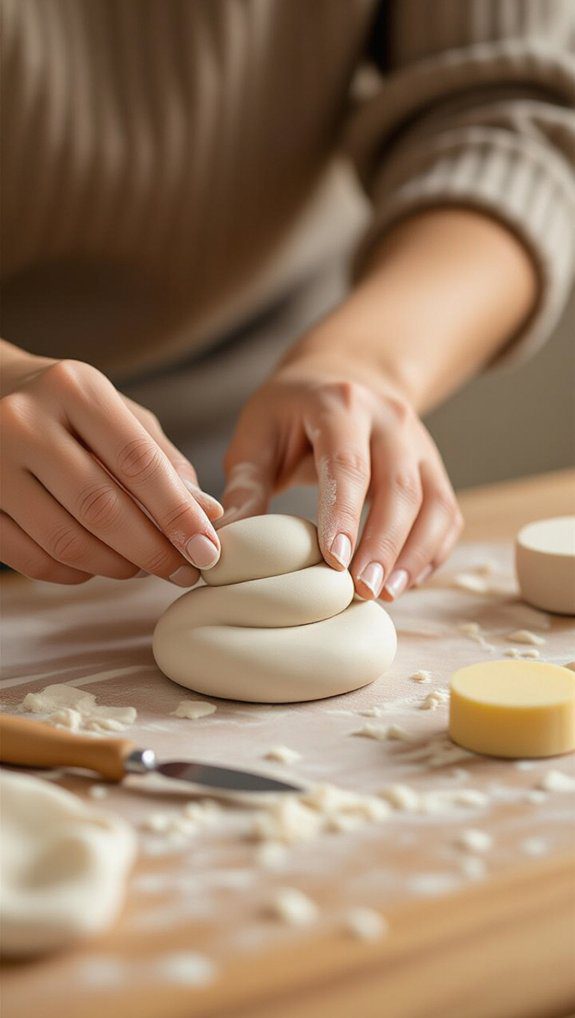
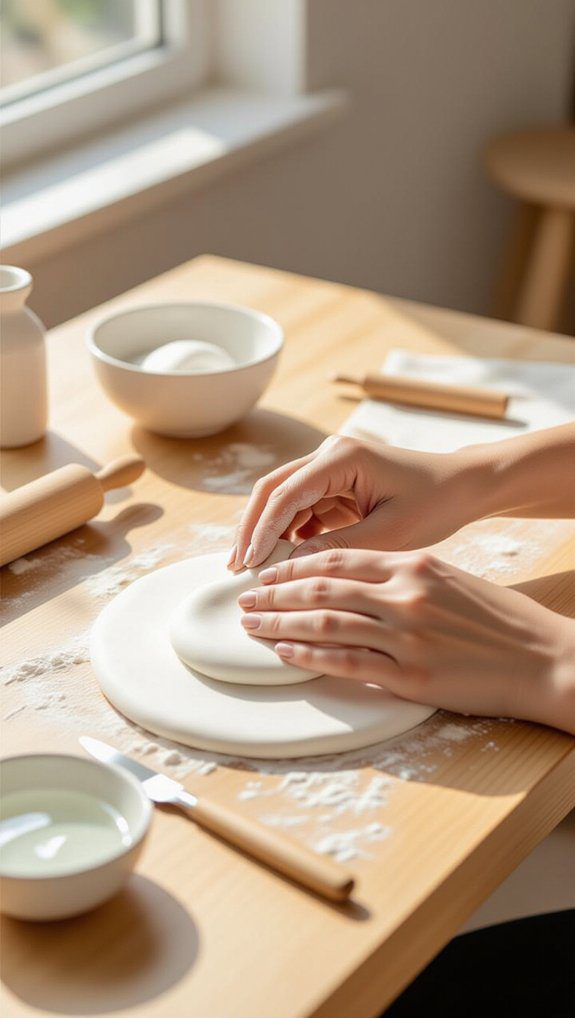
Conditioning your clay is key—kneading techniques help improve clay moisture and texture. I lightly wet my hands to keep the clay from sticking, then knead until it’s smooth and pliable.
If it feels too dry, I mist it gently, but avoid adding too much water because that can cause cracks later. Spending a few minutes on this makes your clay easier to shape, giving you a perfect, consistent base for your creative ideas.
Let’s get kneading!
Basic Sculpting Techniques
There are a few basic sculpting techniques that can really bring your air dry clay projects to life, and I’m excited to share them with you.
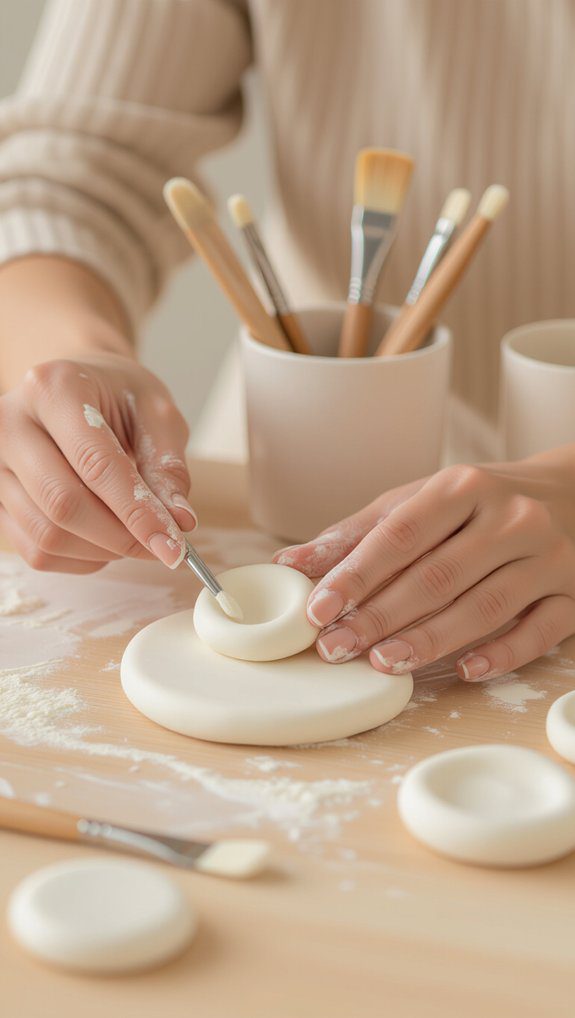
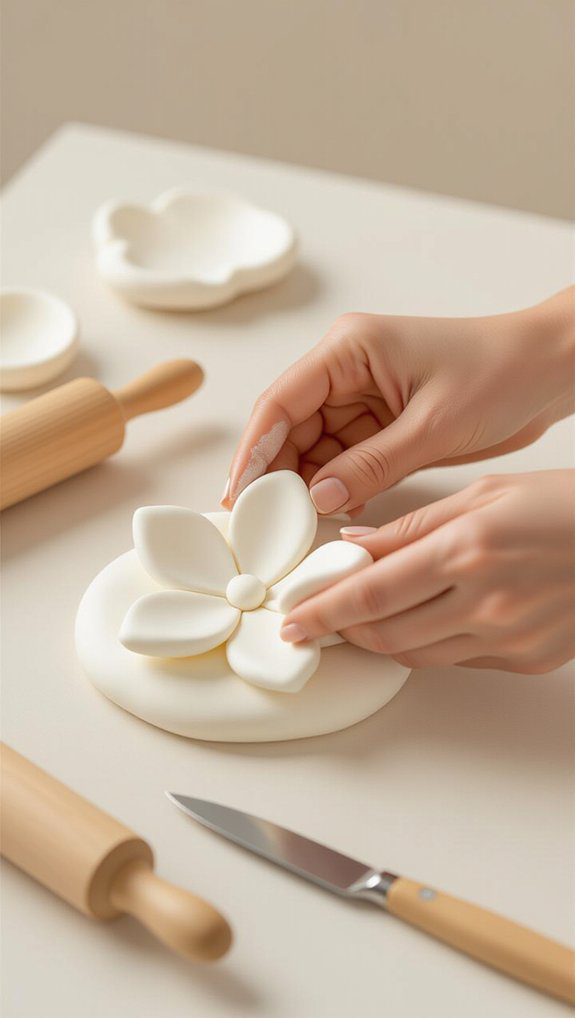
Start by rolling your clay to about a quarter-inch thickness—this helps prevent cracks. When joining pieces, score surfaces with a crosshatch pattern and use slip to bond them securely.
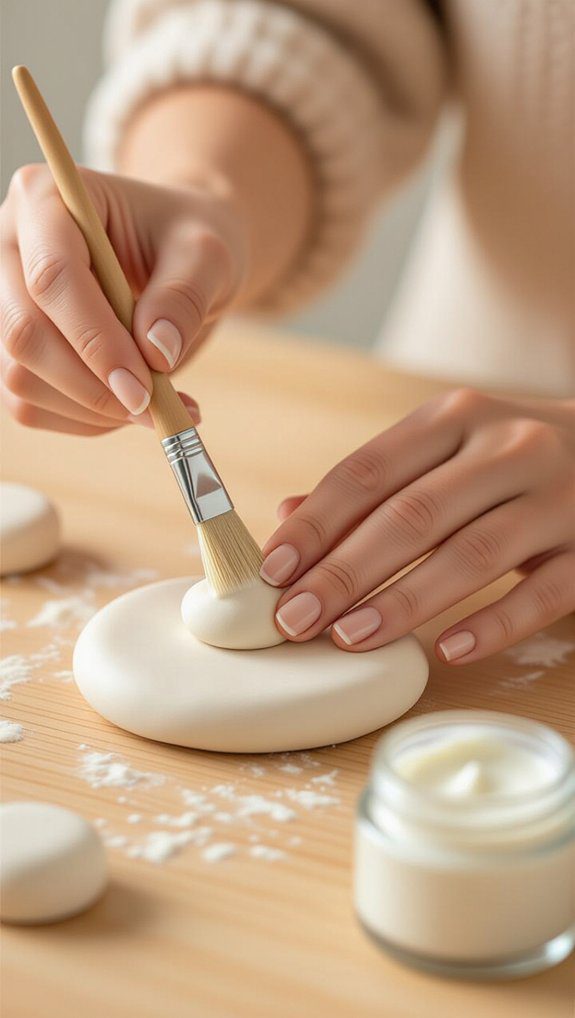
For adding detail, use simple tools like toothpicks or craft knives to investigate texturing methods. Keep your clay moist while working, and smooth imperfections with a damp sponge.
These sculpting techniques make crafting easier and your projects more durable and beautiful.
Advanced Techniques
Although basic sculpting techniques lay a solid foundation, perfecting advanced methods can truly elevate your air dry clay projects to the next level.
One great tip is using armature reinforcement—like wire or styrofoam—to support big or delicate parts, which stops cracks and saves clay.
Also, mastering the slip score technique is key: gently scratch a crosshatch pattern where pieces join, then apply slip (clay mixed with water) to bond them securely.
These tricks help your creations stay strong and look polished, making you feel proud of every detailed piece you craft together with our clay-loving community.
Preventing Common Problems
When you want your air dry clay projects to look their best, preventing common problems like cracking and drying out is a must-have skill.
For cracking prevention, keep your work away from direct sunlight and heat to guarantee even drying. When joining parts, always score and use slip to create strong bonds.
Moisture management is key—spritz lightly with water but avoid soaking, or cracks can form. If you pause, wrap your piece in a damp cloth and cling film to keep it workable.
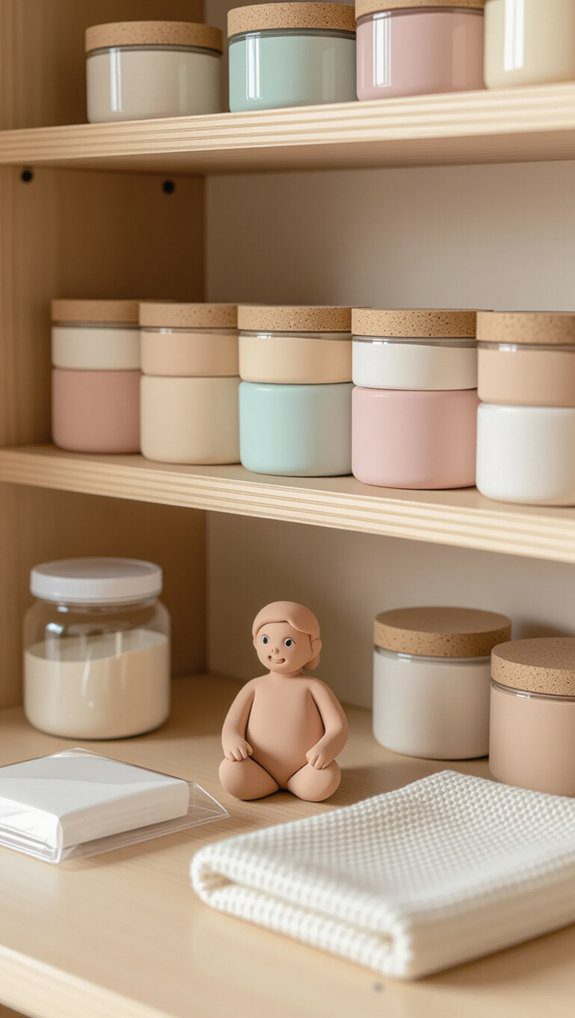
Finally, store leftover clay in airtight containers to maintain softness and avoid drying out.
Drying Your Creations
Since drying is a fundamental step in air dry clay projects, I want to share some tips that help your creations harden beautifully without cracking or warping.
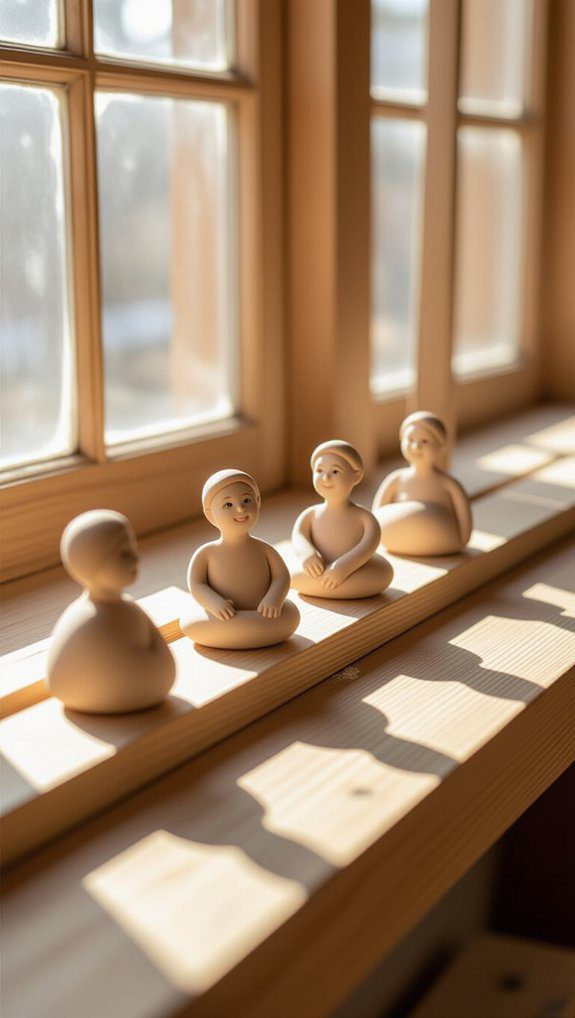
First, allow your piece to dry 24 to 72 hours, depending on thickness. Flip larger projects halfway through to guarantee even drying.
The drying environment matters a lot—keep your clay in a cool, dry spot, away from direct sunlight or heat, which can cause cracks.
If you need a break, cover your work with a damp cloth and cling film to maintain moisture.
These drying techniques keep your creations strong and smooth!
Finishing and Sealing
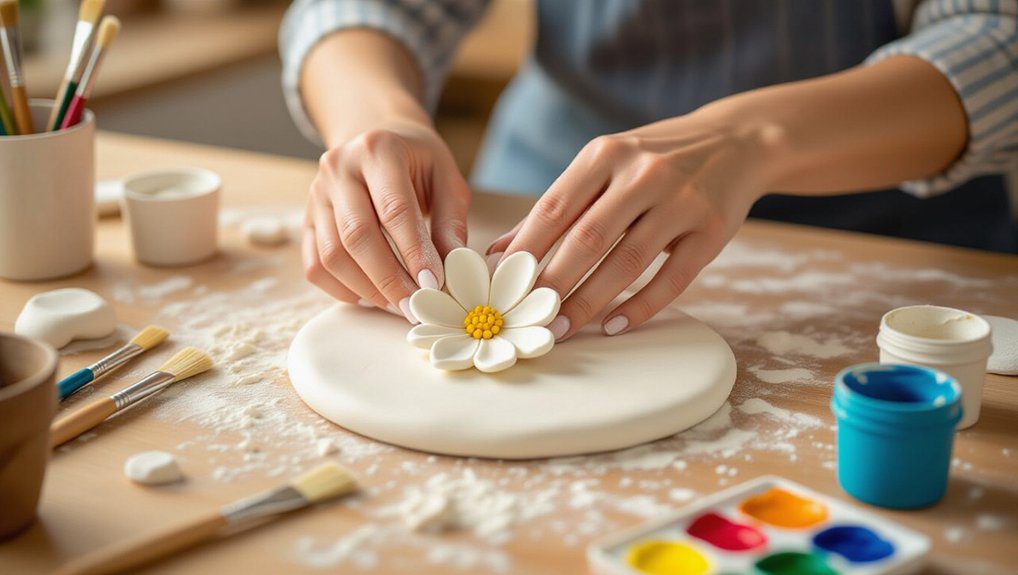
Once your air dry clay piece has completely dried and is ready to shine, it’s time to bring it to life with finishing touches like painting and sealing.
I love using these finishing techniques to make my creations pop and last longer. Here’s what you can do:
- Paint your piece with vibrant acrylic paints for a colorful look.
- Choose sealing options like Mod Podge or clear varnish to protect it and add water resistance.
- For extra polish, try a glaze designed for air dry clay that gives a glossy finish.
Popular Project Ideas
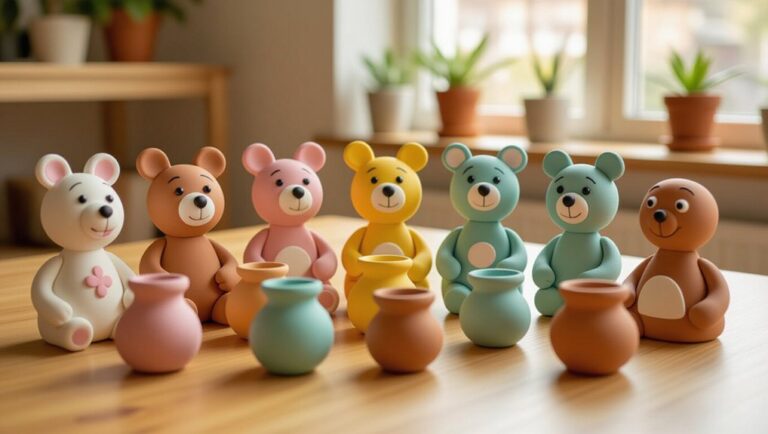
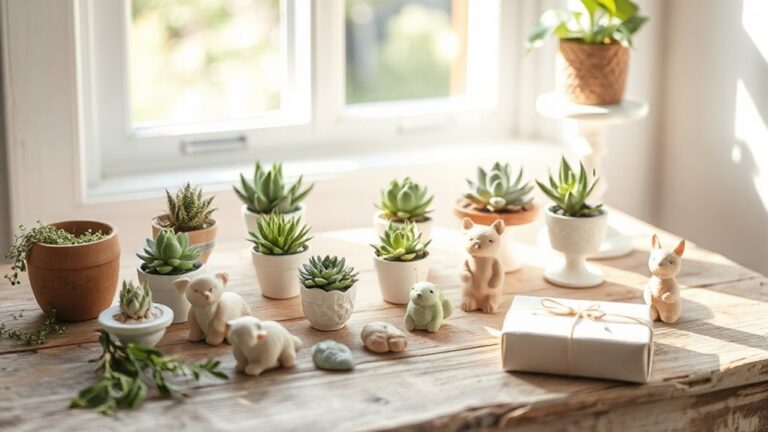
Exploring five popular project ideas with air dry clay can really spark your creativity and build your skills step by step. From decorative plant pots to whimsical animal figurines, the possibilities are endless. You can find various mini clay project ideas for beginners that help you practice shaping and molding techniques. Each project not only fosters creativity but also provides a sense of accomplishment as you complete your unique creations.
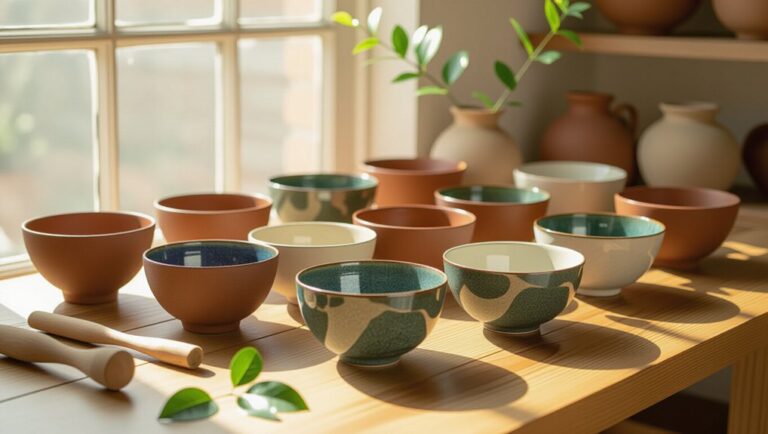
Starting with beginner projects like simple coasters or decorative bowls helps you gain confidence. Crafting jewelry trays is both practical and fun—they keep your accessories organized and add charm to your space.
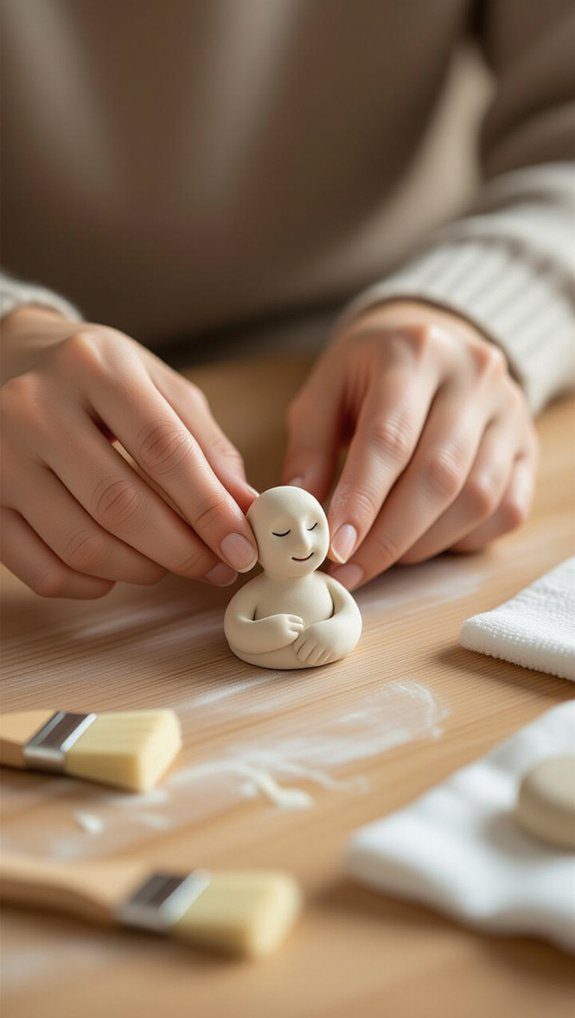
If you want to express yourself artistically, try making figure sculptures, especially female forms, to experiment with shapes. Plus, creating unique gifts with personalized touches makes your crafts extra special, perfect for friends and family.
These projects invite you to join a creative community and grow together.
Troubleshooting Guide
How do you handle those tricky moments when your air dry clay project doesn’t turn out quite right? Don’t worry—we all face common mistakes!
Here’s what I’ve learned about fixing issues with clay consistency and more:
- If your clay cracks while drying, keep it away from direct heat and cover it with a damp cloth to slow drying.
- Too dry and crumbly? Mist lightly with water, then knead to restore softness—just don’t overdo it!
- To avoid pieces falling apart, score surfaces and use slip to join them securely.
Stick with me; troubleshooting gets easier together!
Storage and Preservation
Storing and preserving your air dry clay properly can make all the difference between a fresh, ready-to-use batch and a crumbly, dried-out mess.
For great clay storage, I always tuck leftover clay into a zip lock bag or airtight container to lock in moisture. If your clay starts drying out, just add a few drops of water and knead it back to life—trust me, it works!
When pausing a project, I wrap it in a damp cloth and cling film to maintain moisture. Keeping moisture control in check means your creations stay smooth and ready for your next creative session.

