DIY Spice Rack From Recycled Wood
Disclosure: This post may contain Amazon affiliate links, at no extra cost to you. Content on DiyCraftNest is created with research support from AI tools and carefully reviewed, edited, and fact-checked by the lead author, Daniel Pat, to ensure accuracy and reliability. Learn more
Love cozy DIY projects? 💕
Get free printable guides, exclusive tutorials & surprise craft goodies straight to your inbox.
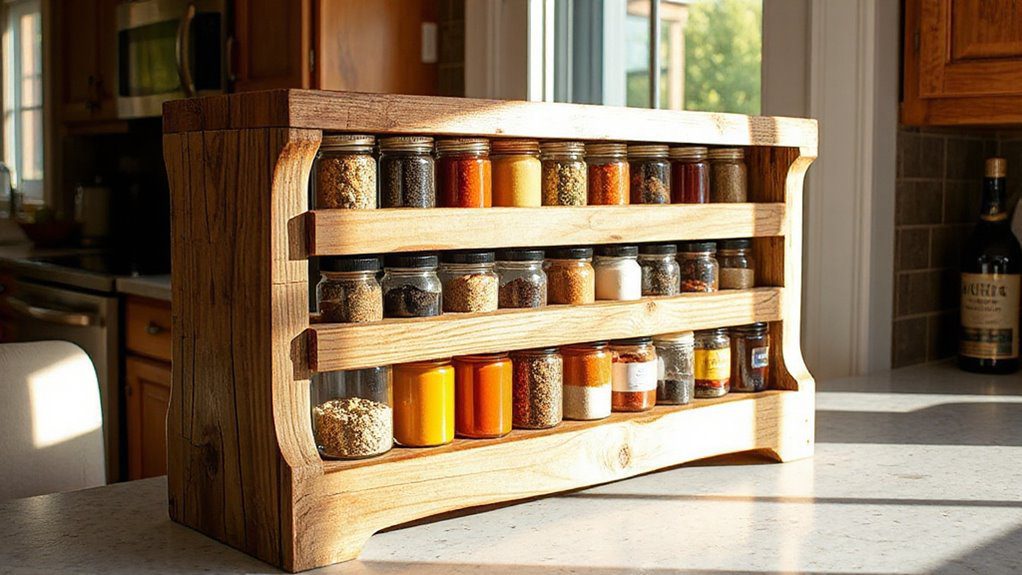
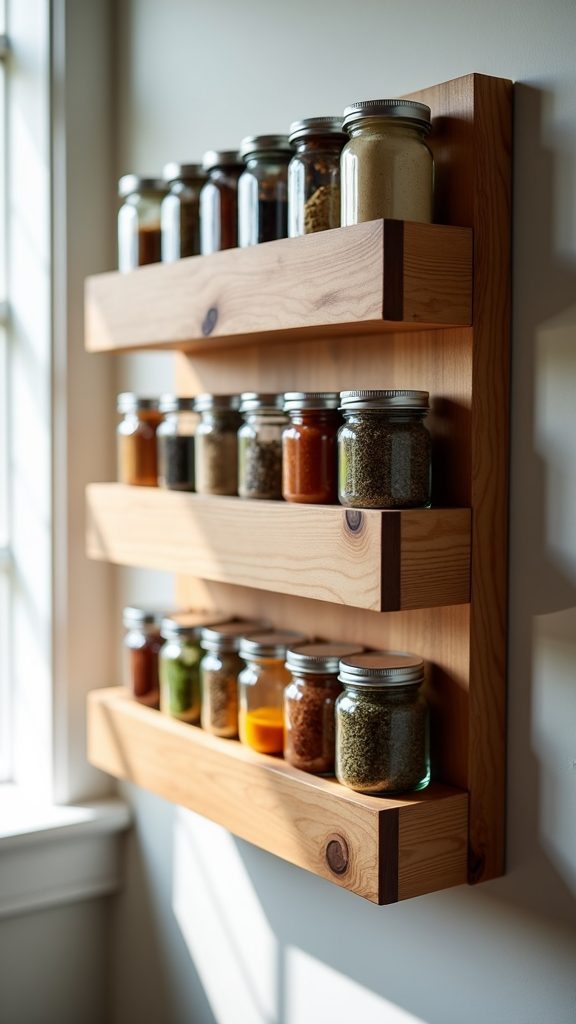
Creating a DIY spice rack from recycled wood is a fantastic way to add character to your kitchen while getting organized! You’ll start by gathering sturdy materials like reclaimed pallets, and then visualize your design for a perfect fit. By crafting with love and adding personal touches like labeled jars, you’ll feel proud every time you reach for your spices. Plus, there are so many creative possibilities to explore as you bring your vision to life!
Key Takeaways
- Use reclaimed wood, like pallets or 1x2s, to create an eco-friendly and cost-effective spice rack.
- Measure your available space and design the rack with at least 6 inches between shelves for standard jars.
- Clean and sand the reclaimed wood before cutting and assembling it for a smooth finish.
- Reinforce the structure with screws, corner brackets, and L-brackets to ensure stability.
- Personalize jars with labels and apply a wood finish for aesthetic appeal and protection.
Materials Needed for Your Spice Rack
When you plunge into creating your own DIY spice rack, you’ll find that gathering your materials can be both fun and rewarding.
Start with sturdy wood, like reclaimed pallets or 1x2s, which can often cost less than $5. You’ll also need screws, wood glue, and, if you want extra stability, corner clamps.
Consider adding mesh or wire for unique flair and finishing touches like stains or oils to make the wood shine.
Don’t forget clear jars or uniform containers for your spices, along with labels for easy organization.
Each choice brings you closer to a beautiful, functional centerpiece in your kitchen!
Planning Your Design and Dimensions
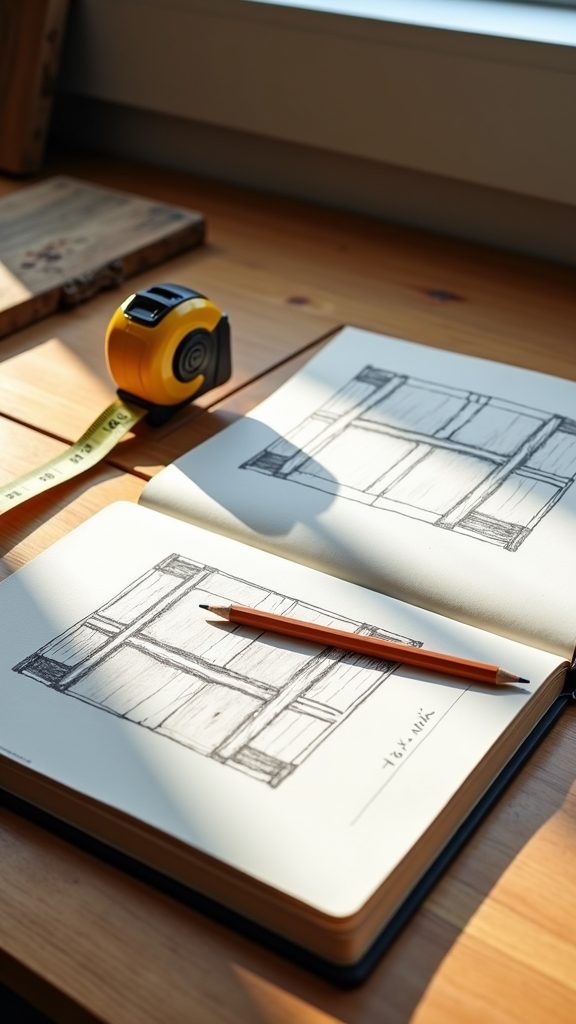
Before diving into the fun part of building your spice rack, you’ll want to contemplate your design and dimensions carefully. Start by measuring your available wall space or countertop area.
Think about your spice jars—typically, you’ll need at least 6 inches between shelves for standard sizes. Sketching a rough design helps visualize how your DIY spice rack will look.
Use reclaimed pieces of wood like pallets, keeping in mind that the frame can be standard 1×2 or 1×4 dimensions, while shelves can be custom-cut.
Finally, guarantee stability by reinforcing the base with corner brackets for a sturdy, beautiful finish!
Step-by-Step Construction Process
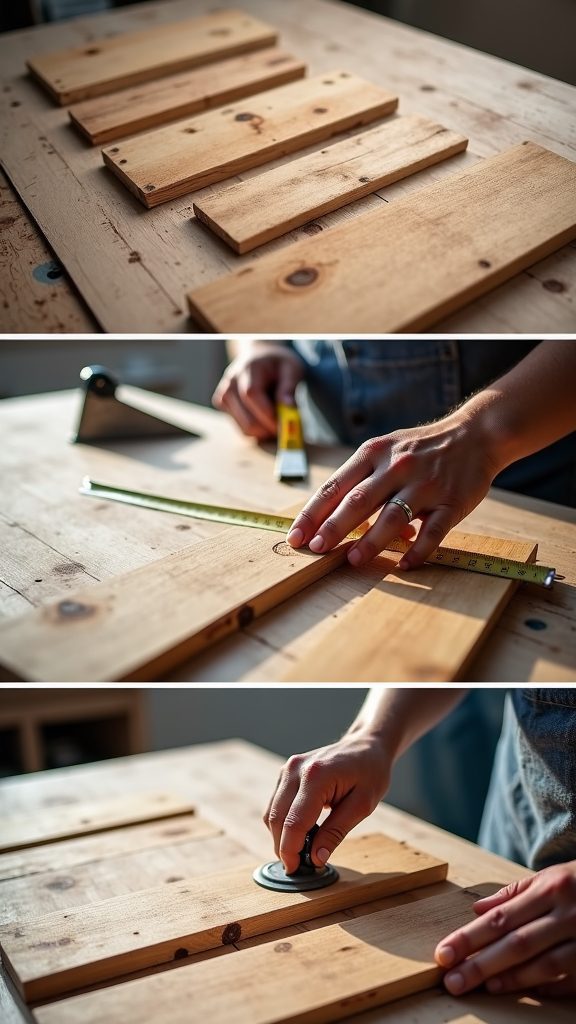
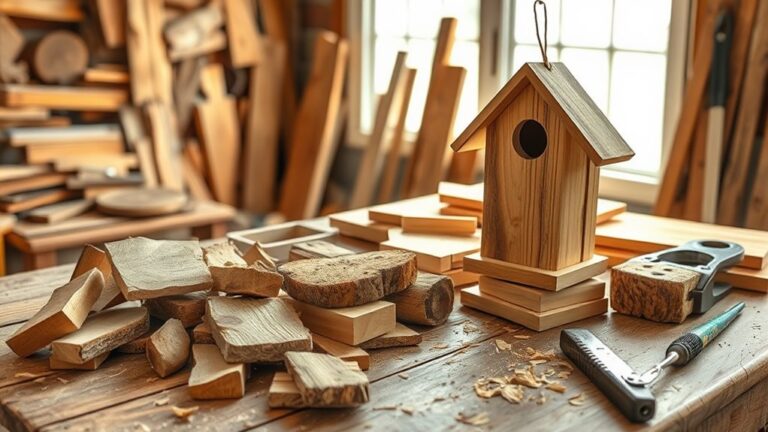
Ready to bring your spice rack vision to life? Start by reclaiming old wood—think pallets or furniture scraps—and give it a good clean with coarse sandpaper.
Measure your space carefully, then cut the wood to the right lengths for the frame and shelves. Assemble everything using screws or pocket holes for sturdy joints, and don’t forget those L-brackets for extra stability!
If you want to get creative, drill holes for wire fencing or dowels to hold your jars. Finally, enhance your rack’s appearance with a durable stain or paint.
You’ve just turned your spice rack ideas into a fabulous DIY project!
Finishing Touches for Aesthetic Appeal
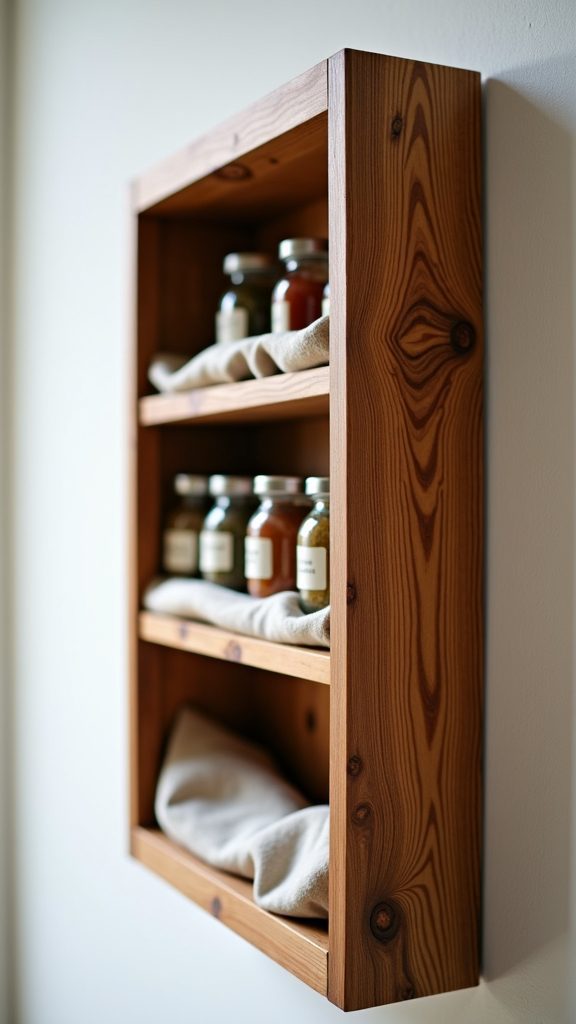
How can you elevate your DIY spice rack from functional to fabulous? Start by choosing a wood finish like Danish oil that enhances the natural grain—this adds warmth and richness.
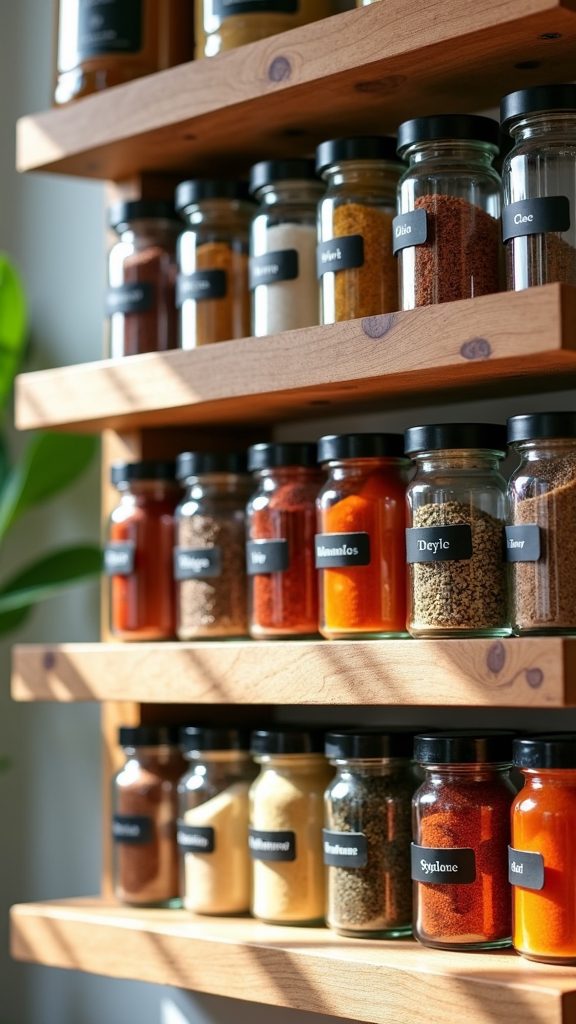
Incorporate contrasting colors; a bold hue against a neutral wall looks great! Add stenciled labels or vinyl decals to personalize your jars, creating a cohesive style.
A matte or satin clear coat will provide a subtle sheen while protecting against spills.
Finally, accessorize with small plants or decorative jars for added texture and dimension. These finishing touches not only enhance beauty but also make your kitchen feel inviting and uniquely yours!
Creative Variations to Consider
Creating a unique spice rack can be a fun adventure, and there are countless creative variations to contemplate that can truly make it your own!
You might consider using reclaimed wood like pallet or barn wood for that rustic charm. Incorporate vertical shelving to maximize space, keeping your spices organized and within reach.
Adding chicken wire or mesh backing not only enhances the look but also allows for airflow. Don’t forget to paint or stain it to match your kitchen’s vibe!
Whether you mount it on the wall or hang it from a pantry door, your spice rack will become a cherished focal point!
Tips for Organizing Your Spices
After you’ve crafted your unique spice rack, the next step is to make certain it’s organized in a way that works for you. Here are some tips to get started:
- Group spices by type or cuisine to streamline your cooking.
- Label your spice jars clearly with names and dates opened to enhance visibility.
- Use clear, airtight containers to protect against light and moisture, keeping flavors fresh.
- Implement tiered shelving or rotating racks to maximize visibility in tight spaces.
Regularly check and rotate your spices to guarantee you’re using older ones first.
Enjoy the sense of belonging that comes with a well-organized spice collection!
Showcasing Your Finished Spice Rack
Your finished spice rack is more than just a storage solution; it’s a stunning centerpiece that can elevate your entire kitchen vibe!
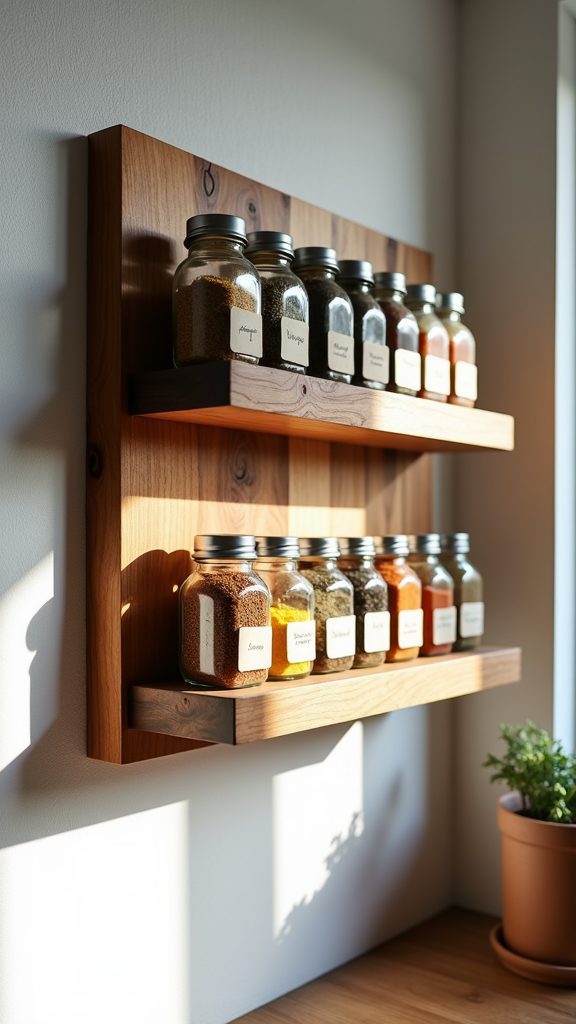
Place it proudly above your countertop or on a wall, making it a focal point. Use uniform jars with clear labels for a cohesive look that showcases your spices beautifully.
Surround it with decorative touches like vibrant plants or charming cooking utensils to create a curated display.
Don’t forget to share your project on social media—connect with fellow DIY enthusiasts using relevant hashtags!
And remember, regularly updating your spices keeps your rack fresh and inviting, just like your kitchen!

