22 Easy Modeling Clay Ideas for Beginners (No Experience Needed!)
Disclosure: This post may contain affiliate links, at no extra cost to you. Content on DiyCraftNest is created with research support from AI tools and carefully reviewed, edited, and fact-checked by the lead author, Daniel Pat, to ensure accuracy and reliability. Learn more
If you’re new to modeling clay, start simple with easy projects like making balls, coils, or discs to get the hang of shaping. Gather basic tools—air-dry clay, water, and smoothing sponges—and prep a clean workspace. Try fun crafts like handprint ghosts or clay candle holders that dry in a day or two before painting. Using these beginner-friendly ideas, you’ll build confidence while creating charming, practical pieces. Keep going, and you’ll uncover even more creative projects and tips.
Key Takeaways
- Start with simple handprint clay ghosts for personalized, seasonal decorations using white air-dry clay and basic shaping techniques.
- Create decorative candle holders by molding textured air-dry clay bases with snug candle cups to enhance cozy home ambiance.
- Mold chunky bookends with flat bases and creative textures to add functional art to bookshelves while practicing basic clay shaping.
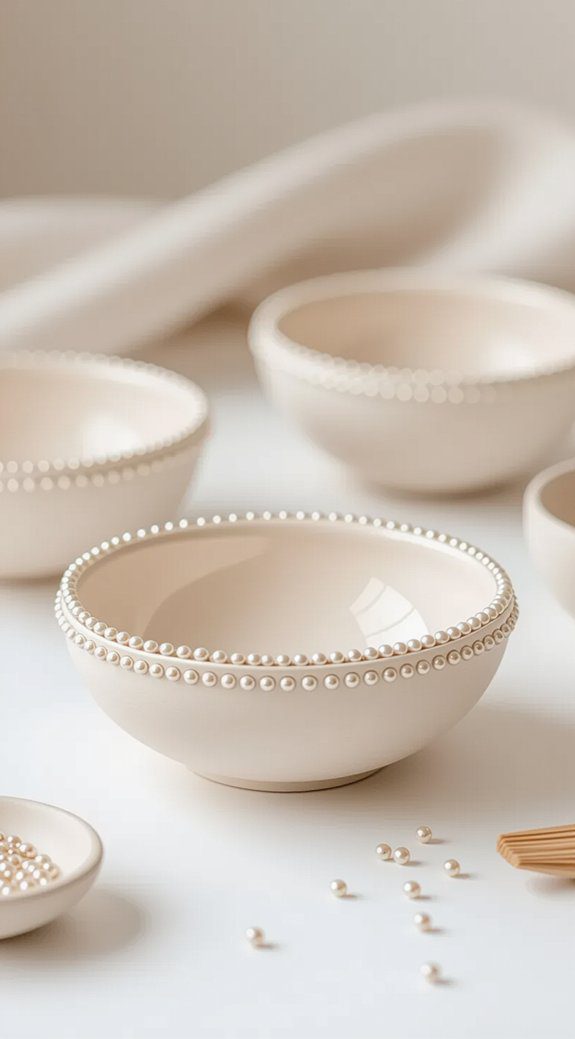
- Craft beaded dishes by flattening clay circles and pressing beads around edges for charming, organized storage of jewelry or keys.
- Make unique salt spoons with comfortable handles and shallow bowls, drying and sealing them for practical, handmade kitchen accessories.
Why Choose Modeling Clay for Your First Art Project
Although starting a new art project can feel a bit intimidating, choosing modeling clay—especially air dry clay—makes it much easier to dive right in. The creative benefits are huge; this medium invites artistic exploration without needing special skills. I love its tactile experience—it’s calming and fun to shape with my hands, which really helps me focus. Plus, it’s perfect for family bonding since everyone can join in safely, no matter their age. Trying different shapes and ideas together builds confidence and connection. Trust me, modeling clay welcomes you to a creative community where you’ll feel right at home. Whether you’re crafting simple figures or intricate designs, there are countless soft clay art project ideas that can inspire your creativity. From making personalized ornaments to creating unique sculptures, the possibilities are endless. Embrace the journey of exploration, and let your imagination guide you as you transform soft clay into works of art that tell your story.
Essential Tools and Materials for Beginners
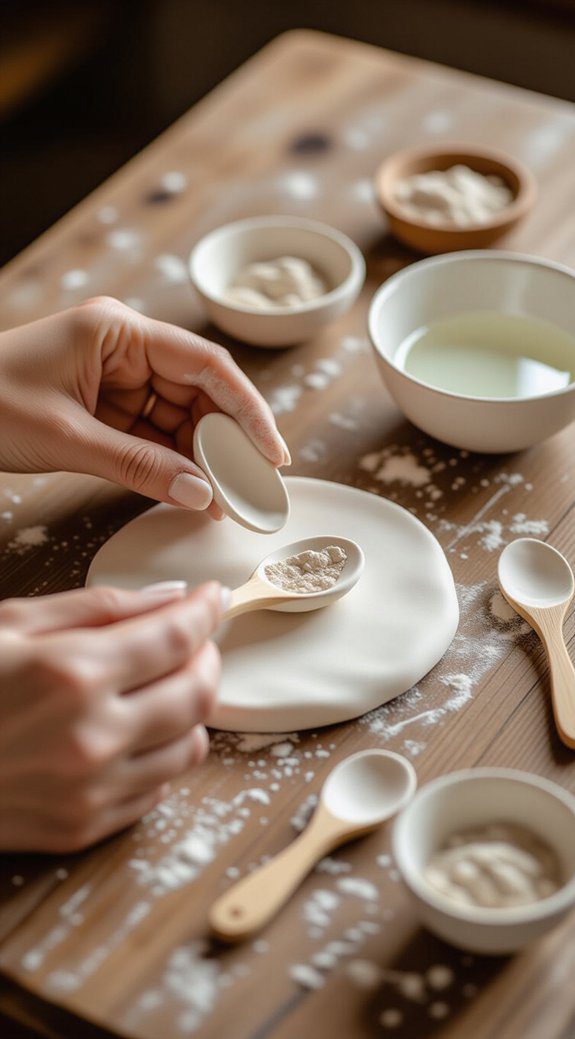
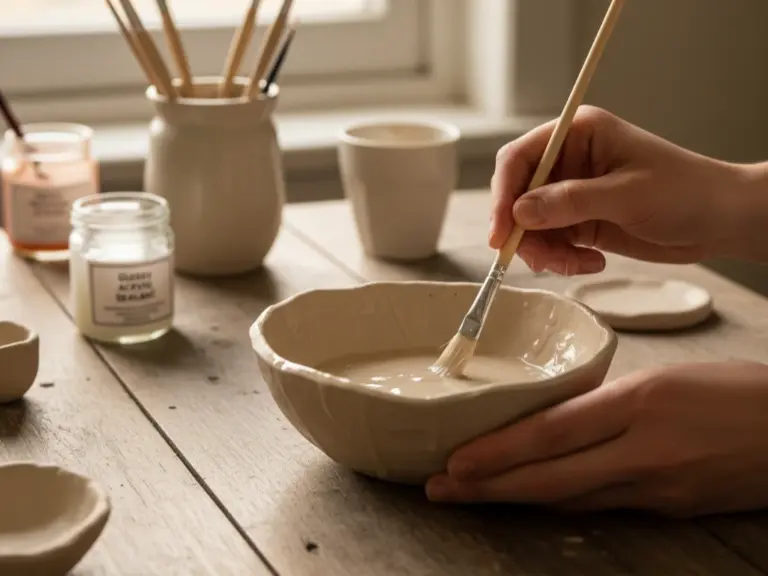
Five simple tools and materials can make your first modeling clay project much smoother and more enjoyable. First, grab some air dry clay—any brand that feels right. Keep water nearby; it’s perfect for softening clay and exploring clay texture techniques. Basic sculpting tools like a sponge help smooth rough spots, while a soft paintbrush adds detailed finishing touches like paint or glaze. After drying, a bit of sandpaper can enhance your piece, making it look polished and professional. These fundamentals create a welcoming space for creativity, helping you immerse yourself confidently and enjoy every step of your clay adventure!
How to Prepare Your Workspace for Clay Modeling
When I get ready to start a clay project, the first thing I do is clear off a big, flat space so I have plenty of room to work without knocking things over. Good workspace organization means removing clutter and covering the surface with plastic or newspaper—this makes clay cleanup so much easier later. I gather all my tools and materials within arm’s reach, keeping a damp cloth nearby to smooth the clay and keep my hands moist. Plus, I make sure the area is well-ventilated, especially if I’m using paints or glazes. This setup helps me focus and enjoy every step!
Basic Clay Handling Techniques to Get Started
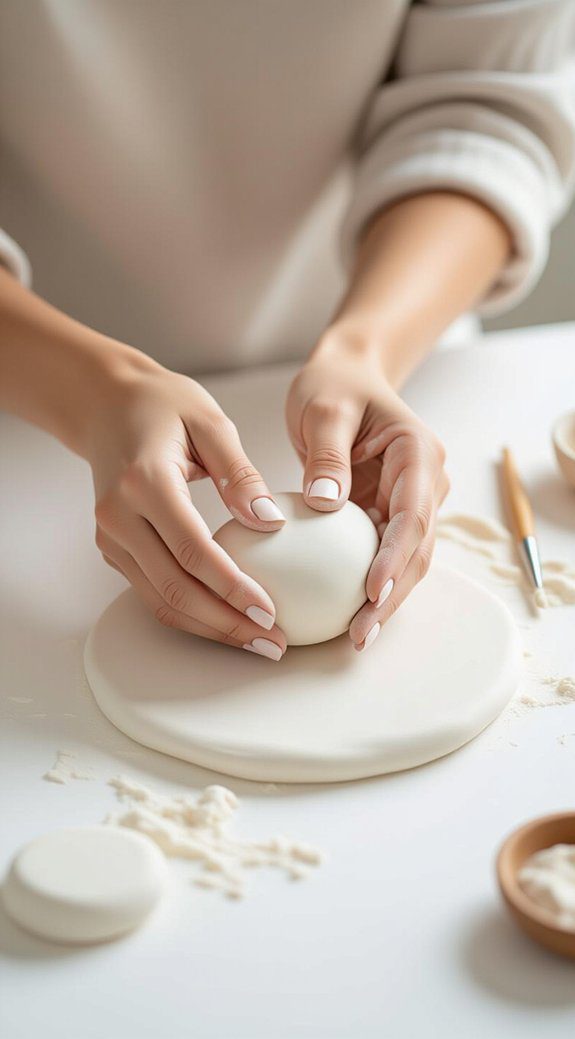
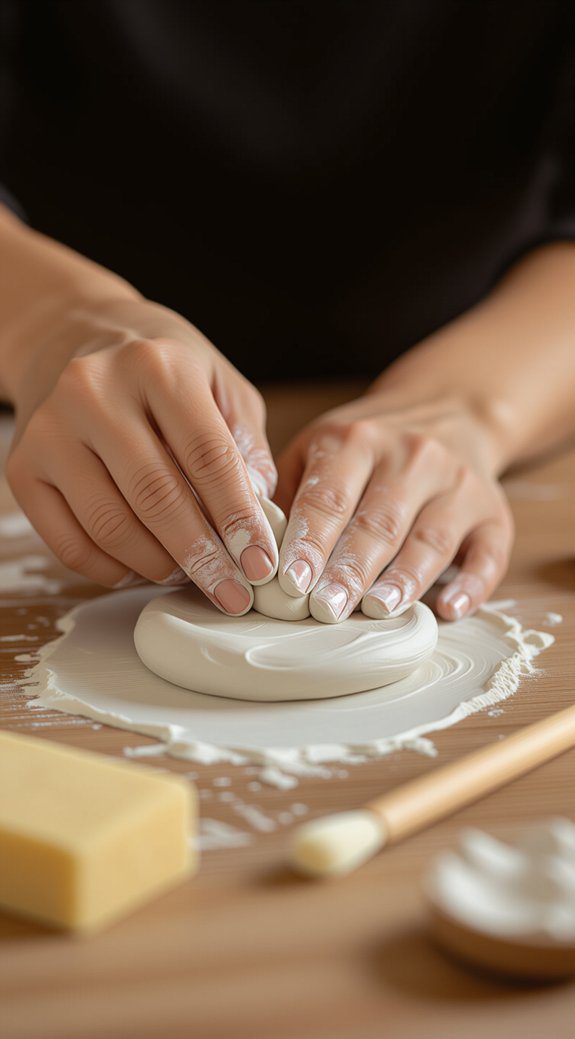
Getting started with clay modeling feels a lot like preparing dough for baking—kneading your air-dry clay thoroughly is the key first step. This makes it soft and easy to shape, preventing cracks later. When smoothing or joining pieces, use water sparingly; too much weakens the clay. Achieving proficiency in basic clay techniques like rolling and pinching builds your confidence and skills. Keep your tools close and workspace tidy to stay focused. These clay shaping tips will help you enjoy every step, creating smoothly and drying evenly without warping. Together, we’ll make this adventure fun and rewarding!
Creating Simple Shapes: Balls, Coils, and Discs
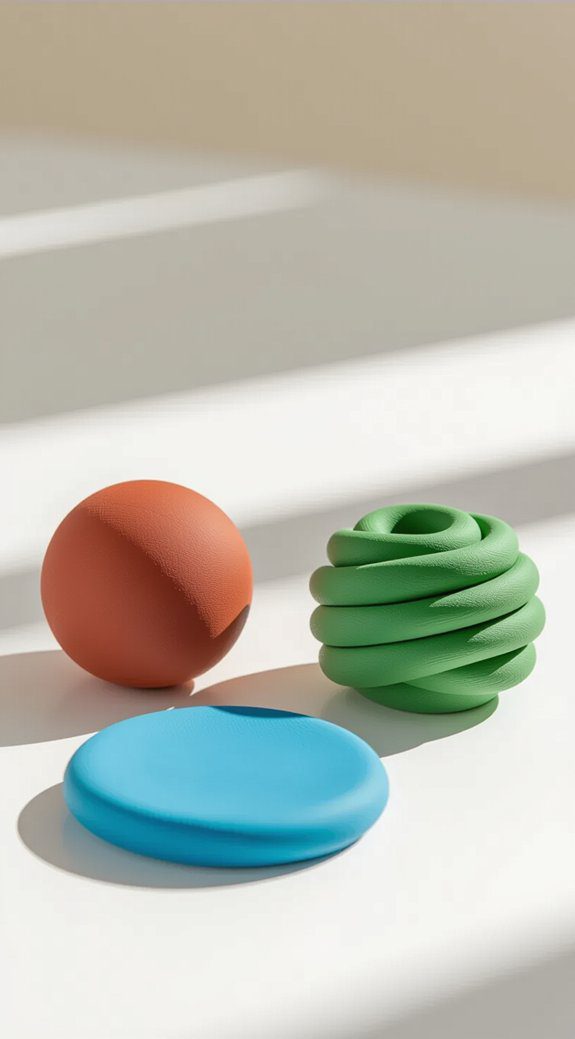
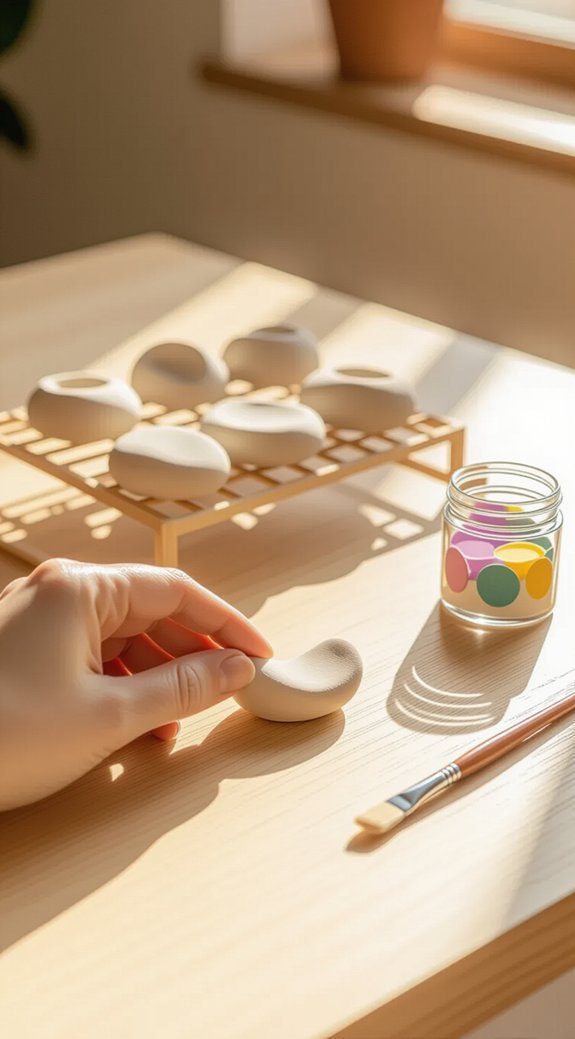
One of the easiest ways to start shaping your air-dry clay is by making simple forms like balls, coils, and discs. I love beginning with small balls—they’re the perfect base for exploring shapes. Then, I roll some into coils, which you can twist or use as decorative accents. Flattened discs make great bases for projects and invite textures or patterns. Don’t hesitate to experiment with creative combinations, like stacking discs or intertwining coils, to unveil new designs. Smoothing your shapes with a damp sponge helps them look polished. This shapes exploration builds your confidence and opens up endless possibilities! As you become more comfortable with these basic shapes, you can start to branch out into more complex designs and even consider mini clay project ideas for beginners. Simple figurines, seasonal decorations, or small bowls can add to your repertoire and spark your creativity. Each new project is an opportunity to refine your skills and showcase your unique style!
Making Flower Coasters With Modeling Clay
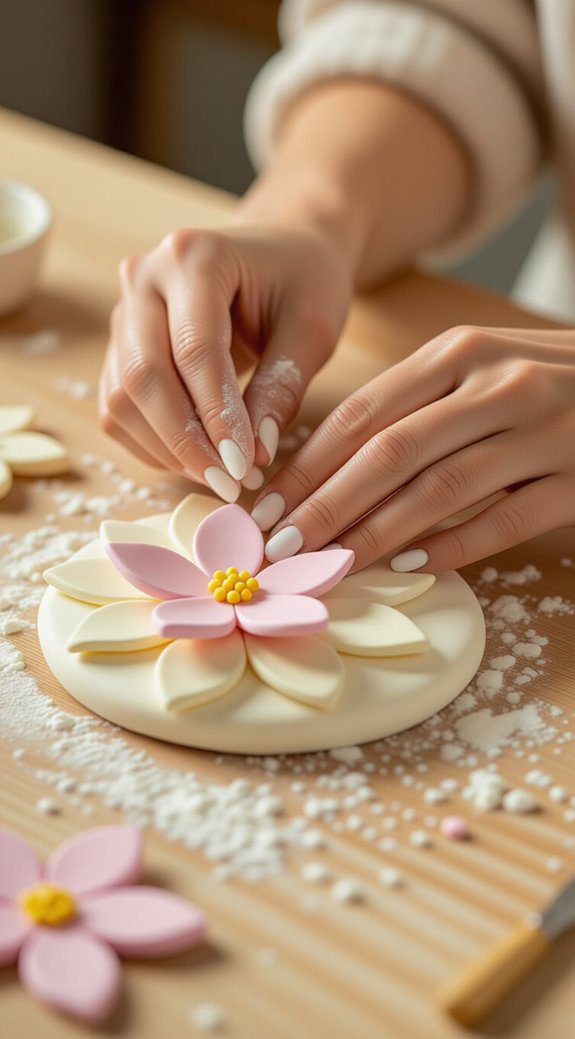
After getting comfortable with shaping basic forms like balls, coils, and discs, it’s fun to use those skills to create something both pretty and practical—flower coasters. Here’s how I approach flower coaster designs:
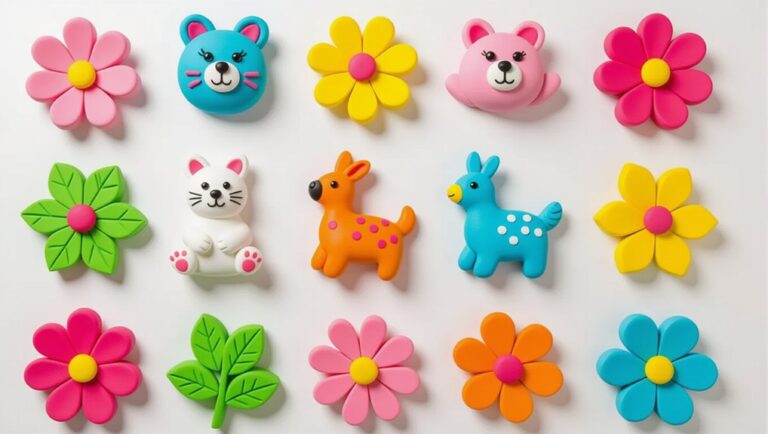
- Roll out air dry clay about 1/4 inch thick, then cut flower shapes using cookie cutters or by hand.
- Add texture to petals and centers with tools or fingers for realism.
- Use proper drying techniques: place coasters flat in a cool, airy spot away from sunlight for 24–48 hours.
Once dry, painting and sealing make your coasters vibrant and durable. You’ll love how they brighten any space!
Crafting Tiny Magnet Vases for Home Decor
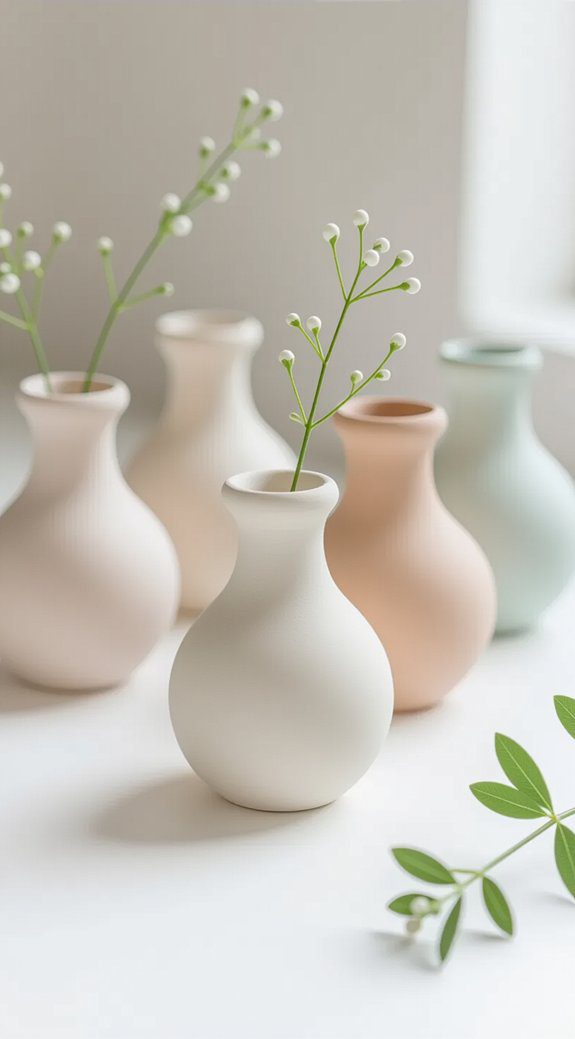
Whenever I want to add a little charm to my kitchen or workspace, I turn to crafting tiny magnet vases with modeling clay—these small pots aren’t just cute, but they’re also super practical for holding tiny flowers or greenery. I start by shaping air-dry clay into tiny vase designs, making sure to hollow out the center. After drying for about 24-48 hours, I attach adhesive magnets to the back, creating magnetic attachments perfect for refrigerators or boards. Personalizing each vase with colors and textures makes the project even more fun, and it’s a great way to feel connected through creativity!
Designing Modern Photo Holders From Clay
Although crafting with modeling clay can feel a bit tricky at first, designing modern photo holders is a fun and straightforward project that anyone can enjoy. To create stylish holders with modern aesthetics, here’s what I do:
- Roll out air-dry clay into a flat rectangle for the base.
- Add a vertical stand from a smaller clay piece, making sure it’s sturdy.
- Personalize designs by carving textures or shapes before drying.
After 24–48 hours of drying, paint or glaze your holder. Finally, add a slot or clip to display your favorite photos beautifully! It’s a great way to feel connected through personalized designs.
Easy-to-Make Clay Jewelry Pieces
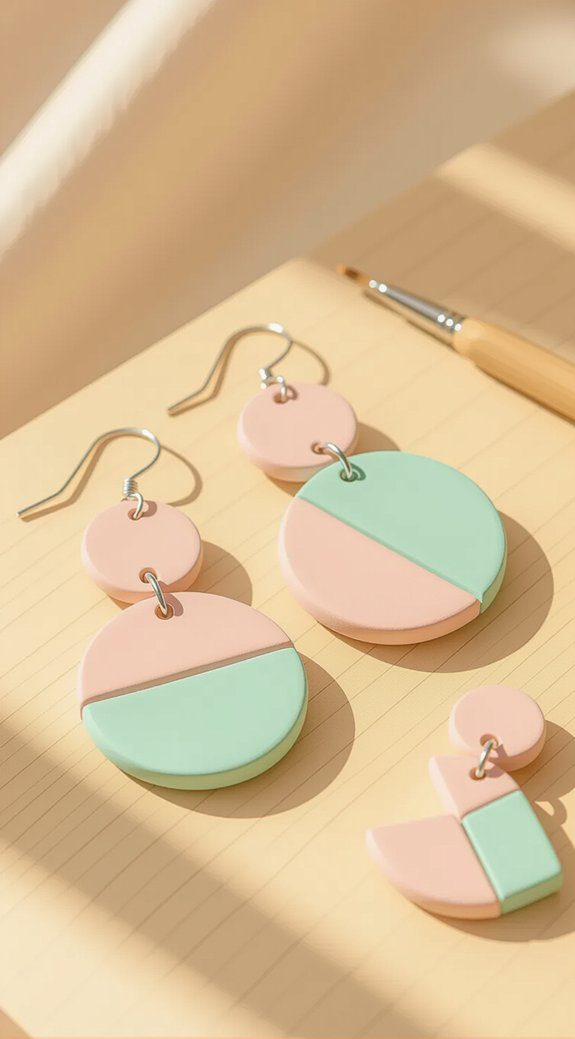
One of the easiest and most enjoyable projects you can try with modeling clay is making your own jewelry pieces, like beads and pendants. Using simple clay jewelry techniques, you can roll, cut, and shape lightweight air-dry clay into personalized jewelry designs that truly express you. Before the clay dries, try adding textures with tools to create unique patterns. Afterward, paint or glaze your pieces for extra shine and color. These beginner-friendly steps build confidence and connect us through creativity. Trust me, crafting your own clay jewelry not only feels rewarding but also helps you belong in a community of makers. For those looking to expand their crafting skills, consider exploring the best oven bake clay projects that offer greater durability and versatility. The options are endless, from intricate charms to statement earrings, allowing you to showcase your unique style. Each piece you create becomes a testament to your creativity and passion, inviting others to join in on the fun.
Building Miniature Food Models
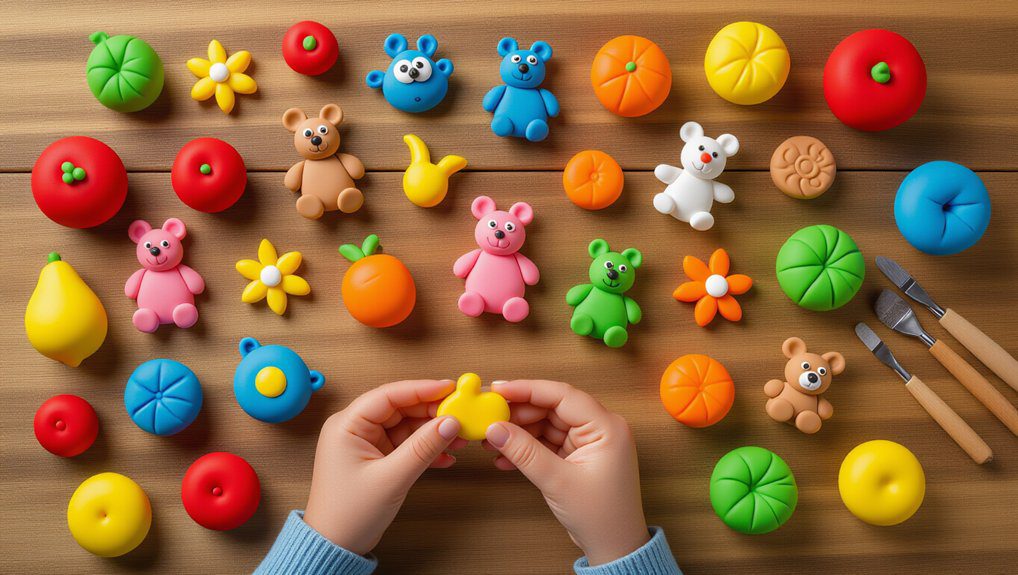
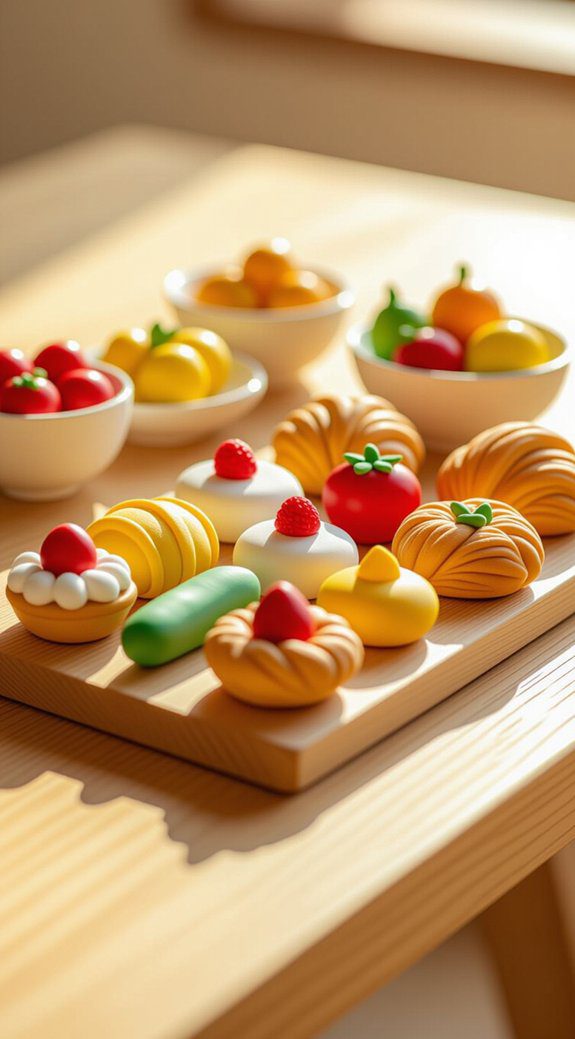
Creating miniature food models with air-dry clay is a fun way to bring tiny, colorful treats to life right in your hands. To start, pick your favorite foods and shape the clay—like rolling red spheres for apples or flattening yellow for pancakes. Then, focus on clay textures by adding details such as seeds or bread grooves. Finally, allow your models to dry fully before painting or glazing. Here’s a quick guide:
- Shape clay into miniature food items.
- Add realistic textures with tools.
- Let dry 24–48 hours for best results.
You’ll feel proud joining this creative community!
Sculpting Clay Animal Figures
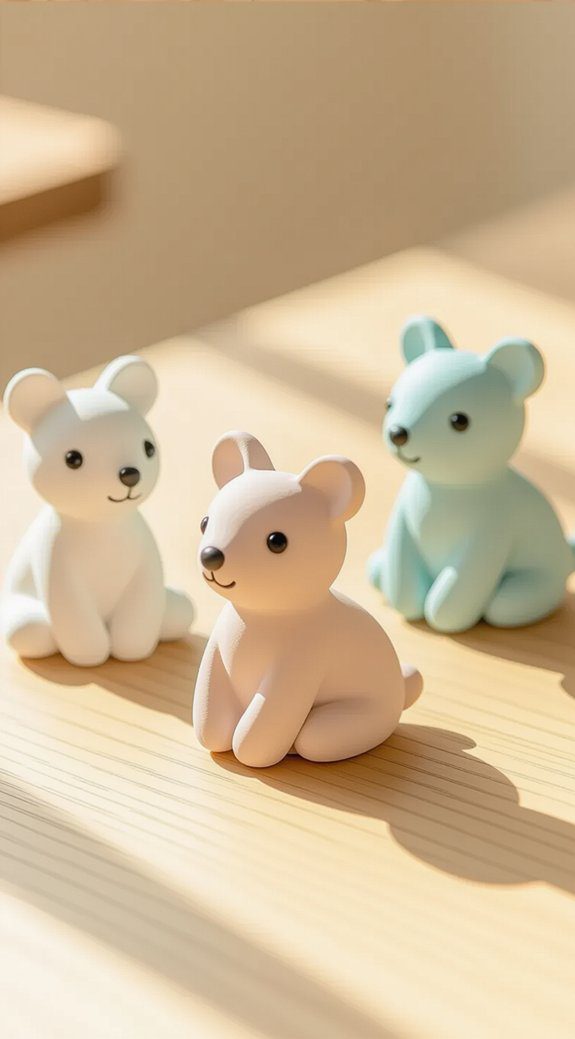
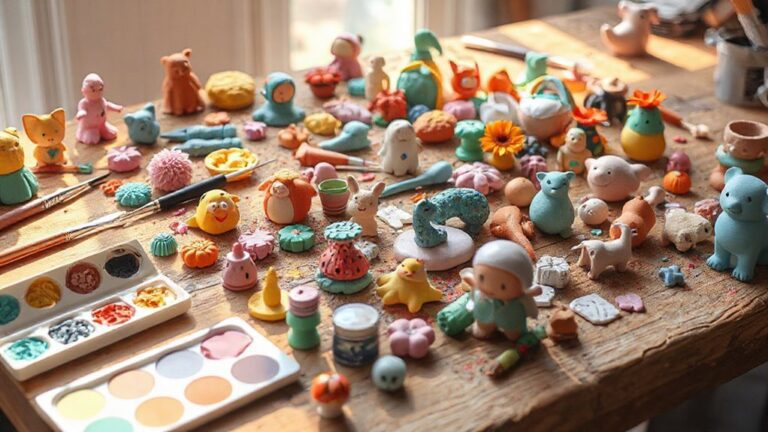
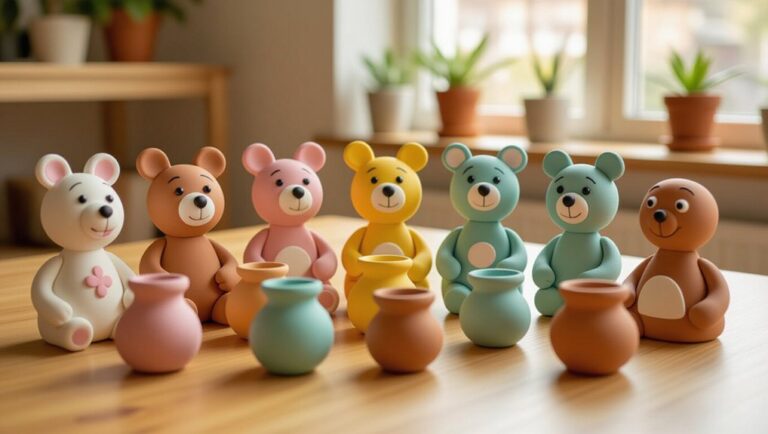
When you start sculpting clay animal figures, picking a specific animal to model really helps guide your work and makes the whole process more fun. I like to gather pictures to study animal anatomy carefully, so my sculpting techniques seize the right shapes and details. Begin with simple shapes—spheres for heads, cylinders for legs—and slowly improve them. Adding texture with your fingers or tools brings your figure to life, like fur or scales. After it dries or bakes, painting with acrylics highlights your hard work, making your animal figure truly shine in your collection.
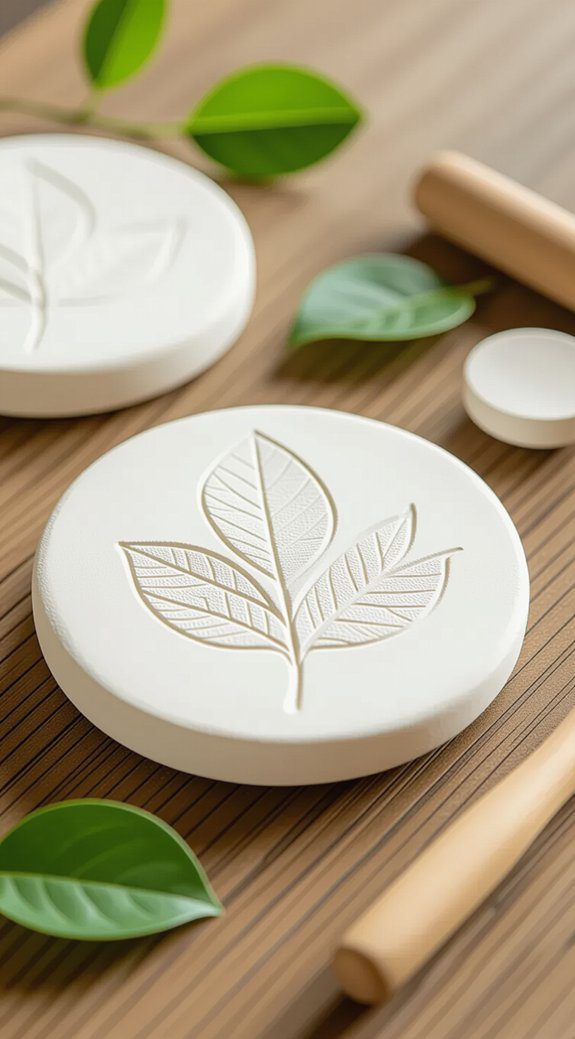
Crafting Leaf Imprint Decorations
Although it might seem simple at first, pressing a leaf into clay opens up a world of fun and creativity that anyone can enjoy. I love using leaf decoration techniques in nature inspired crafts because they connect us to the outdoors while making beautiful keepsakes. Here’s how I do it:
- Roll air dry clay into an oval and press a leaf firmly to obtain its texture.
- Create a hole at the top for hanging.
- Let it dry 24-48 hours, then brush diluted acrylic paint to highlight details.
These decorations make perfect ornaments or gift tags—simple, natural, and unique!
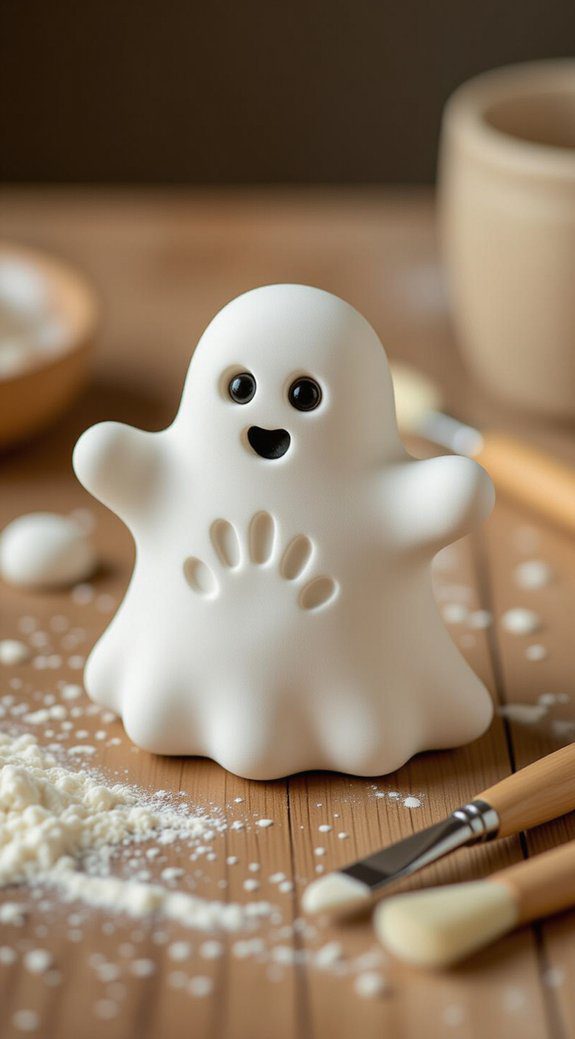
Making Handprint Clay Ghosts
Since Halloween is just around the corner, I’ve found that making handprint clay ghosts is a fun and meaningful way to seize a moment in time while adding a spooky touch to your decorations. Roll out white air dry clay, press your hand in for unique handprint variations, then cut around it smoothly. Don’t forget a hole at the base for hanging! Paint, draw ghostly faces, seal, and add a ribbon. These fit perfectly with seasonal themes and make wonderful keepsakes.
| Step | Action | Tip |
|---|---|---|
| 1 | Roll & press handprint | Use different hand sizes |
| 2 | Cut & smooth edges | Keep edges neat for polish |
| 3 | Paint & decorate | Add personal spooky faces |
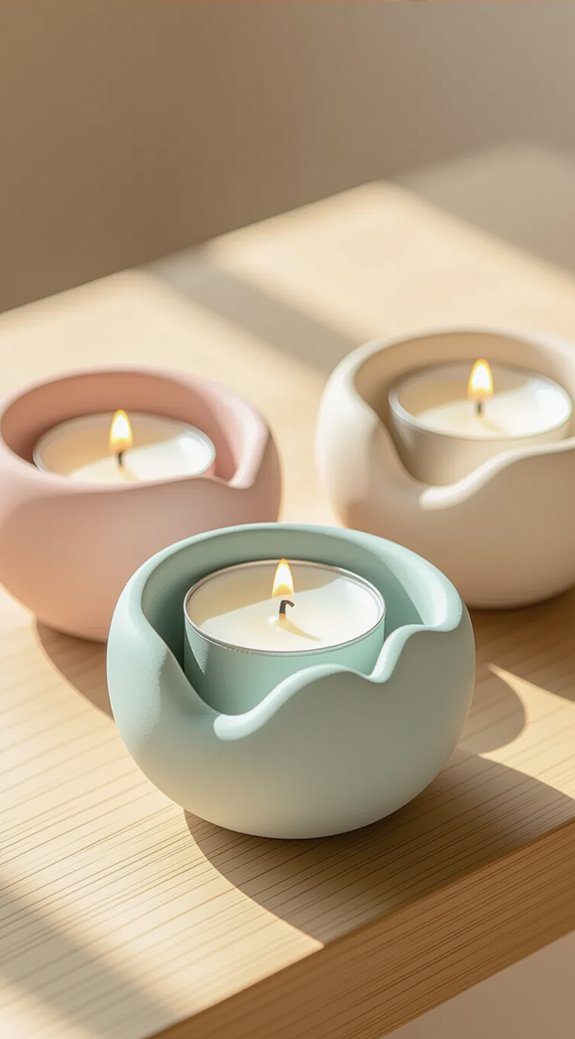
DIY Clay Candle Holders
Handprint clay ghosts make wonderful keepsakes, but if you’re looking to add a cozy glow to your space, crafting DIY clay candle holders is a fantastic next project. Start by:
- Rolling air dry clay into a thick flat base and shaping a snug cup for the candle.
- Using clay texture techniques like pressing leaves or beads for unique candle holder designs.
- Letting your piece dry for 24-48 hours before painting or glazing it with non-toxic finishes.
This project invites you to create something warm and personal, perfect for sharing a peaceful moment with friends or family.
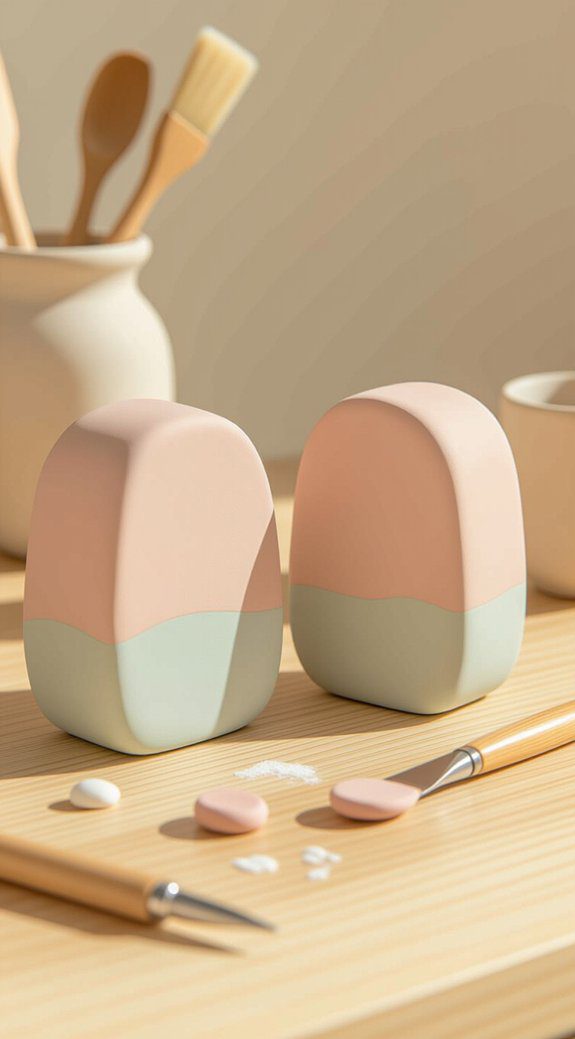
Constructing Chunky Book Ends
Creating a pair of chunky bookends is a fun and practical way to bring some personality to your bookshelf while practicing your clay skills. Start by molding air dry clay into sturdy shapes with flat bases—this keeps your chunky bookends stable and able to hold up your books. Don’t hesitate to get creative with colors, textures, or patterns by layering clays or using simple tools. Let your bookends dry for 24 to 48 hours, then add acrylic paint or a glaze if you want extra shine and durability. This project is perfect for making something functional and uniquely yours!
Creating Beaded Dishes for Trinkets
One of my favorite ways to add a personal touch to your space is by making beaded dishes from air dry clay—they’re simple, fun, and super useful for holding trinkets like jewelry or keys. Here’s how to create your own with beaded designs that boost dish functionality: You can get creative with your designs by incorporating different colors and patterns into your beads, making each dish unique. For inspiration, check out some of the best clay bowl DIY ideas that showcase a variety of techniques and styles to elevate your crafting game. With just a few materials and a little patience, you’ll have beautiful, functional pieces that add charm to any room.
- Roll the clay into a flat circle, then press small beads or patterns around the edges for a decorative flair.
- Let it dry 24–48 hours in a ventilated spot, avoiding sunlight to prevent cracks.
- Paint or glaze your dish to protect and brighten it.
These dishes bring cozy charm and handy organization together!
How to Make Ring Holders From Clay
Although ring holders might seem like small accessories, they can make a big difference in keeping your jewelry organized and easy to find. I start by shaping a small ball of air-dry clay, pinching the center to hold rings. Adding creative textures and decorative edges with tools or fingers gives each holder a personal touch. After drying 24–48 hours, paint with acrylics for color and protection. Here’s a quick guide:
| Step | Tip | Result |
|---|---|---|
| Shape clay | Pinch center gently | Ring well formed |
| Add texture | Use tools or fingers | Unique surface |
| Dry | Keep ventilated, shaded | Prevent cracks |
| Paint | Acrylics or water-based | Vibrant, durable |
Try it—you’ll love your new, charming organizer!
Crafting Salt Spoons for the Kitchen
When you want to add a bit of charm and personality to your kitchen, crafting salt spoons from air-dry clay is a fantastic project to try. These spoons blend salt spoon aesthetics with functional kitchenware, making them both pretty and practical. Here’s how I approach it:
- Roll out the clay and shape a comfortable handle with a shallow bowl.
- Add textures or patterns to boost visual appeal and show your style.
- Let it dry 24–48 hours, then seal with food-safe glaze if you want durability.
These spoons bring warmth to your kitchen and make thoughtful, handmade gifts!
Building Clay Incense Holders
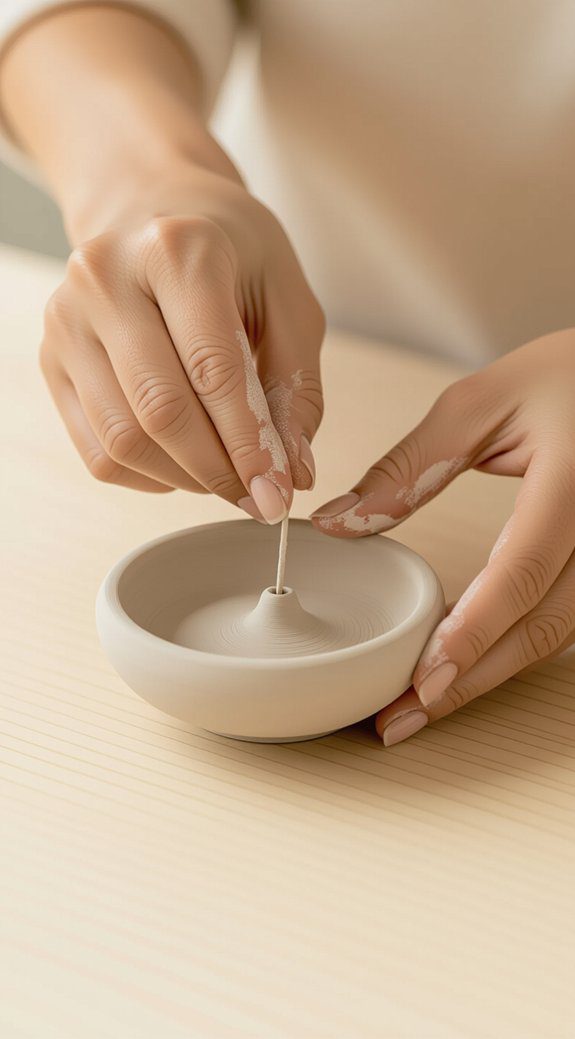
Anyone looking to add a cozy, personal touch to their space will love building clay incense holders. Start by shaping a sturdy, flat base—think waves or cool geometric incense holder shapes—to keep it stable. Then, roll a cylinder for the vertical part and poke a small hole on top to fit your incense stick snugly. Let it dry for 24 to 48 hours, away from direct sunlight. Finally, use clay glazing techniques or acrylic paint to brighten and protect your creation. It’s simple, fun, and a great way to feel connected while crafting something unique for your home. For those interested in exploring further, incorporating elements like a small dish for ashes can elevate your incense holder to one of the best clay ashtray designs. Experimenting with different shapes and sizes not only enhances functionality but also adds an artistic flair to your décor. Whether you choose to create a whimsical character or a minimalist style, each piece is a reflection of your personal taste and creativity.
Designing Drink Stirrers for Parties
Have you ever thought about how a simple drink stirrer could brighten up your party and make it feel extra special? Designing drink stirrers with air dry clay is an easy way to add your personal touch. Here’s how I do it:
- Roll out clay into fun shapes that fit your creative themes.
- Let them dry thoroughly, then paint with bright colors for festive decorations.
- Seal with a food-safe finish to keep them durable and reusable.
These little touches bring our gatherings together, making everyone feel welcome and part of something joyful. Give it a try!
Making Fairy Garden Houses With Clay
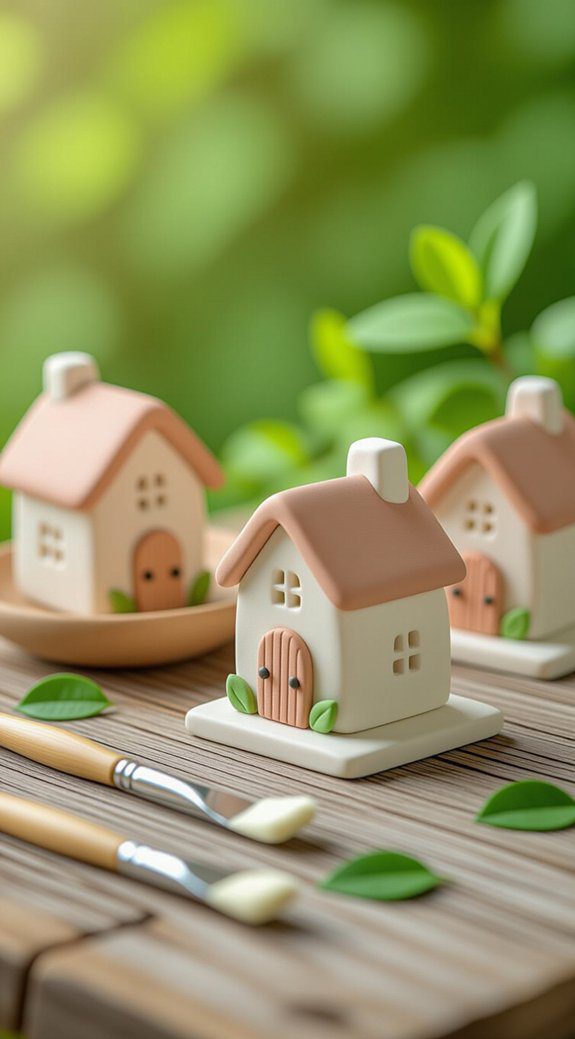
If you enjoyed adding little personal touches like colorful drink stirrers at your last party, you’ll love building fairy garden houses with clay—they bring a magical charm to any outdoor space. Start by using a leftover tin can as the base; it gives your fairy house sturdy support. Roll out white air dry clay to cover the can evenly, then add doors, windows, and bushes with colored clay for personality. Craft a whimsical roof using flower-petal shapes on aluminum foil. This DIY fairy house makes delightful garden decor and invites creativity, perfect for us who love crafting together.
Tips for Drying and Painting Your Clay Creations
While your clay creations dry, it’s crucial to find a spot with good airflow so they don’t crack or warp—I’ve learned that patience here makes all the difference. For smooth clay drying and paint application, follow these tips:
- Let your pieces dry 24 to 48 hours in a well-ventilated space to avoid cracks.
- Lightly sand dried clay with fine-grit paper before painting for a polished look.
- Use acrylic or water-based paints for vibrant colors, and finish with a thin glaze to protect your work.
These steps help your creations shine and feel like part of your creative family!

