18 DIY Paper Doll House Ideas for Creative Play
Disclosure: This post may contain Amazon affiliate links, at no extra cost to you. Content on DiyCraftNest is created with research support from AI tools and carefully reviewed, edited, and fact-checked by the lead author, Daniel Pat, to ensure accuracy and reliability. Learn more
Love cozy DIY projects? 💕
Get free printable guides, exclusive tutorials & surprise craft goodies straight to your inbox.
If you’re looking to spark imaginative play, I’ve found 18 fun DIY paper dollhouse ideas that you’ll love. From a printable multi-room house that folds small for easy storage, to a pop-up portable paper house you can decorate with markers and washi tape, there’s lots of creative options. You can also customize furniture with SVG cut files or add engaging sliding doors. Plus, with clever storage like envelopes and clear bins, organizing feels like part of the fun. Keep going and you’ll uncover even more crafty tips!
Key Takeaways
- Create compact, foldable dollhouses with multiple rooms for easy storage and imaginative play anywhere.
- Use scrapbooking cardstock and eco-friendly materials for durable, customizable paper dollhouse designs.
- Incorporate removable accessories and furniture cut from SVG files for interactive and personalized play.
- Add sensory elements, like fabric quiet book features, to engage children’s fine motor skills and creativity.
- Design organizational features such as labeled storage envelopes and clear bins to encourage tidy, independent play.
Printable Multi-Room Dollhouse
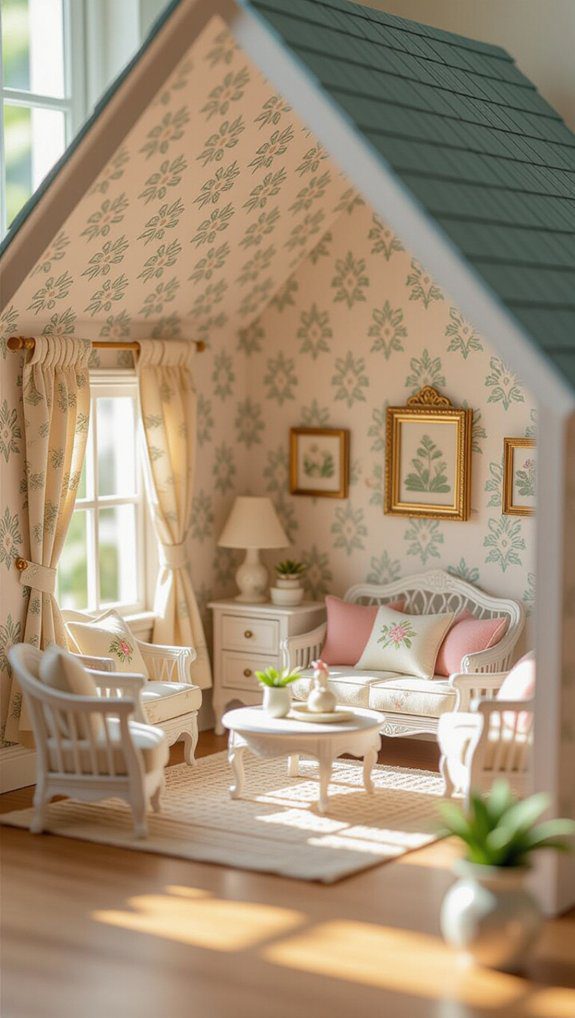
Although it might seem small at first glance, the printable multi-room dollhouse packs a lot of fun into a compact design that folds neatly into a 5.5 by 6.5 inch envelope—perfect for storing or taking on the go. I love how its four distinct rooms—the kitchen, bathroom, bedroom, and garden—offer endless dollhouse themes to investigate. Creative decorating comes alive with removable plants and accessories, letting you personalize each space. Made from scrapbooking cardstock, assembly is simple with glue and folding tips. This dollhouse invites you to craft, play, and feel part of a creative community wherever you are.
Pop-Up Portable Paper House
When you want a dollhouse that’s both fun to build and easy to carry, the pop-up portable paper house is a fantastic choice. Made from eco friendly crafting materials like scrapbooking card stock, it folds compactly into a 5.5 x 6.5-inch envelope. This design features four rooms—a kitchen, bathroom, bedroom, and garden area—perfect for imaginative play anywhere. Using a cutting machine like a Cricut Maker, you can personalize it with markers and washi tape. Plus, removable plants and accessories let you customize every detail, creating a cozy, creative space you’ll love to share with friends.
Quiet Book Dollhouse
If you’ve enjoyed the idea of a pop-up paper house that’s easy to carry and customize, you’re going to love the quiet book dollhouse next. It’s a fabric-based, engaging toy that encourages imaginative play quietly, perfect for cozy moments or travel. I love how sensory elements like zippers, buttons, and pockets not only make it fun but also help kids build fine motor skills. Each page shows different rooms with movable furniture and characters, making it easy to personalize. These quiet book dollhouses invite creativity and connection, offering a unique, tactile play experience wherever you go.
Cardboard Mansion Build
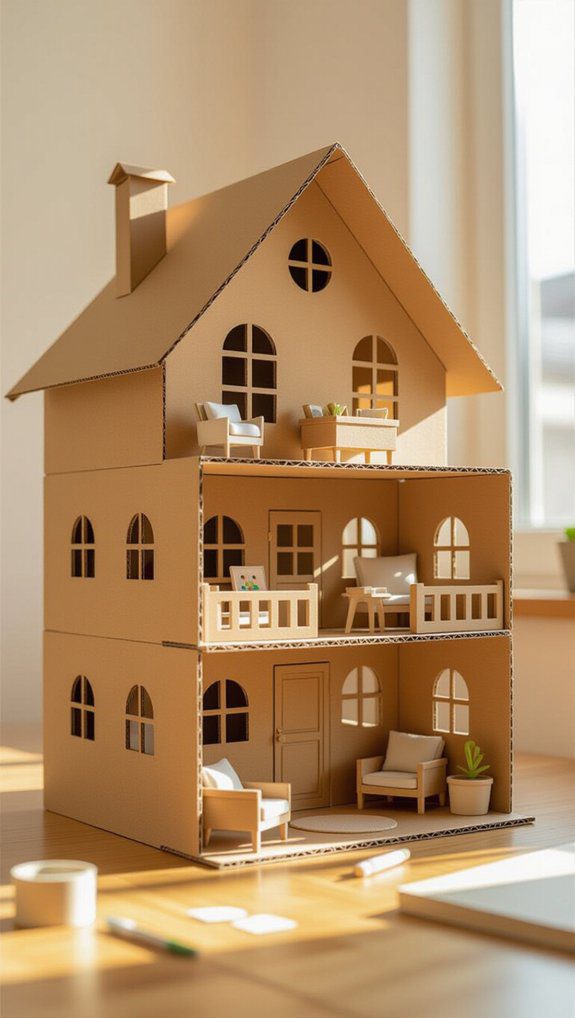
Building a cardboard mansion is a fantastic way to turn everyday materials into a spacious, imaginative playhouse that kids will adore. With cardboard creativity, you can transform large boxes into multiple rooms, complete with windows and even DIY furniture. For playhouse construction, gather scissors, tape, and markers or paint to personalize your mansion. This project not only sparks imagination but also promotes recycling, giving discarded boxes new life. Decorating with drawings, stickers, or fabric scraps adds a special touch that makes the space truly unique. Together, these steps create a cozy, creative haven where kids feel right at home.
Miniature Bedroom Setup
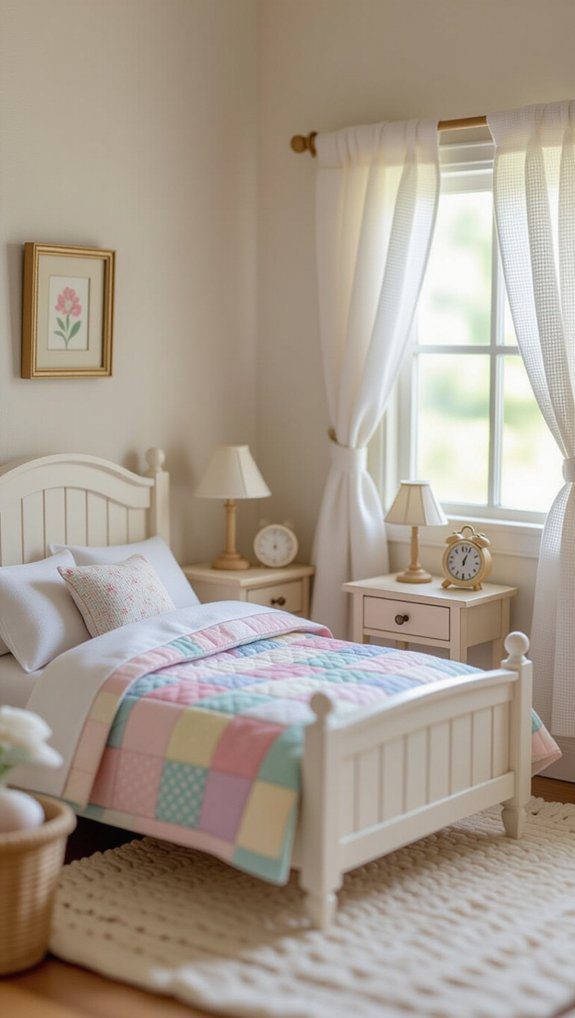
Creating the miniature bedroom in your paper doll house is a fun way to bring a cozy, colorful space to life. I love using vibrant colors on walls and bedding to make it inviting. Adding miniature furniture like a bed and nightstand, plus cozy decor such as pillows and rugs, really makes the room feel lived-in. Don’t forget to personalize with removable plants or wall art! Here’s a quick guide:
| Item | Purpose |
|---|---|
| Bed | Comfort & centerpiece |
| Nightstand | Holds tiny accessories |
| Pillows & Rug | Adds cozy decor |
| Plants | Bring life & color |
| Thick walls | Guarantee durability |
Paper Kitchen Design
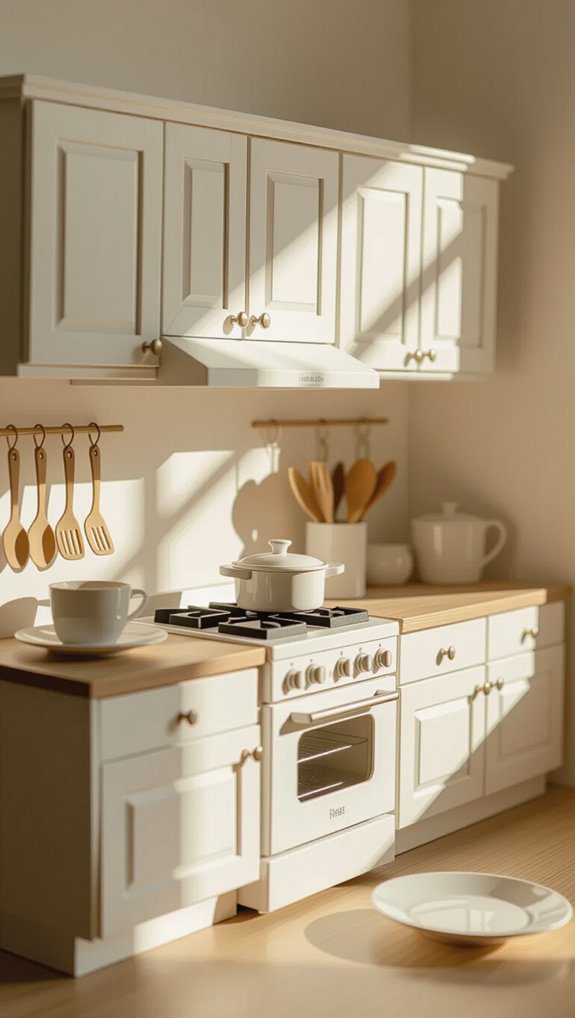
One of the most exciting parts of designing your paper doll house is the kitchen, where you can bring imaginative cooking scenes to life with just a few simple elements. I love adding kitchen accessories like removable utensils, pots, and tiny food items to spark creative cooking play. Decorating the walls with washi tape or stickers makes the space uniquely yours, while colorful cabinets invite endless personalization. The compact design means you can easily take your kitchen to playdates or on trips, making it a fun, portable hub for storytelling and bonding with friends who share your love for imaginative play.
Bathroom with Fixtures
Although it might seem small, the bathroom in your paper doll house plays a big role in making the whole scene feel real and cozy. I love how bathroom customization lets me personalize walls with colors and designs, making it truly unique. The crucial fixtures—sink, toilet, and bathtub—create a realistic space for imaginative play. Plus, organizing removable accessories like towels and soap dispensers adds charm and keeps everything neat. Don’t forget to position walls carefully; their triple thickness guarantees stability. With these tips, your bathroom will be a warm, inviting spot where creativity truly shines.
Fold-Up Travel House
Since I’m always on the lookout for fun projects that travel well, the fold-up travel house instantly caught my attention. Its foldable design is perfect for anyone wanting a travel friendly craft to take anywhere. When folded, it’s compact—just 5.5 x 6.5 inches—and easy to carry. Here’s why I love it:
- Made from affordable 12 x 12 scrapbooking card stock
- Features four unique rooms: kitchen, bathroom, bedroom, garden
- Removable plants and accessories boost creativity
- Walls are triple-layered for sturdiness
- Stores neatly in a secure envelope
This house truly feels like a mini world you can bring along!
Decorated Furniture Pieces
After enjoying the clever fold-up travel house, it’s time to bring the rooms to life with decorated furniture pieces that really make the space feel cozy and unique. I love using the SVG cut files to customize colors and designs, turning plain pieces into personalized cushions and multi functional tables that fit perfectly in each room. Adding removable accessories like cushions and table settings lets me switch up the look anytime, sparking fresh stories. Using markers and washi tape, I decorate cabinet fronts and furniture, making every piece a reflection of my style and creativity. It truly feels like home.
Hand-Drawn Custom House
There’s something truly special about creating a hand-drawn custom house that lets your imagination run wild on every page. It’s the perfect way to showcase artistic expression through imaginative layouts that reflect your unique style. Here’s why I love this DIY project:
- Use simple materials like paper and colored pencils to design windows, doors, and furniture.
- Develop fine motor skills by cutting, folding, and drawing.
- Add storytelling elements with characters and narratives.
- Customize with pop-up or engaging features.
- Easily modify designs for endless creativity.
This project invites you to belong to a community of makers who cherish creativity and fun!
Laminated Durability Method
When you want your paper doll house to last through countless play sessions, laminating each piece is a game-changer. I always use a laminating machine to seal the parts, which adds a protective layer that keeps colors bright and guards against spills or tears. The laminated features make every piece sturdier, so bending or damage becomes rare. Plus, you can use dry-erase markers on them, opening up endless engaging play possibilities—kids can customize rooms again and again! It’s such a simple step that really brings the doll house to life and keeps it ready for fun.
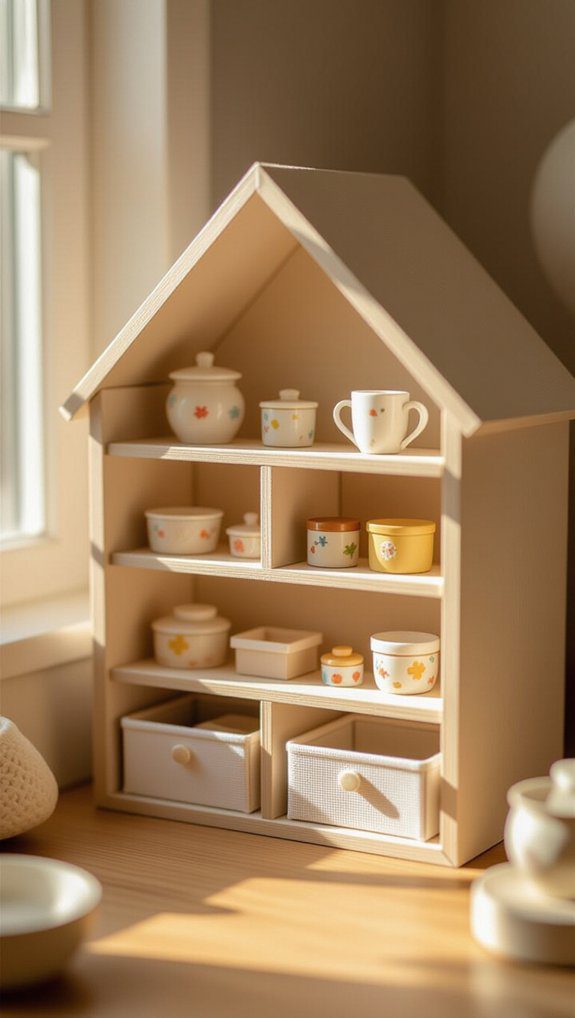
Accessible Closet System
Laminating your paper doll house pieces definitely adds durability, but organizing the tiny wardrobe inside is just as fun and important. An accessible closet system encourages children’s organization and independent dressing, making playtime even more meaningful. Here’s how I set it up:
- Adjustable shelves and rods grow with your child’s needs
- Clear bins and labeled containers for easy item identification
- Low-hanging hooks and rods that kids can reach and use
- Colorful storage to brighten the space and invite creativity
- Personalized labels to make tidying up feel like a game
This setup truly sparks independence and responsibility!
Garden Room with Plants
Since adding plants can transform any space, I made sure the garden room in the paper doll house features removable plants that you can easily rearrange. This flexibility lets you experiment with different garden layouts and plant arrangements, making each play session unique. Raised garden beds allow for easy insertion of flower pots, encouraging hands-on gardening fun. Plus, blank rectangles invite you to customize your garden’s look with your favorite colors or patterns. The compact design means you can set up this cozy garden room anywhere, so your creative play grows wherever you go. It’s all about making the garden your own special place.
Color-Your-Own Walls
Adding plants to the garden room really brings life to the paper doll house, but the fun doesn’t stop there—you get to make the walls just as lively by coloring them yourself. The blank wall sections invite your creativity with coloring techniques and creative patterns that reflect your style. Here’s how I like to personalize mine:
- Use markers for bold, bright colors.
- Try colored pencils for soft shading.
- Combine stripes and polka dots for fun textures.
- Add tiny doodles like stars or flowers.
- Color furniture pieces for a complete look.
Together, we’ll make every room uniquely ours!
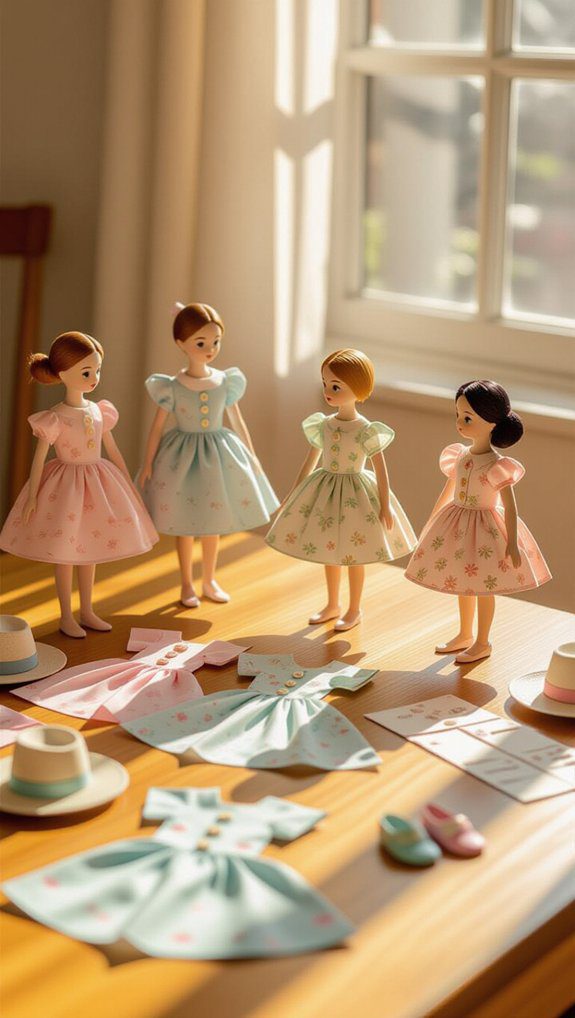
Paper Doll Fashion Closet
When you build a paper doll fashion closet, you get to create a fun and organized space where your dolls’ outfits come to life. Using 12 x 12 inch scrapbooking card stock, I craft sections with removable hangers and shelves for easy outfit swaps. This setup sparks imaginative play, letting you mix and match styles while exploring fashion design. I love adding customizable panels where you can color and pattern your own designs, making the closet truly yours. With tools like a Cricut Maker, you can create intricate details that make your paper doll’s wardrobe pop and feel special.
Decorative Accessory Storage
Organizing your paper doll house doesn’t stop at the wardrobe; keeping decorative accessories neat makes the whole play experience smoother and more fun. For effective accessory organization, try these:
- Use small clear containers or zip-lock bags to separate items like furniture and plants.
- Label each container to quickly find what you need.
- Repurpose the doll house’s folding envelope as travel friendly storage for tiny accessories.
- Create a special compartment inside the house for favorite items to stay handy.
- Personalize containers with washi tape or markers to match your doll house vibe.
These tips keep everything tidy and ready for imaginative play anywhere!
Interactive Sliding Doors
Since I love seeing how little changes can make playtime more exciting, I think engaging sliding doors are a fantastic way to bring your paper doll house to life. Using lightweight card stock, you can create sliding doors by cutting two pieces to fit the frame and attaching them with washi tape or glue at the top—these sliding mechanism techniques guarantee smooth movement. Just make certain your door frame stability is solid so the doors glide easily without bending or tearing. Plus, decorating these doors adds a personal touch that makes imaginative play even more fun and inviting!
Envelope Storage Solution
One clever way I keep my paper doll house tidy and easy to carry around is by creating a special envelope storage solution. This envelope folds from a 12 x 12 inch card stock, giving me organized storage for all the tiny accessories and removable parts. Plus, it’s a perfect spot for envelope personalization, turning storage into a creative activity. Here’s why I love it:
- Keeps everything safe and in one place
- Folds compactly to fit in bags
- Easy to make with simple folds and glue
- Adds a fun decorating project
- Encourages imaginative play through design
Try it—you’ll feel part of a creative community!

