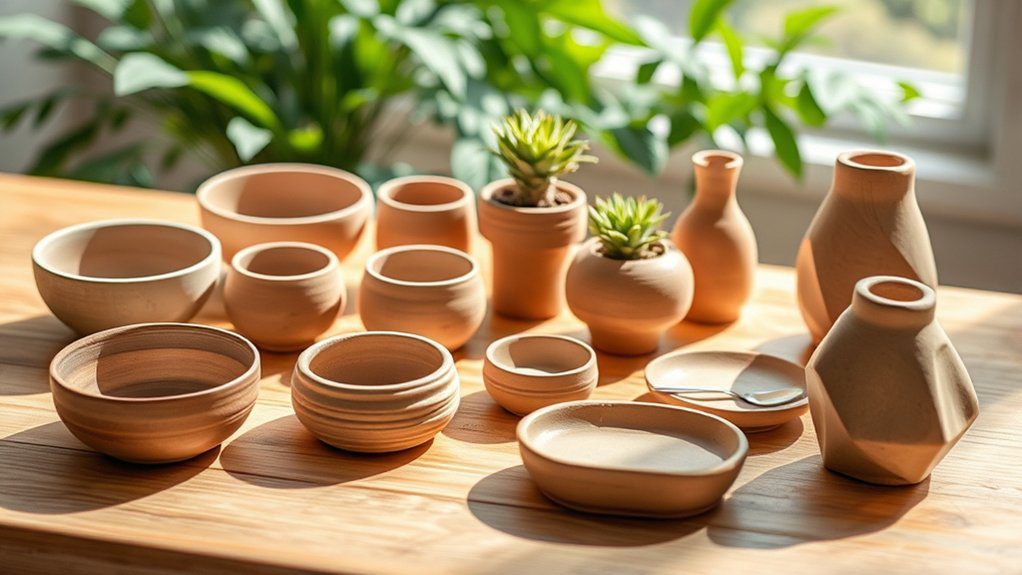
15 Cute Mini Clay Ideas: Air Dry Clay Projects for Beginners
Disclosure: This post may contain affiliate links, at no extra cost to you. Content on DiyCraftNest is created with research support from AI tools and carefully reviewed, edited, and fact-checked by the lead author, Daniel Pat, to ensure accuracy and reliability. Learn more
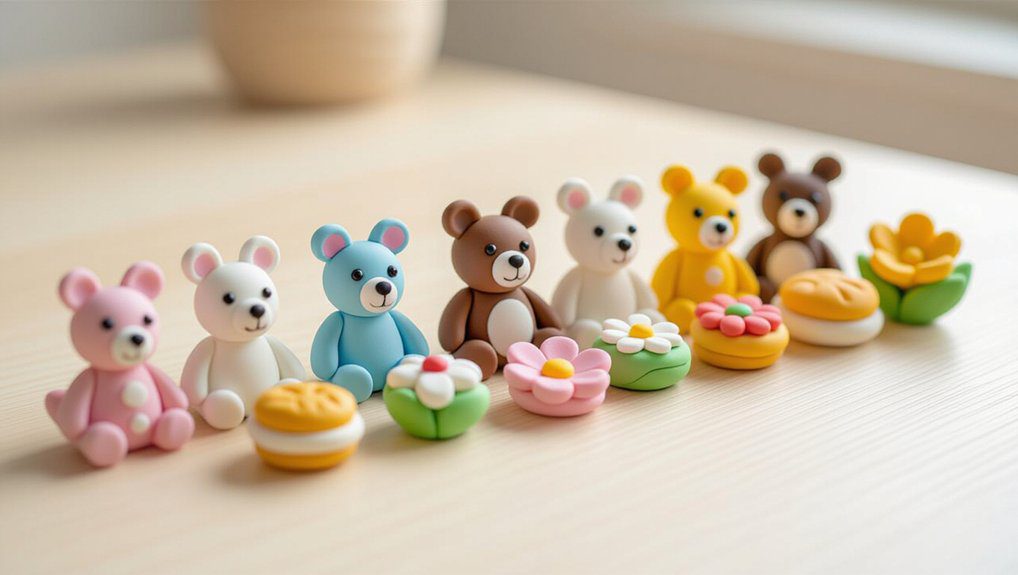
If you’re new to air dry clay, starting with cute mini projects is super fun and easy! Try making a miniature cactus ring holder with a sturdy base, or personalized name tags engraved to add charm to gifts. You can shape clay into keychains, leaf trinket dishes, or even spooky ghosts for Halloween. Adding acrylic paint and textures brings your creations to life. These simple ideas build confidence and creativity, and as you investigate more, you’ll find even more inspiring crafts to try. Additionally, consider creating personalized ornaments or custom coasters that make perfect presents. These easy air dry clay projects for gifts not only showcase your creativity but also add a heartfelt touch to any occasion. As you continue experimenting, you’ll discover new techniques and styles to elevate your crafting skills even further. These easy modeling clay projects for beginners can also serve as wonderful bonding activities with friends and family. Gather your loved ones for a crafting session and let your imaginations run wild! With the right tools and enthusiasm, you’ll all be amazed at the delightful creations you can produce together.
Key Takeaways
- Create miniature clay cactus ring holders with customizable colors and sturdy bases for easy, stylish jewelry storage.
- Craft air dry clay dishes using leaf shapes and textures, then paint or glaze for functional decor like key or jewelry holders.
- Make DIY spooky clay ghosts in various sizes, paint with acrylics, and use as Halloween decorations or unique gifts.
- Design colorful clay keychains with added beads or glitter, incorporating keychain loops before drying for a fun accessory.
- Build mini pumpkin clay bowls for seasonal charm, perfect for holding treats or jewelry and encouraging festive creativity.
Miniature Clay Cactus Ring Holder
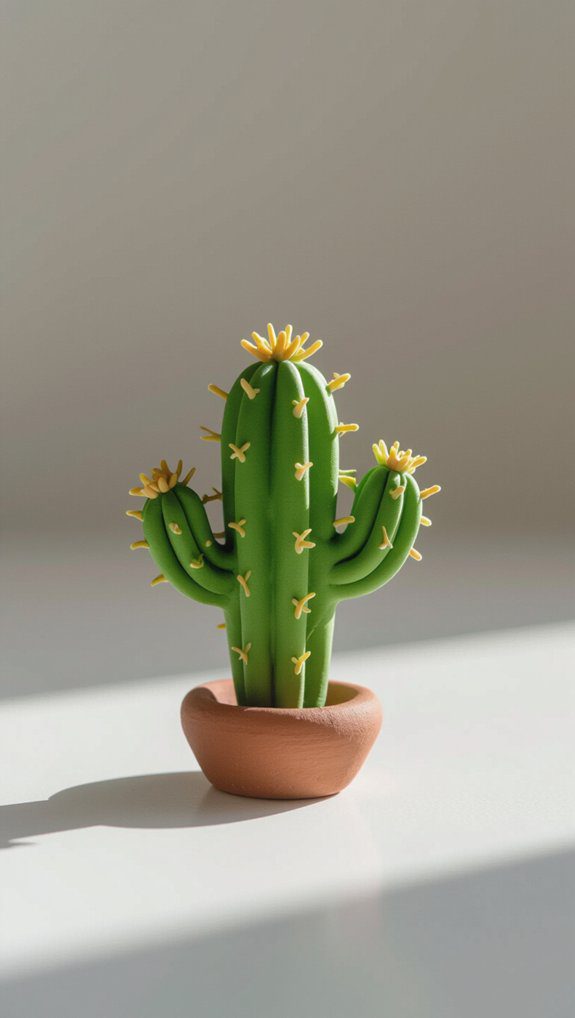
A miniature clay cactus ring holder is a delightful little project that’s both fun to make and super handy for keeping your rings in one spot. I love how cactus color customization lets you match your holder to your style, whether you prefer classic green or something bold. The ring holder functionality is clever—the sturdy base supports “arms” where rings rest securely without slipping off. It’s beginner-friendly, needing just air dry clay and simple tools. Plus, you can paint it with acrylics for a personal touch. This project truly feels like making a tiny, useful friend for your jewelry.
Adorable Clay Keychain Designs
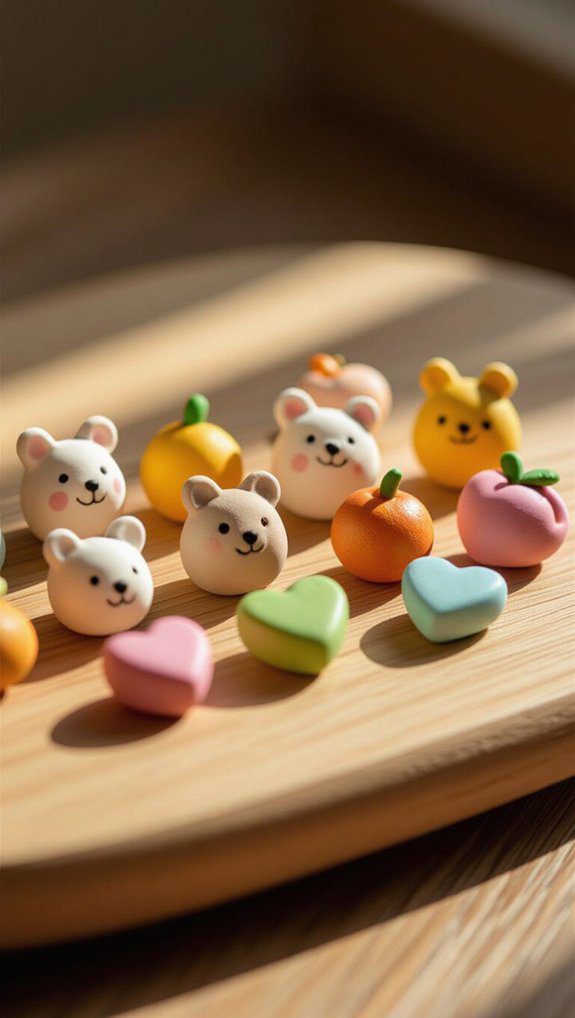
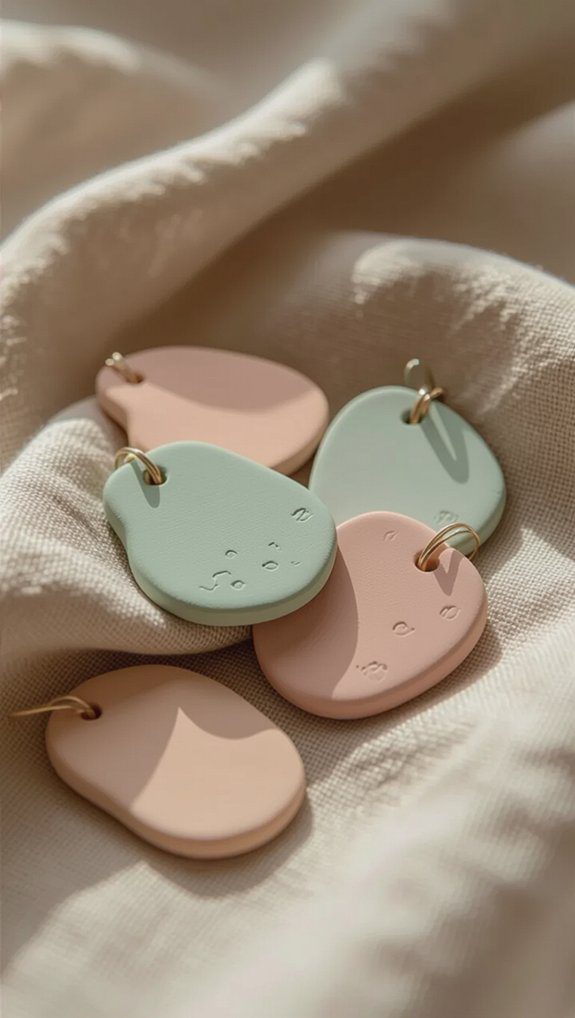
Crafting clay keychains is one of my favorite quick projects because you can shape them into just about anything that sparks your imagination. Using colorful clay techniques, I love experimenting with unique shape inspirations—from tiny fruits to cute animals. Here’s what helps me create adorable keychains:
- Mold air dry clay and add a keychain loop before drying
- Paint details with acrylics for extra charm
- Sprinkle beads or glitter for a fun touch
- Let them dry fully for 24–48 hours
These personalized little accessories aren’t just useful—they’re joyful expressions of creativity we can carry everywhere! From custom keychains to unique bag charms, these items spark joy and showcase our individuality. Plus, creating them can be a fun and therapeutic way to unwind, much like simple pottery projects for beginners that allow for self-expression through hands-on creativity. Each piece not only serves a purpose but also tells a story, making them truly special.
Mini Clay Clock Masterpiece
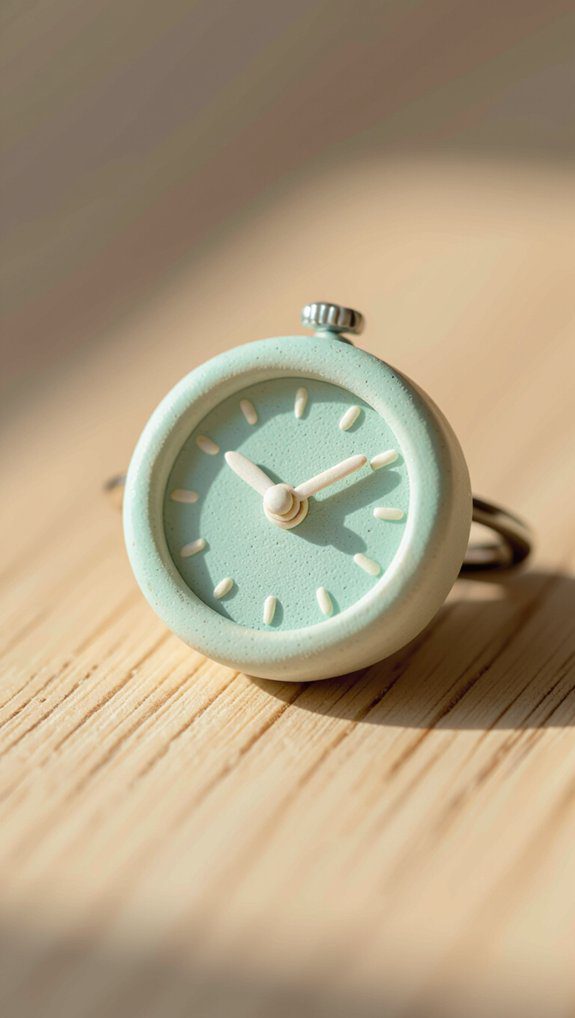
Even though working with mini clay projects can be super fun, adding a clock mechanism turns your creation into something both beautiful and useful. I love how clock customization lets me shape and paint each piece to match my style perfectly. After molding the base from air dry clay and letting it dry for a day or two, I immerse myself in painting techniques with acrylics to bring it to life. This project is beginner-friendly, and the result is a charming timepiece that’s not just functional but also a unique decoration or heartfelt gift for someone special. Exploring different oven bake clay project ideas can further enhance your creativity and skill. From intricate designs to simple shapes, the possibilities are endless, allowing you to create unique clocks that reflect your personality. Each piece not only serves a functional purpose but also becomes a conversation starter in your home.
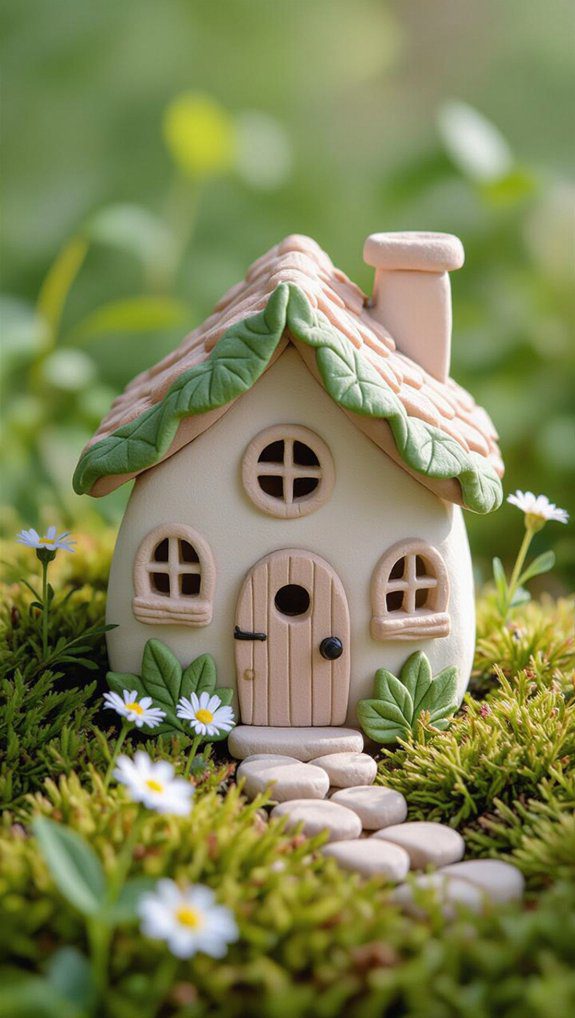
Cute Garden Fairy House
Mini clay projects like building a garden fairy house bring a special kind of joy, especially when you watch your tiny creation blend perfectly into outdoor spaces. Creating a fairy garden with air dry clay lets you craft whimsical decorations that add charm and personality. Here’s what I love about it: The process is both relaxing and rewarding, enabling you to unleash your creativity while connecting with nature. For those looking to explore more, there are countless soft clay art project ideas to inspire your next artistic endeavor. Each miniature creation can tell its own story, transforming your garden into a magical escape. These projects are also perfect for bonding with little ones, as clay crafts for children provide opportunities for imagination and teamwork. Watching their eyes light up as they add personal touches to their designs brings a sense of fulfillment. Additionally, engaging in these creative activities outdoors allows families to make lasting memories while fostering a love for art and nature.
- Customize size, shape, and colors to match your garden’s vibe
- Add windows, doors, and tiny details for uniqueness
- Use natural materials like twigs and pebbles for realism
- Lightweight clay makes placement easy among plants
Together, these steps make your fairy house a magical garden treasure.
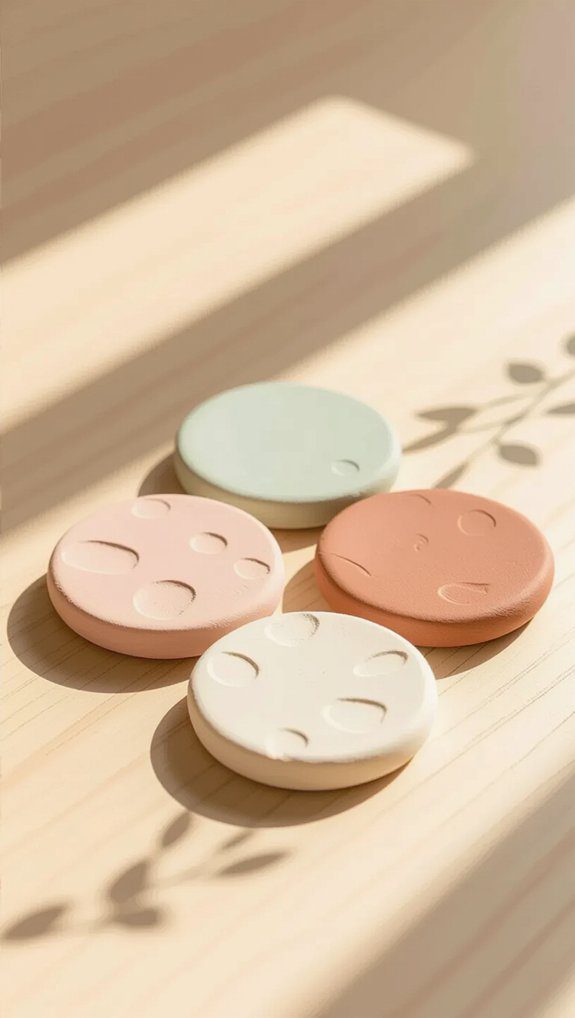
Air Dry Clay Coasters
There’s something really satisfying about making your own air dry clay coasters, especially since they’re so simple to create using just a rolling technique. I love how clay coaster customization lets me add colors and textures that fit my style perfectly. Flower coaster designs are my favorite—they bring a sweet, cozy vibe to any table and make great gifts. Plus, these coasters aren’t just pretty; they protect surfaces from drink rings too. If you’re new to crafting, this project’s a fun way to build your skills while creating something both beautiful and useful for your home. For those looking to dive into crafting, making air dry clay coasters is one of the best beginner air dry clay projects to start with. You don’t need a lot of materials or experience, just a bit of creativity and some basic tools. Once you master these coasters, you’ll feel inspired to take on even more complex projects and explore the endless possibilities of air dry clay.
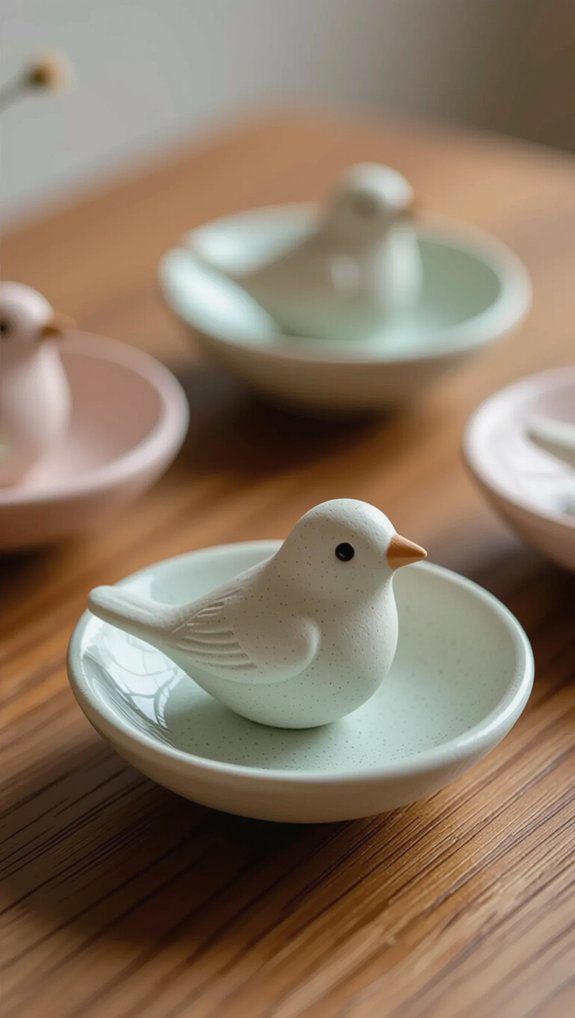
Tiny Bird Trinket Dishes
A tiny bird trinket dish makes a charming little project that’s perfect for anyone just starting with air dry clay. I love how bird design inspiration adds personality, while clay texture techniques give each dish a unique feel. These small bowls are great for holding jewelry or little treasures, blending function with art. Plus, creating them feels soothing, like a fun craft from childhood. Whether you’re making it solo or with a friend, this project also works wonderfully as one of those clay date activities for couples, fostering creativity and connection. As you mold and shape the clay together, you’ll both enjoy a memorable experience that goes beyond the finished product. Plus, these delightful bird trinket dishes can serve as lovely gifts for each other or treasured keepsakes.
- Easy to shape and mold with minimal supplies
- Encourages personalized colors and textures
- Great for practicing clay texture techniques
- Makes thoughtful, handmade gifts for friends
Give it a try—you’ll feel part of a creative community!
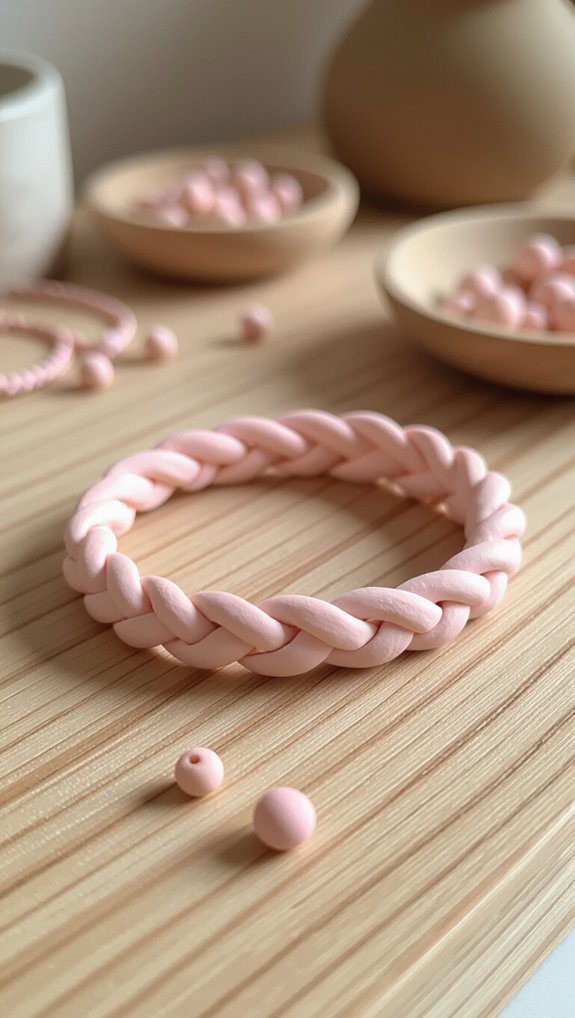
DIY Braided Clay Bracelet
Three strands of air dry clay are all you need to create a beautiful braided bracelet that’s both simple and satisfying to make. First, roll three even strands, then use braid techniques to weave them together smoothly—adding a bit of water helps join them without cracks. Play with color combinations to make your bracelet truly yours; mixing shades adds personality and fun. Shape the ends to fit your wrist, maybe adding a loop or clasp for easy wear. Let it dry fully, usually 24-48 hours, then paint or decorate. It’s a perfect beginner project that connects you with creativity and style. Once you’ve mastered the braided bracelet, explore more possibilities with other air dry foam clay projects. These lightweight materials allow for endless creativity, so consider crafting matching earrings or a pendant to complete your look. Each creation can seamlessly reflect your personal style and artistic flair, making them great gifts as well.
Wireless Clay Wall Sconces
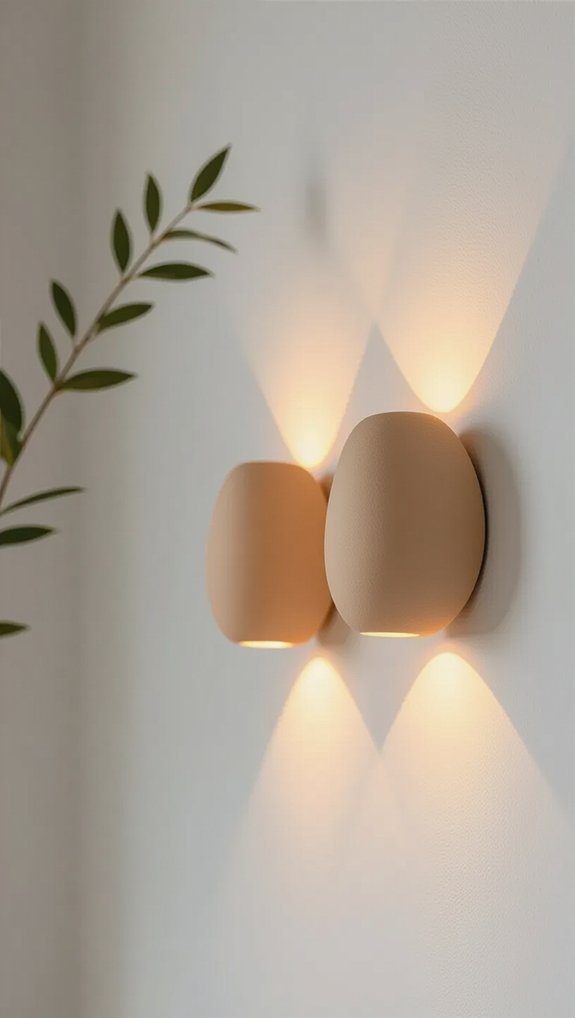
Crafting wireless clay wall sconces offers a fun way to add cozy lighting and style to any room without dealing with wires or complicated setups. Using simple clay design techniques, you can mold unique shapes that suit your vibe perfectly. Once dry, investigate wall mounting options like adhesive strips or hooks to hang your creation with ease. These sconces are perfect for LED tea lights, giving warmth and charm without fuss. Here’s why I love them: Not only can you express your creativity, but you can also customize the color and finish to match your decor. For those new to this craft, check out some air dry clay sculpting tips to enhance your designs and ensure your sconces are both beautiful and functional. With a little practice, you’ll be making stunning pieces that bring a warm glow to your home.
- Easy for beginners
- Customizable designs
- No wiring needed
- Great for personal gifts
Together, we can brighten spaces beautifully!
Evil Eye Protection Hanging
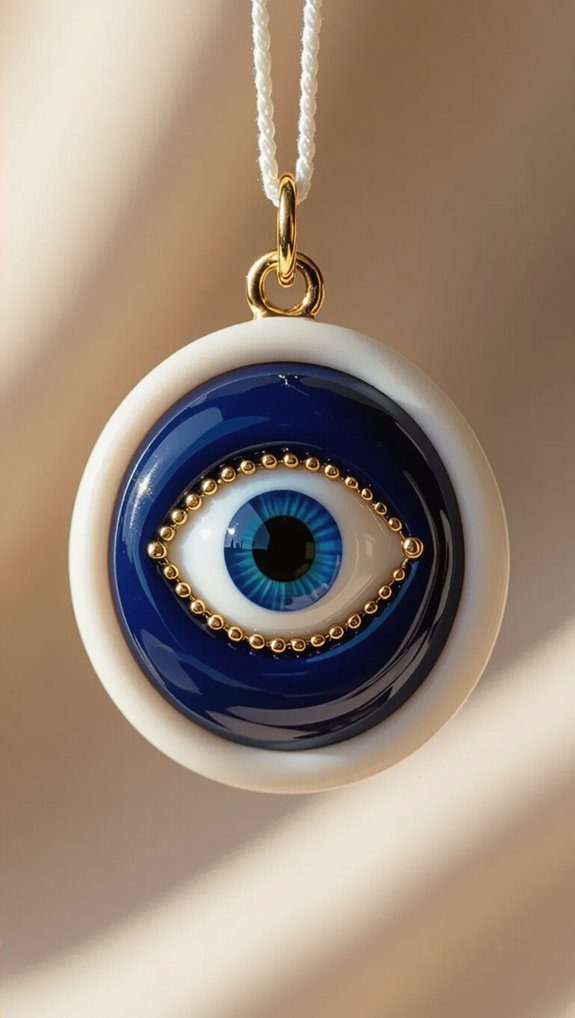
Symbols like the Evil Eye have long been cherished for their protective qualities, and making your own Evil Eye protection hanging with air dry clay is a fantastic way to blend tradition with creativity. The Evil Eye symbolism offers strong protective charms, and crafting your own lets you investigate shaping and painting techniques. I love how color customization lets you express personal style, choosing blues, whites, or any hues that resonate. After drying, adding decorative elements like beads or tassels really brings your hanging to life. It’s simple, meaningful, and a wonderful way to connect with a shared cultural craft.
Mini Pumpkin Clay Bowls
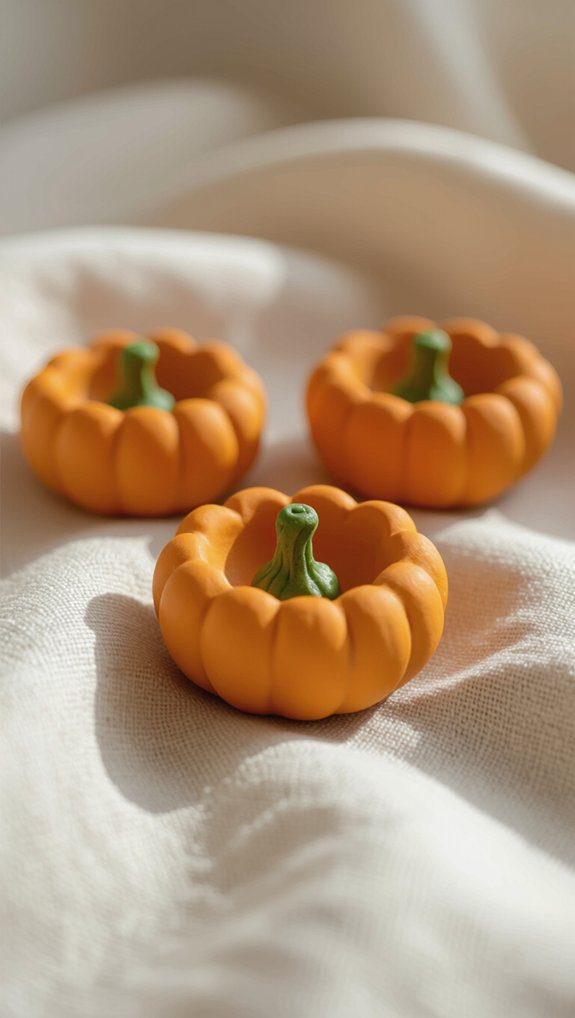
If you enjoyed shaping and painting your Evil Eye hanging, you’re going to love making mini pumpkin clay bowls next. These bowls are perfect for fall and easy to craft with simple pumpkin bowl techniques. Start by molding air dry clay into tiny pumpkins, then use clay painting tips to bring them to life with vibrant colors. Once your mini pumpkin bowls are complete, you can explore more fun and creative polymer clay projects for beginners that will enhance your crafting skills. Consider making adorable miniature figures or festive ornaments to complement your fall decor. These projects encourage creativity and provide a delightful way to celebrate the season. Once you’ve mastered the mini pumpkin bowls, there are many more cute clay projects to try that can brighten your autumn days. From whimsical critters to charming clay leaves, each project offers a unique way to express your creativity. Don’t forget to share your creations with friends and family to inspire them to join in on the fall crafting fun!
Here’s why you’ll love this project:
- Fun for all skill levels, especially beginners
- Great for holding treats or jewelry
- Encourages creativity with different shapes and sizes
- Adds cozy, seasonal charm to your space
Let’s get your hands messy and festive!
Clay Snowflake Ornaments
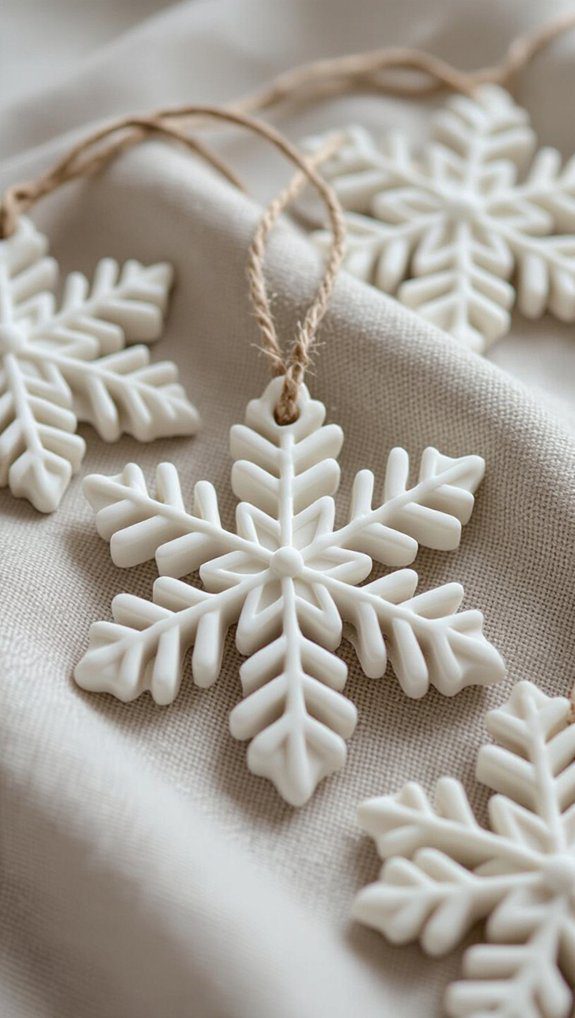
One of my favorite winter projects is making clay snowflake ornaments, and you’ll find they’re surprisingly easy to create with just air dry clay. I start by rolling out the clay and cutting or shaping unique snowflake patterns—no two need to be alike! Once they dry, I add festive painting, choosing colors and textures that bring each piece to life. These ornaments aren’t just decorations; they’re little keepsakes that carry the warmth of the season. Whether you hang them on your tree or gift them, crafting these snowflakes is a joyful way to share the holiday spirit together. You can even explore other viral clay craft ideas to expand your winter project repertoire. Consider making personalized gifts or unique decorations that reflect your style or the personalities of your loved ones. Each new creation adds a special touch to your holiday festivities and memories.
Personalized Clay Name Tags
When you want to add a personal touch to gifts or events, creating personalized clay name tags is a fun and rewarding project you’ll love. Using air dry clay, you can shape unique tags, then personalize each with engraving tools for neat clay name labels. After drying, add custom colors or textures for special flair. These beginner projects invite creativity and connection—perfect for event labels or thoughtful gift ideas. Here’s what makes them great: These personalized clay name tags are not only functional but also serve as beautiful keepsakes. If you’re looking for more inspiration, exploring different air dry clay project ideas can help you expand your creative horizons. Whether it’s crafting personalized ornaments or unique wall art, the possibilities are endless!
- Easy crafting techniques anyone can try
- Endless tag designs and unique shapes
- Custom colors to match any theme
- Practical and heartfelt event labels or gifts
Clay Leaf Trinket Dishes
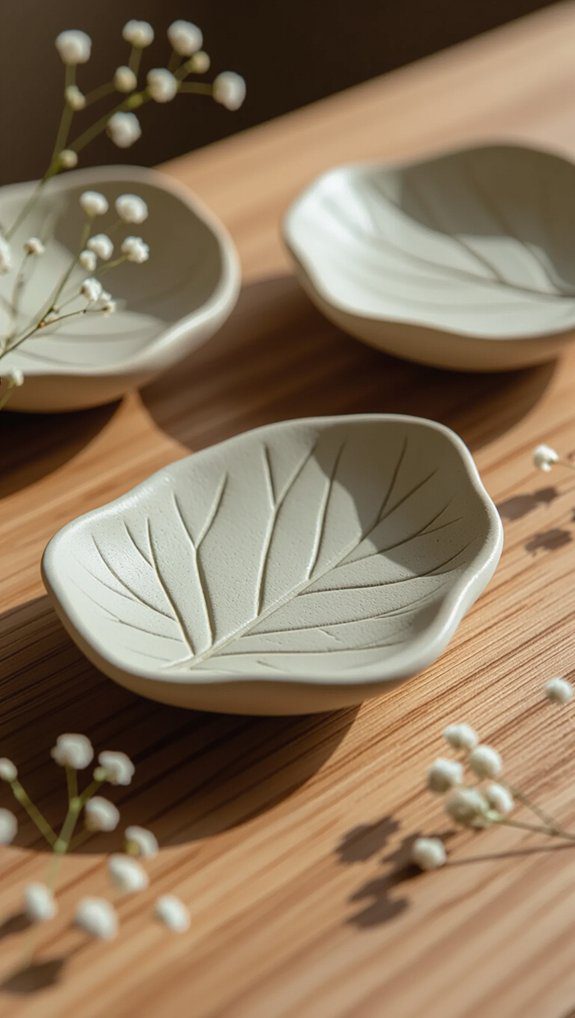
Although crafting might seem tricky at first, making clay leaf trinket dishes is surprisingly simple and enjoyable, even if you’re just starting out. Start by rolling out air dry clay and using leaf shape techniques—cutting shapes and pressing veins with tools or household items. I love clay texture experimentation here; it really brings each dish to life. Once dry, you can paint or glaze them to match your style. These dishes aren’t just pretty—they’re perfect for holding jewelry or keys. It feels great creating something both beautiful and useful, and you’re part of a creative community while doing it! Additionally, if you’re looking to expand your clay crafting skills, consider exploring the best clay ashtray design ideas, which can also serve as unique decorative pieces for your home. These ashtrays can incorporate similar techniques, allowing for personal touches that reflect your artistic style. Whether for yourself or as a gift, these creations are sure to impress!
DIY Spooky Clay Ghosts
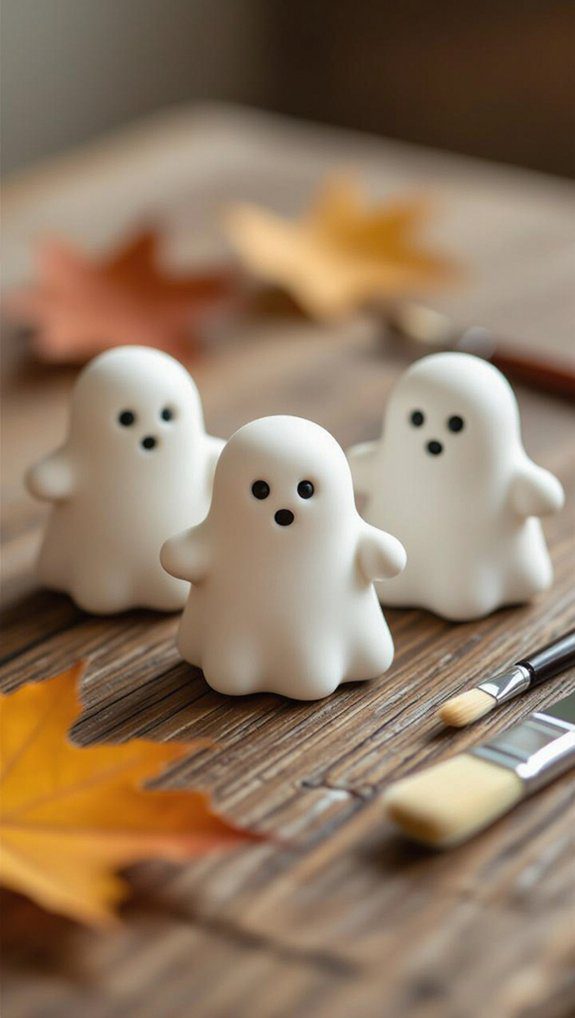
Crafting DIY spooky clay ghosts is a delightful way to bring a little Halloween magic into your home, especially if you’re new to working with air dry clay. These ghost decoration ideas are simple, fun, and perfect for beginners like us. Here are some clay crafting tips to get you started: You can also experiment with different shapes and sizes to make your ghosts truly unique. For those looking to expand their crafting repertoire, consider exploring other creative terracotta clay projects that can be used for seasonal decor. Remember, the key is to enjoy the process and let your imagination run wild! In addition to ghosts, you can explore the best clay sculpture ideas for beginners, like simple animals or holiday-themed items that will enhance your seasonal decor. Don’t hesitate to share your creations with family and friends, as they can provide inspiration and encouragement for future projects. With each new design, you’ll gain more confidence in your crafting skills and discover endless possibilities!
- Shape your ghosts with different sizes and expressions to add personality
- Dry them for 24-48 hours in a shaded, airy spot
- Paint details with acrylics for that spooky charm
- Turn them into ornaments or gifts to share your creativity
You’ll love how easy and rewarding this project feels!
Clay Candle Holders
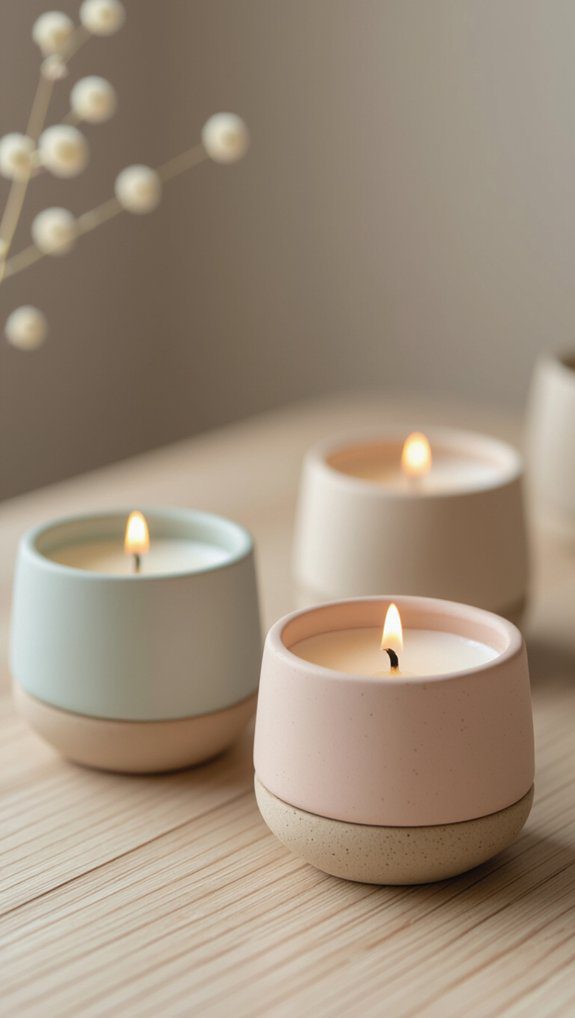
Making clay candle holders is one of my favorite beginner projects because it lets you combine creativity with practicality in a simple way. Using air dry clay, you can shape holders in any size or form, exploring creative designs that fit your style perfectly. After shaping, smooth surfaces with a sponge and add details using finishing techniques like gentle painting or glazing. Let your holder dry 24 to 48 hours to avoid cracks. These charming pieces brighten any room and make thoughtful gifts, helping you connect with others through handmade warmth and beauty. Give it a try! Consider incorporating these candle holders into your home by pairing them with other terracotta decor ideas for lovers, such as plant pots and vases. This cohesive look enhances the warmth and rustic charm of your space, making it even more inviting. Experiment with different colors and textures to create a unique atmosphere that reflects your personality.

