15 Best Clay Sculpture Ideas for Beginners Easy Sculpting Projects
Disclosure: This post may contain affiliate links, at no extra cost to you. Content on DiyCraftNest is created with research support from AI tools and carefully reviewed, edited, and fact-checked by the lead author, Daniel Pat, to ensure accuracy and reliability. Learn more
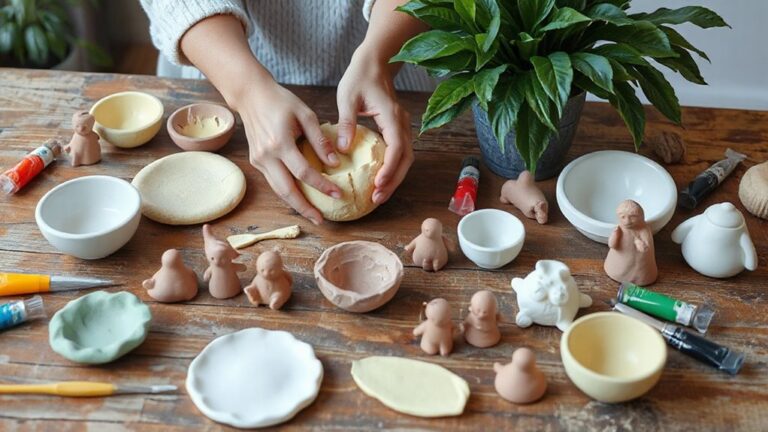
If you’re new to clay sculpting, start with simple shapes like spheres and cubes to get comfortable. Try pinching clay balls to make bowls or pots—it’s easy and fun! Making caterpillar sculptures from colorful balls helps build your skills and adds charm. You can also create jewelry like clay earrings or tiny flowers for miniature gardens. Adding textures or painting your pieces opens up lots of creative paths. Keep experimenting, and you’ll soon uncover more exciting ideas!
Key Takeaways
- Start with simple geometric shapes like cubes and spheres to build foundational sculpting skills and confidence using air-dry clay.
- Create fun sculptures such as colorful caterpillars using small clay balls and add whimsical details like antennae or googly eyes.
- Use the beginner pinching technique to form bowls or pots, experimenting with textures and patterns for hands-on learning.
- Make easy decorative projects like polymer clay earrings or miniature gardens, incorporating painting and functional elements before drying.
- Explore basic advanced techniques like coiling and slab building to construct larger vases or relief sculptures, enhancing creativity and form variety.
Simple Geometric Shapes Clay Sculpture Start Here
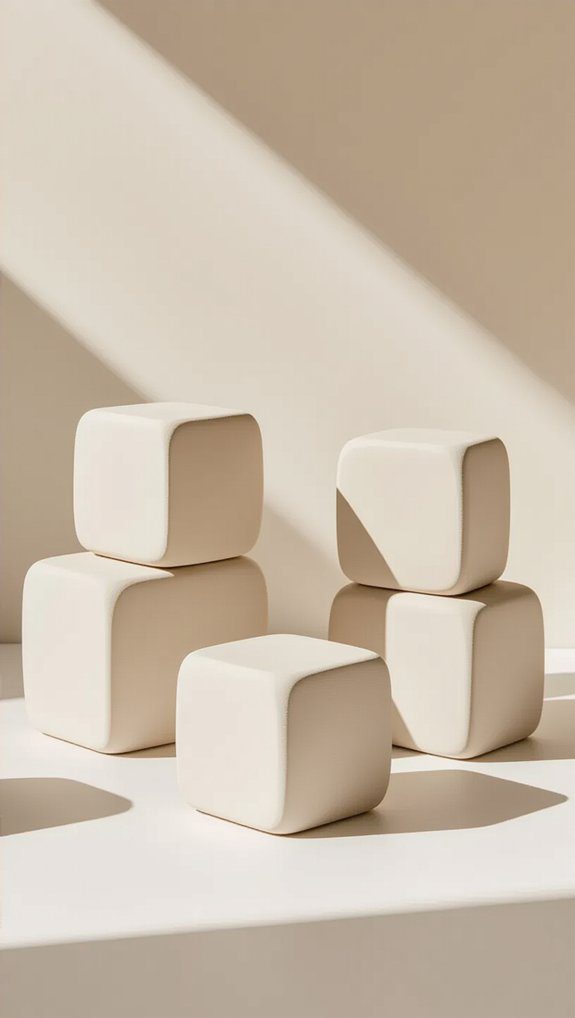
Although starting with complex sculptures might seem exciting, I find that beginning with simple geometric shapes is the best way to get comfortable with clay. Shapes like cubes, spheres, and cones are easy to create by rolling and shaping clay. Practicing geometric stacking and clay combinations lets you build fun structures without feeling overwhelmed. This approach helps develop your hand-eye coordination and boosts confidence. Using air-dry clay means no kiln is needed, so you can paint your creations once dry. Trust me, starting simple builds a solid foundation for your creative path together with others who share your passion.
Beginner Pinching Technique Creating Bowls and Pots
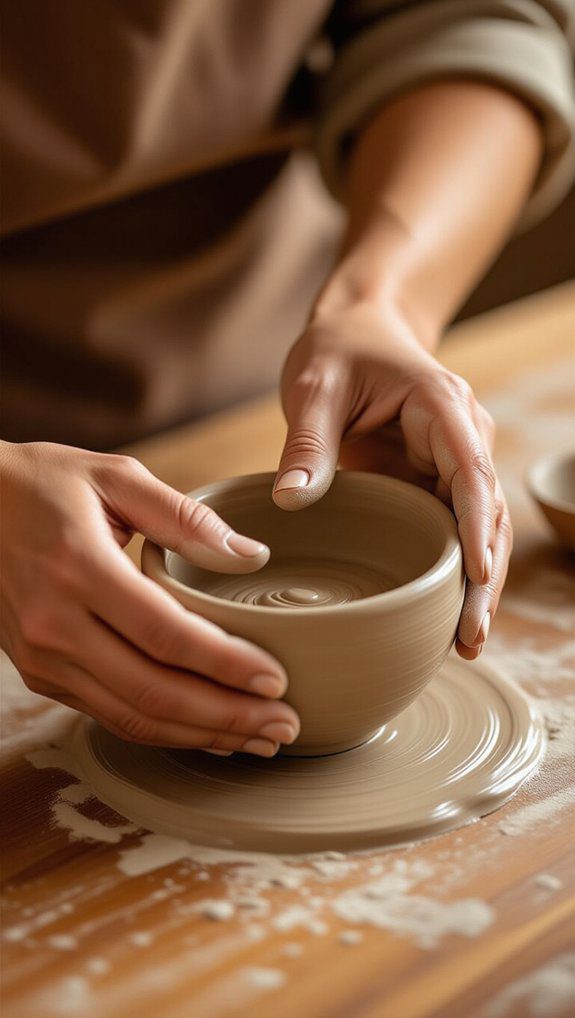
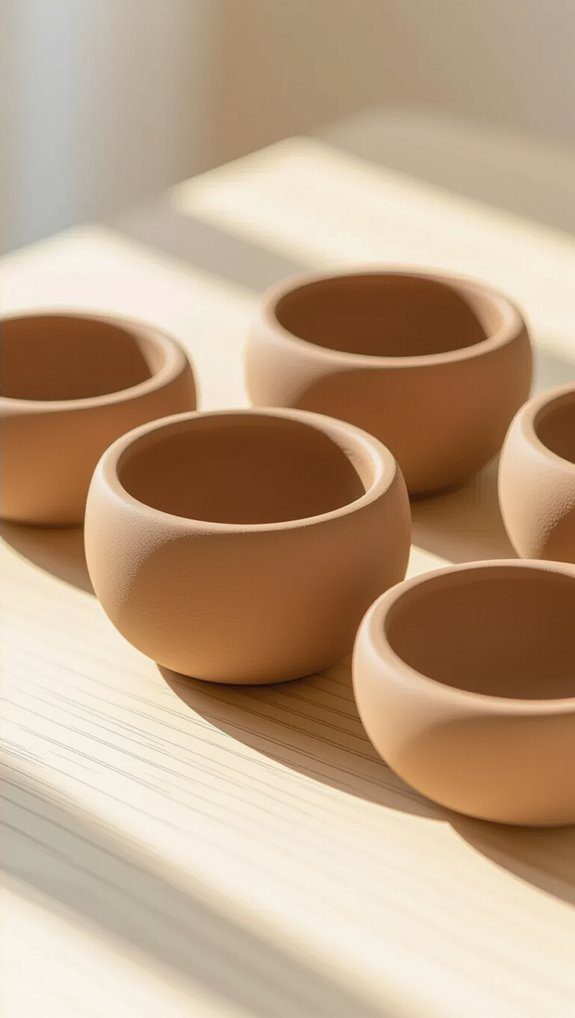
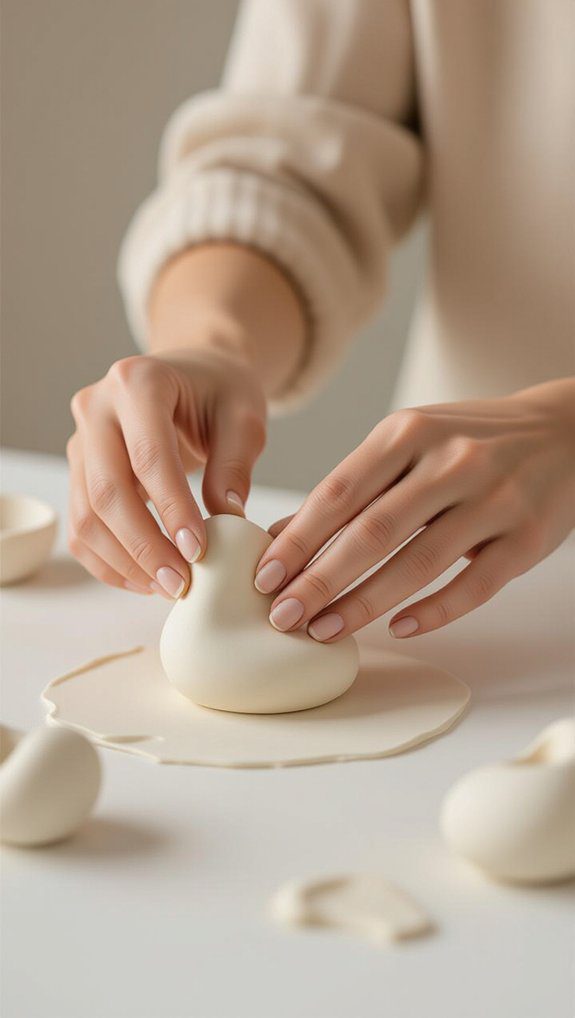
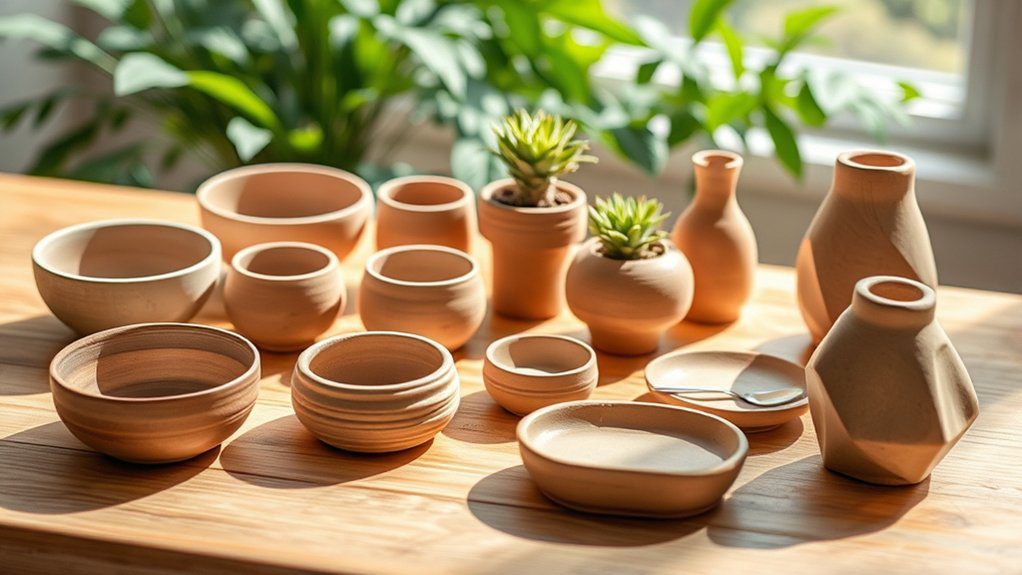
When you’re ready to move beyond simple forms, the beginner pinching technique offers a wonderfully hands-on way to create bowls and pots that feel both personal and satisfying. Start by rolling clay into a ball, then press your thumb into its center and gently pinch the edges, using consistent pressure for even thickness. Exploring pinch variations lets you add unique textures or patterns with tools or natural items like leaves, making each piece truly yours. Once formed, let your bowl or pot dry fully before firing or air-drying — a perfect introduction to fundamental clay techniques we all can enjoy.
Caterpillar Sculptures Cute Clay Creatures Easy
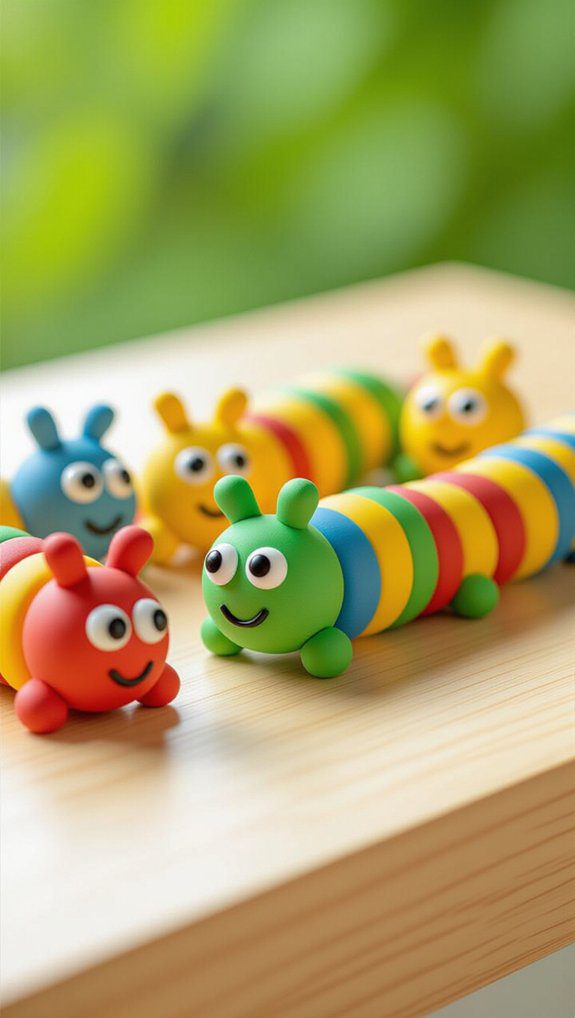
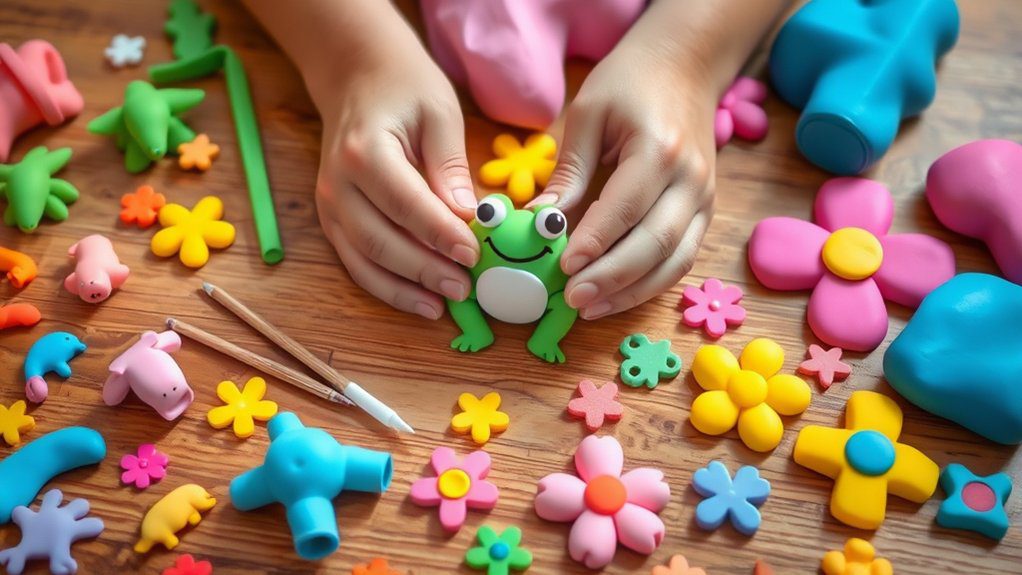
Anyone can have fun making caterpillar sculptures out of clay, and I promise it’s easier than it looks. Start by rolling small clay balls in your favorite caterpillar colors, then connect them to form the body. This simple step helps build your confidence and motor skills. Next, add whimsical designs like antennae or textured patterns for a personal touch. Using polymer clay makes shaping these cute creatures super manageable, even for beginners. Don’t forget to pop on googly eyes—they bring your caterpillar to life! These charming little sculptures make perfect gifts or decorations, and you’ll love creating them together. In addition to caterpillar sculptures, there are countless other fun clay crafts for kids that can spark creativity. Explore different creatures or even create a miniature garden scene with various animals and plants. Each project not only enhances artistic skills but also promotes imaginative play, making it a delightful bonding experience.
Clay Earrings Jewelry Making for Beginners
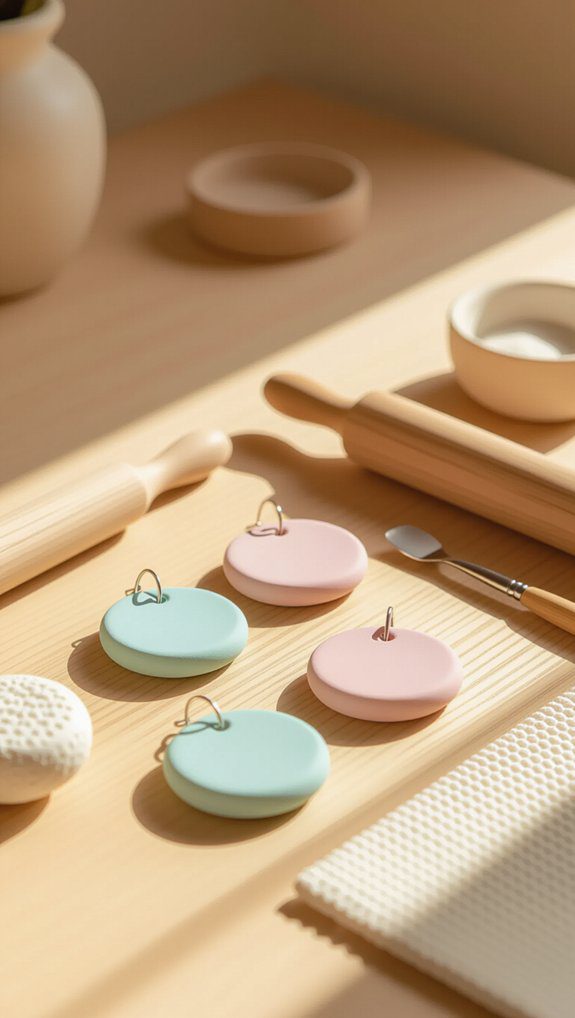
Clay earrings offer a fantastic way to dip your toes into jewelry making while having fun with shapes and colors. I love using polymer clay—it’s easy to shape and perfect for beginners. You can try simple geometric or floral designs, then paint them after drying for a personal touch. Staying on top of earring trends helps fuel design inspiration and keeps your creations fresh. Here’s a quick guide to get started:
| Step | Tips | Tools Needed |
|---|---|---|
| Shape & Sculpt | Use simple shapes to start | Polymer clay, sculpting tools |
| Add Hooks | Insert hooks before drying | Earring hooks |
| Paint & Finish | Paint dry earrings | Acrylic paints |
Let’s make jewelry that truly feels like you!
Clay Flowers and Plants Miniature Garden Ideas
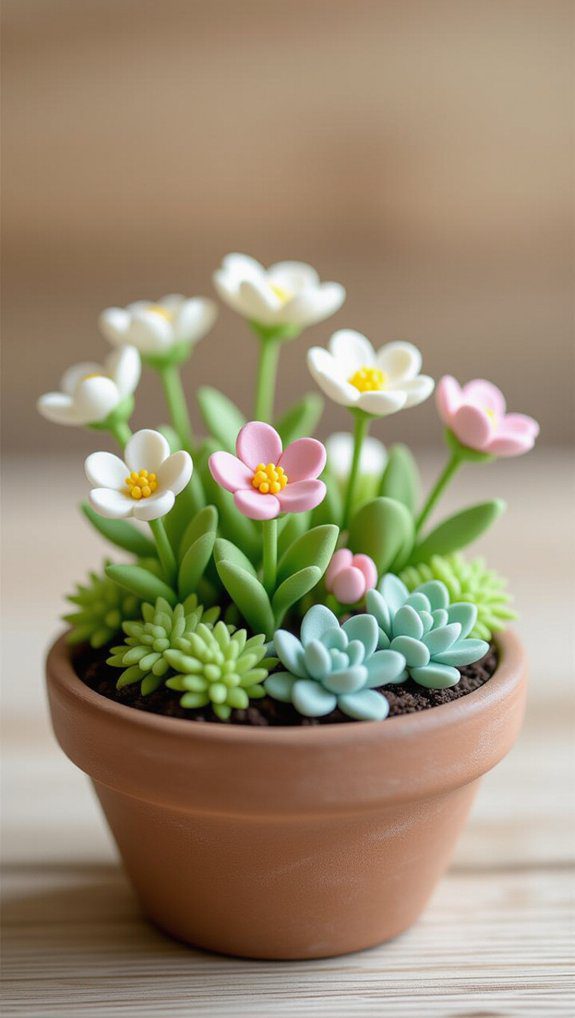
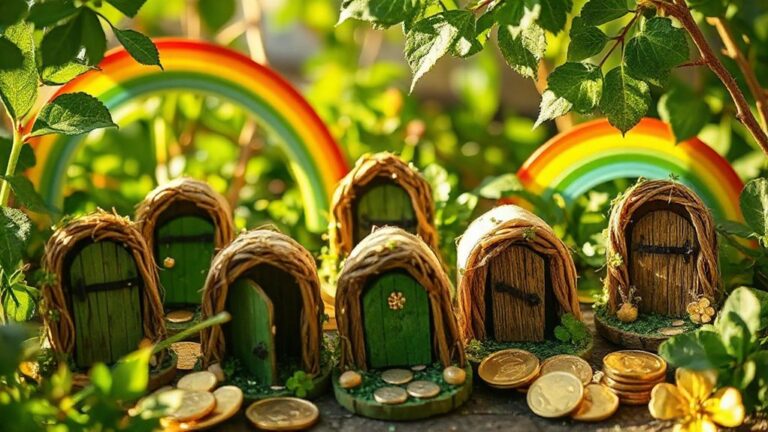
Although sculpting miniature gardens might seem tricky at first, I promise it’s a fun way to bring tiny blooms and greenery to life using polymer clay. Start by practicing simple clay techniques like rolling and shaping to create daisies, roses, or succulents. These small projects help you master texturing for realistic leaves and petals. Adding tiny pots or garden accessories really personalizes your miniature garden, making it feel like a cozy little world you built. Plus, you can customize colors and themes to match seasons or moods. It’s a creative adventure we can all enjoy together!
Animal Figurines Adorable Sculptures Step by Step
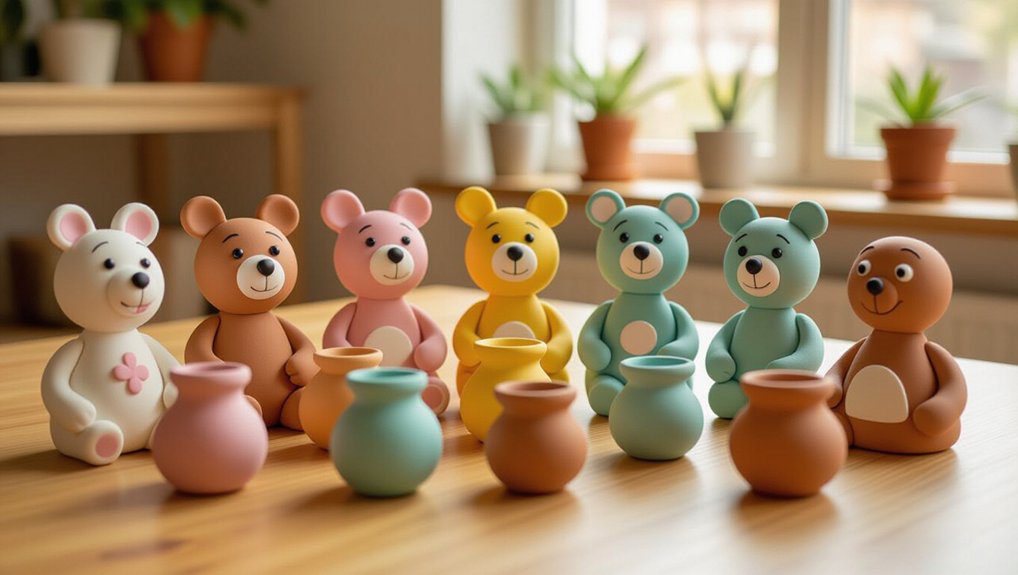
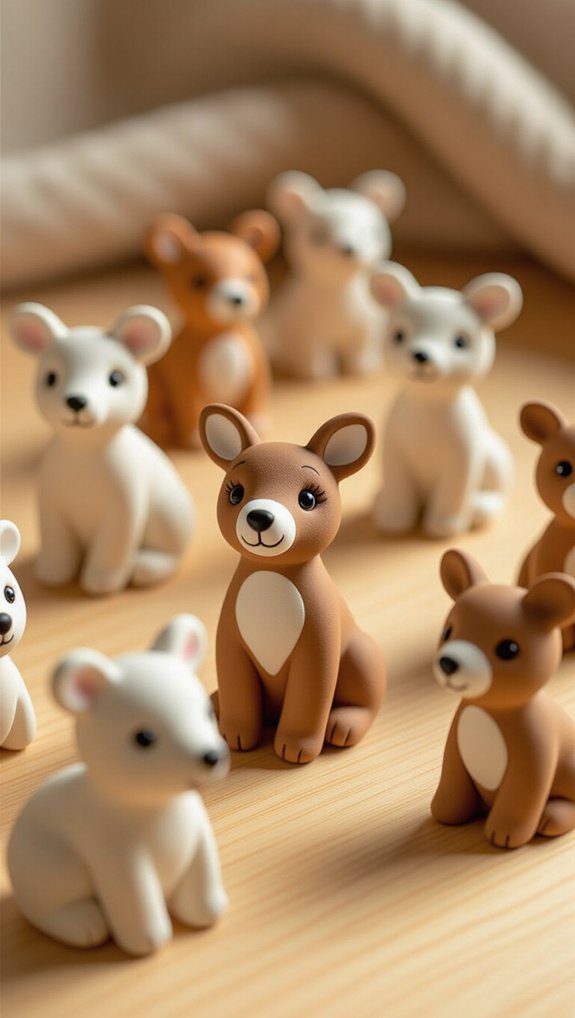
After bringing tiny flowers and plants to life, creating animal figurines is a wonderful next step that lets you add a bit more personality and charm to your clay creations. I start by gathering polymer clay in colors that match my cute creature inspirations. Using simple shapes like spheres and cylinders, I form the body and limbs, then enhance details with toothpicks or sculpting tools—these animal figurine techniques help add eyes, fur, or scales. Once I’m happy, I bake the piece according to instructions, making sure my adorable sculpture is durable and ready to join my growing collection.
Coiling Technique Building Vases and Large Forms
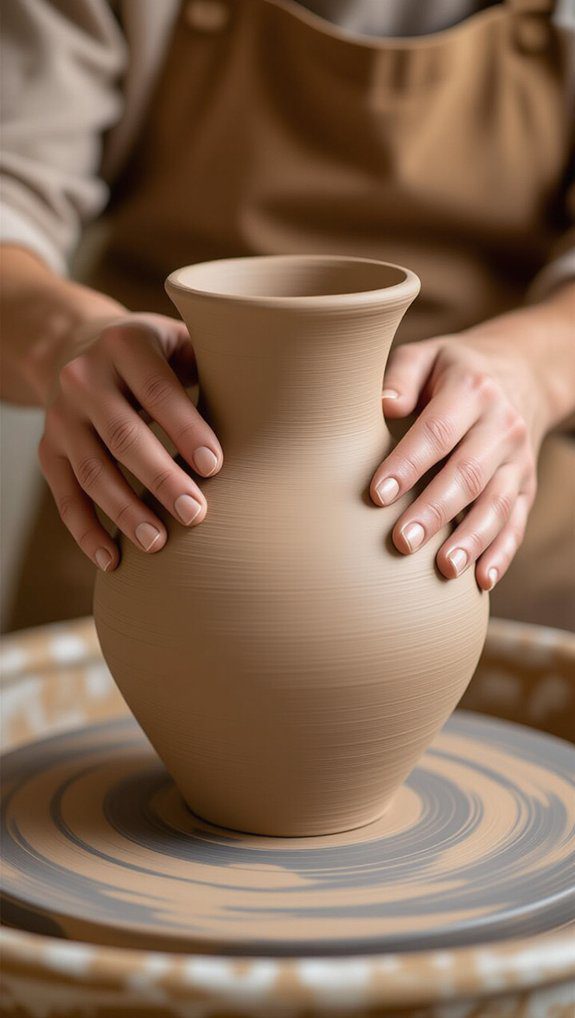
When you want to create bigger clay projects like vases or bowls, the coiling technique is a fantastic place to start. Coiling techniques let you build up walls by stacking long, snake-like clay rolls. Here’s how I approach vase designs: I often begin by sketching out the shape I want, ensuring that the proportions are just right for the coiling method. Once the base is established, I can experiment with different textures and patterns to enhance the design. These techniques not only work well for vases but are also among the best oven bake clay projects, allowing for endless creativity and customization. Additionally, experimenting with the coiling technique can lead to impressive results in creating stunning bowls, making it one of the best clay bowl diy projects. By varying the thickness of the clay rolls and incorporating different colors, you can produce unique and eye-catching designs. The freedom to innovate with this method ensures that each piece is not only functional but also a work of art in its own right.
- Roll even coils and stack them carefully.
- Blend and smooth each coil to keep the structure strong and seamless.
- Shape and texture your vase as you go for a personal touch.
This method really boosts confidence and creativity, making larger forms manageable without elaborate tools. Give it a try—you’ll love how your unique pieces come to life!
Clay Candle Holders Functional Decor Projects
Building on the skills you practiced with coiling, creating clay candle holders is a fun next step that combines creativity with practicality. These pieces let you investigate creative design by shaping different sizes and adding textures or painted details. Using air-dry or polymer clay means no kiln is needed, making it easy to craft functional art right at home. Plus, each holder becomes a unique, handmade treasure—perfect for brightening your space or giving as heartfelt gifts. I love how this project grows your sculpting skills while creating something both beautiful and useful. It’s a wonderful way to belong in our creative community! As you explore different sculpting techniques for air dry clay, you may also want to experiment with various color combinations and embellishments to make your candle holders truly stand out. This project not only enhances your artistic abilities but also encourages sharing ideas and inspiration with others in your creative community. Embrace the joy of crafting and let each piece tell your unique story!
Relief Sculpture Flat and Simple Designs
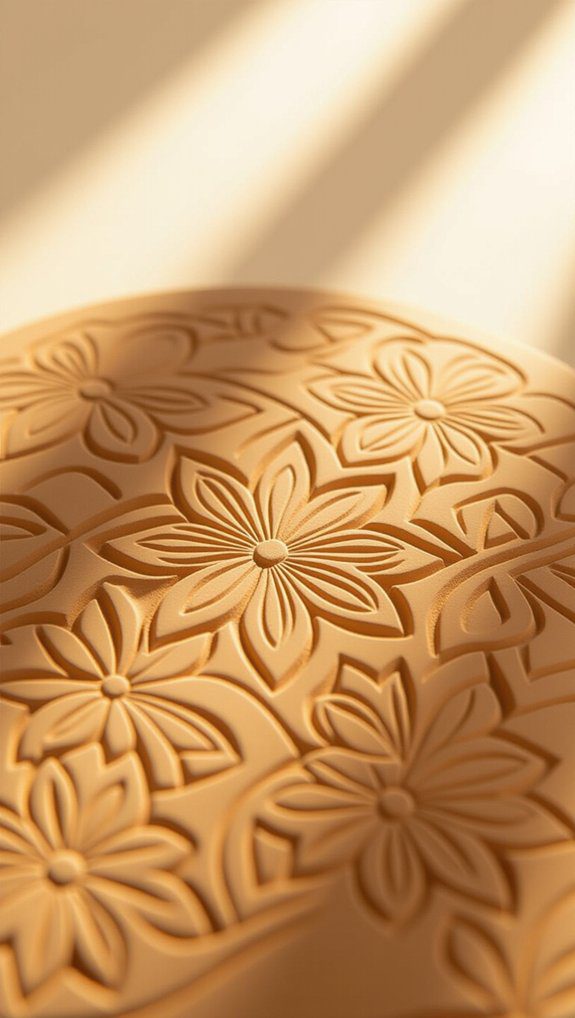
Although relief sculpture might sound complicated, it’s actually a fantastic way for beginners to immerse themselves in clay art because it starts with a flat surface and builds up simple shapes that really pop out. Using basic relief techniques, you can create eye-catching designs by: Experimenting with texture and layering allows you to explore your creativity while working within a manageable framework. These beginner air dry clay projects not only help you grasp fundamental skills but also encourage you to develop your unique artistic style as you progress. With just a few tools and some imagination, the possibilities for your relief sculptures are endless!
- Starting with a flat slab of clay as your canvas.
- Adding or carving simple texture ideas like leaves or geometric shapes.
- Layering clay pieces to create depth without needing advanced skills.
This approach makes sculpting approachable, and together, we can investigate how fun and rewarding relief sculpture can be!
Slab Building Technique Square and Geometric Sculptures
Since clay slabs offer a smooth, flat surface to work with, I find the slab building technique perfect for creating square and geometric sculptures that really stand out. Starting with slab technique basics, I roll out flat sheets and cut shapes like squares or rectangles. This lets me build sturdy forms—think boxes or tiles—that are great for geometric design investigation. Using tools like ribs and knives sharpens edges, making pieces look polished. Layering slabs and adding textures adds dimension, turning simple shapes into enchanting sculptures. Join me in trying this method; it’s a welcoming way to delve into geometry in clay!
Hand Modeling Without Wheel Easy Forms
One of the best things about hand modeling is how it lets you shape clay without needing a pottery wheel or elaborate equipment, making it perfect for beginners like you and me. With simple clay techniques, you can create charming forms by: You can start with basic shapes such as spheres and coils, gradually progressing to more complex designs. These beginner modeling clay projects allow for creativity and experimentation, so don’t hesitate to try your hand at creating fun animals or decorative pots. With practice, you’ll unlock new techniques to enhance your skills and bring your ideas to life. You can also explore various hand building pottery ideas for beginners, such as pinch pots and slab construction, which further expand your creative possibilities. These methods not only enhance your artistic expression but also help you understand the fundamentals of pottery. As you gain confidence, consider combining techniques to create unique pieces that reflect your personal style.
- Pinching the clay to form bowls or hearts.
- Rolling it into coils for bracelets or rings.
- Combining small shapes to craft animal figurines.
I love using polymer clay since it stays soft until baked, giving you time to tweak your work. These easy forms help build your skills and confidence while making art that feels truly yours. With so many possibilities to explore, it’s easy to find inspiration for mini clay project ideas for beginners. Whether you’re creating simple charms or small figurines, each project allows for creativity and personal expression. Embrace the journey of crafting as you discover new techniques and styles that resonate with you. As you dive deeper into your creations, consider experimenting with soft clay art project ideas that challenge your skills and imagination. Collaborating with friends or joining a crafting community can also spark new ideas and techniques, enriching your artistic journey. Remember, every piece you create is a step toward finding your unique artistic voice.
Textured Clay Art Adding Patterns and Designs
When you add texture to your clay art, you open up a whole new world of creative possibilities that can make your pieces truly stand out. I love using natural items like leaves or fabric for pattern inspiration. Creating textural contrast by mixing smooth and rough areas adds depth and excitement. Beginners can press objects or use fingers to craft unique designs, making each piece personal and inviting. Incorporating texture not only enhances the visual appeal but also enriches the tactile experience for those who interact with your art. For those new to crafting, exploring various polymer clay projects for beginners can be a fun way to experiment with different techniques. As you progress, you’ll find that these simple additions transform your creations into intricate works that reflect your unique artistic journey.
| Technique | Tools/Items Used |
|---|---|
| Stamping | Stamps, leaves |
| Rolling | Patterned rollers |
| Pressing & Grooves | Fingers, fabric |
Try these for a fun start!
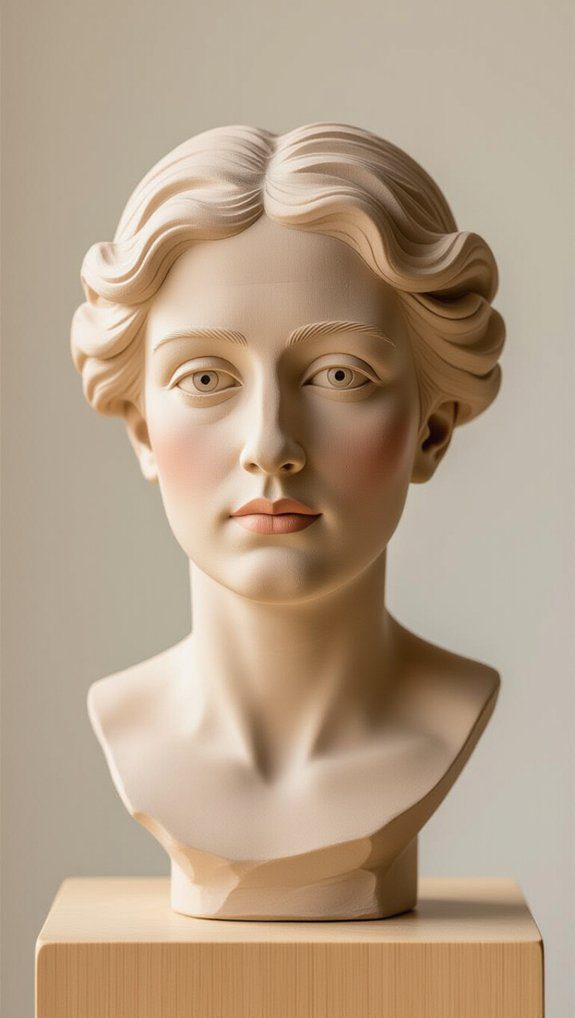
Portrait Busts Introduction to Figure Sculpture
Shaping a portrait bust is a fantastic way to bring your clay skills to life by focusing on the human form. When sculpting, paying attention to portrait proportions and facial features helps make your bust realistic and expressive. Here’s how to start:
- Build a simple armature for support.
- Use polymer clay to seize fine details easily.
- Employ tools like sculpting knives and sponges to enhance textures.
This process teaches you about anatomy and balance, boosting your confidence and connecting you with a community of fellow sculptors exploring figure art together.
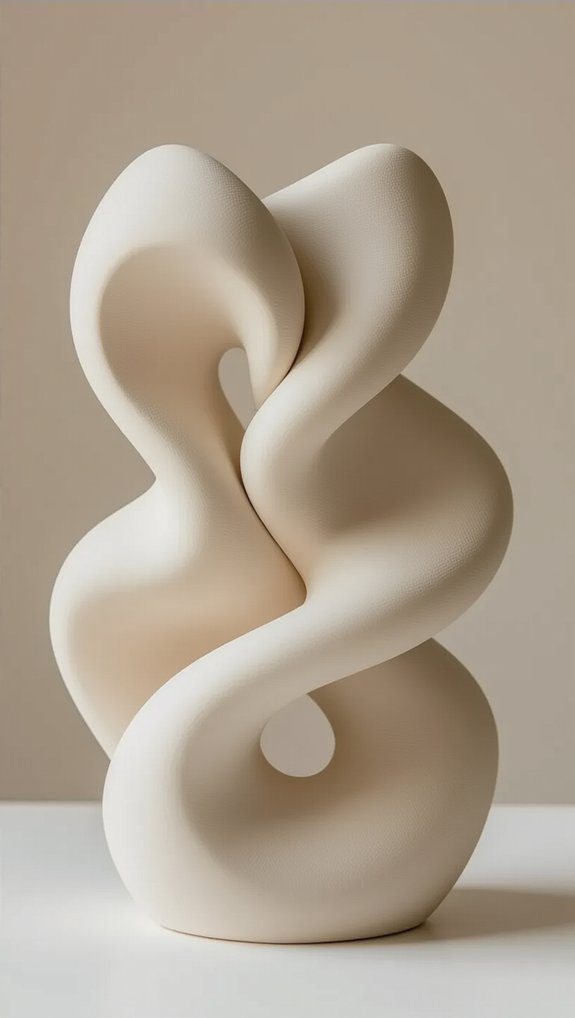
Abstract Clay Sculpture Modern Beginner Ideas
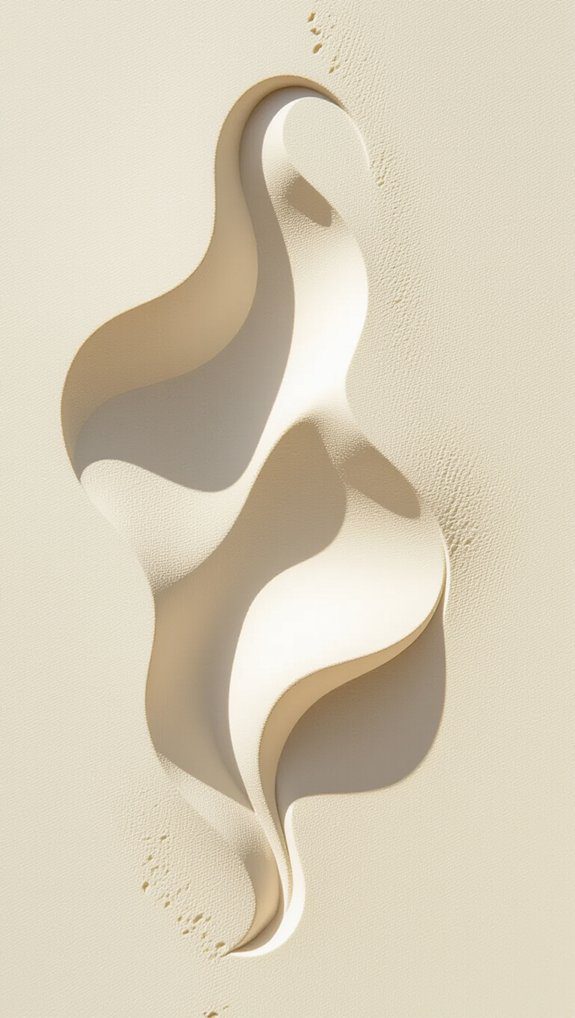
Although abstract clay sculpture might seem a bit mysterious at first, it’s actually a fantastic way to jump into sculpting without worrying about getting everything perfect. Abstract expression invites creative exploration through simple shapes and textures. Try rolling or twisting clay to form unique pieces that reflect your personal style. Here’s a quick guide to spark your creativity: As you experiment with different forms, consider incorporating elements from viral clay craft projects you’ve seen online for inspiration. These accessible techniques can help you refine your artistic vision while adding a contemporary twist to your work. Remember, the journey of creating abstract sculptures is all about enjoyment and discovery, so let your imagination guide you!
| Technique | Description |
|---|---|
| Rolling | Create smooth, elongated shapes |
| Twisting | Add lively, fluid movement |
| Texturing | Experiment with surfaces and feel |
These easy steps help beginners belong in the world of modern abstract art.
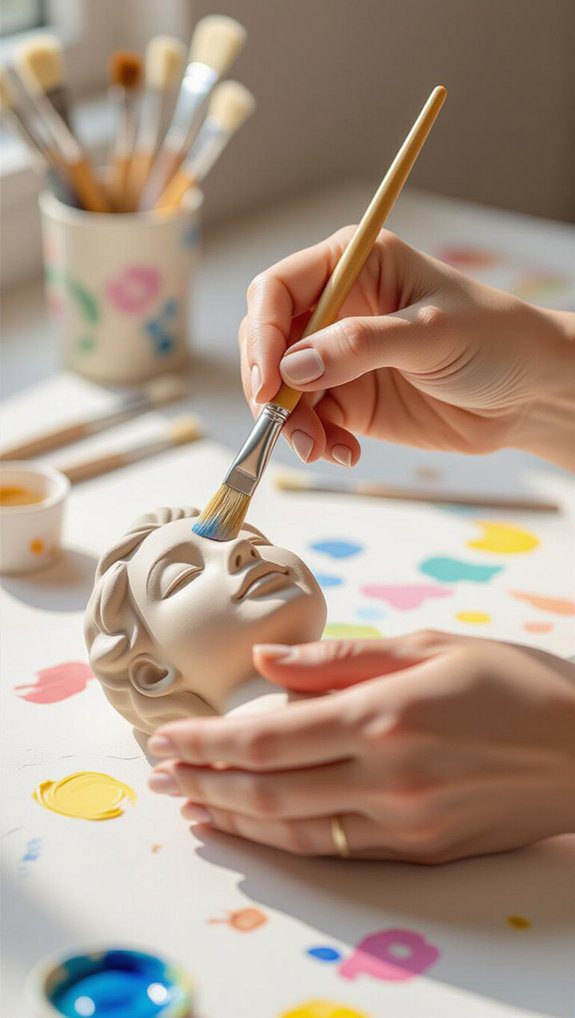
Painted Clay Projects Adding Color After Sculpting
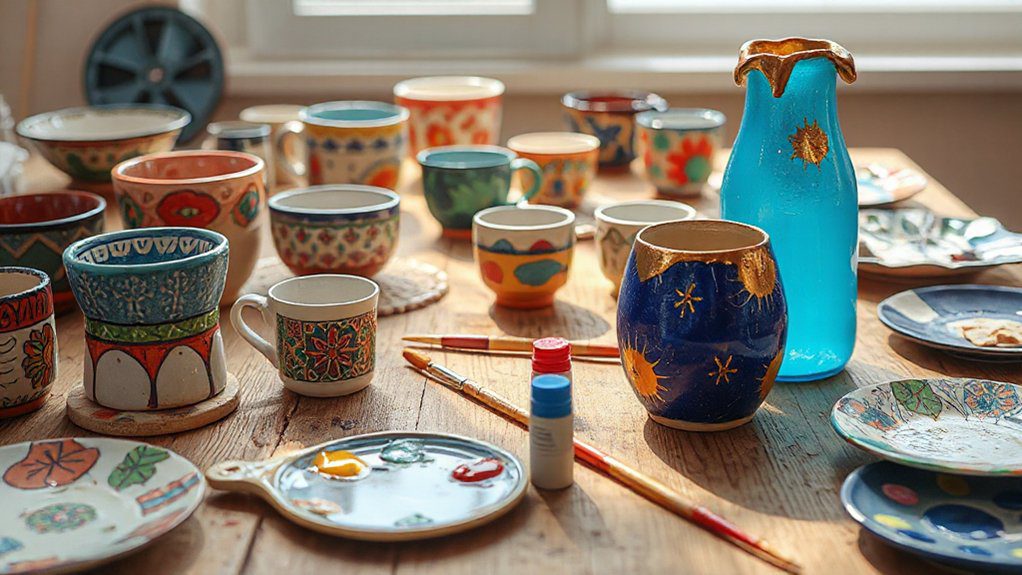
Since adding color can transform a simple clay sculpture into something truly eye-catching, I’m excited to share how painting your creations can bring out their personality. First, always let your clay dry fully before paint application to avoid smudges. Next, try these steps for vibrant results:
- Experiment with color mixing to find shades that feel right for your piece.
- Use acrylic paint for quick drying and easy layering.
- Seal your work with a clear varnish to protect and add shine.
These tips help us create colorful, unique sculptures that truly belong on display!

