17 Beginner-Friendly Woodworking DIY and Crafts Projects for Effortless Style
Disclosure: This post may contain Amazon affiliate links, at no extra cost to you. Content on DiyCraftNest is created with research support from AI tools and carefully reviewed, edited, and fact-checked by the lead author, Daniel Pat, to ensure accuracy and reliability. Learn more
Love cozy DIY projects? 💕
Get free printable guides, exclusive tutorials & surprise craft goodies straight to your inbox.
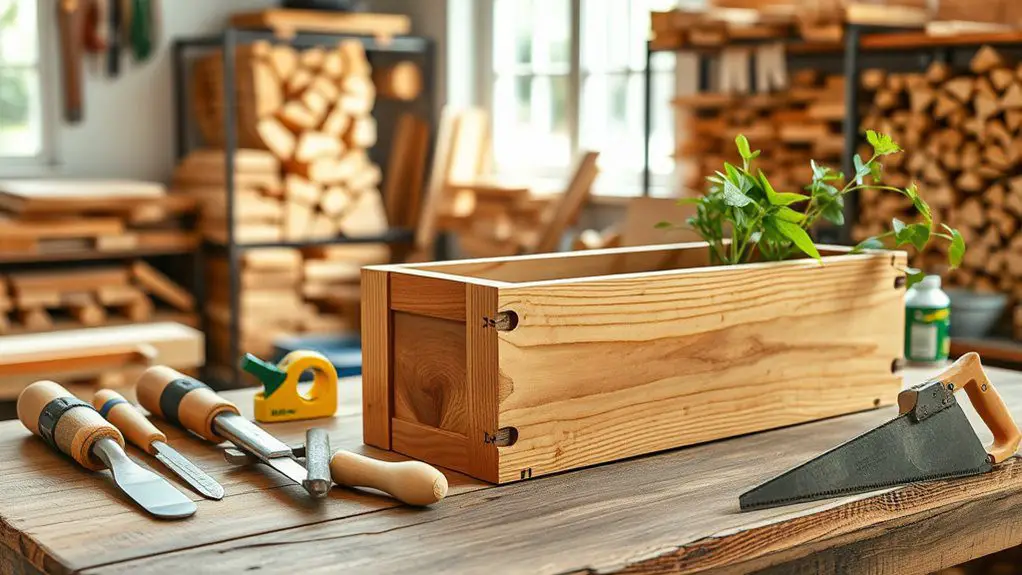
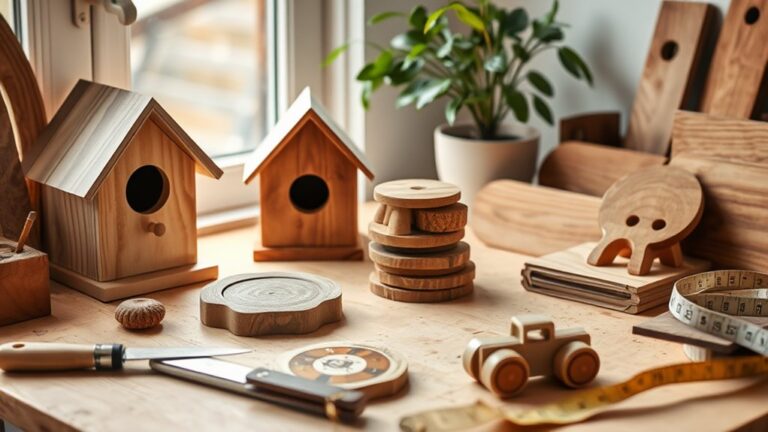
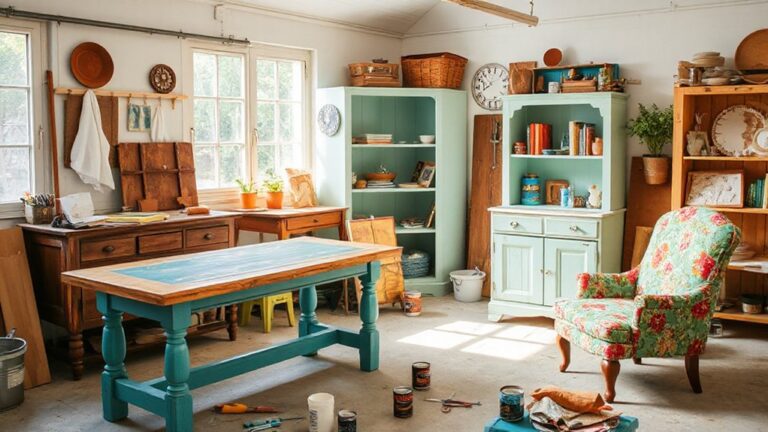
We can create effortless style with 17 beginner-friendly woodworking DIY projects. Imagine crafting rustic wooden coasters, simple picture frames, or DIY wooden shelves to elevate your home decor. We’ll guide you through making eco-friendly pallet wood garden planters, a sturdy birdhouse, or a stylish bench for outdoor spaces. You can also express creativity with decorative wood signs and unique wall art. Each project offers technical details for perfect execution, and you’ll discover even more inspiration ahead. Whether you’re looking to enhance your living space or give thoughtful handmade gifts, these easy woodworking projects for beginners will spark your imagination. With each step broken down into manageable instructions, you’ll gain confidence and skills as you progress. So grab your tools and get ready to transform your ideas into beautiful, functional pieces that showcase your unique style.
Key Takeaways
- Simple wooden coasters enhance decor and provide functional use, featuring designs like circular or hexagonal shapes with protective felt pads.
- Craft stick picture frames are fun, beginner-friendly projects, allowing for creative designs using various techniques and embellishments.
- DIY wooden shelves, such as floating or corner shelves, offer practical storage while adding aesthetic value to any room.
- Personalized key holders combine organization and style, featuring wood selection and custom engraving options for a unique touch.
- Outdoor pallet wood garden planters are eco-friendly, cost-effective, and can be customized with paint or stain for a personal flair.
Rustic Wooden Coasters
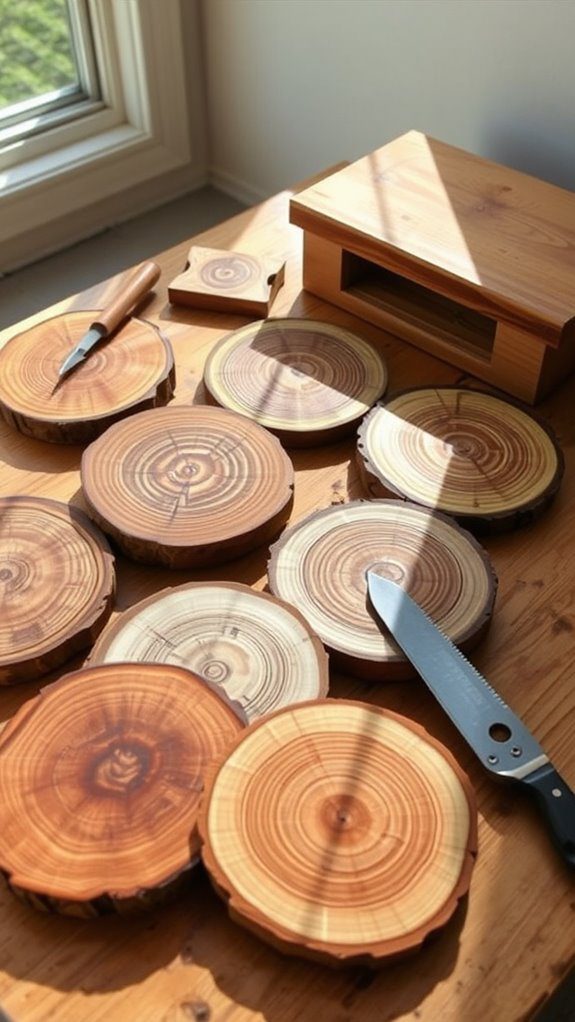
Creating rustic wooden coasters blends creativity with craftsmanship, offering us a rewarding project that enhances our living spaces. To start, we’ll select hardwood like oak or walnut, showcasing beautiful wood grain patterns. After cutting our wood into uniform squares, we’ll sand the edges and surfaces to achieve a smooth finish. Next, we can explore various coaster designs, such as circular or hexagonal shapes, to add personal flair. Using a wood stain or sealant, we’ll enhance the natural beauty while ensuring durability. Finally, we should consider adding felt pads underneath to protect our surfaces from scratches. By following these steps, we’ll create stunning coasters that are not only functional but also serve as conversation starters in our homes.
Simple Picture Frames
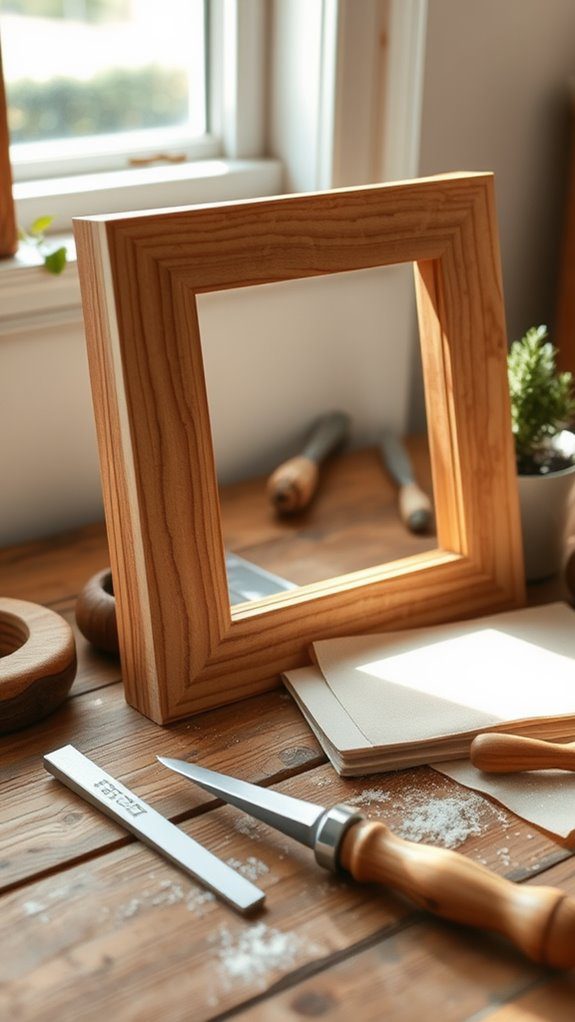
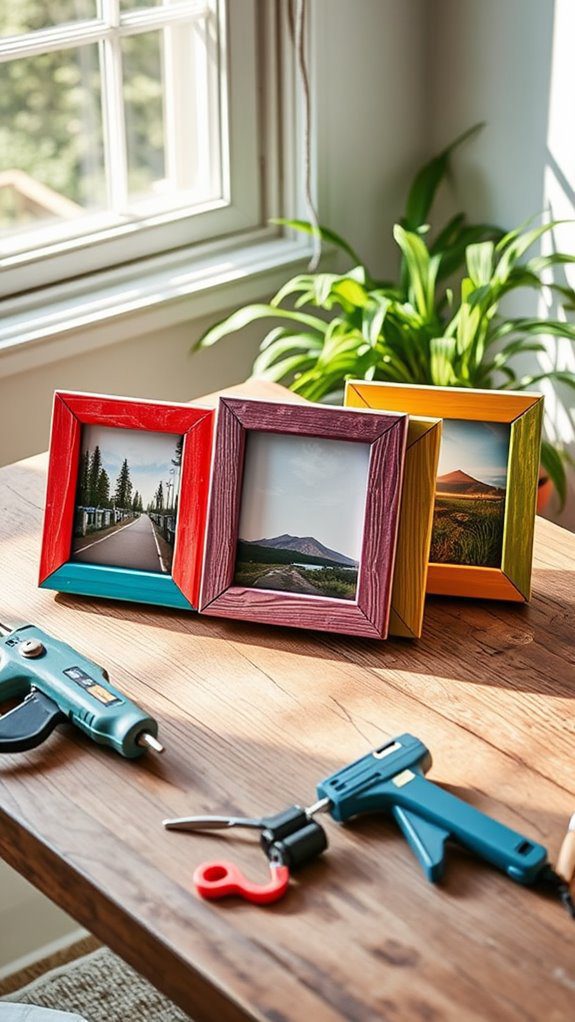
After crafting rustic wooden coasters, we can take our woodworking skills a step further by making simple picture frames. First, let’s focus on wood selection; pine or cedar are excellent choices for beginners due to their workability and availability. We should cut four pieces: two for the vertical sides and two for the horizontal. Next, we’ll join them using wood glue and clamps, ensuring our corners are square. Once dried, we can sand the edges for a smooth finish. Now, let’s explore frame finishes; a clear polyurethane or a natural stain will enhance the wood’s beauty while providing protection. Finally, we’ll attach a backing and a hanging mechanism, creating a beautiful frame that showcases our favorite memories!
DIY Wooden Shelves
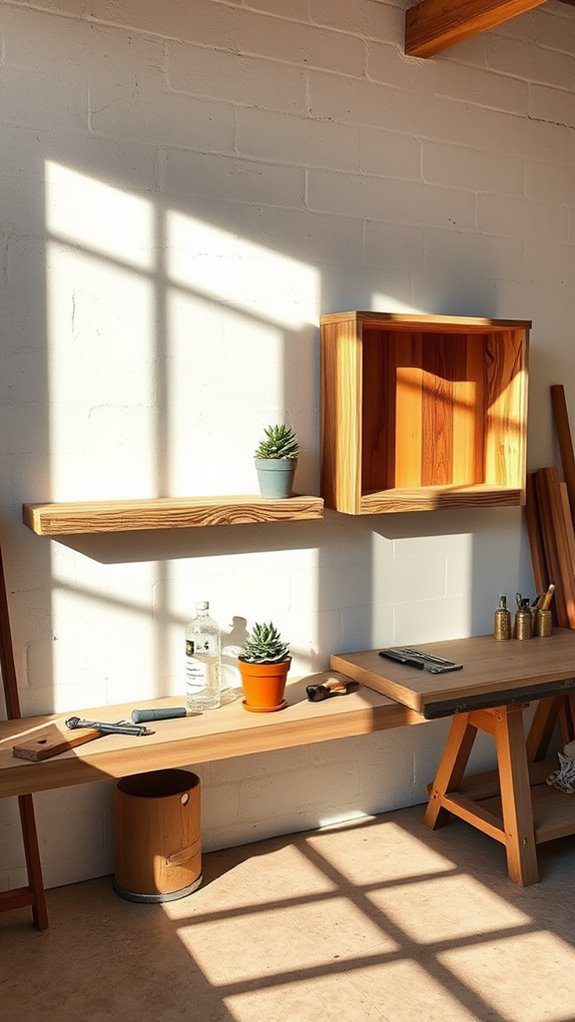
Building DIY wooden shelves can elevate our space while providing practical storage solutions. To start, we can choose between floating shelves for a sleek look or corner shelving to maximize unused areas. First, we’ll measure our desired space and select high-quality wood, like pine or oak, for durability. Next, we’ll cut our boards to size and sand the edges for a smooth finish. For floating shelves, we’ll install brackets hidden behind the wood. If we’re opting for corner shelving, we’ll guarantee proper angle cuts for seamless fitting. Finally, we can choose a finish that complements our décor, such as paint or stain. With these steps, we’ll create functional and stylish shelves that enhance our home.
Pallet Wood Garden Planters
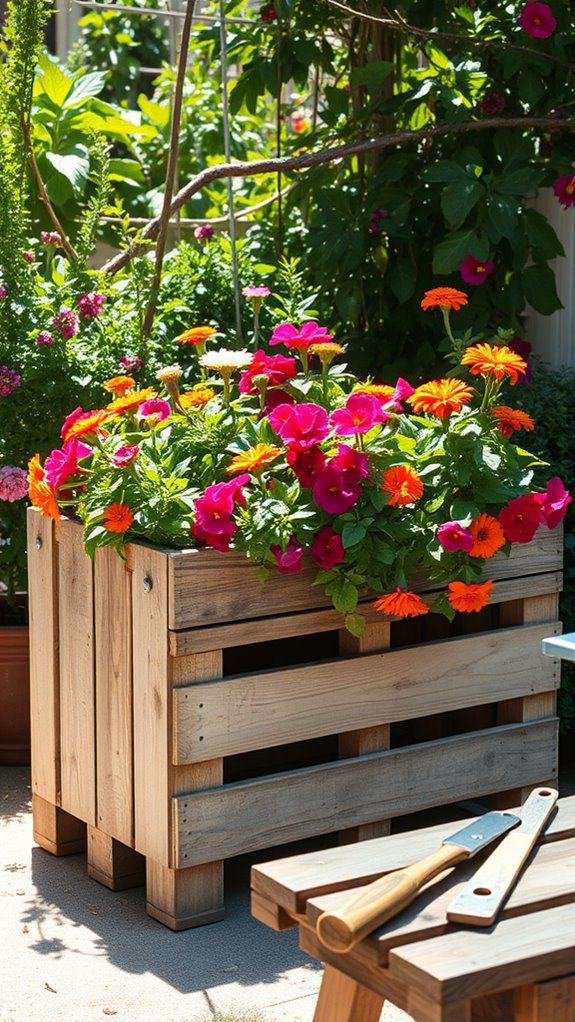
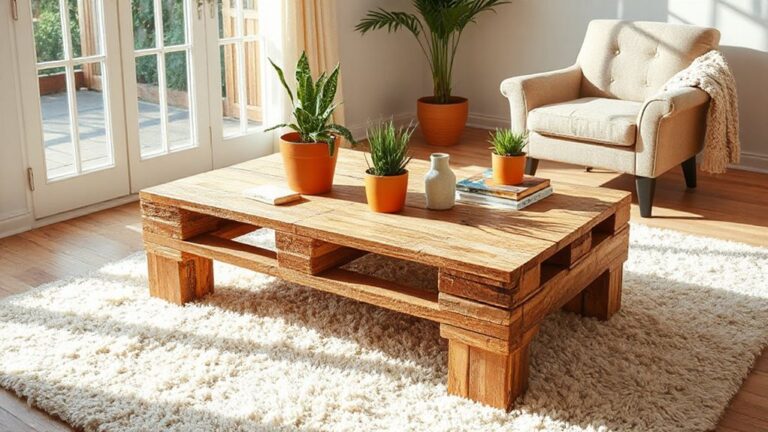
Pallet wood garden planters offer an eco-friendly and cost-effective solution for adding greenery to our outdoor spaces. To create a stunning planter, we begin with essential pallet preparation techniques, such as cleaning, sanding, and checking for any harmful chemicals. Once prepared, we can explore various upcycled planter ideas, like stacked pallet planters or vertical wall gardens, to maximize our growing space. Using a saw, we can cut the pallets to our desired dimensions and assemble them with screws for stability. Don’t forget to line the interior with landscape fabric to retain soil while allowing drainage. Finally, we can paint or stain our planters for a personalized touch, enhancing both functionality and aesthetics in our gardens.
Basic Birdhouse
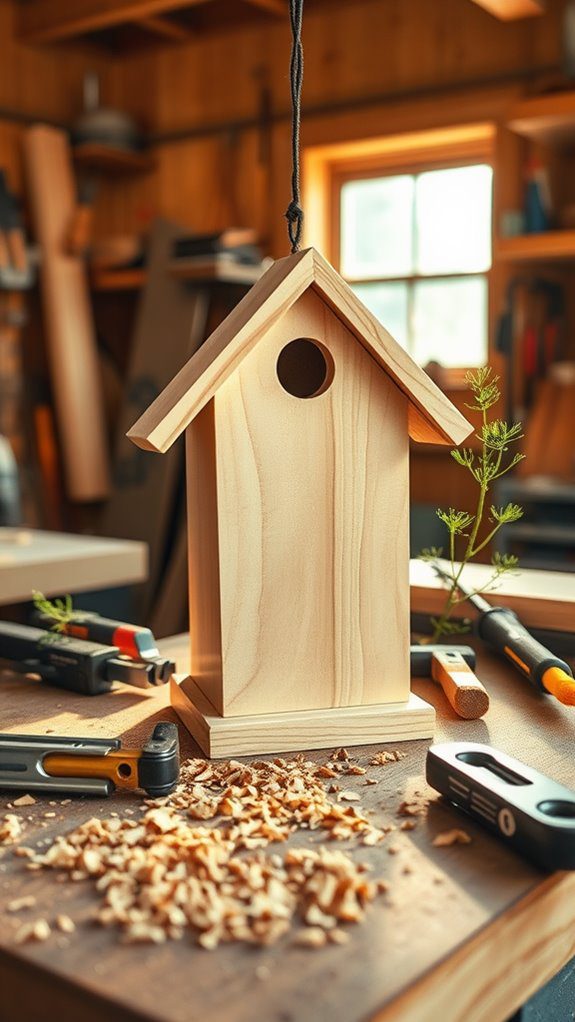
While crafting a basic birdhouse may seem intimidating, it can be a rewarding project that invites nature right into our backyards. Let’s start by selecting our materials—untreated wood is ideal, as it’s safe for birds. We can explore various birdhouse designs, such as the classic A-frame or a modern minimalist style. Next, we’ll measure and cut pieces: a back, front, sides, bottom, and roof. Using wood screws guarantees stability. After assembly, it’s time for our color choices; we can opt for a natural finish or vibrant hues to add character. Finally, remember to drill a small entry hole, ideally 1.5 inches for small birds. With these steps, we’ll create a charming refuge for our feathered friends!
Wooden Serving Tray
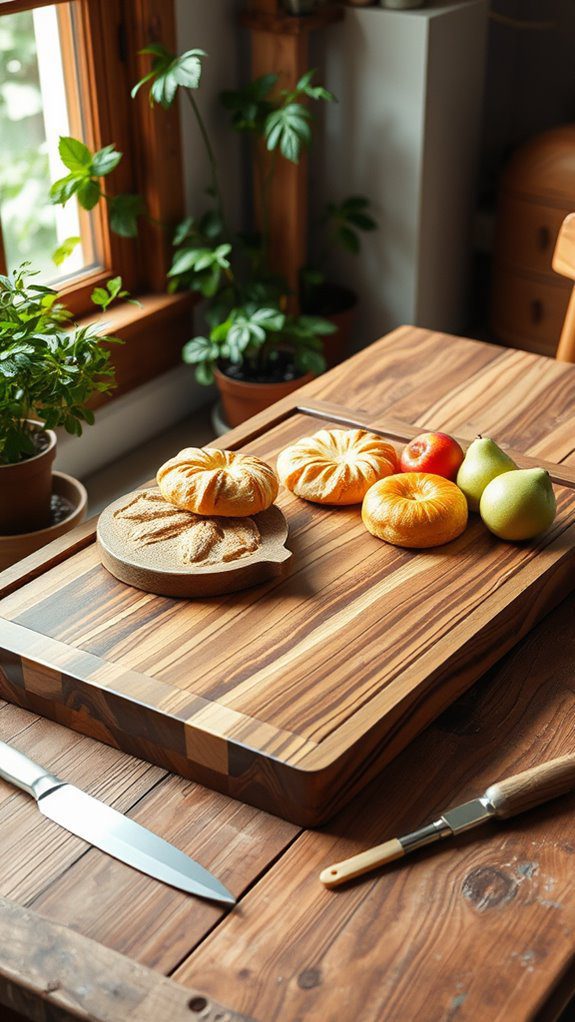
A wooden serving tray is both a functional and stylish addition to any home, perfect for entertaining guests or serving breakfast in bed. When creating our wooden tray design, we should choose high-quality hardwood for durability and aesthetics. Start by measuring and cutting the wood to our desired dimensions, ensuring the edges are smooth and even. We can incorporate handles for easy carrying, which adds a practical touch to the design.
Once assembled, we can explore various serving tray finishes like varnish, stain, or natural oils to enhance the wood’s beauty while protecting it. A well-finished tray not only showcases our craftsmanship but also adds a splash of elegance to our home decor. Let’s get started on this rewarding project!
Craft Stick Picture Frames
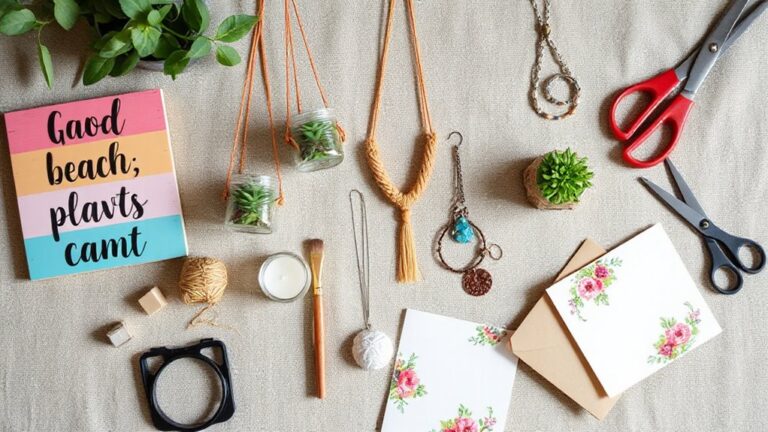
Craft stick picture frames are a fun and easy project that anyone can tackle, making them perfect for beginners and kids alike. To start, gather your craft sticks, glue, and scissors. We can explore various craft stick techniques, like layering or creating unique angles, to design our frames. For a classic look, align the sticks in a rectangular shape, securing them at the corners with glue. If we desire a more innovative approach, consider using colorful paint or decorative paper to enhance our picture frame designs. Once the glue dries, we can insert our favorite photos and even embellish with ribbons or beads. This project not only showcases creativity but also adds a personal touch to our home decor.
Minimalist Wall Hooks
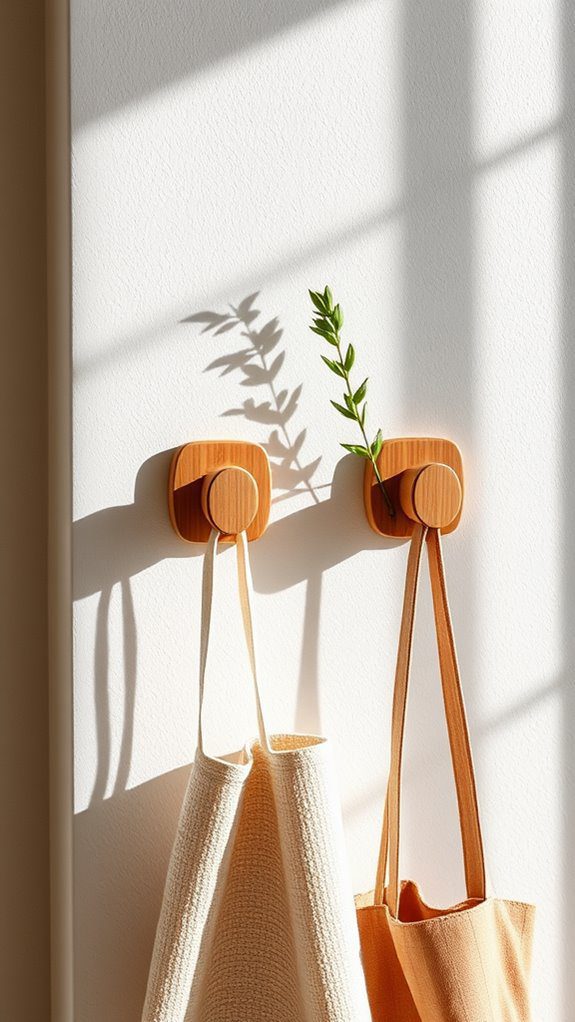
After creating our unique craft stick picture frames, we can elevate our home organization with minimalist wall hooks. These hooks embody minimalist design, seamlessly blending functionality with aesthetics. To start, we’ll gather materials: sturdy wood strips, wood glue, and screws. First, measure and cut the strips into uniform sizes—about six inches in length works best. Next, sand the edges for a smooth finish. We’ll then attach the hooks to the strips, ensuring they’re evenly spaced for balance. After applying a wood finish, we can secure them to the wall using sturdy anchors. These hooks not only provide functional decor for hanging items but also enhance our space’s overall style, showcasing our dedication to innovative, organized living.
Wine Rack From Crates
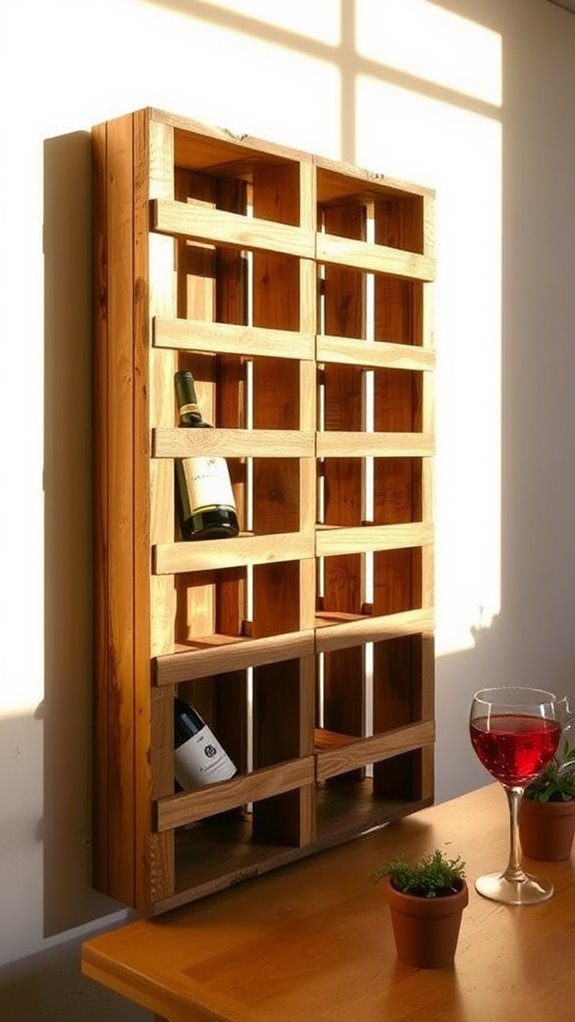
Creating a wine rack from crates can transform both our storage and presentation of wine bottles while adding rustic charm to our space. First, we’ll gather a few wooden crates, ensuring they’re sturdy enough to support our wine selection. Next, we’ll decide on the orientation—stacking vertically or laying them horizontally—depending on our available space. Sanding the crates is essential to eliminate rough edges, and we can choose from various crate finishes, such as a natural stain or a painted look, to enhance aesthetics. Once finished, we’ll secure the crates together with screws for stability. Finally, we’ll arrange our wine bottles strategically, showcasing our favorite selections while creating an eye-catching focal point in our home.
Wooden Candle Holders
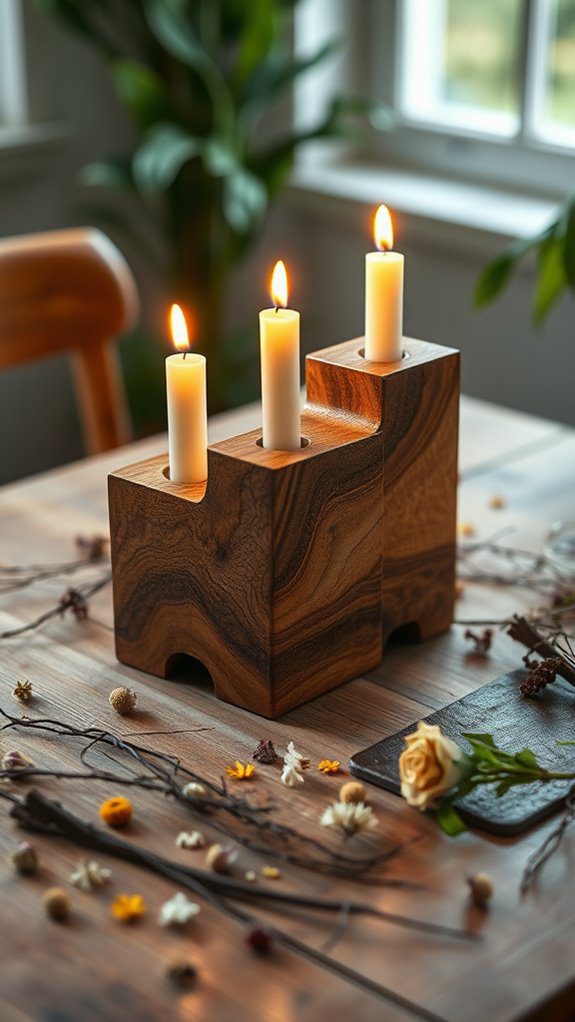
Wooden candle holders are not only functional but also serve as elegant decor pieces that can enhance any room’s ambiance. When we explore innovative candle holder designs, we can create unique shapes that reflect our style. Start by selecting quality wood, such as maple or oak, for durability and aesthetic appeal. We should consider using a lathe for turning, or a jigsaw for more intricate shapes. After crafting the holders, employing wood finishing techniques—like sanding, staining, or applying a protective seal—will elevate our creations. Remember, the finish not only enhances the wood’s natural beauty but also protects it from moisture. With a bit of creativity and precision, we can transform simple wood into stunning candle holders that illuminate our spaces beautifully.
Easy Storage Boxes
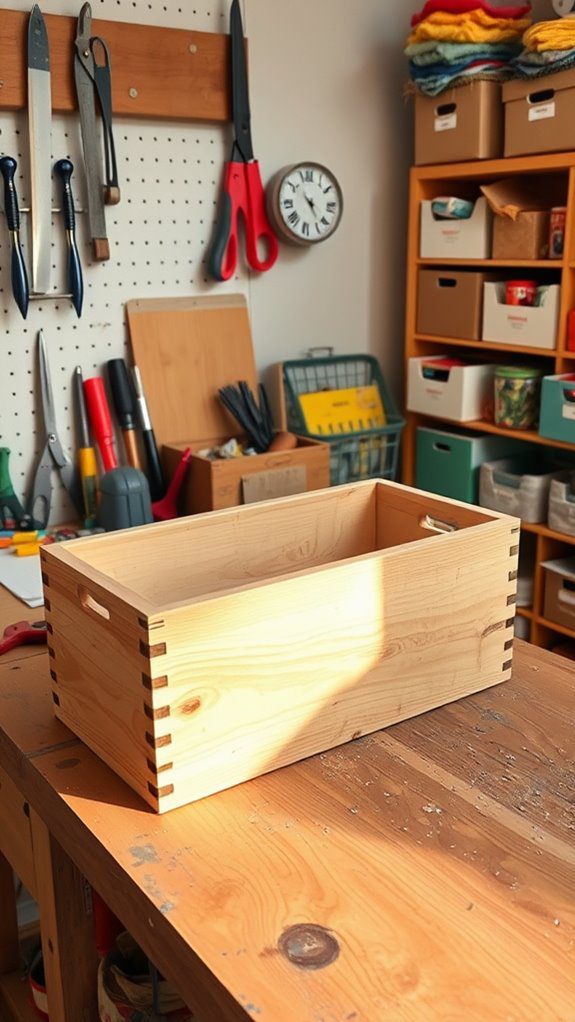
Storage boxes are an essential addition to any organized space, offering both practicality and a chance to express our creativity. We can start with simple storage box designs using plywood or reclaimed wood, ensuring we measure accurately for precise cuts. A basic box consists of a bottom, four sides, and a lid, all easily assembled with wood glue or screws.
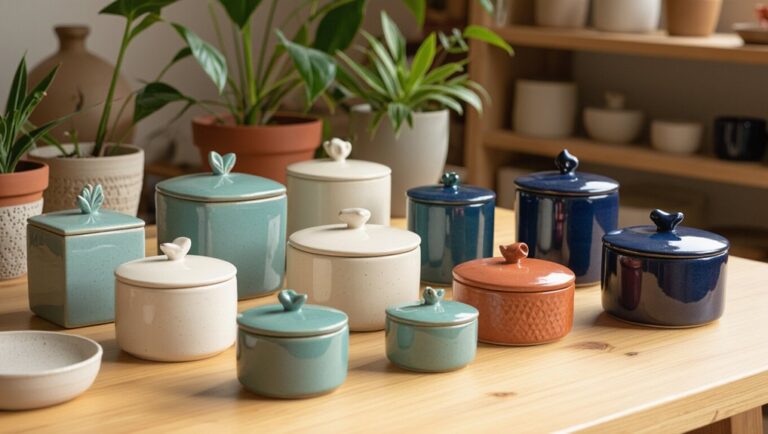
To elevate our projects, let’s explore creative box finishes. We could use wood stains to enhance grain patterns or apply paint for a pop of color. Adding stencils or decoupage can personalize our boxes further. With these techniques, we’ll not only create functional storage solutions but also beautiful pieces that reflect our style and innovation. Let’s get started!
Personalized Key Holder
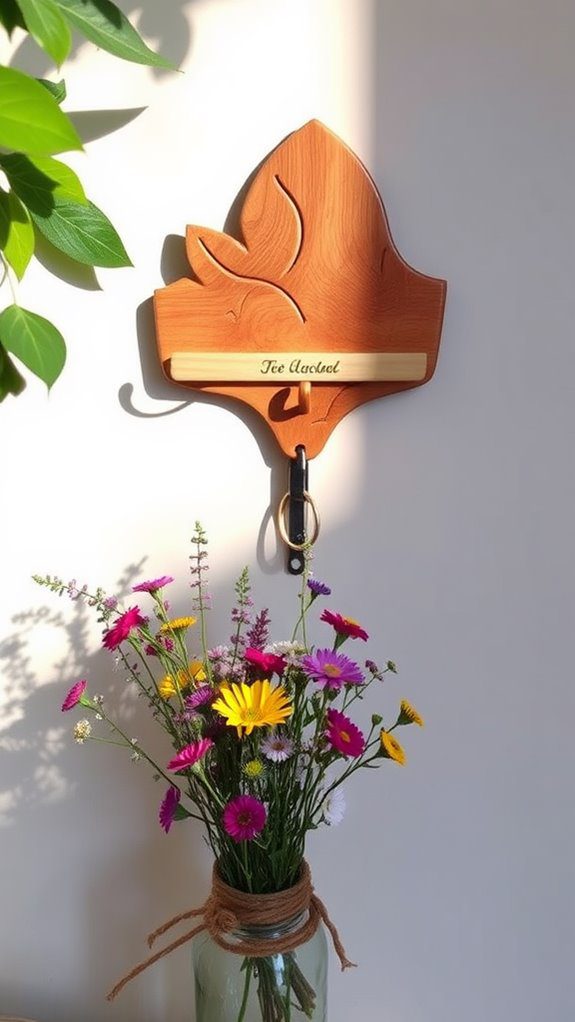
A personalized key holder serves as a practical and stylish addition to our entryway, keeping our keys organized and easily accessible. To create our key holder, we’ll start with a piece of wood, selecting a type that complements our décor. We can then cut it to our desired size, ensuring it’ll fit our space perfectly. Adding hooks for various keychain styles is essential; we can choose from sleek metal or rustic wooden options. For an innovative touch, we can incorporate custom engraving, adding our family name or a favorite quote. Finally, we’ll finish the wood with a protective sealant to enhance durability. This project not only boosts our organization but also elevates our entryway’s aesthetic.
Wooden Plant Stand
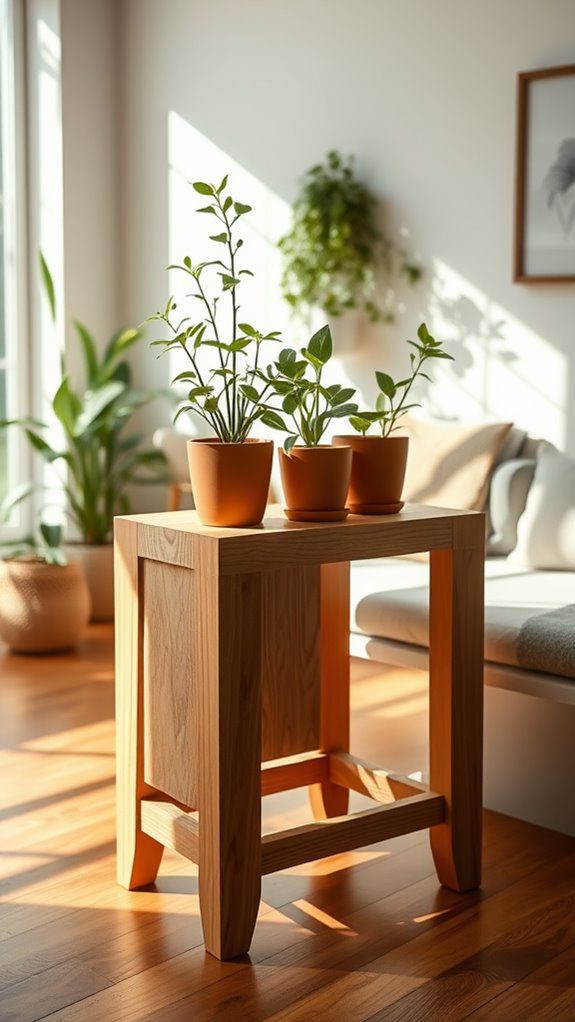
While we’re enhancing our living space with greenery, a stylish wooden plant stand can provide both function and flair. To create our own, we’ll start by selecting plant stand materials like pine, cedar, or plywood for durability and aesthetics. Next, we should sketch out a plant stand design that complements our decor—consider a tiered structure for multiple plants or a minimalist style for a modern touch.
We’ll need to measure precisely, cutting the wood into appropriate dimensions. Using wood glue and screws guarantees a sturdy build, while sanding the edges provides a smooth finish. Finally, we can apply a protective stain or paint, enhancing the natural beauty of the wood. This project not only showcases our plants but also adds a personalized element to our space.
Simple Bench
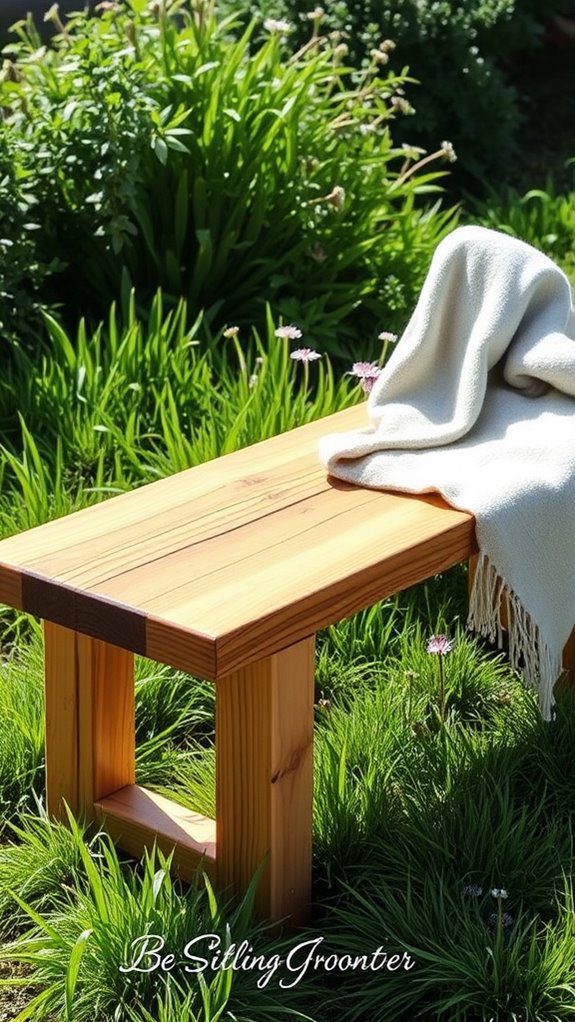
Creating a simple bench can be a rewarding woodworking project that combines both utility and style. To begin, we’ll choose durable wood like cedar or pine for our outdoor seating. Next, let’s sketch a bench design, ensuring it’s both functional and aesthetically pleasing. We’ll need four sturdy legs, a flat seat, and support beams for stability. Once the design is finalized, we can gather all the necessary tools, including a saw, drill, and screws. Creating this bench is an excellent example of simple woodworking projects for beginners, as it allows for creativity while ensuring a functional end product. Finally, don’t forget to sand the edges for a smooth finish and apply a weather-resistant stain to enhance durability and appearance.
After measuring and cutting the wood to size, we’ll assemble the frame using screws and wood glue for added strength. Sanding the surfaces will provide a smooth finish, while applying a weather-resistant sealant protects our bench from the elements. Finally, we can customize our bench with paint or stains, enhancing its style while ensuring we have a practical piece for relaxation in our outdoor space.
Decorative Wood Signs
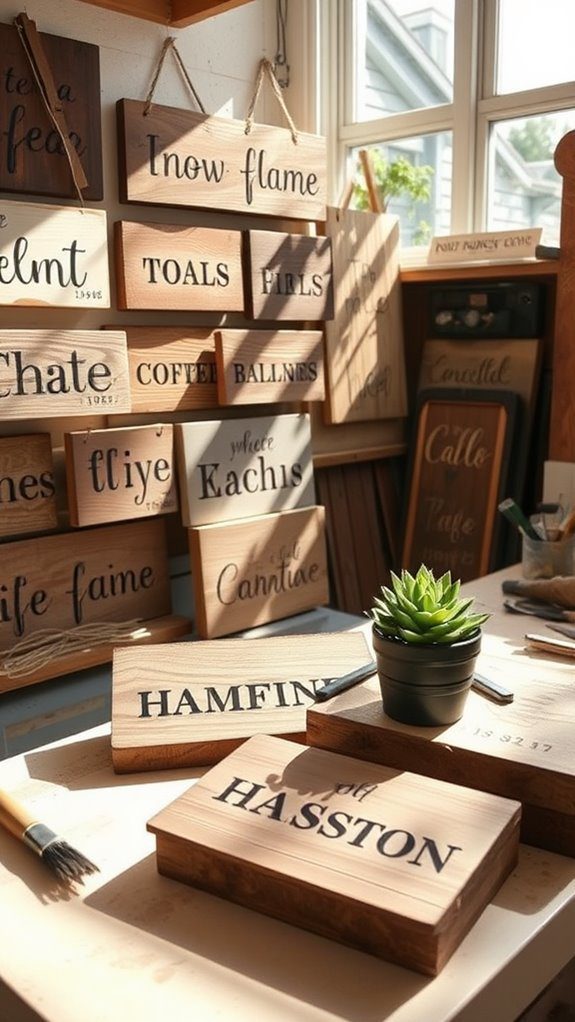
Designing decorative wood signs offers a fantastic way to personalize our living spaces and showcase our creativity. Through custom sign making, we can transform a simple piece of wood into a stunning focal point. First, we’ll select quality wood, ensuring it’s smooth and free of imperfections. Next, we’ll sketch our design, focusing on decorative lettering that reflects our unique style. Using a router or stencil, we’ll carefully carve or paint our text, paying attention to alignment and spacing for a polished look. Finally, sealing our sign with a protective finish will enhance durability and bring out the wood’s natural beauty. With these steps, we’ll create eye-catching signs that inspire and invite, adding character to any room.
DIY Wooden Wall Art
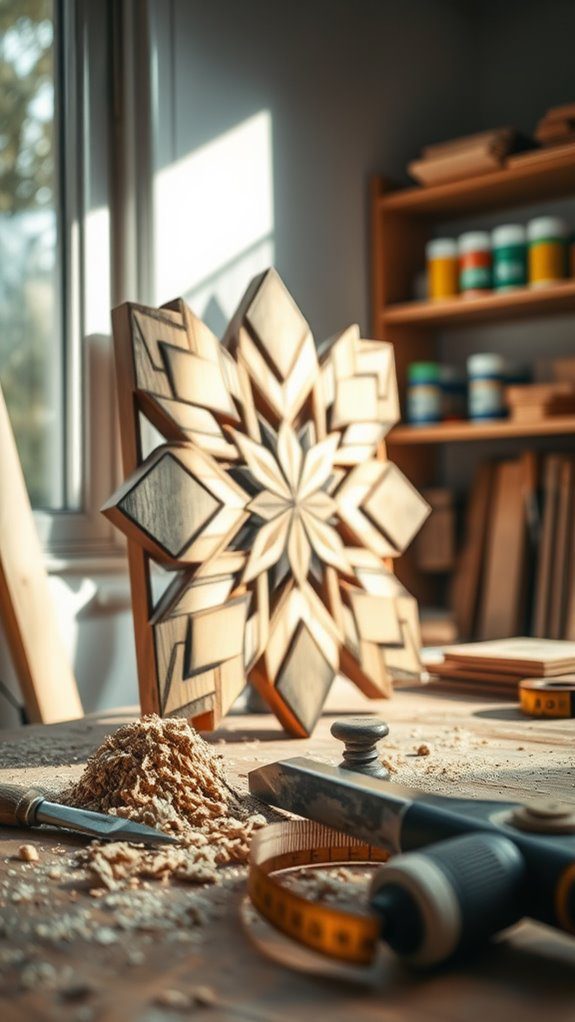
As we commence on the journey of crafting DIY wooden wall art, we can transform ordinary wood into stunning visual statements that reflect our personal style. To create unique wooden wall decor, we’ll start by selecting various wood types to achieve different textures and tones. Cutting the wood into geometric or organic shapes allows us to explore abstract wood art. We can then sand the edges for a smooth finish and apply our choice of stain or paint to enhance the aesthetic. Once dry, we’ll arrange the pieces on a canvas or directly on the wall, experimenting with layout until we achieve the desired effect. Finally, we’ll secure everything in place, resulting in a mesmerizing centerpiece for our space.
Sturdy Step Stool
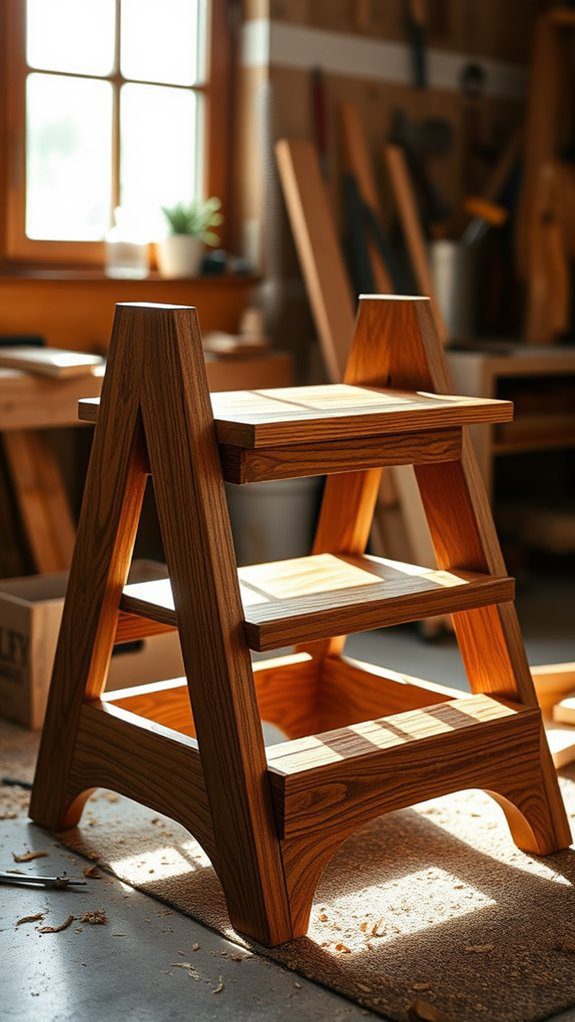
When we need a reliable way to reach higher shelves or tackle tasks that require a little extra height, building a sturdy step stool becomes an essential project. We can explore various step stool designs, ensuring they fit our space and needs. Start by selecting sturdy materials like hardwood or plywood for durability.
We’ll create a simple rectangular frame, joining the pieces with strong wood glue and screws for stability. Next, we’ll add a non-slip surface to the steps, enhancing safety. For an innovative touch, consider incorporating a foldable feature for easy storage.
Finally, sanding the edges smooth and applying a finish will not only protect the wood but also elevate the stool’s aesthetic. Let’s elevate our DIY game!
Conclusion
To sum up, we’ve explored a variety of beginner-friendly woodworking projects that can transform your space with effortless style. Each of these projects not only enhances your home but also allows us to hone our skills and creativity. With the right tools and a bit of patience, we’ll be able to craft beautiful, functional pieces that reflect our personal touch. So, let’s gather our materials and get started on our woodworking journey together! As we embark on this journey, let’s not forget to explore some trendy woodworking projects for living that can elevate our everyday environment. Whether it’s creating a bespoke bookshelf or a stylish coffee table, these projects will add character and charm to our spaces. The process of designing and building these pieces will not only fulfill our creative desires but also result in unique additions to our homes that we can be proud of.

