14 Aesthetic Mould-It Clay Art Ideas to Try This Weekend
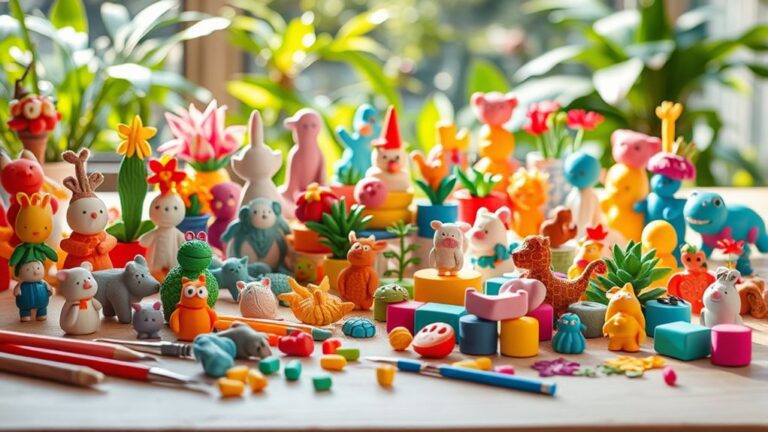
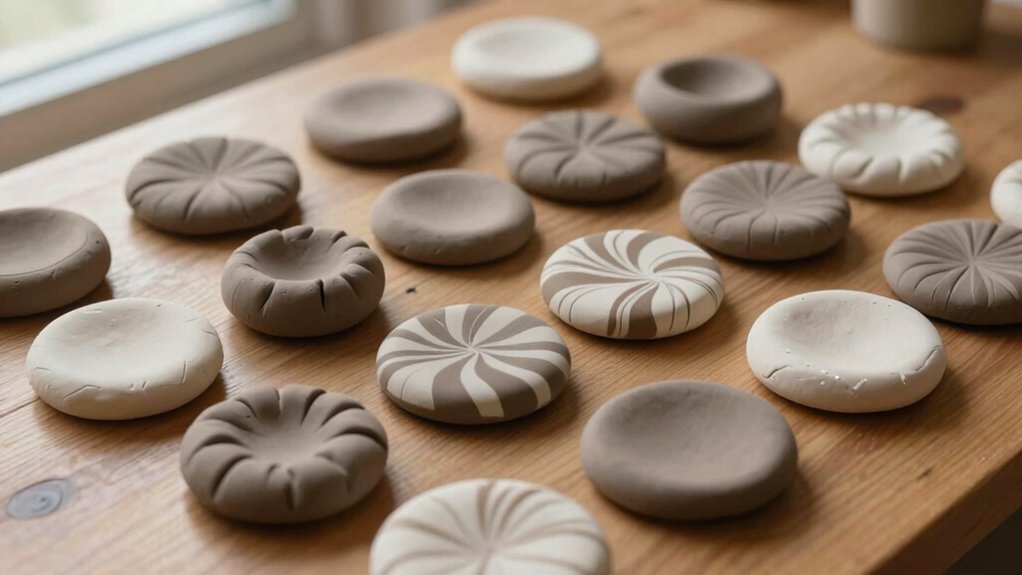
You can turn cheap air-dry clay into 14 cute weekend wins, like a floral trinket dish, moon phase hanging, mushroom figurines, daisy coasters, cloud jewelry holders, seashell art, name plaques, botanical frame accents, and cottagecore shelf pieces. Roll, press, pinch, and let them dry, then paint in soft pastels or earthy tones for a polished look. Most need only a bowl, cup, or knife, and the final surprise might be your favorite little woodland scene.
Love cozy DIY projects? 💕
Get free printable guides, exclusive tutorials & surprise craft goodies straight to your inbox.
Disclosure: This post may contain Amazon affiliate links, at no extra cost to you. Content on DiyCraftNest is created with research support from AI tools and carefully reviewed, edited, and fact-checked by the lead author, Daniel Pat, to ensure accuracy and reliability. Learn more
Key Takeaways
- Try floral trinket dishes with scalloped rims, leaf textures, and pastel paint for a soft cottagecore finish.
- Make moon phase wall hangings or seashell tiles for simple, elegant wall decor with natural texture.
- Shape mushroom figurines and tiny cluster charms, then paint them in earthy tones for woodland shelf styling.
- Create cloud jewelry holders, heart ring dishes, and butterfly magnets for cute functional pieces.
- Add cottagecore shelf accents like mini forest trays, cactus planters, and personalized plaques for cozy displays.
Floral Trinket Dish
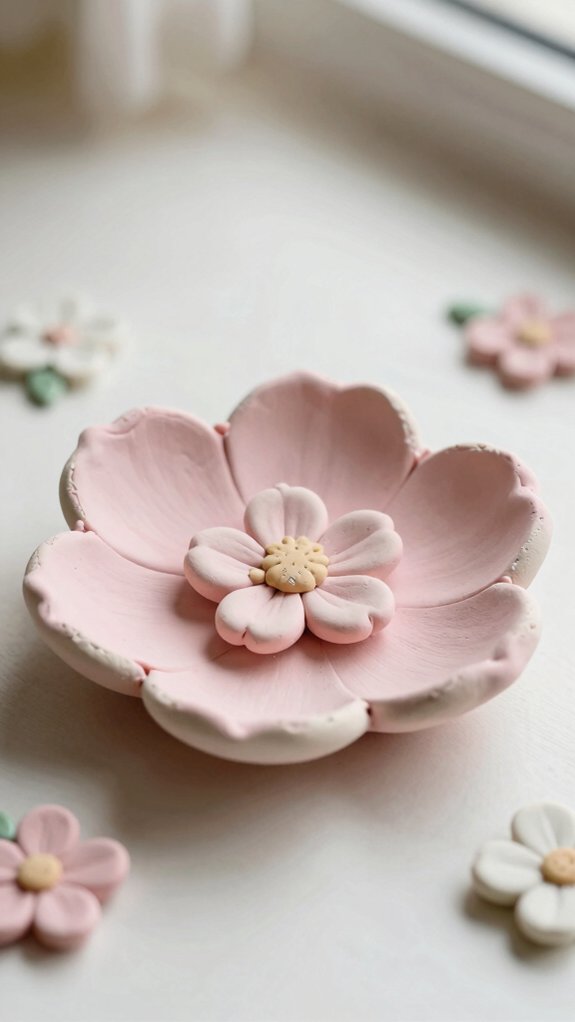
If you want a cute project that looks detailed but stays super beginner-friendly, a floral trinket dish is a great place to start!
Roll pastel clay to about 0.5 cm thick, then press a small bowl into the center for a shallow shape.
Pinch and twist the rim into scallops or little petals, and add textured leaf accents with a butter knife.
Let it dry 24 hours, then paint it in a pastel color palette for that cozy cottage vibe.
Seal it with Mod Podge, and maybe add a tiny flower or initial—so sweet for rings!
Moon Phase Wall Hanging
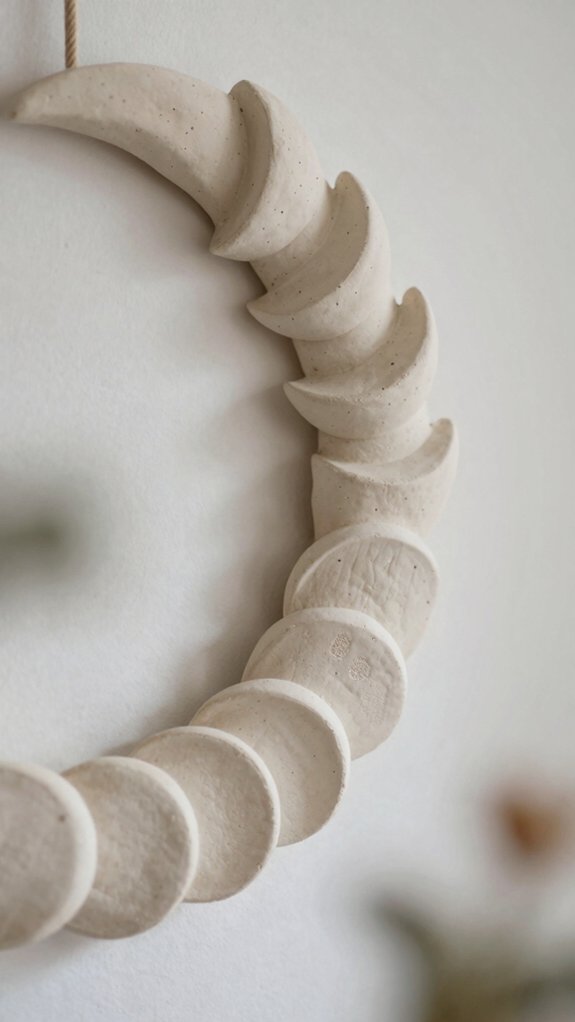
Ready for something a little more dreamy? Cut five moon shapes from clay: one full circle, two half-circles, and two slim crescents, and you’ve got the whole sky in your hands!
Let them dry fully, then sand the edges with fine paper so they feel smooth and finished.
For Clay texture tips, keep the surface simple if you want a soft look, or press in tiny marks for depth.
Try moon color meanings with white for calm, soft gray for quiet balance, and gold on the full moon for a warm glow.
Thread them on twine or a dowel, then hang them above your bed, desk, or reading nook.
Mushroom Figurines
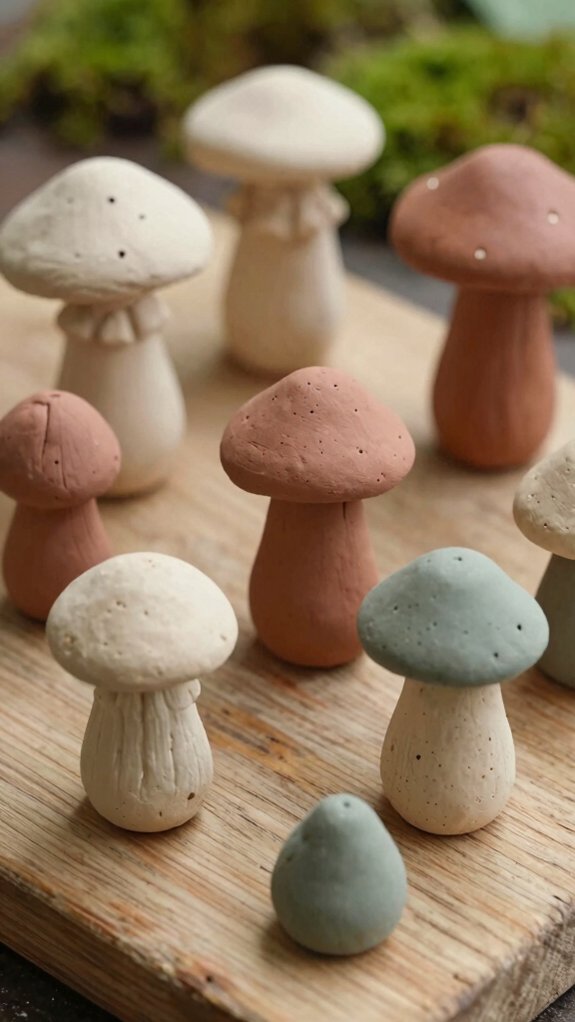
Ever wondered how something so tiny can look so charming? You can make mushroom figurines with air-dry clay, and it’s a sweet weekend win!
Shape an oval cap and a short cylinder stem, then press them together into a dome-like body. Cute, right?
After the clay dries fully, paint with earthy color palettes like terracotta, cream, forest green, or burnt orange. Add classic spots using polka dot techniques with a toothpick or pen tip, then seal with matte varnish.
For a cozy finish, line up several on a shelf, or build a mini mushroom forest on a tray with moss and pebbles.
Daisy Coasters
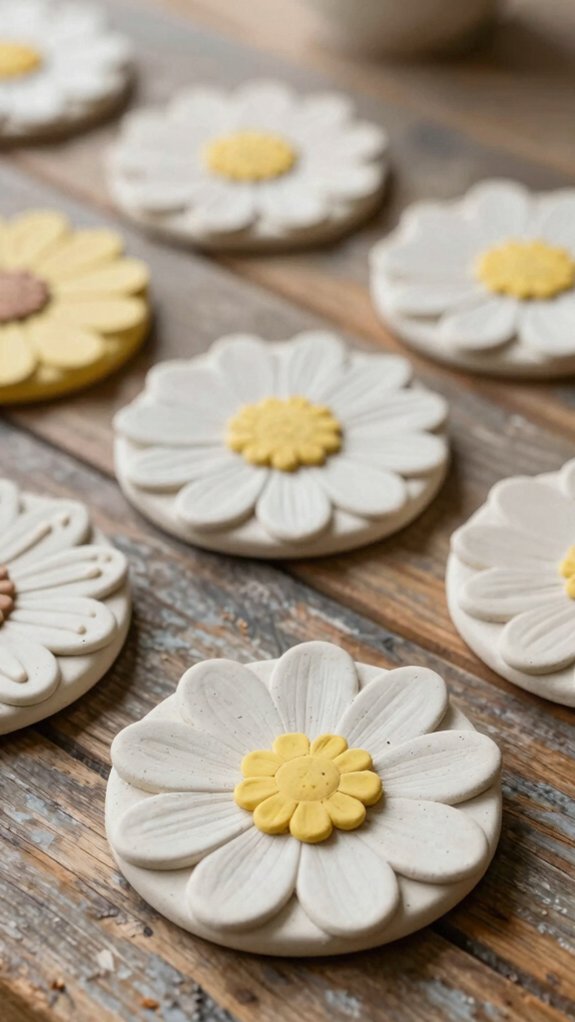
From tiny mushroom figurines to bright, happy table accents, clay can surprise you with just how cute it gets!
For daisy coasters, roll air-dry clay to 1/2 cm, press a cup in the center, then pinch the edges into soft scallops.
Add tiny petals around the rim, and smooth a small bud in the middle.
This easy project costs little and feels beginner-friendly, so you’ll fit right in.
After 24 hours, paint it in your favorite Color Palette, then add a soft Glitter Finish or matte seal.
You’ll get sweet coasters that make every sip feel sunnier!
Cloud Jewelry Holder
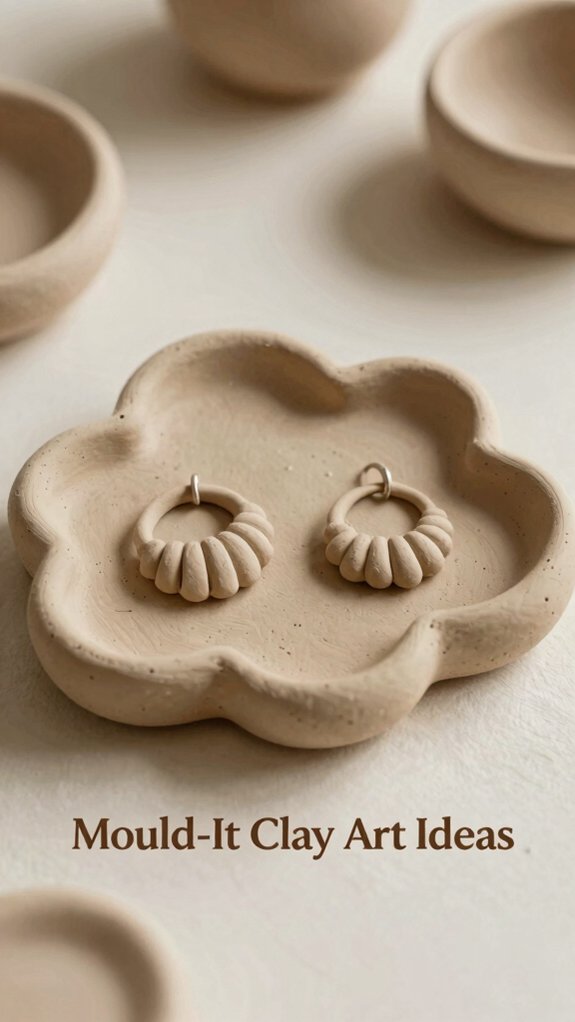
With just a little air-dry clay, you can make a cloud jewelry holder that looks dreamy and actually keeps your rings from rolling away—how cute is that!
You’ll fit right in with this easy weekend project, and it won’t cost much.
- Roll clay 0.5 cm thick, then press a small bowl shape in the center.
- Pinch scalloped edges for fluffy clay texture detailing.
- Make one side a little higher, so tiny treasures stay put.
- Dry 24 hours, then add pastel color blending and a glossy seal.
Add a tiny top puff for extra charm!
Tiny Plant Pots
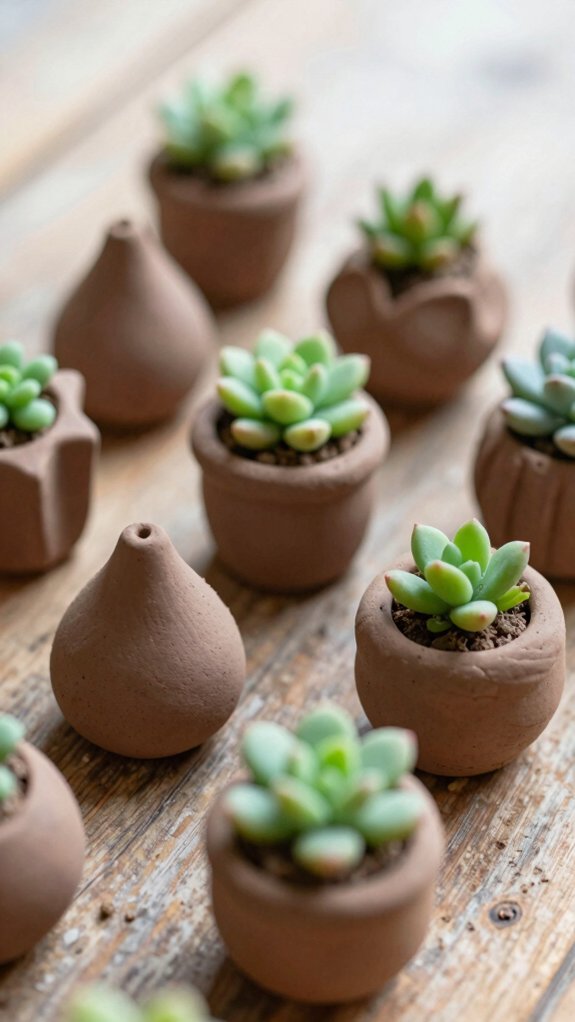
Tiny plant pots are such a sweet little project, and they’re way easier than they look! You’ll need air-dry clay, a thumb, a spoon, and paint. Roll the clay into a tiny cylinder, pinch the top, and add two little arm bumps for that cute mini-cactus vibe.
Next, hollow the center, then let it dry for about 48 hours before adding soil. For clay paint tips, try sage green or light terracotta, and scratch in ridged lines with a toothpick.
These tiny planters shine with succulents or air plant care favorites, and a trio on your windowsill looks like your own little happy club!
Butterfly Magnets
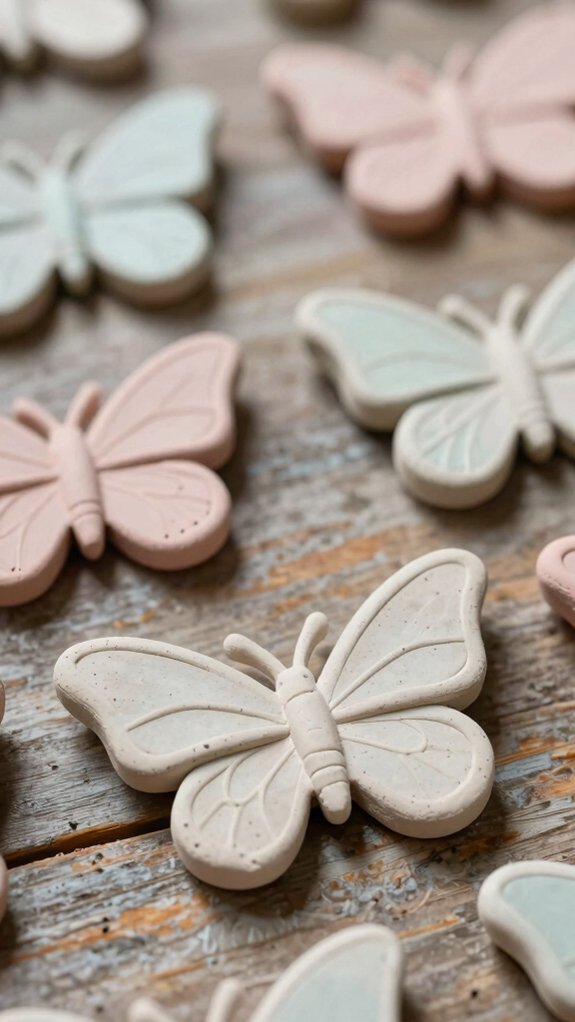
If you loved making those sweet little clay pots, you can keep the fun going with butterfly magnets that look like they fluttered right off a garden wall!
- Roll air-dry clay, cut butterfly shapes, and let them dry fully.
- Press wing lines and tiny dots with a toothpick for crisp texture.
- Paint in soft pastels or earthy tones, then let each coat dry.
- Seal, add a strong magnet, and display a matching mini set.
They’re cheap, beginner-friendly, and so cute! Try a textured leaf beside one, or add a tiny resin charm for extra sparkle. Your fridge’ll thank you!
Minimal Candle Holders
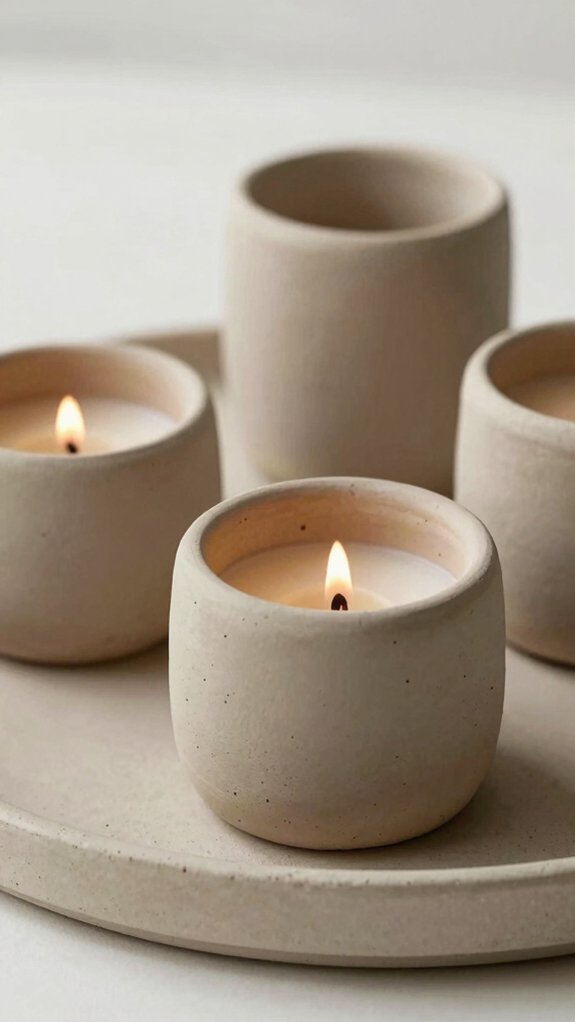
Once you shape a simple clay heart, it’s surprisingly easy to turn it into a little candle holder that looks sweet, modern, and handmade all at once! Flatten your clay, thumb-press a shallow tea-light hollow, and keep the walls about 1 cm thick so they don’t crack under the heat. Smooth the edges with damp fingertips, then air-dry for 48 hours.
Next comes the fun part: choose matte terracotta, blush pink, or deep burgundy, or keep the raw clay texture for a calm clay texture contrast. Try color palette testing with tiny versions, because small desk hearts look extra cute, and honestly, tiny things always win!
Decorative Photo Clips
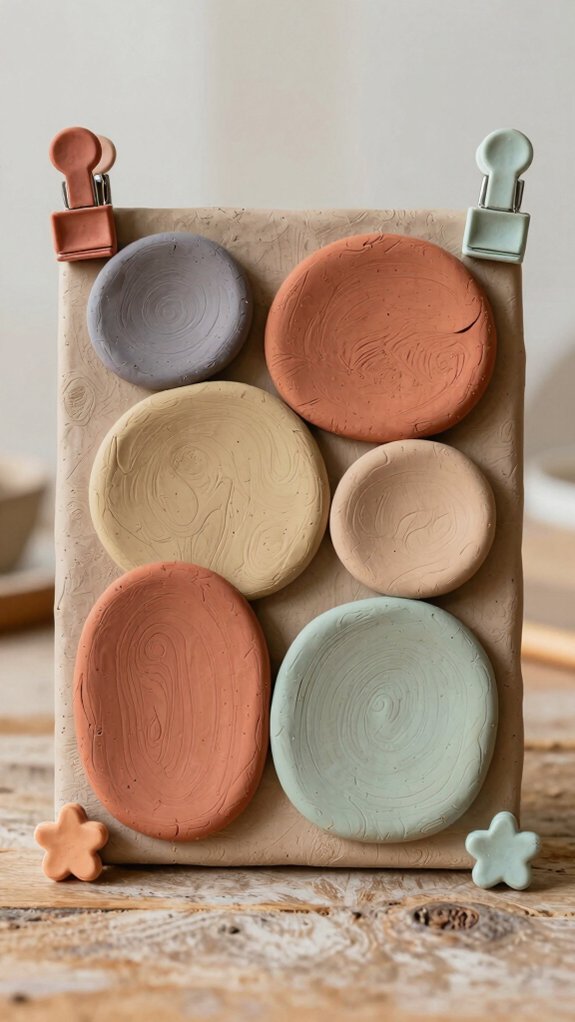
When you want your photos to look a little more special, decorative clay clips are such a fun fix! You’ll fit right in with this easy DIY, and your photo wall will feel instantly more you.
- Press a small flat clay piece into binder-clip shape.
- Roll and smooth the edges so it stays light and neat.
- Press in lace texture, a fork, or crumpled foil, then air-dry 24–48 hours.
- Paint, then seal with matte varnish after it’s fully dry.
Want extra strength? Use polymer clay, bake it, cool it, and test-grip photos so nothing cracks.
Heart Ring Dish
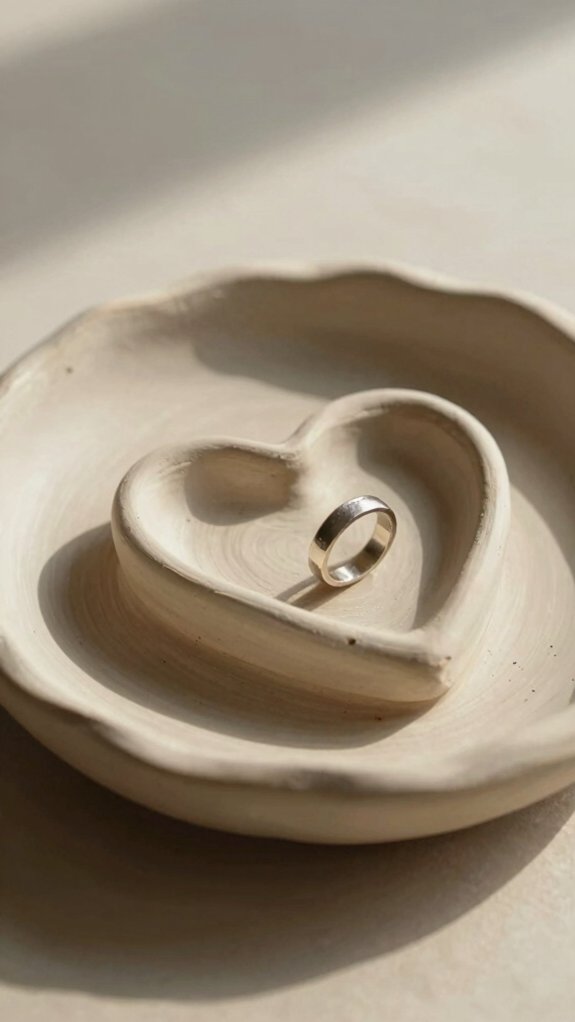
A cute photo wall can make your room feel extra personal, and this little heart ring dish does the same for your dresser, vanity, or nightstand—tiny project, big charm!
Roll air-dry clay to about 0.5 cm thick, press a small bowl into the center, then shape the rim with a butter knife for sweet scallops.
After 24 hours, paint it in pastel shades and try glaze finish options with a thin Mod Podge coat.
Add a tiny initial for a gift that feels so you. Love variety? Make mini size variations for rings, studs, or both—cute overload, in the best way!
Seashell Wall Decor
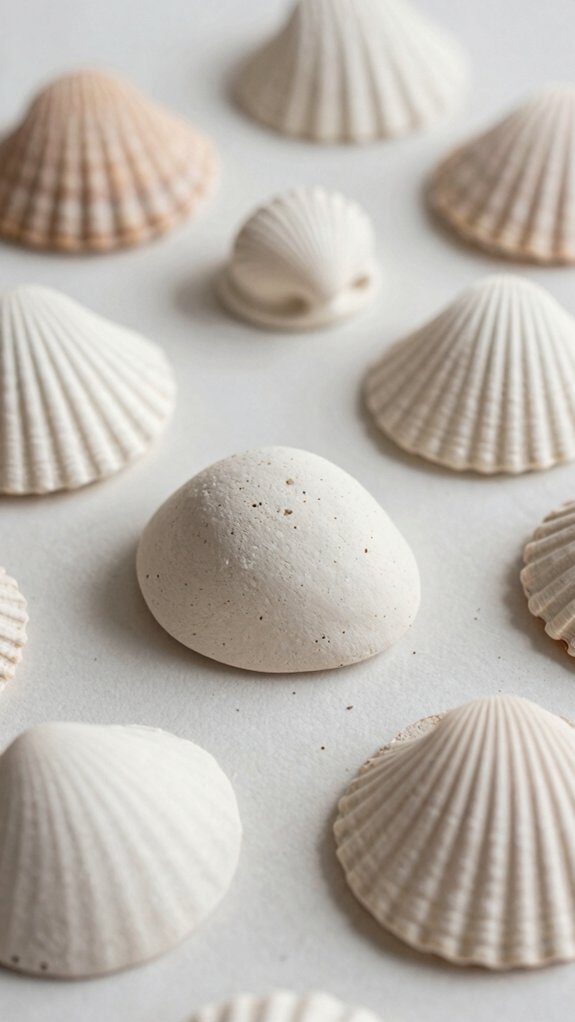
If you’re craving a little coastal charm, these seashell wall decor tiles are such a fun way to bring the beach home without hauling in a bucket of sand!
You’ll build easy shell tilework with cozy coastal texture, and it feels surprisingly doable.
- Roll air-dry clay half a centimeter thick, press in shells, and cut rectangles.
- Poke a hanging hole, then let them dry 24–48 hours.
- Sand rough bits, paint sandy beige, soft white, coral pink, or muted teal.
- Seal, then hang 3–5 tiles in a grid.
Cute, affordable, and your wall’ll look beachy-fresh!
Personalized Name Plaque
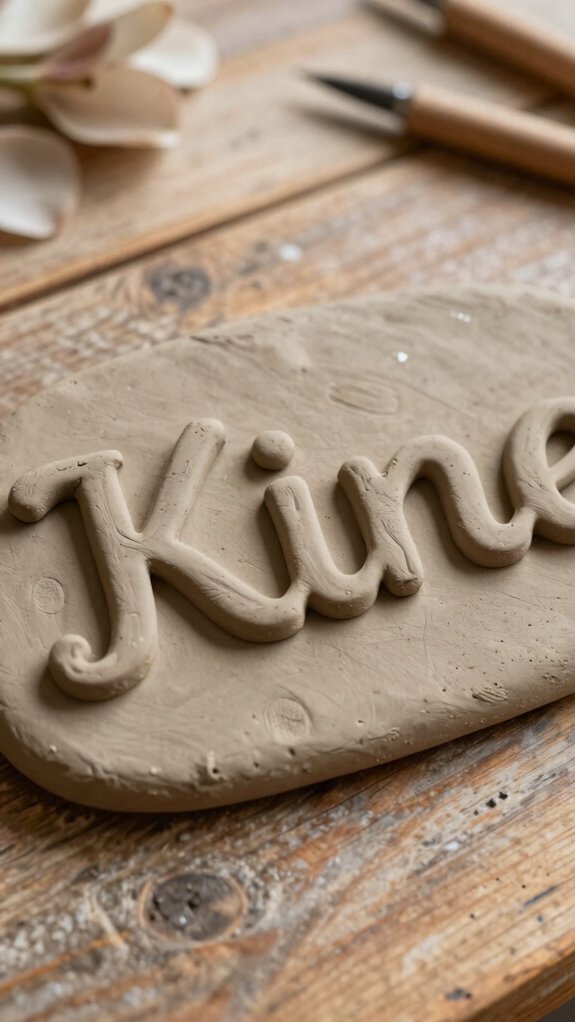
Because a personalized name plaque can feel both sweet and stylish, this one turns a simple slab of clay into something that actually looks store-bought—without the scary price tag!
You’ll shape air-dry or polymer clay into a rectangle or rounded slab, about 0.5–1 cm thick, so it stays sturdy while you add the name.
Press in letters with a cookie-cutter set or carve them with a toothpick, keeping strokes shallow for neat edges.
Add a loop before drying, then try soft paint, a clear varnish, and playful Polymer clay textures for a polished air dry finish.
Botanical Frame Accents
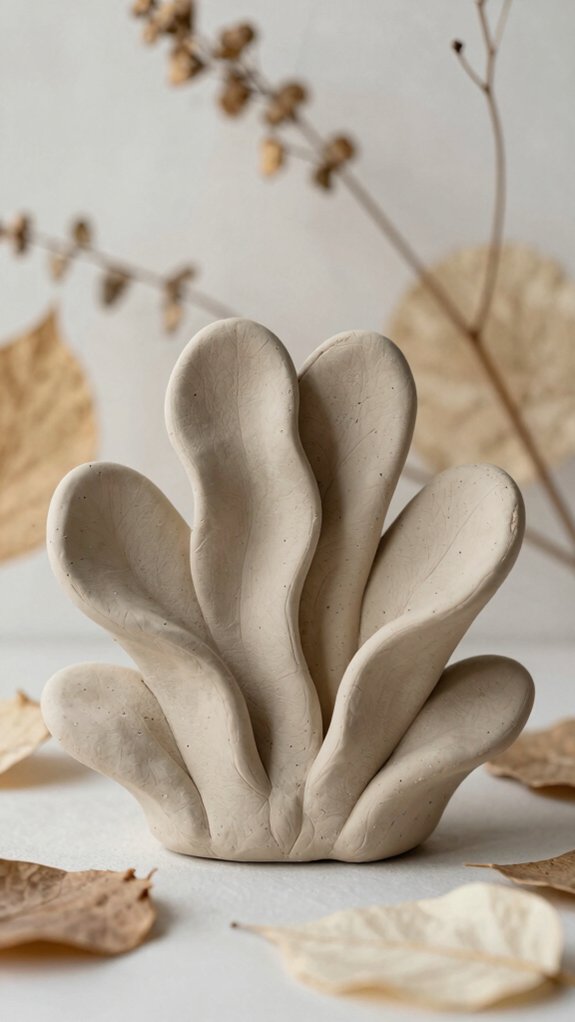
Right along the edge of your clay frame, you can press in tiny leaves and turn a plain shape into something that feels fresh, handmade, and a little bit elegant! Texture first molding helps you keep that crisp, natural look.
- Roll a thin slab, cut a frame, and add leaf edges.
- Spritz water, press fern bits, then let leaf imprint sealing begin as it dries.
- Paint with earthy color blocking in terracotta, cream, or sage.
- Finish with botanical frame painting and matte varnish for a polished, welcoming piece.
You’ll get a cozy frame that feels like it belongs anywhere!
Cottagecore Shelf Decor
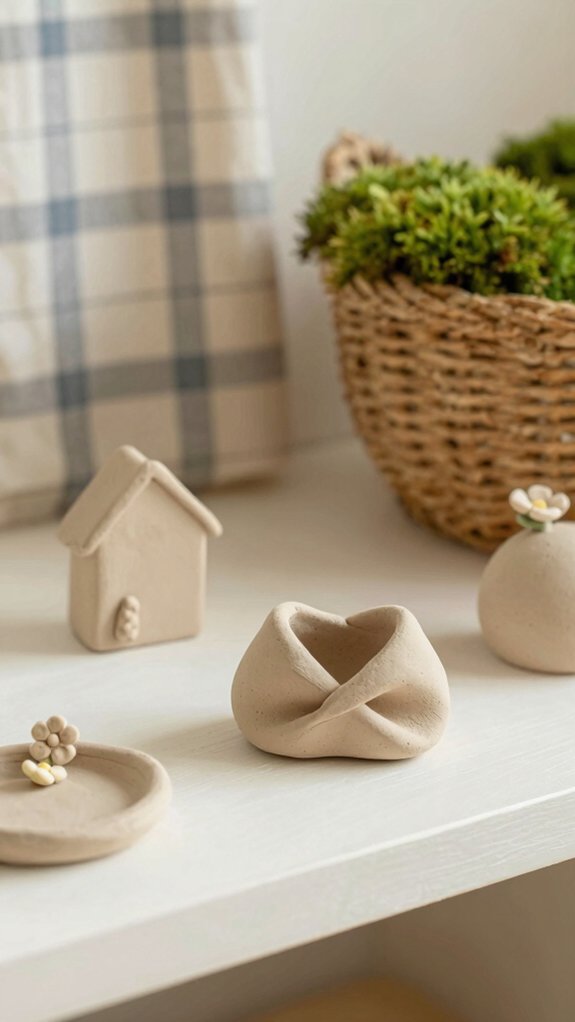
A cottagecore shelf doesn’t have to be decorative to feel magical—it just needs a few little handmade details that look like they wandered in from a woodland daydream!
Start with tiny mushroom clusters: shape oval caps and short stems from air-dry clay, dot them with a toothpick, and paint terracotta, cream, forest green, or burnt orange. Tuck them in a wooden tray with dried moss or pebbles, and suddenly you’ve got a mini forest!
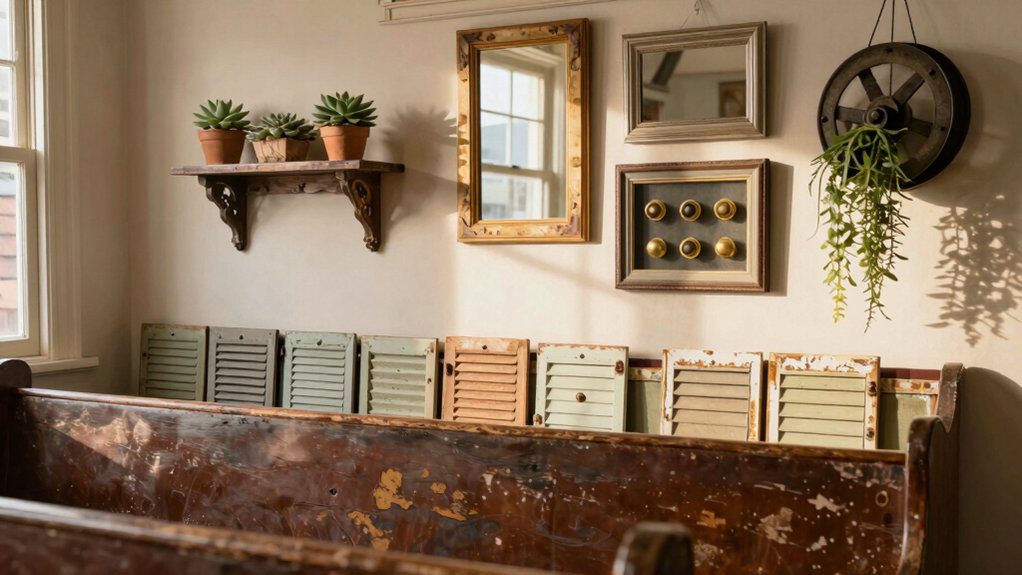
Want more charm? Add cactus planters, moon phases, or textured wall tiles pressed with lace or leaves for cozy leaf details and rustic clay textures. Cute, cheap, and easy!