12 Beginning Clay Projects to Build Confidence
You can build confidence with 12 easy clay projects, like tiny bowls, pinch pots, keychains, coasters, a face pot, a bell, a whistle, coil bowls, a coil vessel, a picture frame, a tealight holder, and a fish. Grab air-dry clay, water, and a sponge, then shape, smooth, and let each piece dry 24–48 hours. Start small, repeat a few forms, and you’ll get neat results fast—then the fun little surprises keep coming!
Love cozy DIY projects? 💕
Get free printable guides, exclusive tutorials & surprise craft goodies straight to your inbox.
Disclosure: This post may contain Amazon affiliate links, at no extra cost to you. Content on DiyCraftNest is created with research support from AI tools and carefully reviewed, edited, and fact-checked by the lead author, Daniel Pat, to ensure accuracy and reliability. Learn more
Key Takeaways
- Air-dry clay is forgiving, making small beginner projects like thumbprint bowls and mini trays easy confidence builders.
- Start with simple forms such as pinch pots, slab cylinders, coasters, and tiny bowls to learn basic shaping.
- Repeating easy projects helps you practice even thickness, clean rims, and smooth curves without stress.
- Begin with hand-built projects like bells, whistles, and face pots to build control before adding details.
- Let pieces dry 24–48 hours, repair cracks early, then paint and seal for quick visible success.
Why Beginner Clay Projects Build Confidence
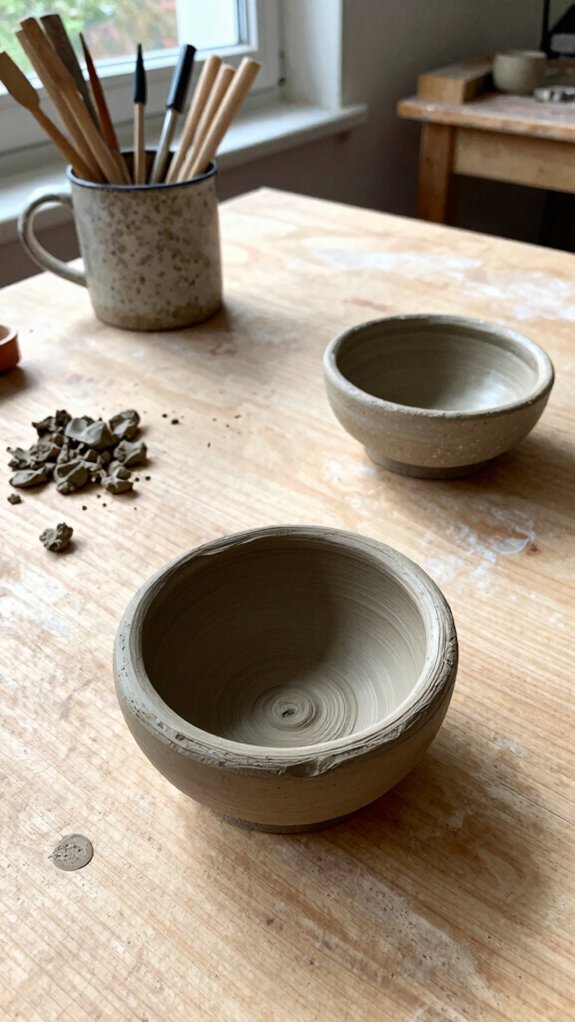
Kicking off with beginner clay projects is a great way to build confidence fast, because air-dry clay is soft, easy to shape, and forgiving when you make a wobbly thumbprint or a lopsided edge.
You belong here, and every small win counts!
With a beginner tool checklist, a bit of water, and simple hands-on practice, you can smooth, pinch, and press without stress.
Mistake repair tips are easy too: blend cracks, rework spots, and check basic clay thickness cues as you go.
Best part? A clear Safety drying timeline keeps you patient, and tiny projects dry quicker, so success shows up fast.
Start With Simple Clay Forms
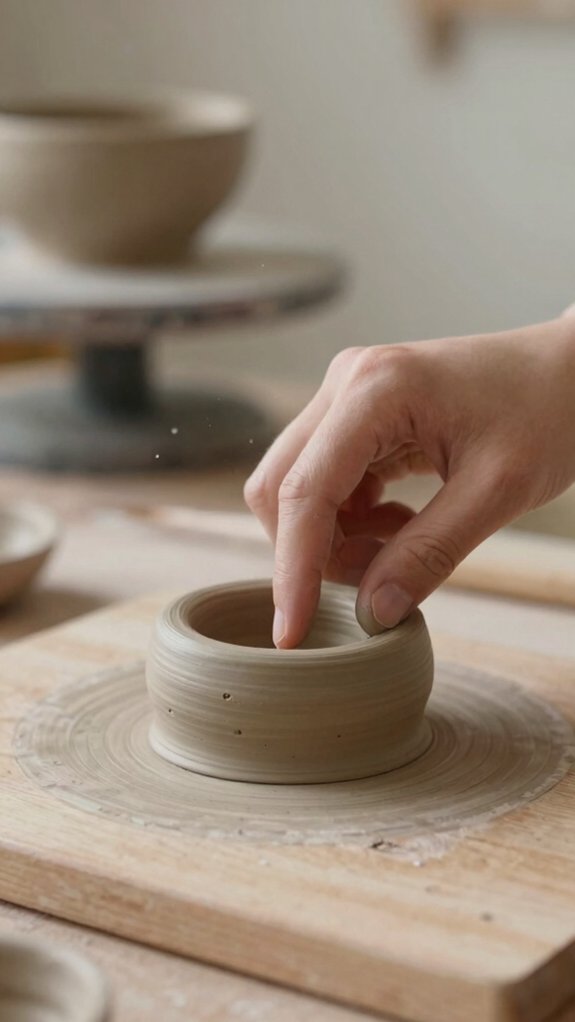
Start simple with hand-formed bowls, little slab cylinders, or mini vases, because these basic shapes help you learn thickness, curves, and clean edges without any drama—phew!
Once you’ve got the core form right, you can add carved lines, cutouts, or fluted details later, and that’s where the fun really kicks in.
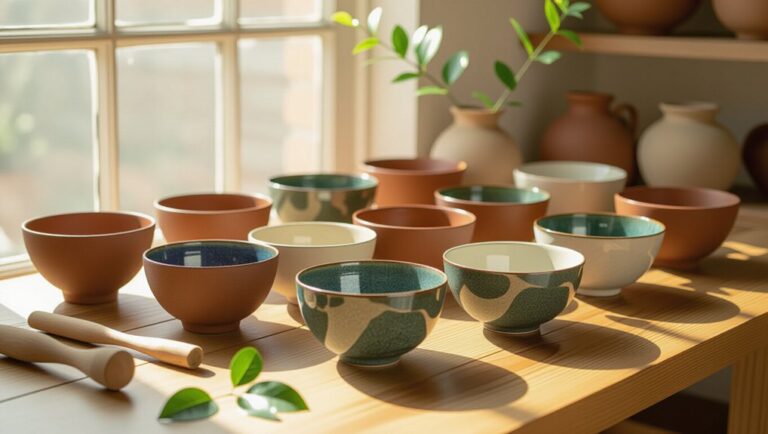
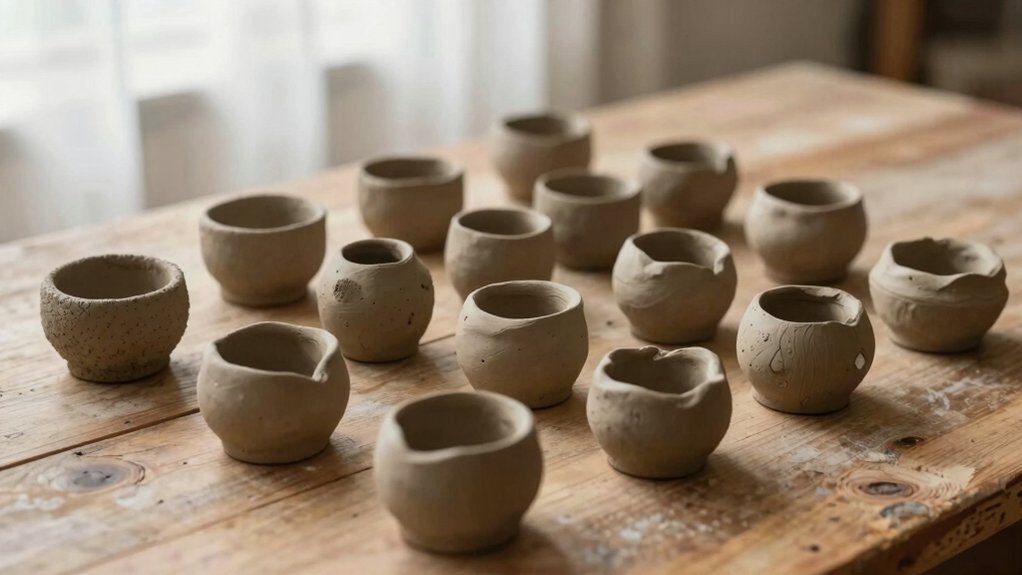
Try making a few small bowls in a row, since repetition builds confidence fast, and you’ll end up with pieces that look neat, useful, and maybe even gift-worthy!
Start Simple
A tiny clay bowl is a great first win, and it’s way less scary than it sounds! Roll clay into a ball, press your thumb in, pinch the sides, and smooth with a little water. Cheap, easy, and proudly lopsided is still cute!
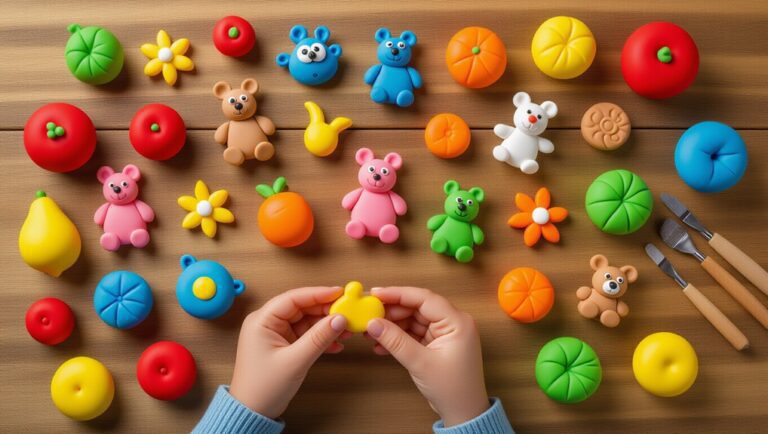
Want another fast win? Flatten clay for a keychain or fridge magnet, cut a heart, letter, fruit, or smiley, and add a hole before drying. For glaze safety tips and firing schedule basics, keep it simple and ask your studio helper.
Finish with a mini trinket tray, lift edges gently, dry 24–48 hours, then paint and seal for extra charm.
Build Basic Forms
From a little clay ball to a real shape, this is where the fun starts getting hands-on! You can pinch a tiny bowl, press your thumb in, pinch the sides, and smooth it with a splash of water. It’s great for leveling thickness and troubleshooting cracking.
Want something flatter? Roll clay for coasters, cut circles or squares, and add a light texture, easy and cheap!
If you want a quick win, try a mini trinket tray, then gently lift the edges into a low wall.
Save the surprise move for last: make a charm with a hole before drying, and let everything dry flat, 24–48 hours.
Add Details Later
Once your clay base is formed and smooth, the magic really kicks in, because you can add tiny details without fighting a lumpy mess later!
Start with a thumb-pressed bowl or slab coaster, then smooth seams with a little water and a sponge. Easy, right?
Use a toothpick or skewer for lines, dots, or tiny textures, and keep each addition small so your piece won’t crack like a grumpy cracker.
Plan for details last, like keychain holes or charm spots, before the final dry.
Let it dry 24–48 hours, then think glazing timing and sanding tips for crisp, proud results!
Make a Beginner Clay Bowl Set
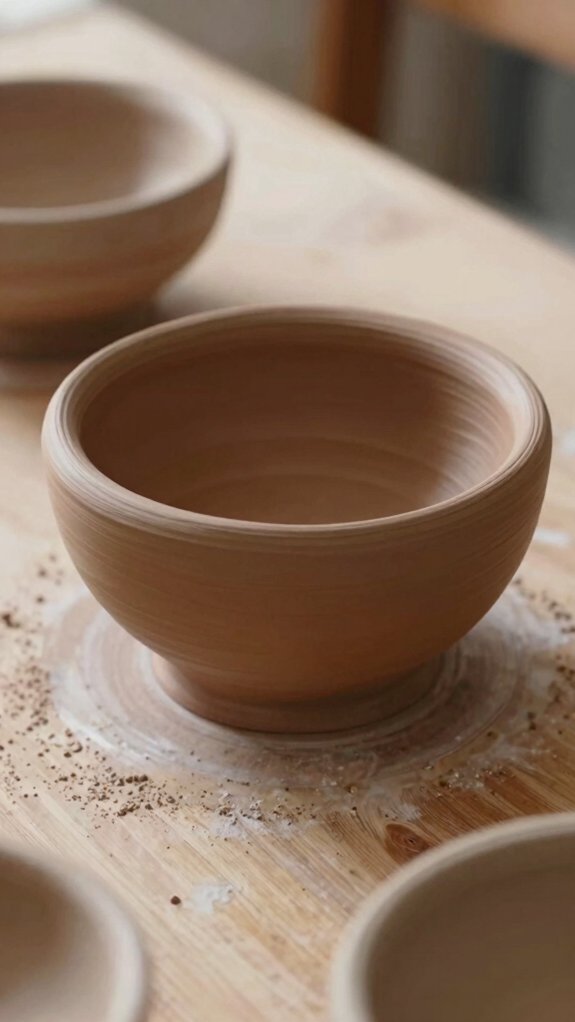
You can make a fun three-bowl set by trying a coil bowl, a pinch pot bowl, and a slab bowl, and that gives you a hands-on taste of the three big clay basics—nice, right?
Start by forming each bowl first, because a solid shape makes the whole project go smoother, and the pinch pot bowl especially needs slow pinching to keep the walls even, not lopsided like a wobbly cereal bowl.
After they dry enough to hold their shape, you can add carved patterns or little sculptural details, which is when the set starts looking extra cool and uniquely yours!
Three-Bowl Progression
As you move into a three-bowl progression, you’ll build one coil bowl, one pinch pot bowl, and one slab bowl, which is a fun way to practice the big three hand-building basics in a single lesson—pretty neat, right?
Grab clay, a needle tool, and a sponge, then form each bowl the same way: make the base, shape the walls, and keep the rim steady.
For the pinch pot and slab bowl, use Rim reinforcement tips and drying time planning, because even thickness helps them stay strong.
Add one small personal touch to each, then let the set dry 24–48 hours.
You’ll leave feeling like you belong here!
Form Then Decorate
Before you start decorating, build the bowl first, and keep the main shape simple so it doesn’t turn into a clay circus! You’ll make a beginner set of three, a coil bowl, a pinch pot bowl, and a slab bowl, using clay, a little water, and basic tools.
Form each one, smooth the rim and base, and aim for even thickness so the set dries evenly.
Then let them dry fully, often 24 to 48 hours.
Decorate after drying with textures, cutouts, or carved patterns, and avoid overworking surfaces.
You’ll get sturdy bowls and a big confidence boost, too!
Make a Pinch Pot Bell
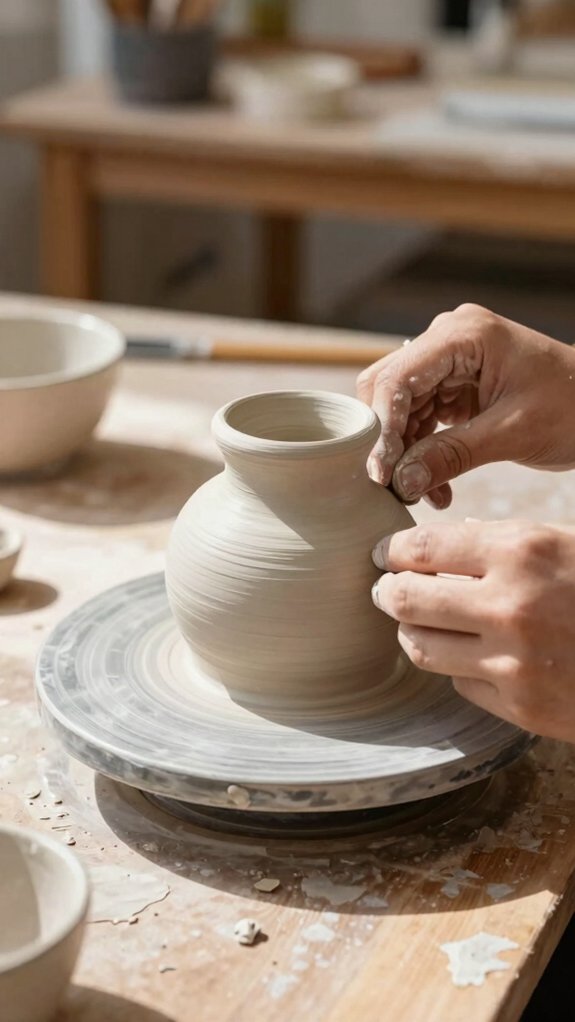
A pinch pot bell is a tiny clay project that feels almost magical, because a plain little ball of clay can turn into a cute bell with just a few careful squeezes! You’ll feel right at home here, and your clay tool basics stay simple.
- Roll clay into a small ball.
- Press your thumbs in, then pinch the walls outward.
- Make the base first, then thin the rim into a bell lip.
- Add a tiny clapper inside, smooth it, and follow drying safety tips.
Keep it dry slowly, out of sun, 24–48 hours.
If you’re feeling fancy, carve lines when leather-hard!
Shape a Clay Whistle
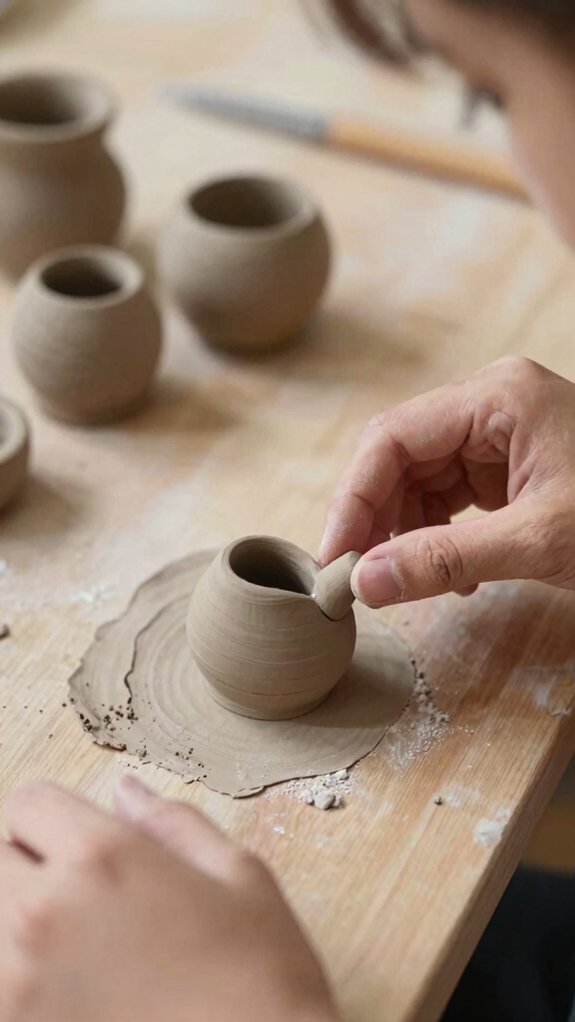
You’ll start your clay whistle with a tiny pinch-pot body, then shape the air channel and mouthpiece with your fingertips and a wooden skewer—easy tools, big payoff!
Getting the openings lined up can be a little fussy, so take your time on the front end, and don’t worry if the first try sounds more like a squeak than a song.
Keep the walls even, play with fun shapes like a bird or a little bean, and let it dry fully before you test that first whistle, because that’s when the real magic kicks in.
Whistle Setup Steps
Once your little clay vessel is ready, start shaping the whistle with a plan, because this tiny thing needs teamwork from the very beginning! You’re not alone here, friend.
- Roll the walls thick and even.
- Make a small mouth opening and an inner air path.
- Use a toothpick or skewer to adjust both, then smooth the outside without widening them.
- Let it dry 24–48 hours, then test gently.
Keep it compact so the channel won’t slump, and save glazing basics and fired safety for later.
A careful setup helps your whistle sing, not sigh!
Sound-Making Challenges
Clay whistles look tiny and cute, but wow, they can be picky little drama queens!
You’ll want a pinch pot body, a clean channel, and a tiny mouthpiece hole with drilling precision, because sound starts inside, not outside.
Plan extra drying time, often 24–48 hours, so you don’t rush the clay and crack your hopes.
During Troubleshooting airflow, test with gentle blows and keep the walls even.
If the note’s weak, tweak the windway, then try sound tuning again.
This beginner project costs little, teaches patience, and feels amazing when you finally hear that first happy tweet!
Creative Shape Options
Tiny whistles can wear a lot of personalities! You’ll start with a pinch-pot body, keeping the walls thick so your shape stays steady.
Then sneak in the whistle channel with a toothpick, and don’t crush it while smoothing.
- Round pebble: easy, sturdy, cute.
- Pointed leaf: slim, airy, playful.
- Tiny bird: great for textural experimentation.
- Squat cup: best for color testing later.
Make the mouth opening clear before drying, because changes get tough fast.
Let it dry 24–48 hours in shade, then sand lightly and paint or seal it.
Your whistle’ll feel like yours!
Create a Face Flower Pot
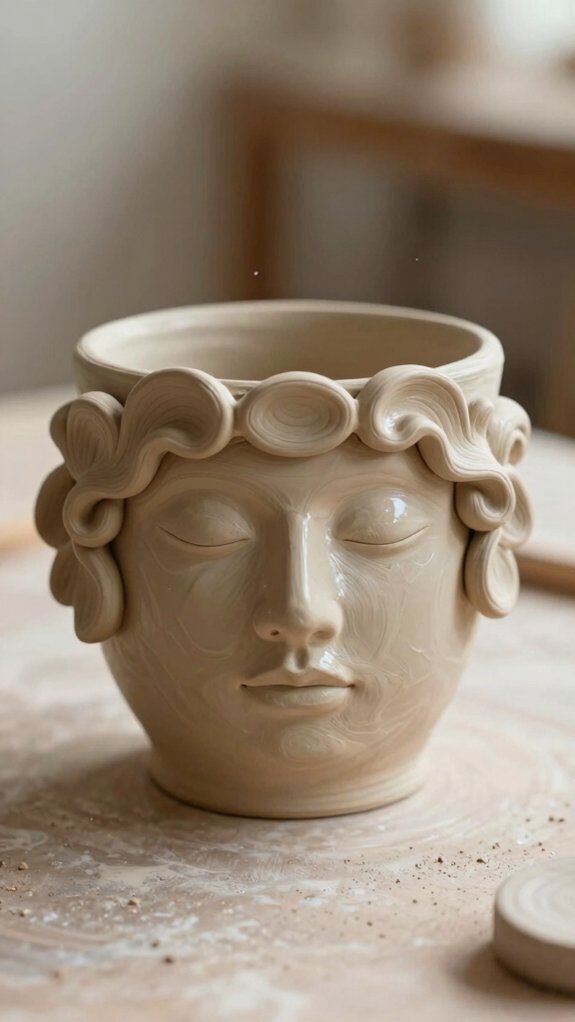
If you want a project that’s cute, a little goofy, and super beginner-friendly, a face flower pot is a fun place to start! Gather air-dry clay, water, a sponge, and follow Clay tool safety. Roll a ball, flatten it, pinch up the sides, then smooth the outside.
| Step | What to do | Tip |
|---|---|---|
| 1 | Shape the pot | Keep walls even |
| 2 | Add features | Press eyes, nose, mouth |
| 3 | Add texture | Use tiny pinches |
| 4 | Dry it | Do drying time checks |
Blend seams, then let it dry 24–48 hours. Paint later—your new clay buddy’s ready!
Learn Coiling With a Coil Bowl
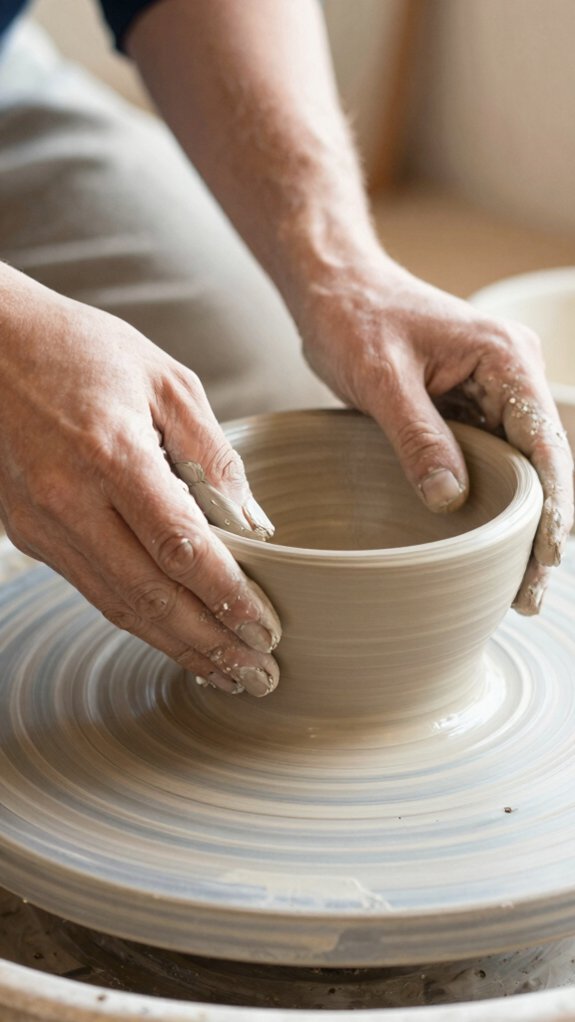
Ready to level up from that silly-cute face flower pot? Grab clay, water, and a simple tool kit, then start stacking coils on a base. You’ll feel like you belong in the maker club fast!
- Roll 10–12 hand coils, or 16–18+ extruder coils, for a comfy bowl size.
- Press and blend each join, using slip-and-smooth for coil join practice.
- Keep even thickness tips in mind, so your bowl won’t warp while drying.
- Add texture, cut a little negative space, then smooth the rim and base.
Let it dry fully before you paint—patience pays, and your bowl’ll look proudly handmade!
Make a Coil Picture Frame
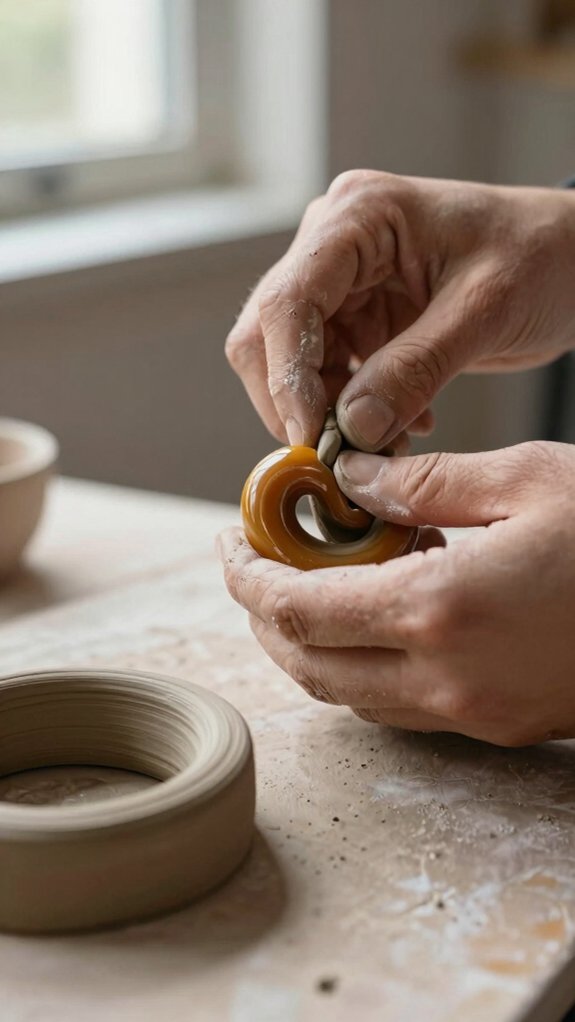
Stacking a coil picture frame is a fun little upgrade, and it’s way easier than it sounds! You’ll feel right at home making one.
| Step | Action |
|---|---|
| 1 | Roll slabs, cut pieces, and lay them flat first. |
| 2 | Add even coils, press firmly, and use surface smoothing tools. |
| 3 | Texture, blend one side, then attach backing. |
Keep the coils the same thickness, so the frame stays neat, not wobbly. Clay drying tips matter here: let it dry slowly and fully before painting or sealing. That last patience trick helps avoid warping, and honestly, it saves you from a sad, squishy surprise!
Build a Traditional Coil Vessel
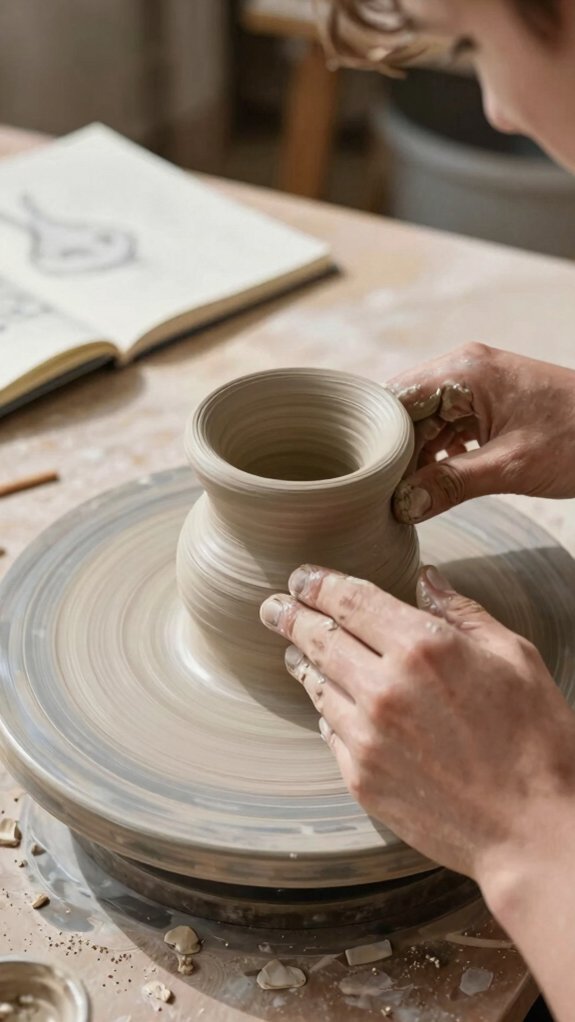
A traditional coil vessel is a little more old-school, a little more magical, and honestly, it feels like building a clay tower with your own two hands! You’ll fit right in.
- Roll even coils.
- Stack them layer by layer.
- Blend each new coil to the one below.
- Smooth inside and out, then let it dry.
Aim for 10–12 inches by hand, or 16–18+ with an extruder. Add a handle or carved openings for negative space. Keep your drying schedule steady, so cracks don’t crash the party. Later, do glaze testing and show off your sturdy, friendly vessel!
Start With Beginner Slab Projects
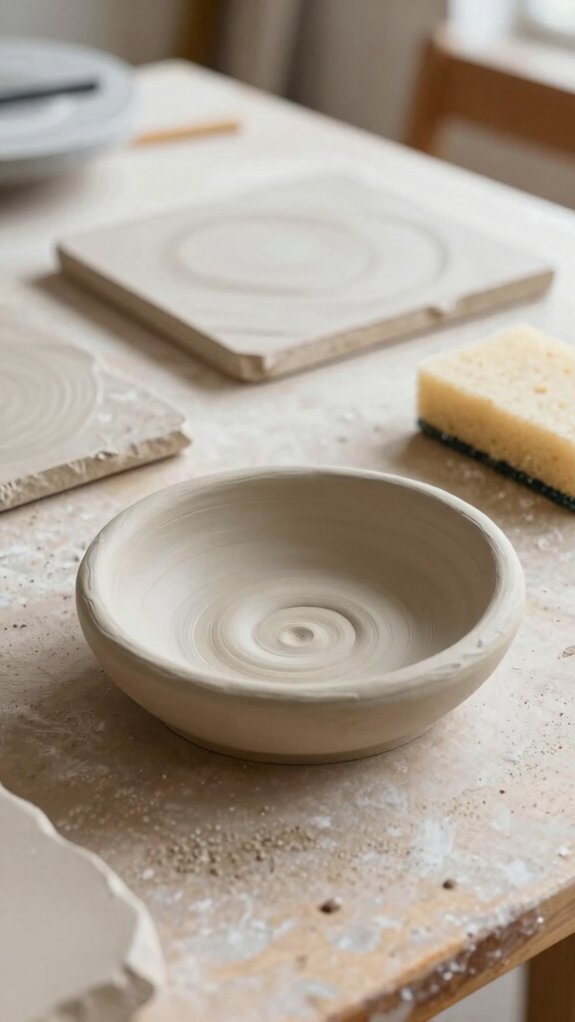
With slab projects, you can jump right into clay without wrestling a giant lump, and that’s pretty nice! You’re in the club fast. Try this quick guide:
| Idea | Steps | Result |
|---|---|---|
| Bowl | Cut a rectangle, drape it over a bowl | Easy curve |
| Soap dish | Press slab on a mould, add holes | Handy daily use |
| Spoon rest | Curve, notch, finish | Repetition builds skill |
Use Guided slab practice, then follow simple drying tips: let pieces set slowly and evenly. Want more? Add walls and a handle for a mug later. Small wins, big confidence—seriously!
Craft a Slab Tealight Holder
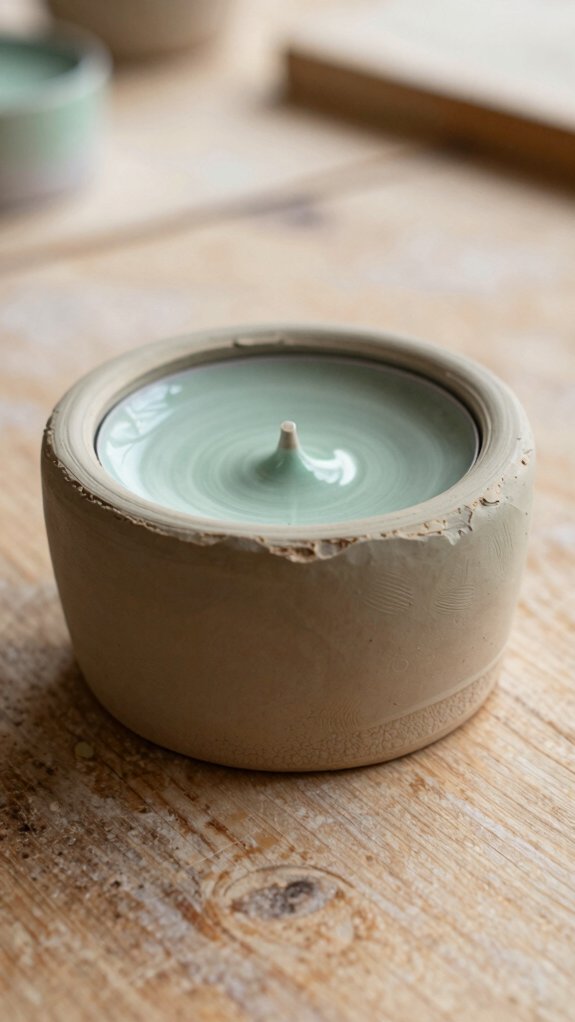
If you want a tiny clay project that looks magical fast, a slab tealight holder is a great pick!
You’ll fit right in making one, and it’s easier than it sounds.
- Roll a slab and cut a base with a tealight template.
- Curve it into a cup, smooth the edges, and punch a light hole.
- Add simple patterns before it dries, then let it rest 24–48 hours.
- For glaze safety and kiln free firing, seal it after drying and use an LED tealight.
That little glow feels cozy, clever, and totally yours!
Make a Slab Fish Project
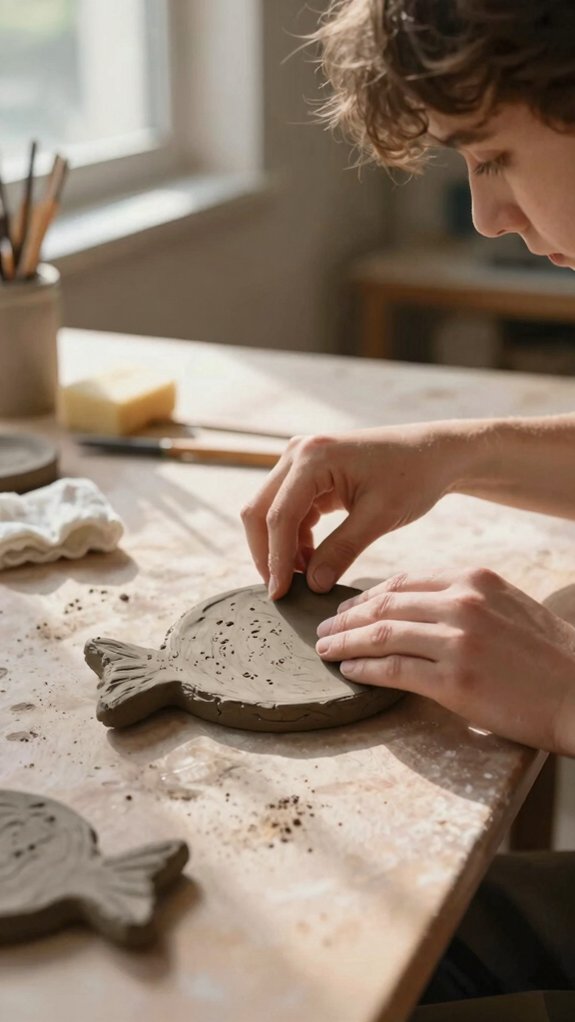
Once you’ve got a slab rolled out, making a fish project feels surprisingly fun, and honestly, a little bit magical! You’ll sketch a fish shape, then cut it cleanly with a sharp tool, keeping fins and tail simple so the whole piece stays light.
Use texture practice here, adding lines, scales, or playful marks while the clay’s still in the Wet vs dry sweet spot.
If you want extra pieces, score and slip them on so they hold tight. Add Sharpie or paint pen color before it dries, then let it rest flat for 24–48 hours.
You’ll get a cheerful fish that feels like yours!