13 Sewing Alteration Tips That Make Clothes Fit Like They Were Custom Made
You can turn “almost fits” into favorites with 13 easy alterations—yay! Use pins, tailor’s chalk, matching thread, sharp scissors, and a basic machine to hem jeans, taper pants, take in tees, fix gaping necklines, adjust waists, resize skirts, shorten straps, move buttons, replace elastic, and repair loose seams. Measure twice, baste first, and press every seam for a clean finish. Best trick? Keep jeans’ original hem for a store-bought look. Keep going for simple steps that make each fix feel custom.
Love cozy DIY projects? 💕
Get free printable guides, exclusive tutorials & surprise craft goodies straight to your inbox.
Disclosure: This post may contain Amazon affiliate links, at no extra cost to you. Content on DiyCraftNest is created with research support from AI tools and carefully reviewed, edited, and fact-checked by the lead author, Daniel Pat, to ensure accuracy and reliability. Learn more
Key Takeaways
- Pin and baste adjustments inside out before cutting, checking fit gradually from the waist, side seams, or neckline.
- Keep alterations symmetrical by measuring both sides and marking matching seam lines with chalk or pins.
- Hem pants and dresses while wearing the intended shoes to preserve a natural front break and balanced length.
- Take in excess fabric in small, blended increments, tapering smoothly to avoid puckers, twisting, or tight armholes.
- Press every seam, dart, and hem as you sew, then finish raw edges with zigzag stitching or another anti-fray method.
Shorten Jeans Without Losing the Original Hem
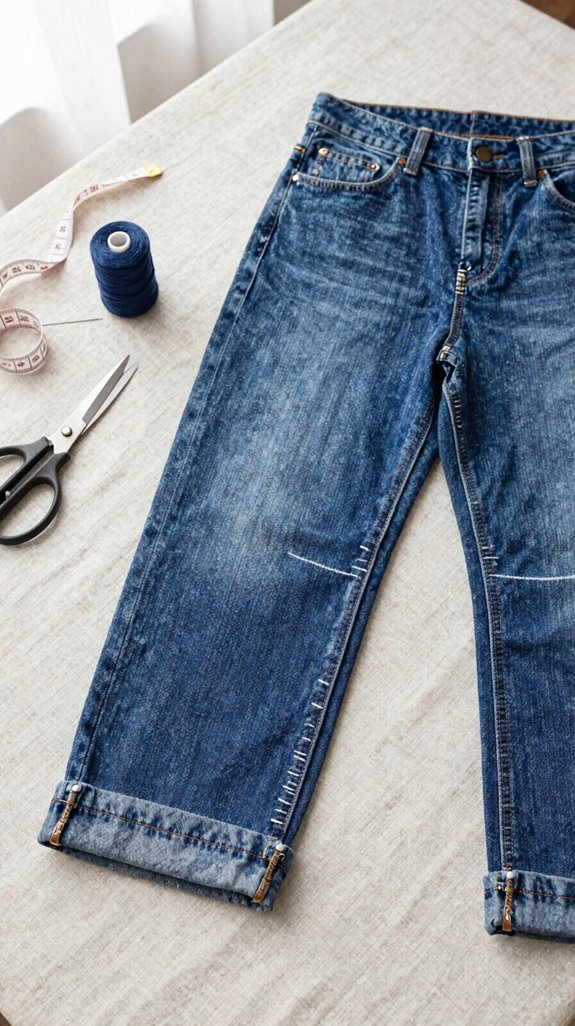
Getting jeans to the right length can make an everyday pair look instantly sharper—no ankle puddles, no awkward bunching around your shoes!
Put them on with your usual shoes, then mark a slight front break. Measure evenly around the leg, cut excess fabric, and leave seam allowance. You’ll need pins, an iron, matching thread, and a sewing machine—nothing elaborate!
Next, carefully remove only the factory hem stitching and press it flat. Fold it back in the same pattern, then Recreate hemstitching close to the edge.
Here’s the secret: press again before sewing the final line. This helps maintain front break, keeps the hem straight, and makes your jeans look store-bought, not DIY!
Take In a T-Shirt
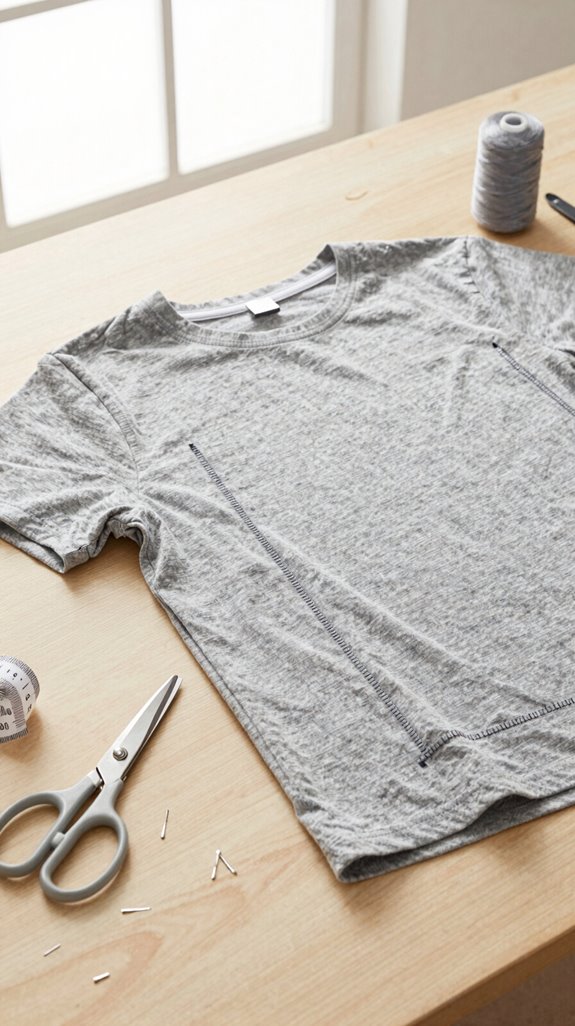
A too-loose T-shirt doesn’t have to live at the back of your drawer—taking it in at the side seams can give it that easy, almost custom fit without a pricey tailor visit!
Turn it inside out, try it on, and use Fit check pinning from underarm to hem, pinching only the extra fabric.
With matching thread, mark your line with seam allowance marking, then straight-stitch and reverse-stitch both ends.
Trim the excess and zigzag the raw edge so it won’t fray.
Press seams flat for a clean finish—your crew will never spot the change!
For a tucked style, shorten the hem slightly to prevent that sneaky waist bulge.
Adjust a Waistband
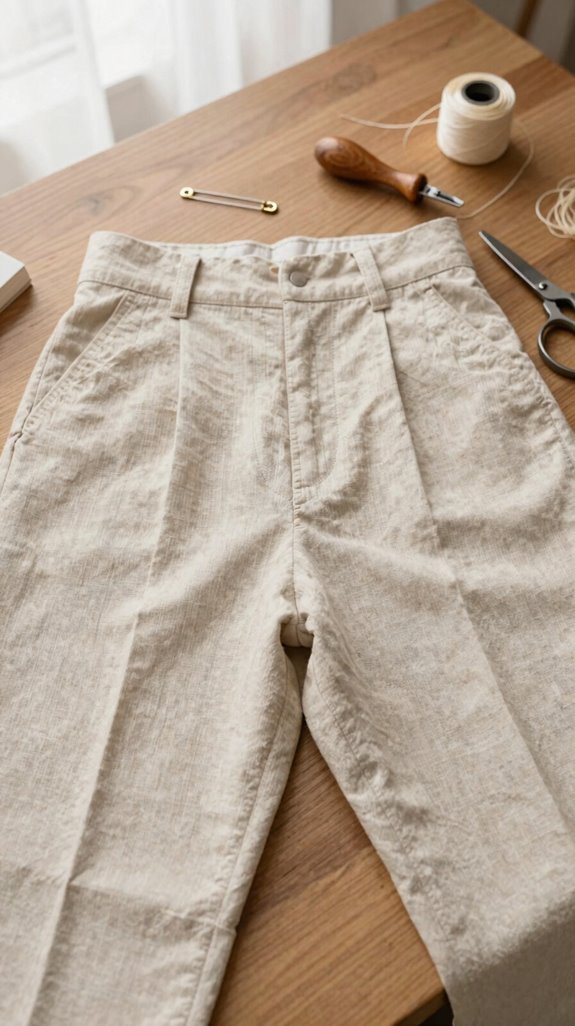
Fine-tune a loose waistband, and your favorite pants or skirt can feel made for you again—no expensive tailor trip required!
- Put it on inside out, then pin or baste gradually at each side seam. You’ll see exactly what needs changing!
- Measure both sides so your waistband fit stays even and center front and back don’t wander off.
- For a stubborn waist gap, add two small waistband darts instead of squeezing the sides too tight. Hello, smoother hips!
- Check side seam alignment, sew the panels, and press carefully. This lets you adjust for weight changes without puckers, pulling, or a wonky-looking finish.
Shorten Dress Straps
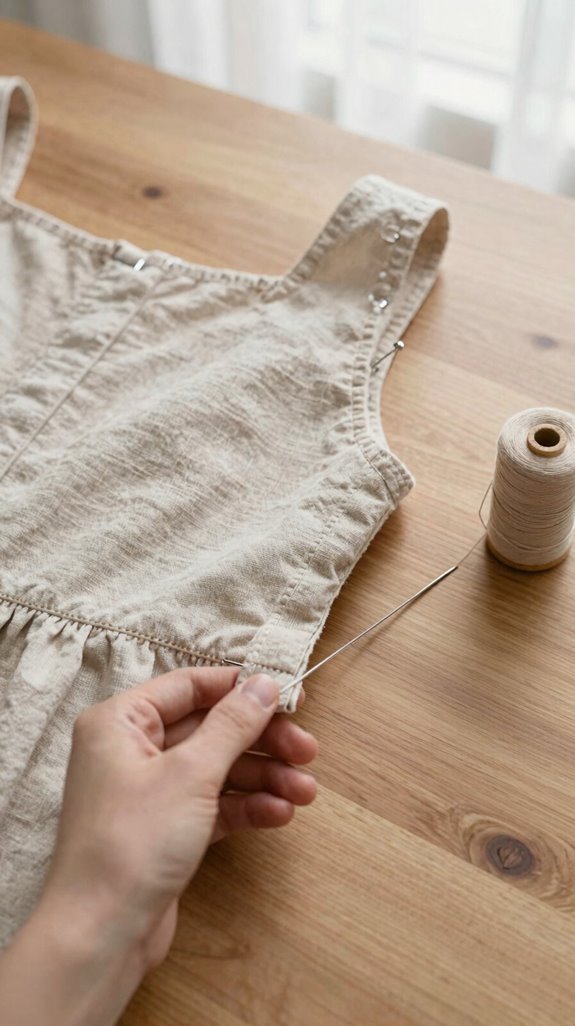
When your dress straps keep slipping or leave the bodice sitting too low, a quick shortening can make the whole fit feel brand-new—no tailor bill required! Put the dress on inside out with your event shoes, then pin each strap where the bodice feels secure, not tight.
Grab matching thread, pins, scissors, and an iron. Remove or re-pin the strap at its seam, stitch at your mark, trim excess, and press it flat. Hello, polished finish!
Before celebrating with your fellow DIY lovers, do strap symmetry checks while test-wearing. If the bodice bunches, try bodice fit rebalancing with a tiny side-seam adjustment—your neckline will sit beautifully evenly.
Resize a Skirt Waist
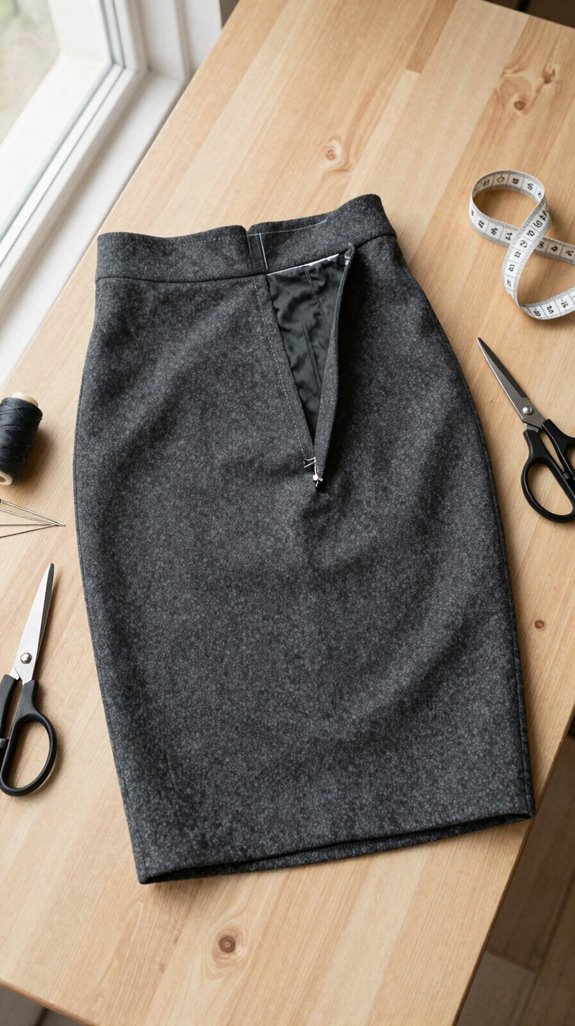
A snug skirt waist can transform the whole silhouette—no belt loops, safety pins, or awkward waistband bunching required!
- Try it on inside out; use a Pinning technique at the back or side seam.
- Measure both sides so your adjustment stays balanced and flattering.
- Taper from waist to hip, avoiding the dreaded too-tight pinch!
- Use seam allowance marking, sew, trim, zigzag, and press.
If there’s a zipper or lining, work carefully beside it to keep everything coordinated. Then recheck the fit before closing the lining. Press the seam as the skirt originally directs, and voilà: a smooth, gap-free waist that feels like it belongs in your closet—and on you!
Hem Curtains Evenly
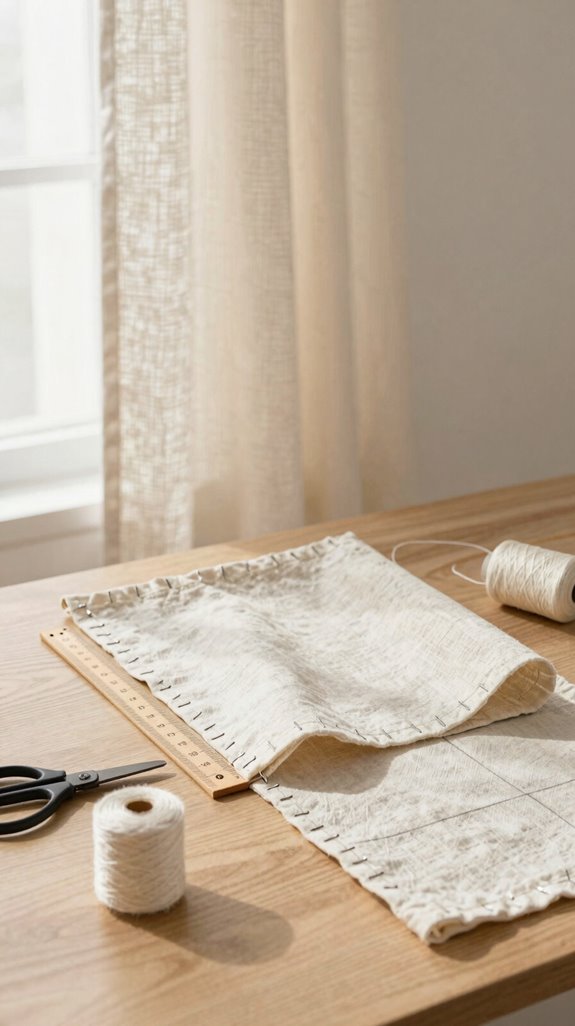
Although curtain hems seem simple, an uneven edge can make the whole window look crooked—no one wants a curtain doing a tiny downhill slide! Join the neat-hem club with pins, chalk, an iron, and a ruler.
Hang or position each panel as it will sit, then mark the finished length at several points. Hem measurement accuracy matters, so compare every mark before cutting excess fabric.
Next, fold the raw edge inward, press, fold again, and stitch slowly near the fold. Keep curves flat—no rushing!
Finish with even seam pressing. That final press makes the double-fold hem crisp, helps curtains hang smoothly, and gives your room a polished, together look.
Fix Gaping Necklines
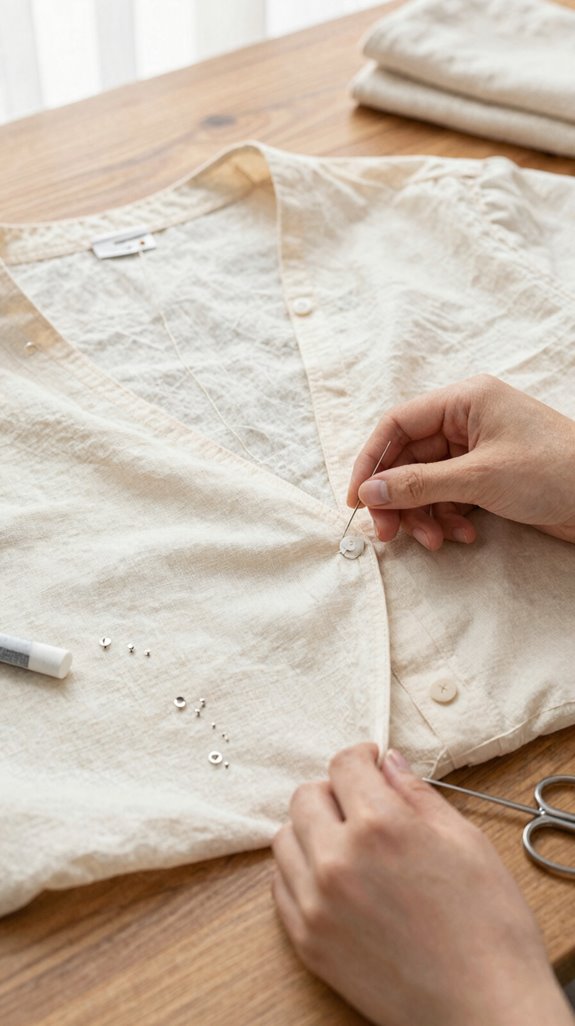
Start by turning the garment inside out and pinning the neckline where it stands away from your body—easy, low-cost, and no special tools required! You’re joining countless sewists solving this sneaky fit problem!
- Pin gaps to test the fit.
- Mark gradual side-seam or center-back reductions.
- Baste, try on, then press each change.
- Measure both sides for collar rebalancing.
For Neckline stabilization, check whether each side holds equal extra fabric; uneven amounts can create a twisted-collar look. Don’t trim yet—sew and retry first!
If a loose shoulder causes the gap, take in near the shoulder seam. It’s more work, but wow, it fixes the source!
Narrow Pant Legs
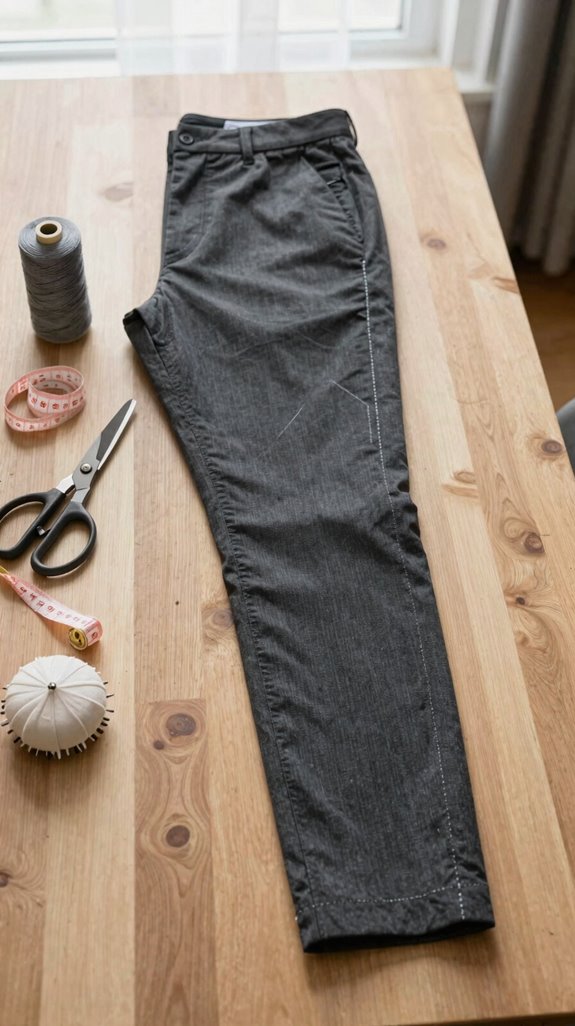
When pant legs billow below the knee, a gradual taper can turn that extra fabric into a cleaner, sharper shape—without buying a new pair, hooray!
Choose pants that fit your thighs and hips, then turn them inside out.
Grab pins, chalk, and a mirror; pinch and blend from at or just below the knee toward the hem in tiny steps.
Try them on as you pin, because your crew knows fit is everything!
Sew slowly, press each change, and check grain matching so seams don’t twist around your ankles.
For the polished finish, hem with your usual shoes on: aim for a slight front break and 1/4–1/2 inch above the floor in back.
Lengthen Sleeves
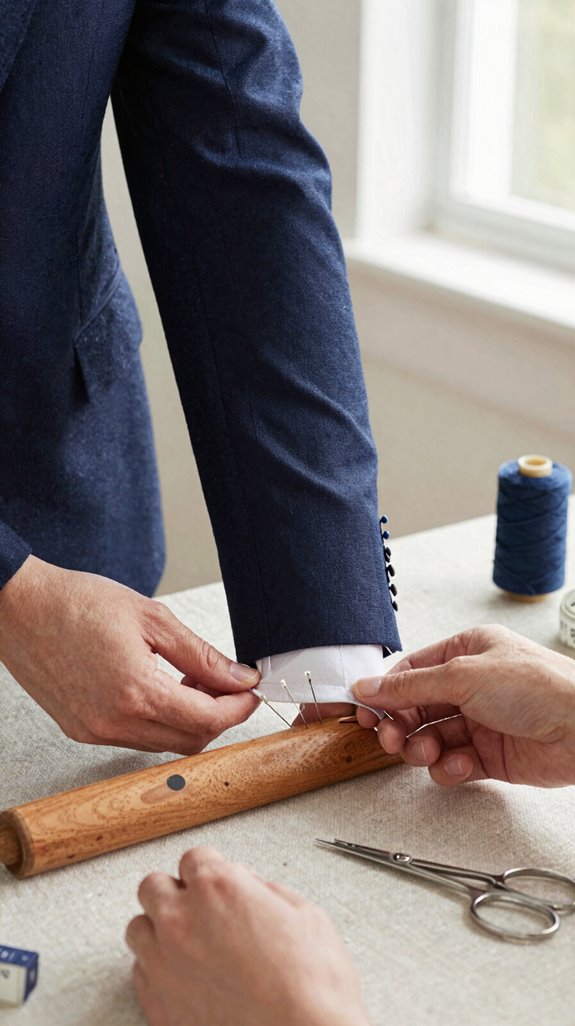
Sleeve length can make a favorite shirt look custom-fit again—pretty great for a small sewing fix!
- Wear it, then pin the ideal wrist point; tiny cuff differences show!
- Open the hem and use the Sleeve seam allowance for a subtle extension.
- Add cuff matching fabric, aligned with the grain, for extra length and style.
- Baste, press, and test your reach before straight-stitching permanently.
You’ll get a polished result without a pricey tailor visit.
Re-form a double-fold hem, or use a clean stitched edge.
Finally, lift your arms and check the sleeve pitch and ease; if it pulls, adjust before sewing.
Your shirt will feel like it belongs in your wardrobe again!
Replace Elastic Waistbands
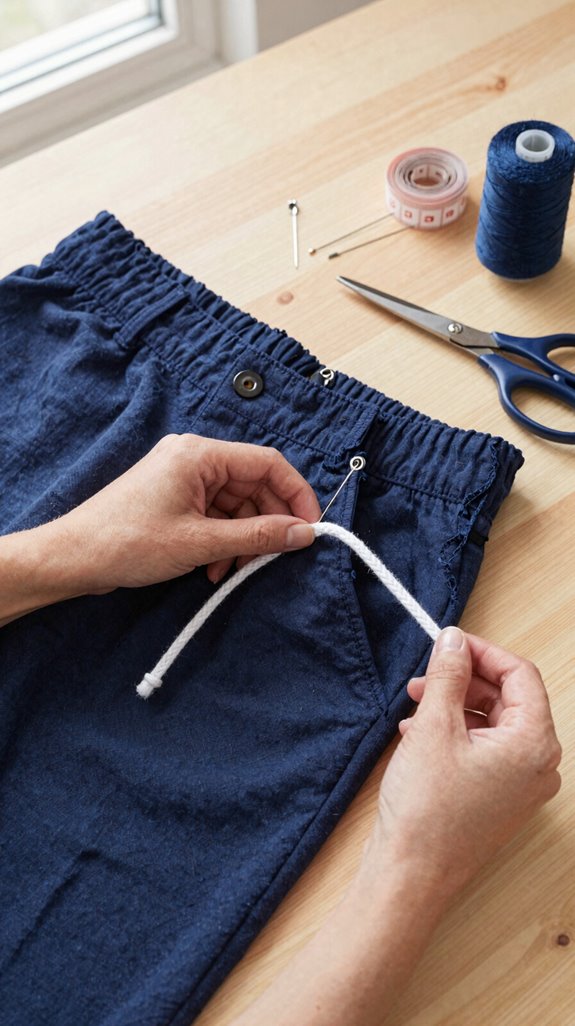
A tired elastic waist doesn’t have to send an otherwise great skirt or pair of pants to the donation pile—hooray for a fix that can look far more polished than the original!
Open a back or side seam, unpick the elastic, and flatten the waist.
For measuring accuracy, pin the garment while you’re wearing it, marking where it feels snug but comfy—no mystery muffin-top math!
Next, sew a waistband band with seam allowance, fusible interfacing, and neat topstitching.
Add belt loops for easy adjustment, or choose sleek waistband closures like hook-and-bar or button-and-loop options.
Press well, try it on, and check for gaping.
You’ll get a crisp, custom-looking finish that fits right in.
Move Buttons for a Better Fit
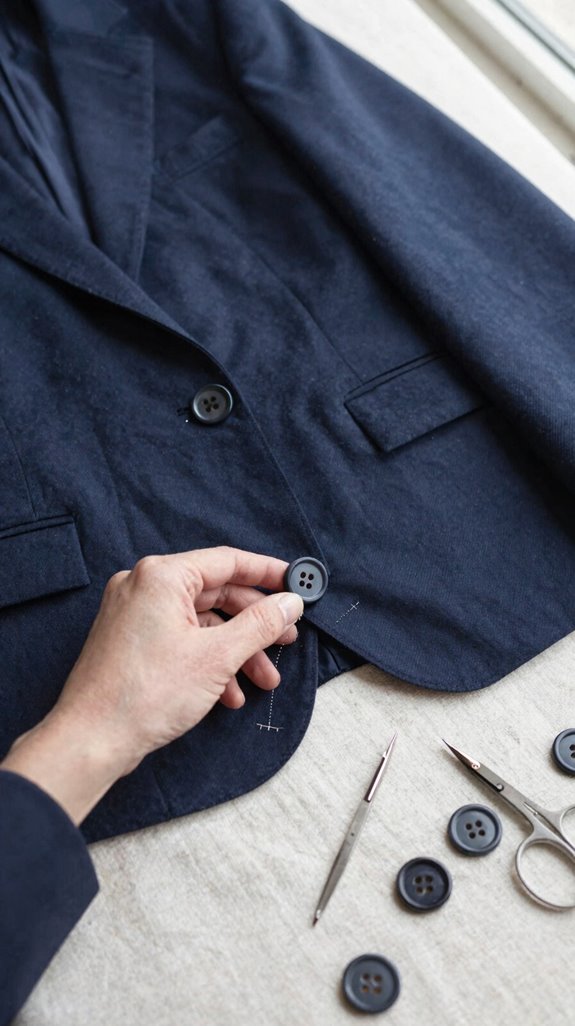
Moving a button can make a shirt or dress fit like it was made for you—seriously, no sewing wizardry required!
- Do a fit test at the widest part first—bust, waist, or hips.
- Mark new button spacing with chalk or pins, keeping both sides even.
- Shift buttons a few millimeters at a time, then try it on again.
- Keep buttonholes the same length so everything lies flat—ta-da!
If fabric strains, move buttons farther apart. If it gaps, bring the problem buttons closer together.
You’ll create a smoother placket and join the “how does that fit so well?” club!
Repair Loose Seams
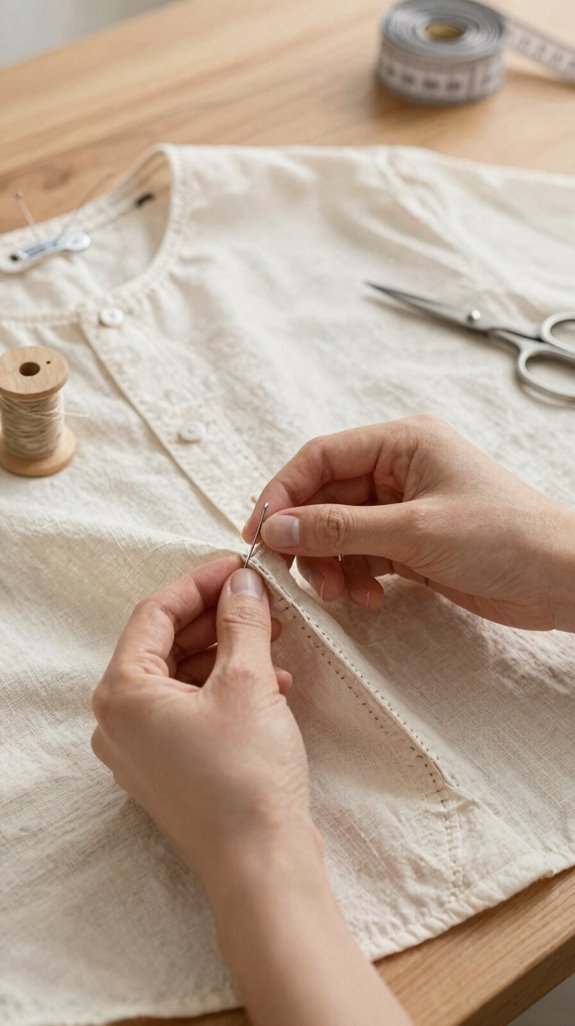
Loose seams can sneak up on you, but a quick check now can save your favorite shirt from a full-on fabric mutiny! Gently tug along seam lines, especially underarms, pockets, and shoulders, looking for gaps or skipped stitches.
Grab matching thread, pins, and an iron. Do Thread tension checks first, then open only enough stitching to reach the weak spot. Sew a fresh straight line beside the original, backstitching at both ends.
For knits, choose a stretch stitch so your repair moves with you. If edges fray, add reinforcement zigzag stitches first, then resew. Trim excess allowance and press flat—your garment will blend right back into the crew!
Adjust Shirt Side Seams
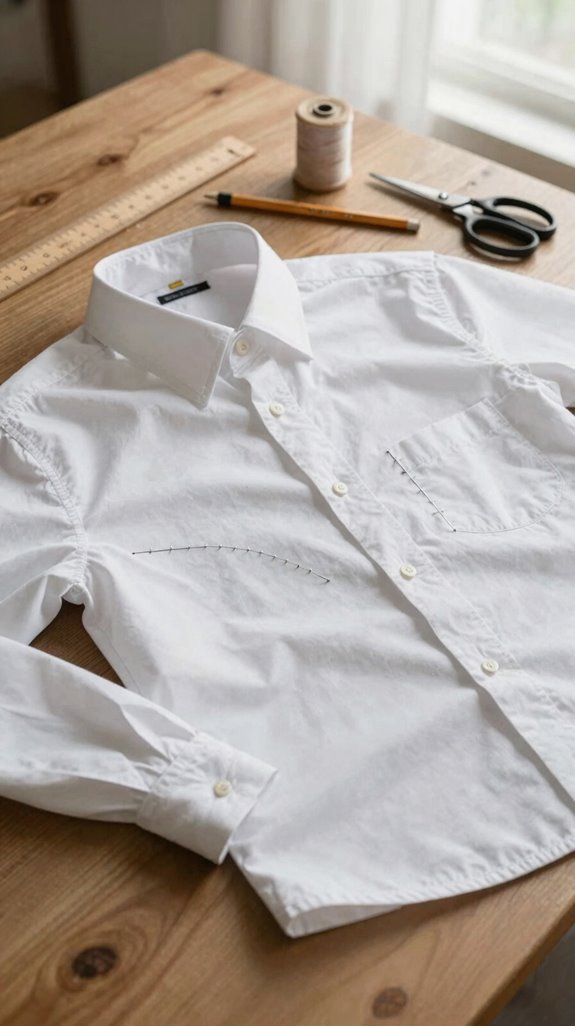
If your shirt fits like a tiny tent, adjusting the side seams can give it a neater, more custom shape—no sophisticated tailoring bill required!
- Turn it inside out, wear it, and pin from armpit to hem in small steps.
- Measure both pinned sides, then mark matching seam lines for symmetrical fitting hacks.
- Straight-stitch the marks, trim excess, and zigzag raw edges to stop fraying.
- Keep fabric flat; side seam pressing creates that polished, “you belong here” silhouette!
If the armhole pulls, gently taper into the seam or adjust the sleeve too. Small changes, big confidence—ta-da!
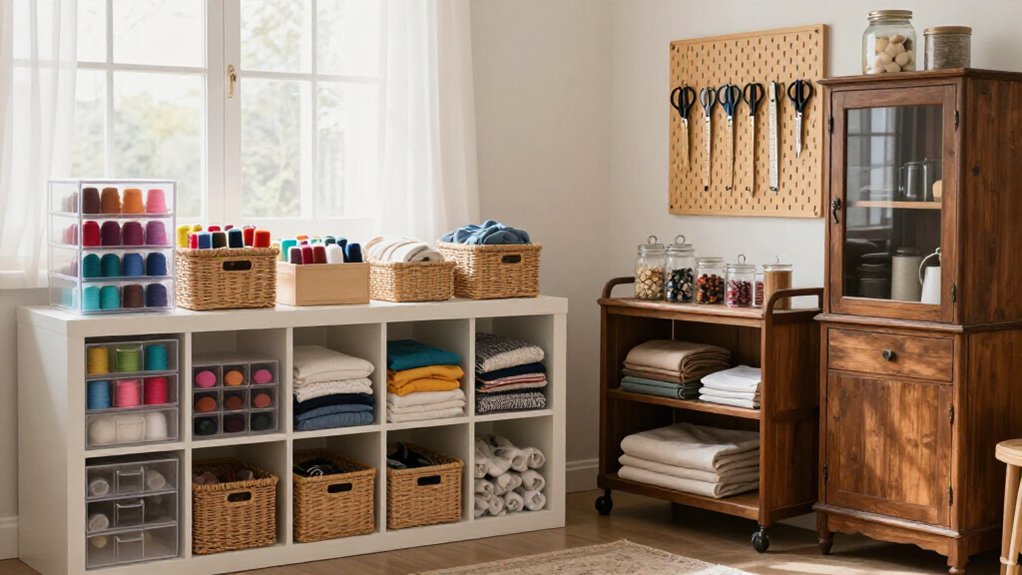
Tools Every Beginner Should Own
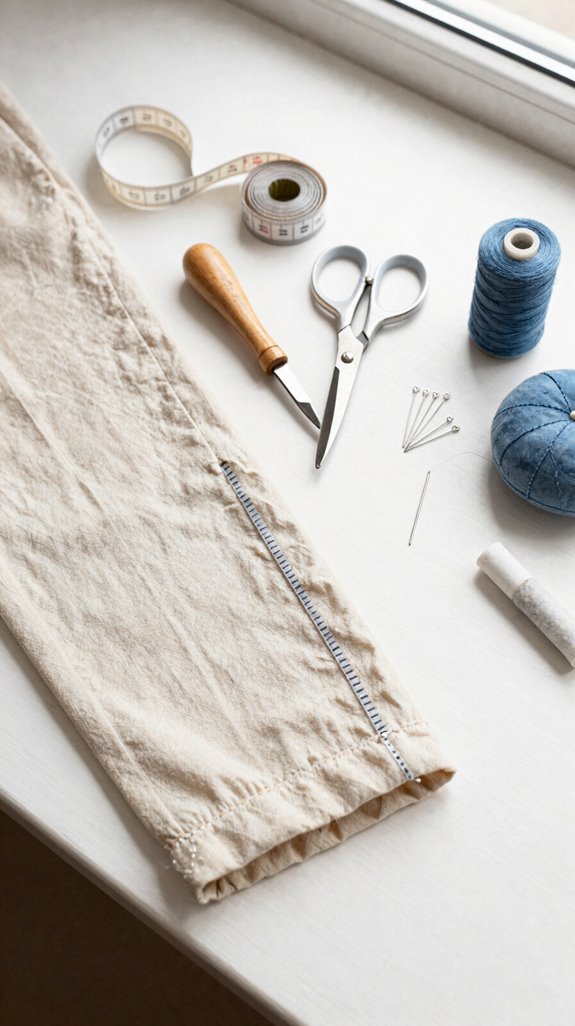
A smoother side seam starts with a small, beginner-friendly tool kit—nothing special, promise!
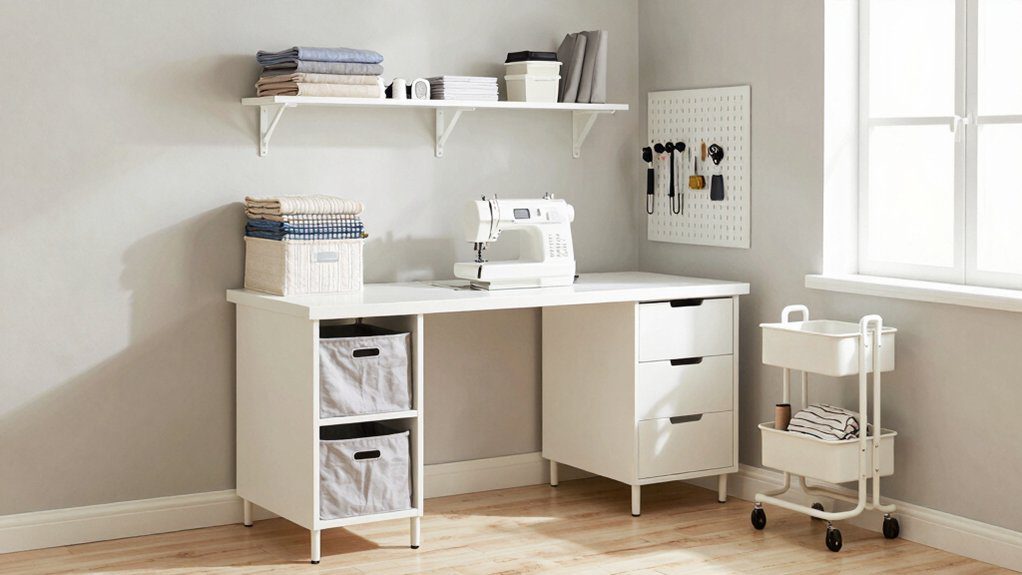
You’ll fit right in with a basic Singer-style machine, often around $70, plus sharp fabric scissors. Add thread matching so your straight stitches disappear into everyday wear—nice!
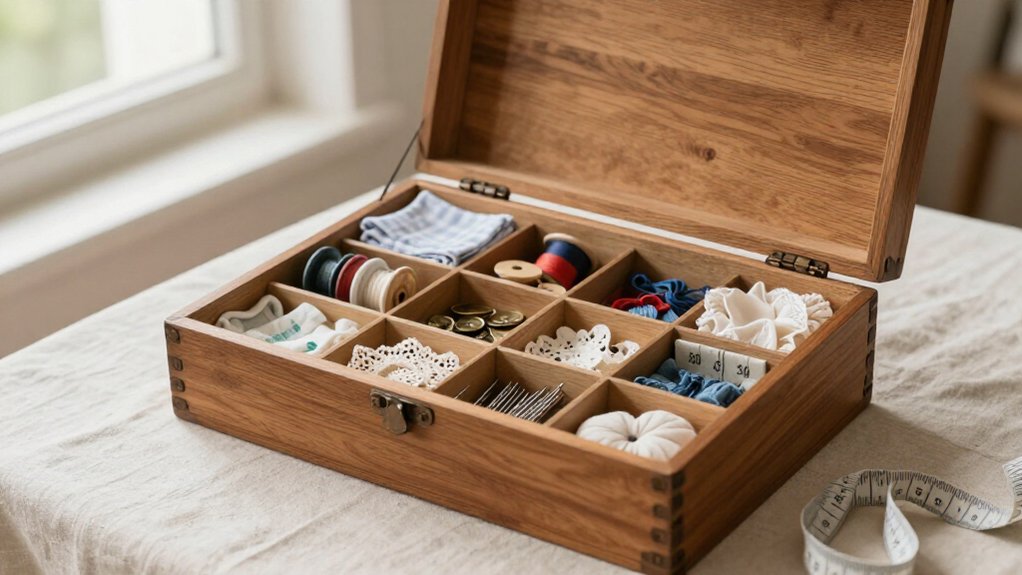
For fabric marking, use tailor’s chalk and pins to map gradual changes before sewing.
A tape measure supports fitting accuracy, especially when you mark an even double-fold hem all around.
Keep a seam ripper nearby, too. It makes clean do-overs far less annoying!
Finally, use it with your machine for tidy seam finishing, and your altered clothes will look impressively polished.
Common Alteration Mistakes
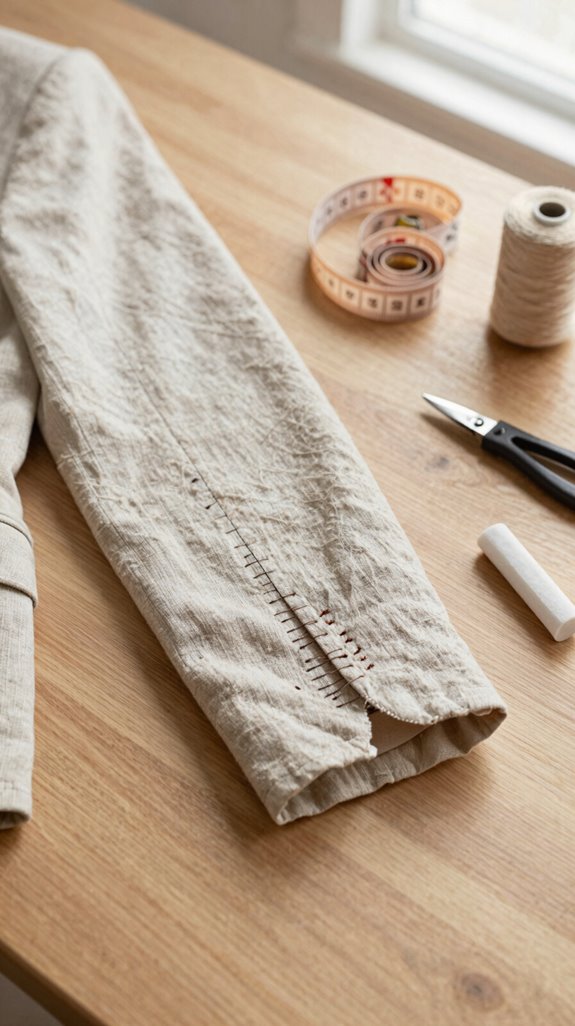
Ready-to-wear clothes may come from the store, but they rarely fit every body perfectly—so don’t treat a small tweak like a sewing failure! You’re joining plenty of makers who improve fit, one careful stitch at a time.
- Take an Alteration Measurement before cutting; 80% right can become custom-looking.
- Pin from the widest side-seam area, sew gradually, and avoid over-tightening—oops-proofing matters!
- Save tricky shoulders for later; hems and side seams cost less and build confidence.
- Do Symmetry Checking in your intended shoes, then press and zigzag trimmed edges.
An even double-fold hem and crisp seams make your garment look polished, not homemade—in the best way!