21 Small Sewing Room Ideas for Tiny Spaces
Maximize your tiny sewing space with floating shelves, a pegboard, labeled clear bins, and a rolling cart—easy, budget-friendly upgrades that keep tools close! Tuck fabric into shallow under-bed boxes, add bright 4000–5000K LED lighting, and manage cords so snags don’t stage a rebellion. For the biggest space-saving win, mount a sturdy fold-down sewing table into wall studs; it opens for projects and vanishes afterward. Keep going for more clever small-room fixes!
Love cozy DIY projects? 💕
Get free printable guides, exclusive tutorials & surprise craft goodies straight to your inbox.
Disclosure: This post may contain Amazon affiliate links, at no extra cost to you. Content on DiyCraftNest is created with research support from AI tools and carefully reviewed, edited, and fact-checked by the lead author, Daniel Pat, to ensure accuracy and reliability. Learn more
Key Takeaways
- Install floating shelves and pegboards to keep frequently used tools visible without consuming floor space.
- Choose a fold-down sewing table secured to studs for a sturdy workstation that disappears after use.
- Use a rolling cart with locking casters to move supplies between sewing, cutting, and ironing areas.
- Store fabric in labeled under-bed bins, closed drawers, or clear containers to reduce visual clutter.
- Add daylight LED task lighting and clear labels so small supplies are easy to find and return.
Floating Wall Shelves
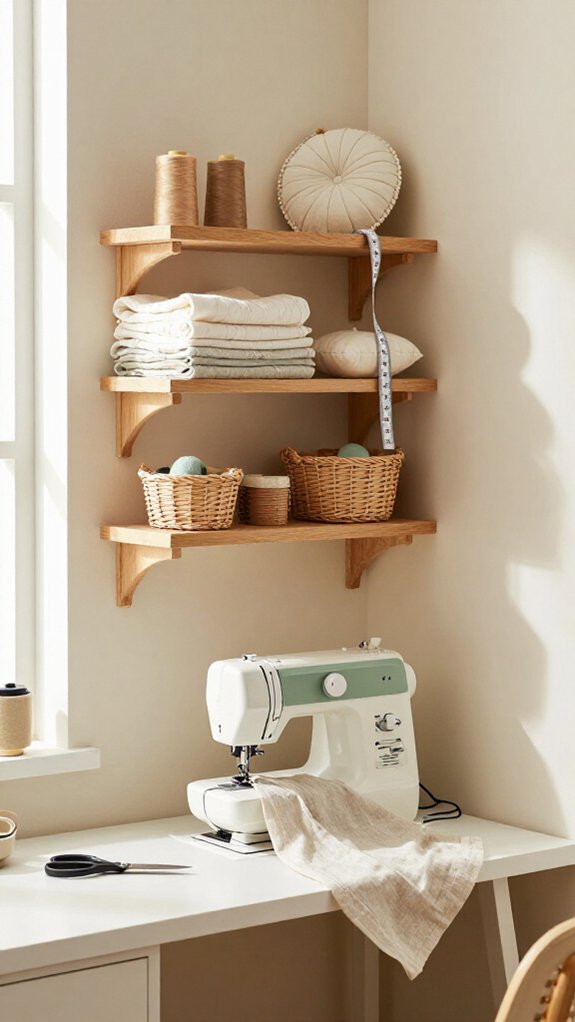
Floating wall shelves can turn an awkward little sewing corner into a neat, easy-to-reach workspace—without stealing precious floor room from your chair or machine. You’ll feel like part of the clever small-space sewing club!
Choose inexpensive narrow boards, brackets, screws, and a level. Mount them into studs, then give scissors, rulers, thread tins, and pattern envelopes their own heights—easy thread organization tips that actually work.
Keep shallow shelves for papers, and use deeper ones only for stable folded fabric. Your sewing notion system stays calm when frequently grabbed tools sit out, while bulky bins hide below.
Here’s the surprise: add a small front lip or bin for jars, so nothing takes a dramatic dive!
Fold-Down Sewing Table
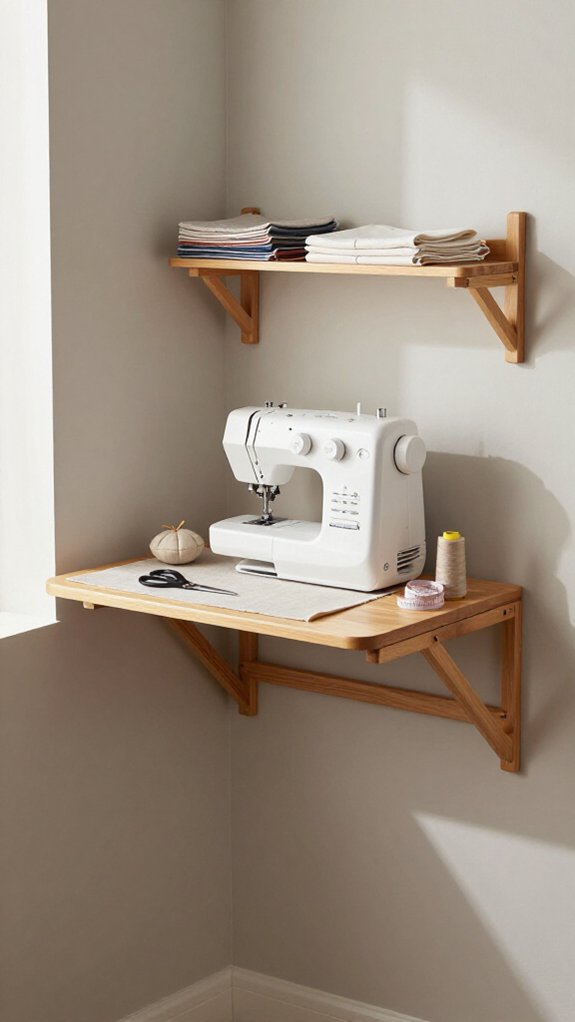
When floor space is tight, a fold-down sewing table gives you a sturdy spot to stitch, then folds away like it was never there—tiny-room magic!
Choose one rated for your machine, fabric, and a little extra weight, then secure it into wall studs with the maker’s hardware.
For a safe Compact setup, pick a hinged support arm, lock, and retaining lip.
Add wall-mounted LED task lighting, so every seam stays visible—no squinting required!
Keep a small organizer above the closed table and trays in your under table workspace.
You’ll unfold, plug in, and join your creative corner in minutes!
Rolling Storage Cart
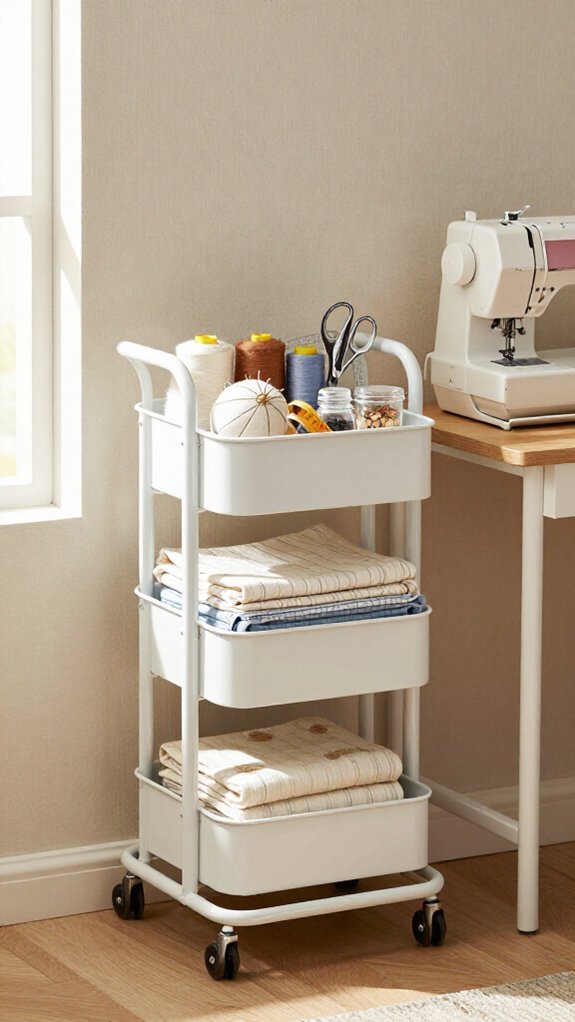
A rolling storage cart keeps your sewing necessities close, yet it can glide wherever the project goes—pretty handy in a tiny room! You’ll feel right at home with thread, needles, and extra feet beside your machine.
| Zone | Store | Benefit |
|---|---|---|
| Top | Today’s supplies | Quick setup |
| Drawer | Thread Organization | No tangles |
| Shelf | Scissor Storage | Safer reach |
Choose shallow drawers, covered shelves, and locking casters—no runaway cart drama! Use your cart for in-progress pieces, then roll it to the cutting or ironing spot. Your closet can hold bulk fabric, while this little helper keeps your shared sewing flow neat and friendly.
Pegboard Organization
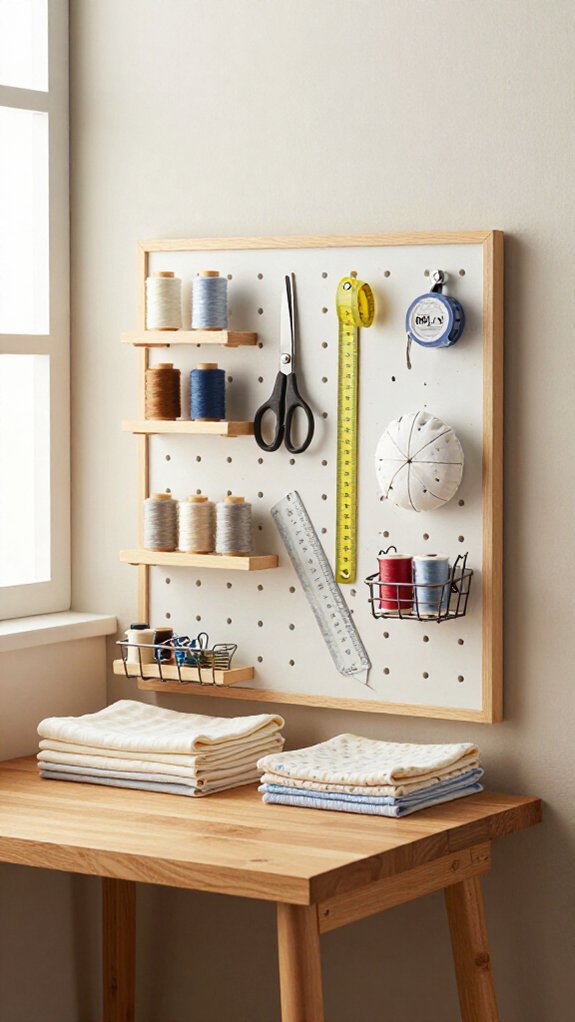
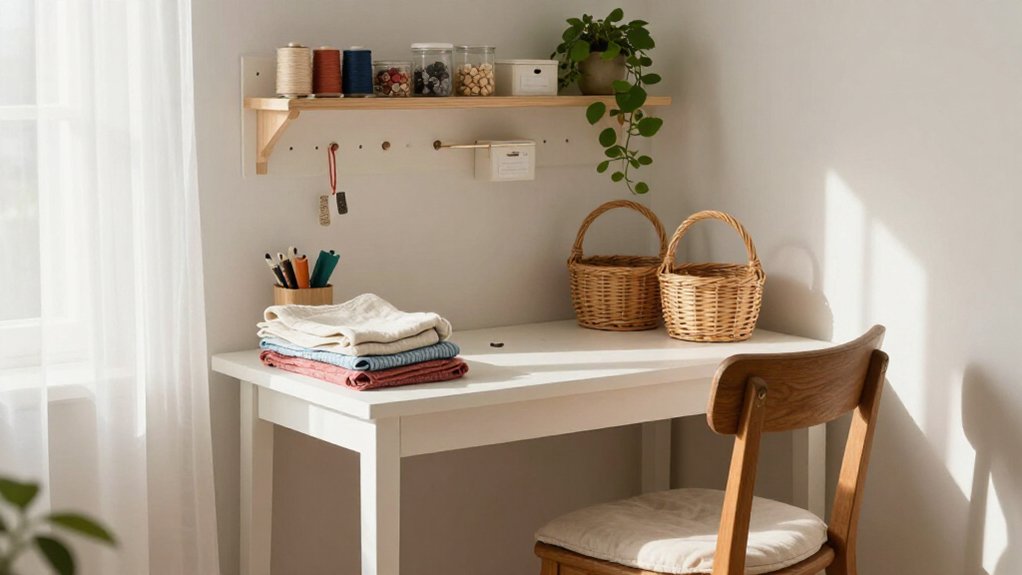
Above your sewing table, a pegboard turns a blank wall into a bright, grab-and-go tool station—so your big scissors, rulers, and rotary cutter extras don’t vanish under a fabric avalanche!
Add lightweight hooks with spacing that fits each tool, plus a dish rack for binding supplies.
These Quick access tools stay visible, off shelves, and ready when your project calls.
Use small baskets or cubbies, clear clip-on tags, and simple pegboard labeling for trim, piping, measuring tools, and orphan blocks.
Then place it beside your home-base tray: grab, sew or press, and return everything to its spot.
Your tiny sewing crew will feel wonderfully organized!
Under-Bed Fabric Storage
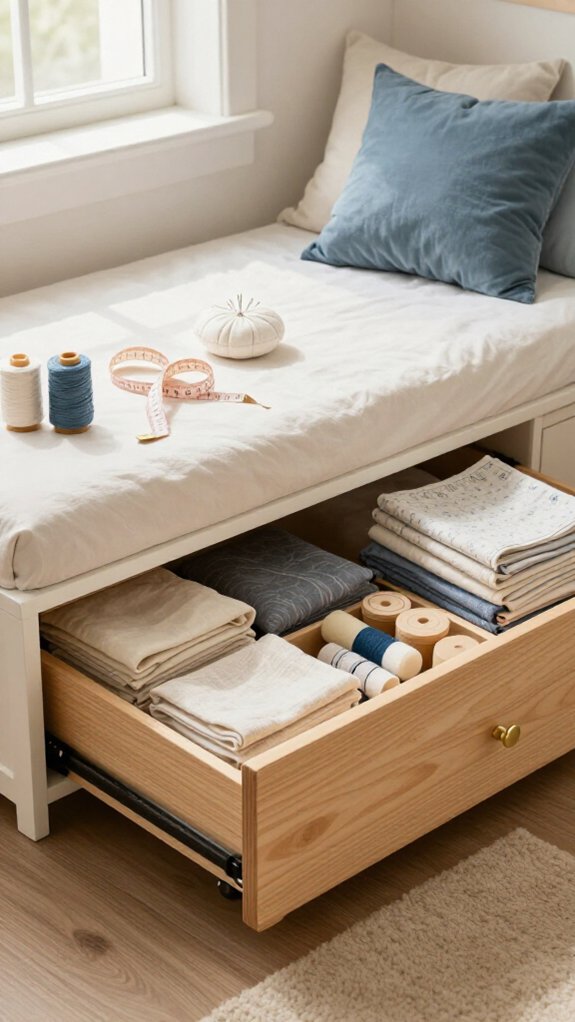
Turn that empty space under your bed into a hidden fabric pantry—seriously, it’s a small-room win!
Use shallow bins for folded yardage and project-ready pieces, so your fabric inventory stays tidy without blocking walkways.
Label bins “fat quarters,” “jelly rolls,” “scraps,” and “yardage” for speedy project planning.
Keep your go-to fabrics near the front, or choose two narrow bins—no dramatic floor excavation required!
For tiny daily scraps, add a lidded wicker hamper nearby.
Fold odd remnants around cardboard templates before stacking them in flat trays.
You’ll create a calm, searchable stash that makes every sewing session feel easier, more welcoming, and wonderfully yours.
Closet Sewing Station
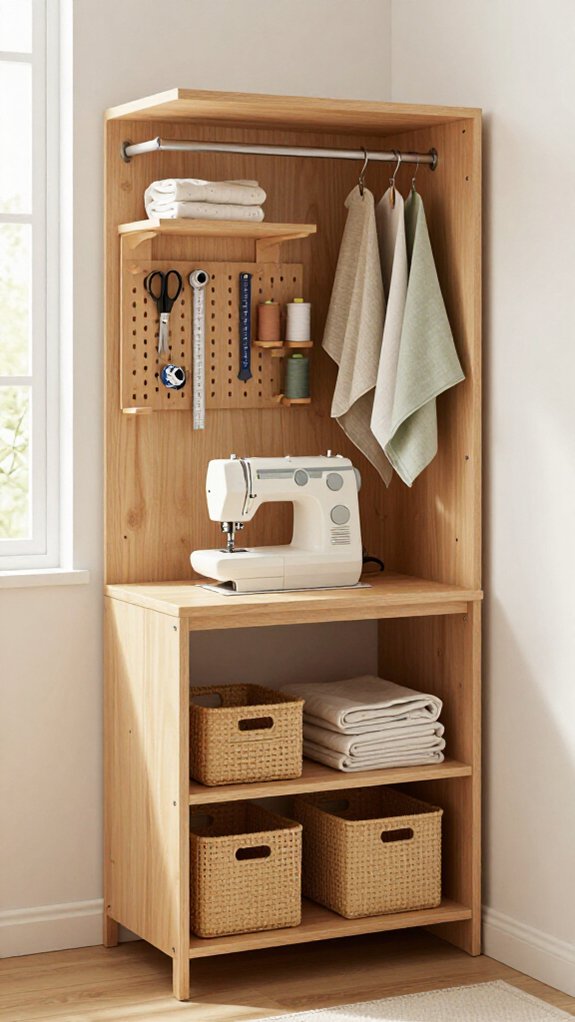
Inside a closet, you can build a hardworking sewing station that disappears the moment you’re done—tiny-room magic!
Keep fabric, patterns, and notions behind closed shelves, so your shared space feels calm and welcoming.
Give one side fabric curation and WIPs, with a compact iron setup.
Use the other for tool accessibility: bins, hooks, and labeled jars make finding bobbins less like a treasure hunt!
For each portable project, pull out a small tray with your seam plan, scissors, pins, and thread.
Materials are simple: a tray, labels, and shelf bins.
Reset it after sewing, then close the door.
Add an over-door ironing board—surprise space saver!
Corner Cutting Table
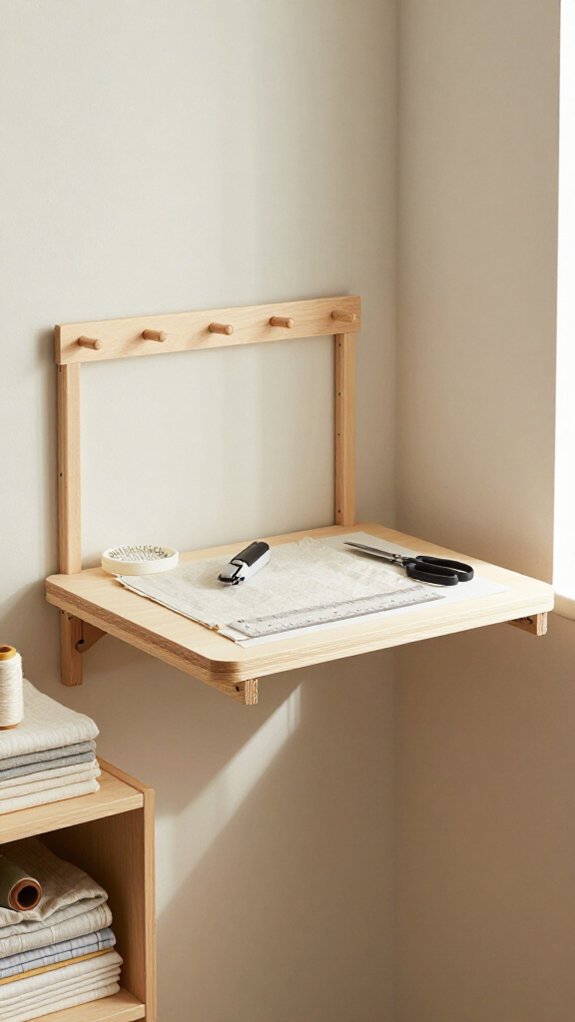
Once the closet doors close, a corner cutting table can give you the next big win: a steady place to trim fabric without blocking the room’s main walkway—hooray for using that awkward “nothing fits here” space!
Choose a small table that sits flush in the corner, with an angled top or simple triangular worktop. You’ll keep fabric flat to the blade line, no twisty wrestling match required!
Set it near elbow height for kinder shoulders during long sessions. Add drawer inserts to store notions and rulers, plus a shelf to organize patterns.
Want the clever upgrade? Use a removable cutting mat and a small stop rail. Repeated strips land accurately, and your tiny sewing crew will cheer!
Wall-Mounted Thread Rack
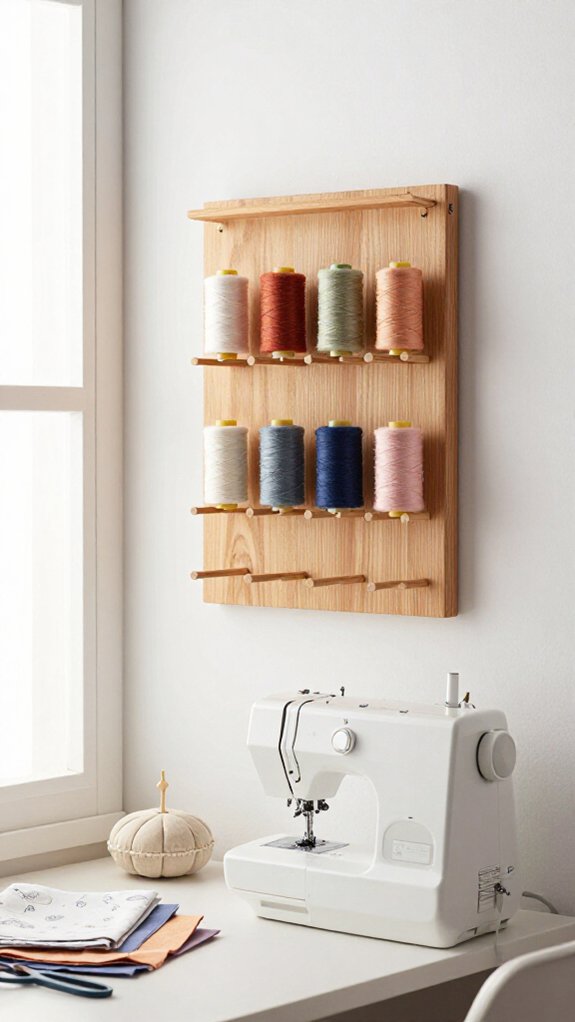
Above your sewing station, a wall-mounted thread rack turns a colorful pile of spools into easy-to-scan storage—no more digging through bins like you’re hunting for buried treasure!
- Choose a sturdy rack, screws, and heavy-duty anchors; secure it to studs or anchors rated for 20–30 pounds.
- Sort spools by color, project, or fabric swatches, then add removable labels for quick repairs.
- Leave space behind deep racks so thread tension stays smooth and spools don’t scrape doors.
You’ll feel like part of the organized sewing club! Keep Needle storage nearby, and pull thread straight down without tangles. Your tiny room suddenly works smarter—ta-da!
Compact Ironing Board
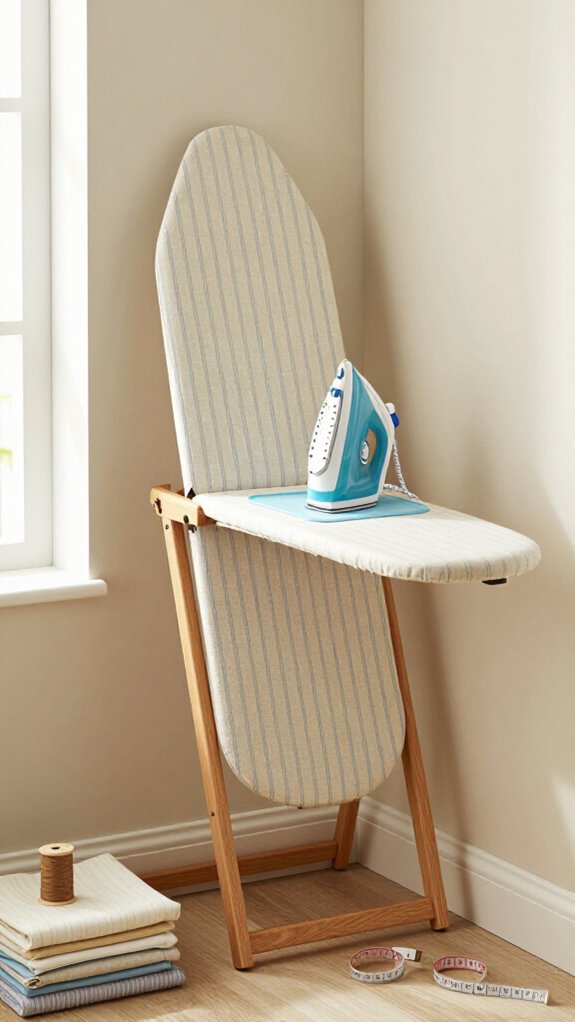
A compact ironing board keeps pressing close at hand without letting a big, wobbly board gobble up your sewing-room floor—huge win!
| Check | Why it helps |
|---|---|
| Door mount | Reclaims space |
| Lock | Adds door mounted stability |
| Cover | Needs heat resistant pad |
| Size | Clears door swing |
Choose the least-cluttered door, then install a hinged board with basic screws and a drill. You’ll gain compact storage and a steady spot for crisp seams, even when kids or busy feet pass through.
Keep your iron in a nearby tray, follow steam safety, and check the lock before pressing. Your shared sewing nook stays calm, capable, and delightfully clutter-free!
Foldable Chair Setup
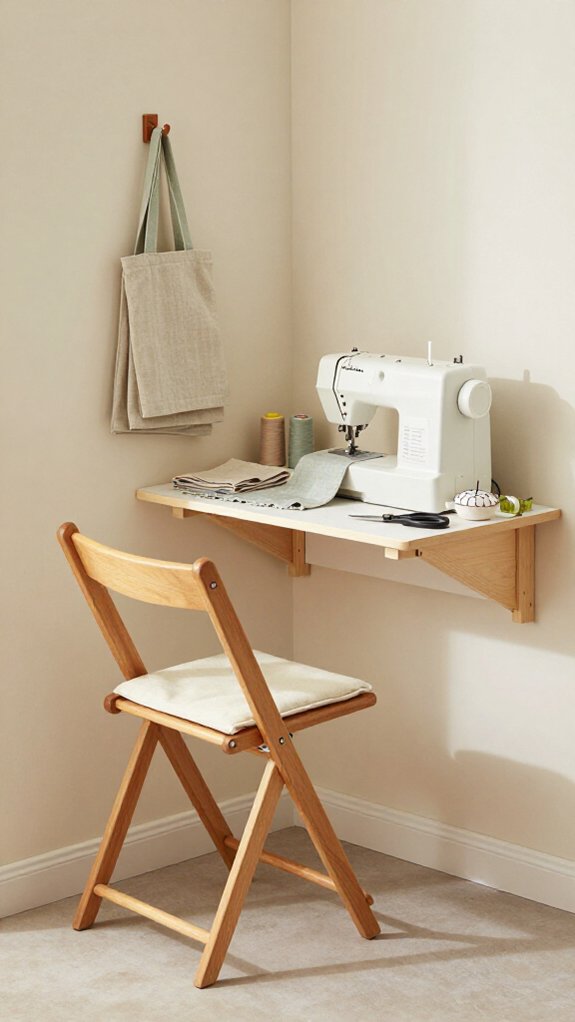
When every inch matters, a foldable chair gives you a comfy sewing seat that disappears in seconds—pretty handy, right? Choose ergonomic seating with adjustable heights, so your shoulders stay relaxed through long seams.
- Pick a sturdy chair with stable legs; wobbles are for jelly, not pinning!
- Line it with your machine, cutting surface, and tools, so you won’t twist or tire out.
- Keep a small tray or drawer beside you for notions and your current project.
Leave the chair area open, especially near your foldable ironing board. Then fold it away for instant floor space—you’ll feel like part of the tiny-room sewing club!
Window Workspace
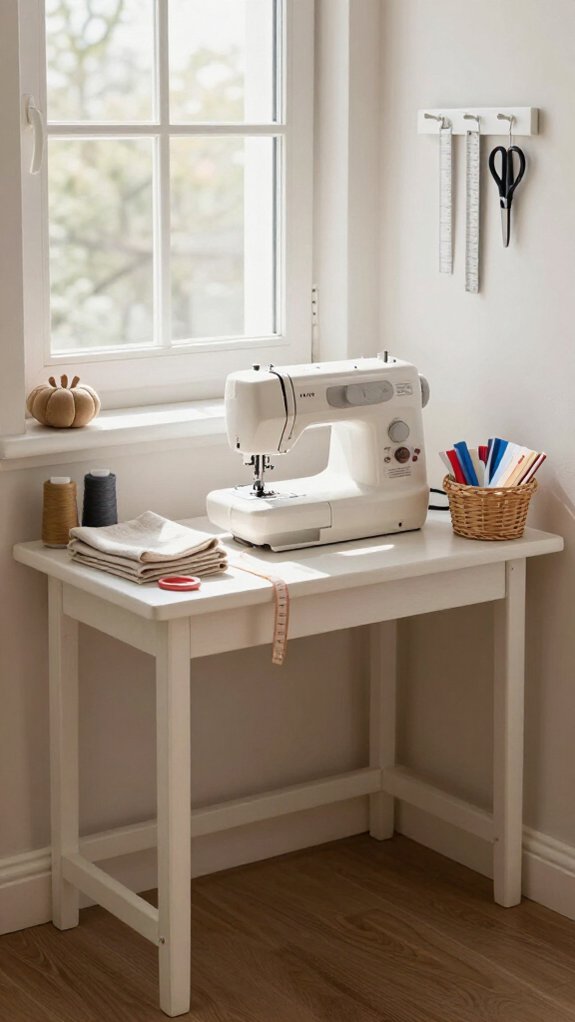
Why not let the window do some of the hard work? Center your sewing or cutting spot near daylight for easier stitching and truer color matching—your fabric friends will thank you!
Tuck a narrow table below the sill, then add a fold-down leaf for extra room when inspiration strikes. Use shallow drawers for thread storage and a tray for scissors, pins, and stitch organization, so everything stays close.
Keep patterns in closed compartments to protect the calm, shared feel of your tiny studio. Here’s the game changer: place a folding ironing board nearby. You’ll cut, sew, and press in one smooth little loop—no room-crossing marathon!
Vertical Fabric Storage
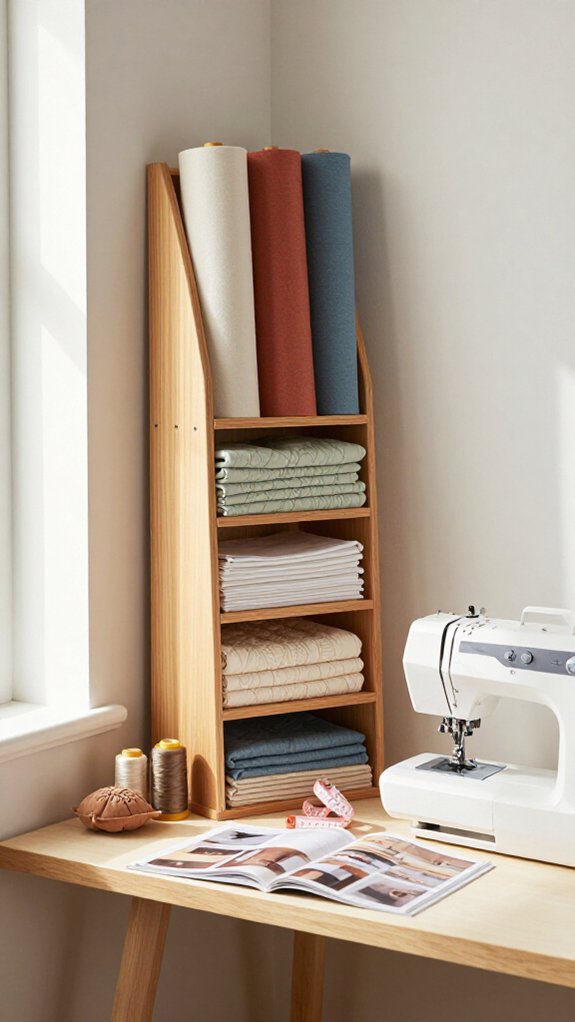
Lift fabric off the floor and let your walls do some of the heavy lifting—your tiny sewing room will feel bigger almost instantly!
- Use a dresser or stacked shelves for your fabric inventory. Add storage labeling for easy pattern organization and calmer workspace zones.
- Fold yardage around cardboard templates; raw edges disappear, and cutting prep becomes quicker. It’s a budget-friendly win!
- For scrap management, try color sorting strips in jars on shelves. Keep Needle and thread in an over-door pocket organizer, too—your table stays clear, and you’ll feel right at home with every project. Closed drawers hide bulk fabric, so the room looks less like a fabric explosion!
Clear Bin Organization
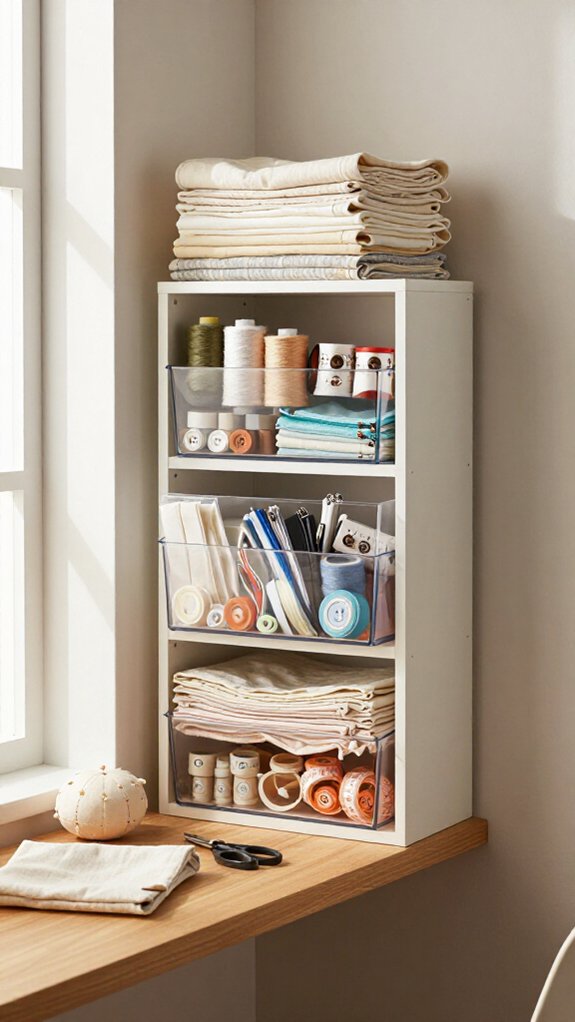
Clear bins can make a small sewing room feel wonderfully organized—if you give each one one clear job! Assign bins to WIP, mending, patterns, or your project queue, so you’re part of a calm, creative system, not a plastic-bin avalanche!
For fabric, use size and color as your search key: stack larger cuts on shelves, then corral scraps in smaller containers.
Add little clear tubs for spools and hand-sewing thread, too.
Use removable labels, tape, or a label maker, because projects change—thank goodness!
Keep daily tools in one tray, while Overhead storage holds contained, less-used supplies.
Your room will look tidy and feel easy to share.
Labeling Supplies
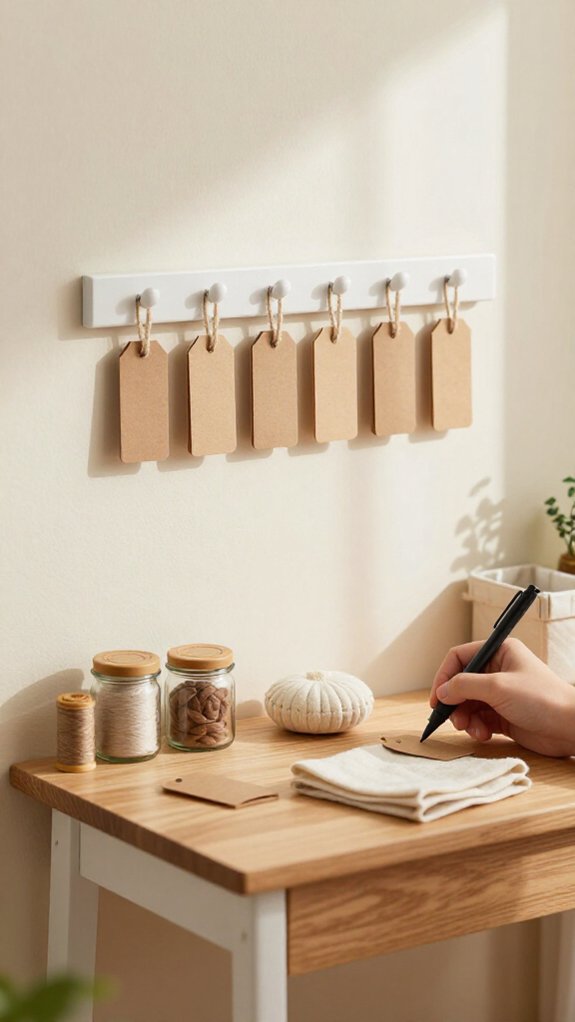
A smart label system turns a tiny sewing room from “Where did I put that?” into a smooth little studio—yes, even when ribbon, needles, and mystery scraps try to stage a rebellion!
- Use a label-maker, or printer labels sealed with packing tape, for “WIP,” “Mending,” and “Orphan Blocks.”
- Label drawers by function: “Zippers/Trim,” “Machine Thread,” and Efficient needle storage. You’ll return items faster!
- Add Thread color coding and fabric size labels to shelf fronts, not lids.
Choose removable labels so your setup grows with your projects. Labeled pocket organizers keep scissors, elastic, and binding tools from becoming a crafty pile-up.
You’ve got this!
Small Lighting Ideas
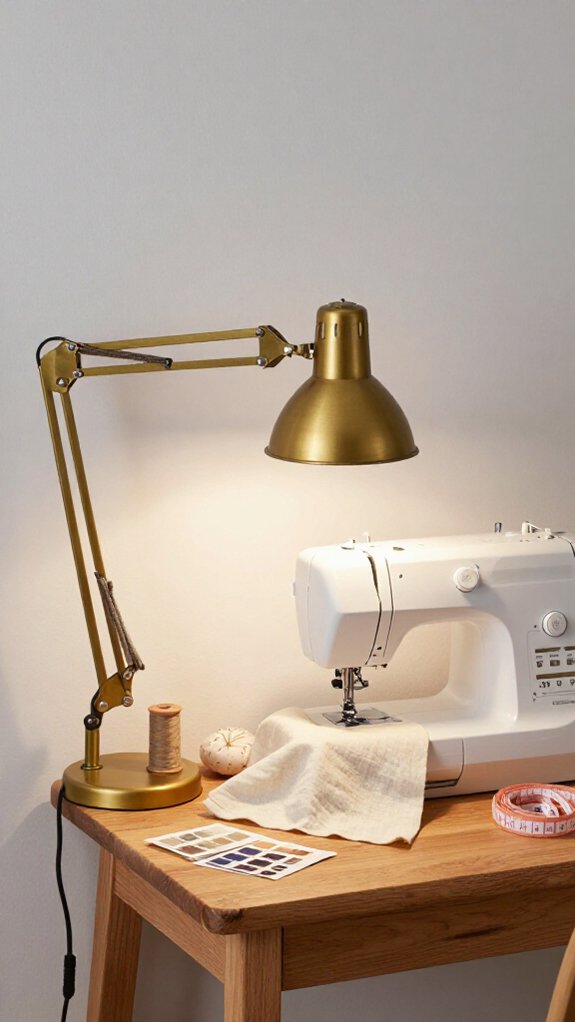
Good lighting makes a small sewing room feel bigger, calmer, and much easier to work in—hooray for seeing those tiny stitches!
Create layered light with a clamp or gooseneck LED at sewing height and a soft ceiling light. Angle your glare free task lamp from the side, so shiny fabric won’t flash back at you like a tiny disco ball.
Choose LEDs with daylight color, around 4000–5000K, for true thread and fabric matching. You’ll feel right at home choosing shades with confidence!
Short on surfaces? Mount a light on the wall, door, or rail. Add a rechargeable LED near pressing and cutting zones—your whole sewing crew will thank you!
Mobile Sewing Cart
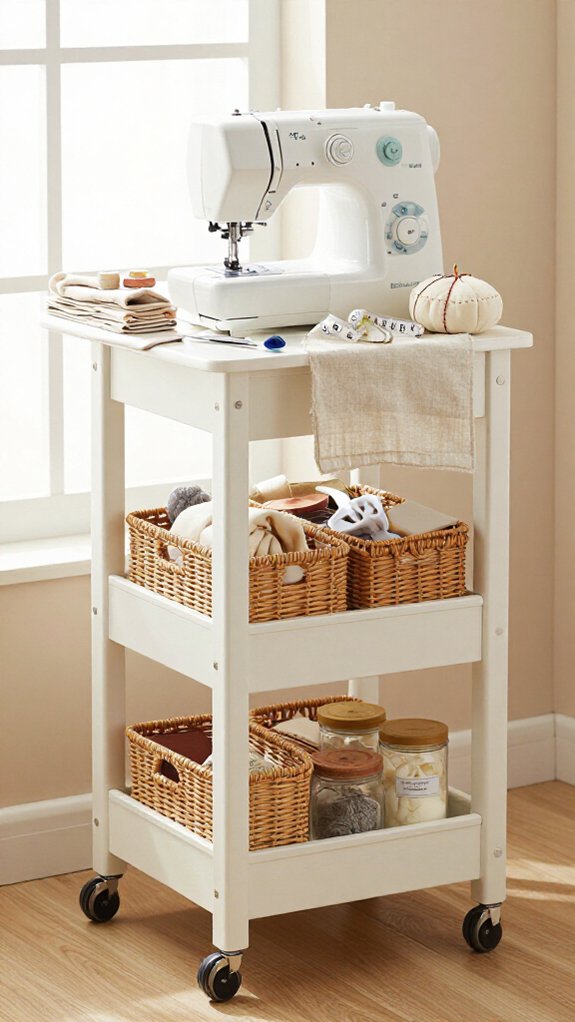
When your sewing space has to share duty with a bedroom, office, or dining table, a mobile sewing cart can keep your supplies close without taking over the room—hooray!
Choose shallow drawers for feet, needles, seam rippers, and Thread organization, so your setup feels welcoming, not wild.
- Keep a craft tray on top for everyday tools.
- Use closed drawers for patterns, trims, and interfacing.
- Label a WIP bin for works in progress.
After sewing, reset each item to its slot, then roll the cart away.
Lockable wheels help it stay put near your iron for speedy hemming shortcuts—tiny-space magic!
Hidden Sewing Cabinet
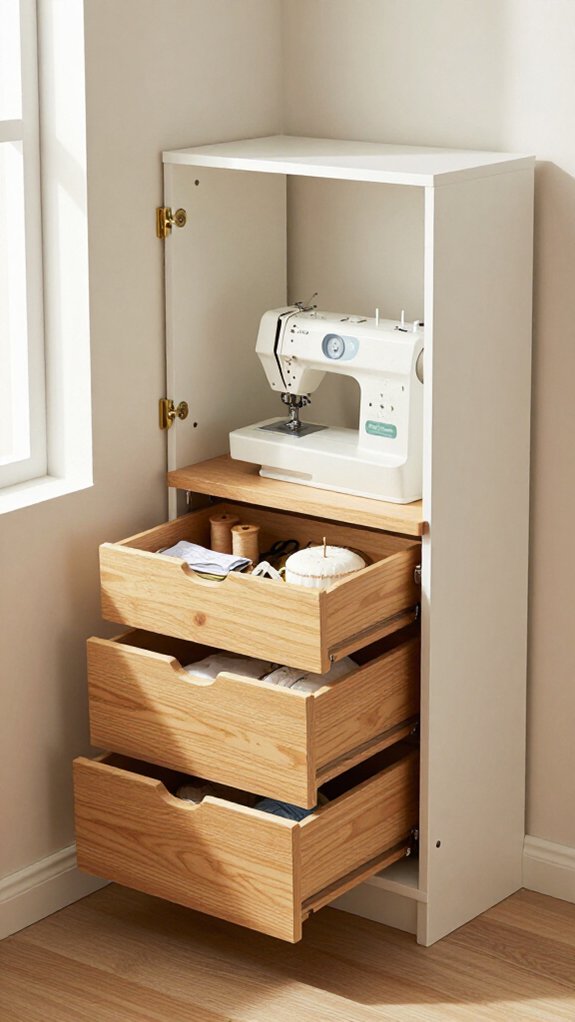
Turn an old sewing cabinet—or even a sturdy TV stand—into a hidden sewing base, and your tiny room can look calm again in seconds!
Choose enclosed doors and pull-out shelves, then tuck thread storage, feet, scissors, and works-in-progress inside.
Keep fabric on one closet shelf, and use a small tray for your current project.
When you’re done, slide it back in—no floor pile, no mystery bobbin underfoot!
Add gentle space lighting nearby so setup feels welcoming, not cramped.
An over-door rack or suitcase atop covered bins can hold extras.
Open the cabinet, sew with your people, close it, and voilà: instant tidy-home magic!
Multi-Purpose Desk
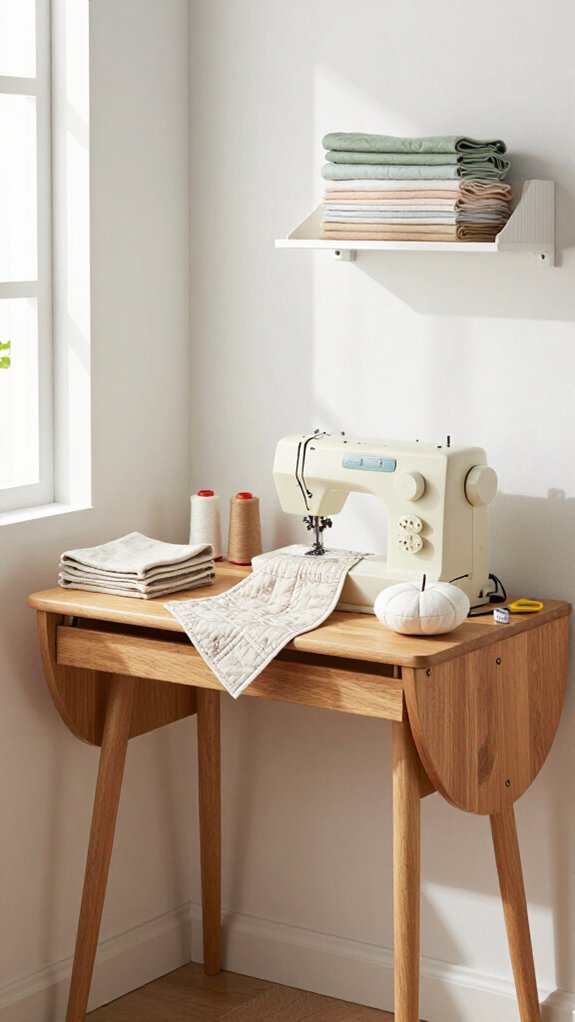
A multi-purpose desk lets your sewing corner pull double duty—office by day, creative station by night, hooray! Create zoning workflow by keeping your machine and cutting mat on one side, with your laptop, printer, and packing supplies on the other.
- Choose an Adjustable workstation with deep, shallow drawers.
- Sort threads and presser feet into everyday zones; stash manuals elsewhere.
- Keep a small tray for current tools, so resetting takes minutes!
Place the desk against a wall, then keep scissors or a binding tool within easy reach. Add labeled bins underneath for fabric and paperwork. Your surface stays clear, and your tiny creative community corner feels welcoming, not chaotic!
Portable Project Boxes
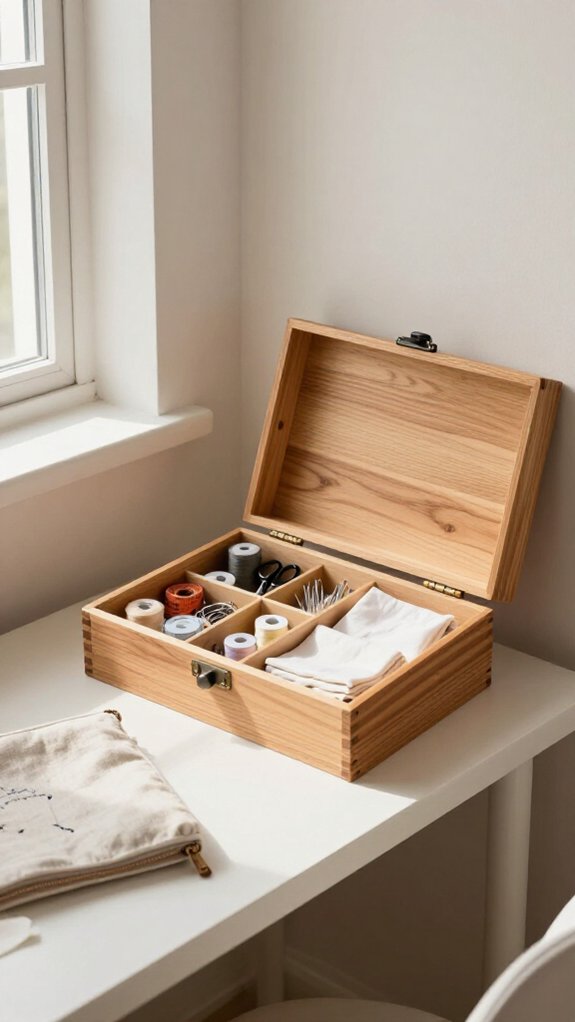
Portable project boxes make small-space sewing so much easier, because each work-in-progress gets its own grab-and-go home—no more hunting for one missing needle in a fabric avalanche!
Use shoeboxes or craft trays, adding only the tools for that WIP.
Keep extra supplies in drawers, then label and sort smaller kits for mending or paper piecing.
Stash and stow boxes in a dresser drawer, cabinet, or under the table, where your sewing friends would never guess they’re hiding!
Here’s the magic: after finishing, return every item and reset the tray.
These WIP reset routines stop scraps from forming stubborn permanent piles and give you a tidy workspace.
Cable Management
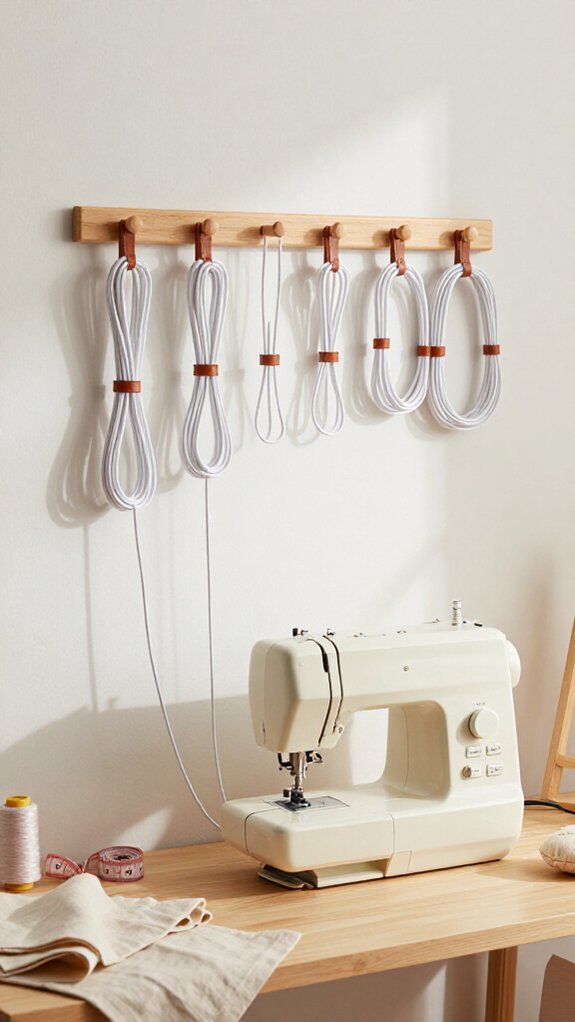
Once your project boxes are tucked away, corral the cords next—because a foot pedal cable wrapped around your chair wheel is nobody’s idea of sewing fun!
- Stick adhesive cable raceways under your table. They’re affordable, beginner-friendly, and keep cords clear of fabric and chair wheels.
- Bundle leads with Velcro ties, then add labels or color bands for thread tracking, lighting, and pressing tools. Leave small service loops so you can move your machine easily.
- Here’s the game-changer: mount a socket strip inside a cabinet, using right-angle plugs to save space. Pair it with Magnet storage for loose adapters, and you’ll join the tidy-studio club!
Decorating a Cozy Sewing Space
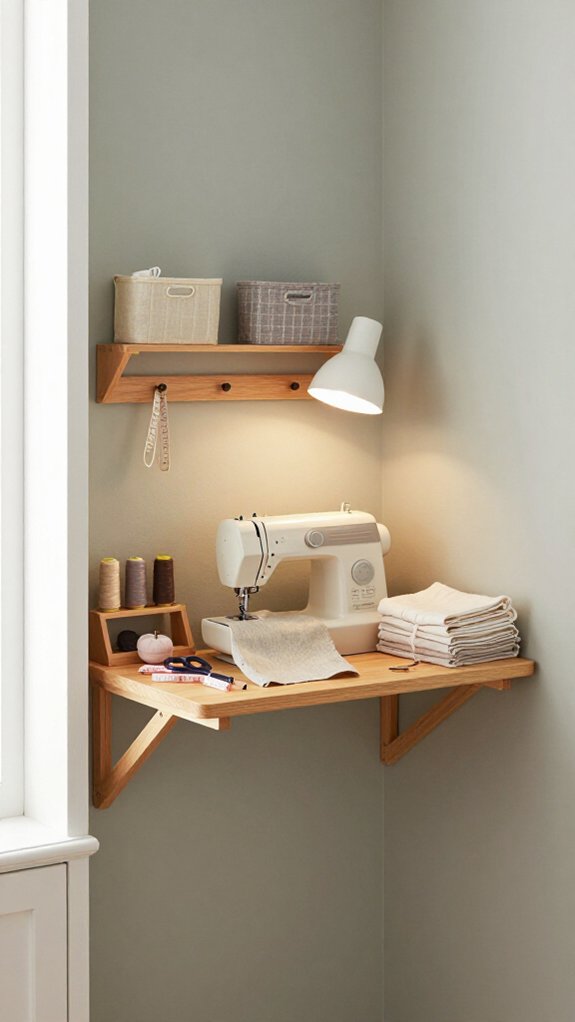
Even the tiniest sewing nook can feel like a warm, creative retreat when you decorate with a little restraint and a lot of personality!
Choose a calming palette, such as white lace, then match each paint sample to a fabric swatch for a pulled-together look.
Try a simple garland: string pretty fabric pieces on twine and hang it high.
It’s cheap, beginner-friendly, and adds instant charm without stealing workspace!
Add Warm lighting with a nearby lamp and soft curtain panel.
Keep fabric and notions tucked in closed drawers, then style one tidy project tray and a tea mug spot.
For the coziest finishing touch, hang one beloved statement textile—it makes your nook feel like it truly belongs to you.
Mistakes to Avoid in Small Sewing Rooms
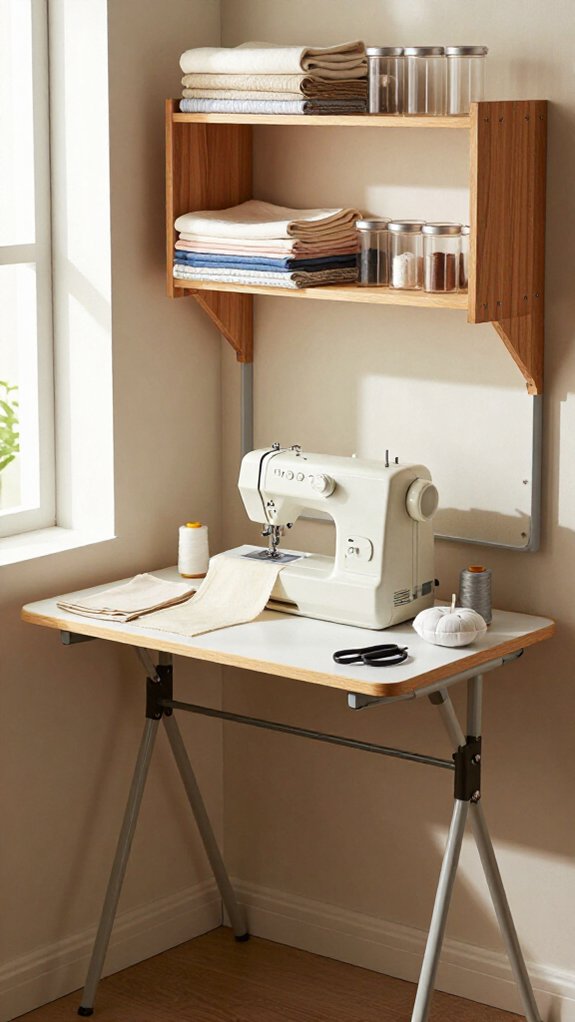
A small sewing room can turn cluttered fast if you buy storage before you know how you’ll actually use the space. You deserve a room that feels welcoming, not like a bin avalanche!
- Skip excess drawers, tubs, and open thread racks. Create declutter zones, and keep daily supplies tucked away.
- Don’t hide fabric in pretty-but-chaotic bins. Sort scraps and jelly rolls so you can find them without a treasure hunt.
- Keep your tools close together. Put the printer, cutting mat, and machine within easy reach to reduce workflow friction.
Here’s the game changer: contain WIPs out of sight. Your space stays calm, inspiring, and ready for your next creative win!