Affordable DIY Furniture Makeovers You Can’t Miss: 23 Budget-Friendly Projects
Disclosure: This post may contain affiliate links, at no extra cost to you. Content on DiyCraftNest is created with research support from AI tools and carefully reviewed, edited, and fact-checked by the lead author, Daniel Pat, to ensure accuracy and reliability. Learn more
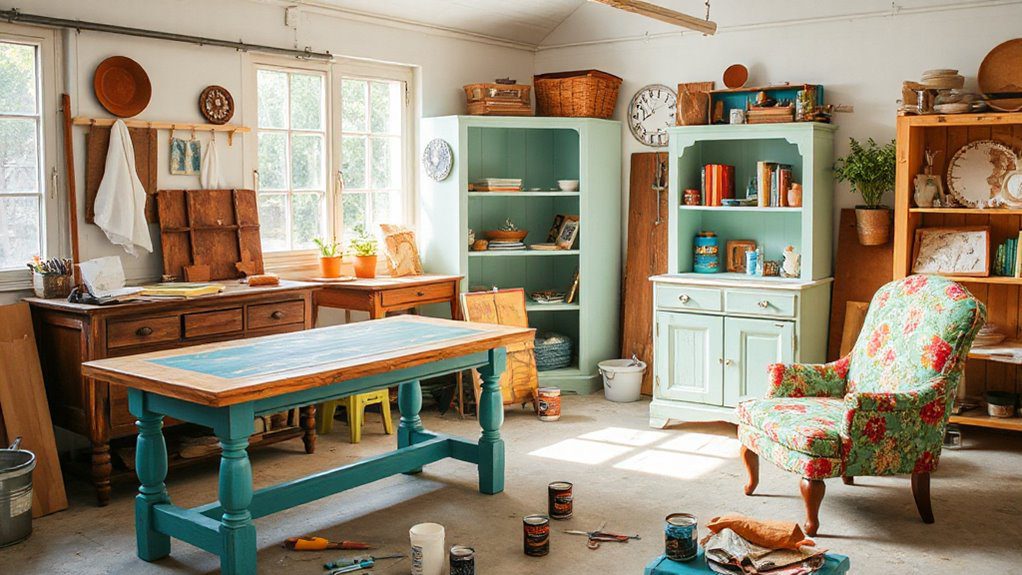
If you’re looking to refresh your home without spending a fortune, you’ll love these affordable DIY furniture makeovers! Picture transforming a thrifted dresser with a bold dark olive green paint or revamping a vintage coffee table for added charm. You can even upcycle a tired nightstand or give an old bookshelf a fresh look. These projects not only breathe new life into your space but also let your creativity shine. Stick around for more fantastic ideas to inspire your next transformation! Consider incorporating some elegant DIY decor ideas to elevate your furniture makeovers even further. From adding unique hardware to creating stencils for personalized designs, the possibilities are endless. Each project becomes a unique expression of your style, making your home truly one-of-a-kind.
Key Takeaways
- Transform thrifted furniture with bold paint colors like dark olive green and add unique hardware for a personalized touch.
- Use durable, non-toxic paints for kids’ furniture makeovers, incorporating fun designs and stenciling to enhance creativity.
- Create stylish storage solutions by repurposing vintage crates and personalizing them with paint for a cohesive look.
- Restore antique desks and dining tables with quality finishes like matte polyurethane to maintain their character while ensuring durability.
- Engage in budget-friendly outdoor projects by building weatherproof furniture from reclaimed materials like pallets for a cozy garden space.
Thrifted Dresser Transformation
When you stumble upon a thrifted 1970s laminate dresser, it mightn’t look like much at first glance, but with a little creativity and effort, you can transform it into a stunning statement piece for your home.
Start by giving it a fresh coat of dark olive green paint, which not only enhances its mid-century style but also hides imperfections.
Repair loose joints with wood glue and fill minor splits with Bondo glazing. Refinishing the legs with a medium tone water-based stain will tie everything together beautifully.
Don’t forget to add bumpers to the drawer fronts to maintain functionality.
Make sure you take your time—this project can be completed in about six hours for under $75, making it an incredibly rewarding DIY endeavor!
Vintage Coffee Table Revamp
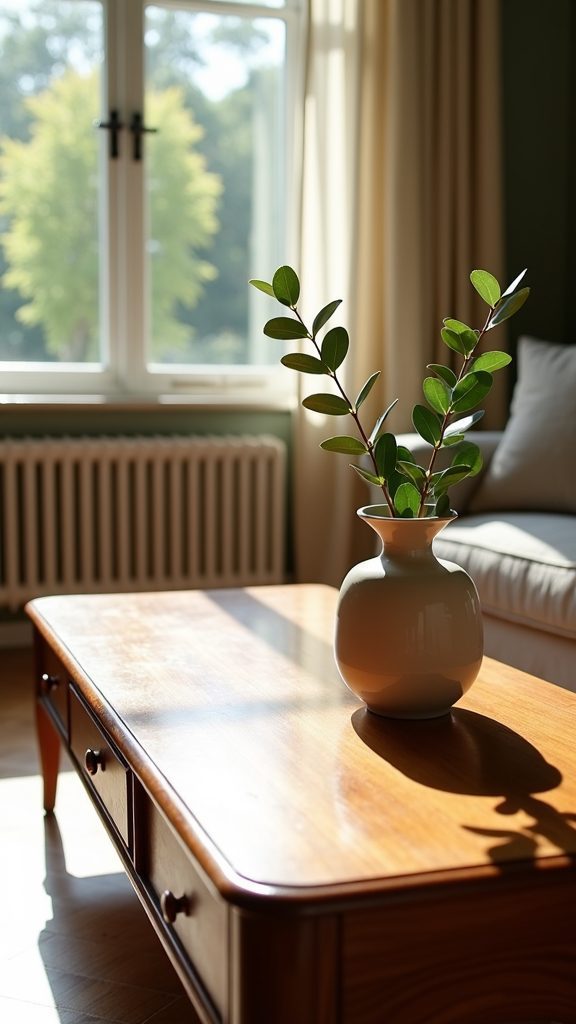
After giving a thrifted dresser a stunning makeover, it’s time to turn your attention to another piece that could use a little love—a vintage coffee table.
You can make something truly special with just a bit of effort! Here’s how to revamp it:
- Start with a solid wood or quality laminate table for durability.
- Use a shellac-based primer to prep the surface, ensuring a smooth paint base.
- Choose a bold color, like dark olive green, to blend modern flair with vintage charm.
- After the first coat dries, sand it lightly before adding a second coat for that flawless finish.
Finish it off with a protective layer of beeswax or sealant.
Next time you gather with friends, you’ll have a gorgeous centerpiece to admire!
Upcycled Nightstand Makeover
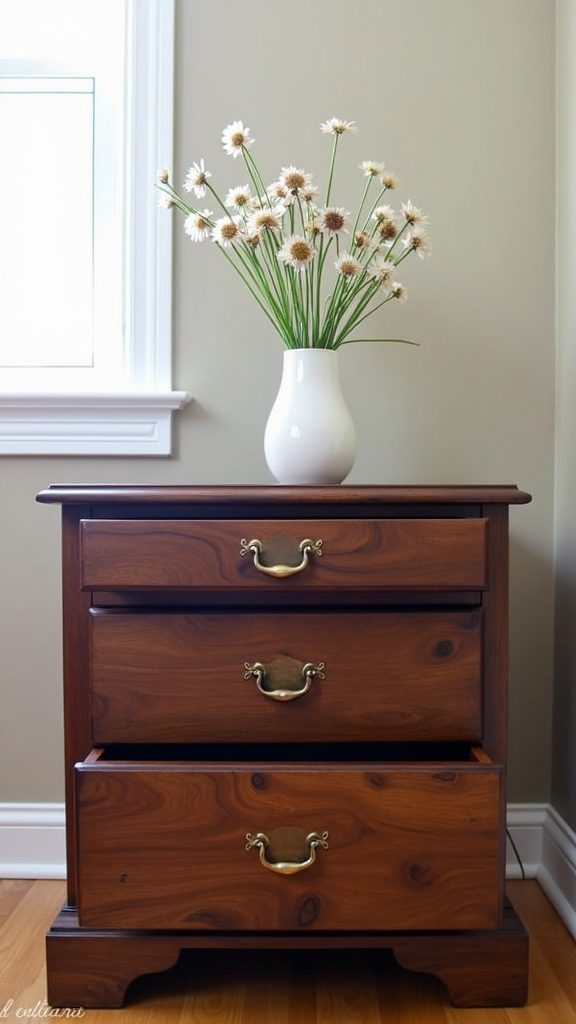
Transforming an old thrifted nightstand into a stylish statement piece can be incredibly rewarding, especially when you see its potential shine through with just a bit of creativity and effort.
Start by repairing any loose joints and filling cracks for a smooth surface. Choose a bold paint color, like dark olive green, and use paint techniques such as a shellac-based primer followed by multiple coats of high-quality cabinet enamel.
For a professional finish, consider a gravity-fed HVLP pneumatic gun. Enhance your nightstand’s legs with a quick-drying water-based stain, and add clean hardware upgrades to elevate its look.
Don’t forget to include bumpers on the drawers for a polished, functional touch that’ll make your space feel uniquely yours.
Painted Bookshelf Refresh
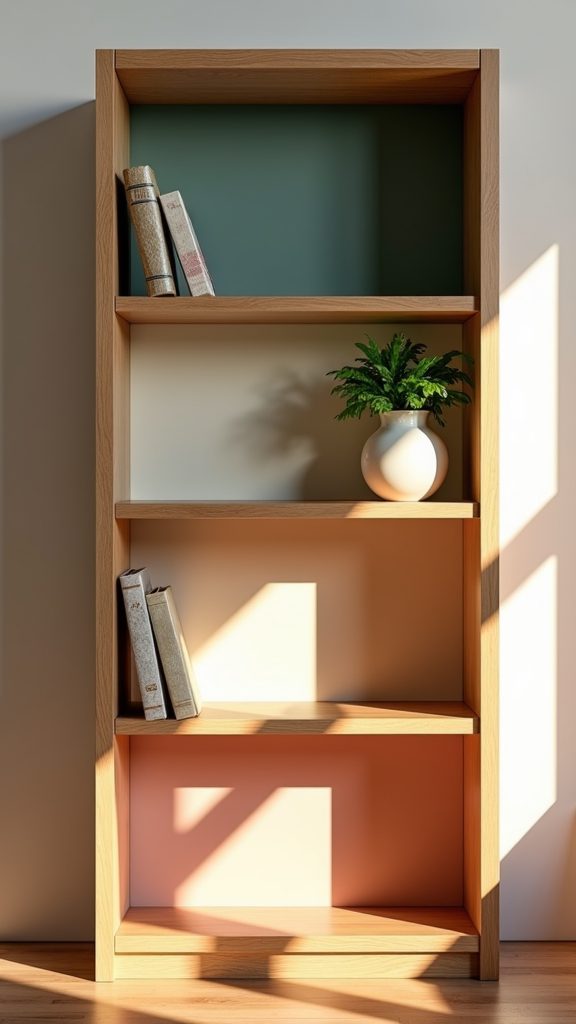
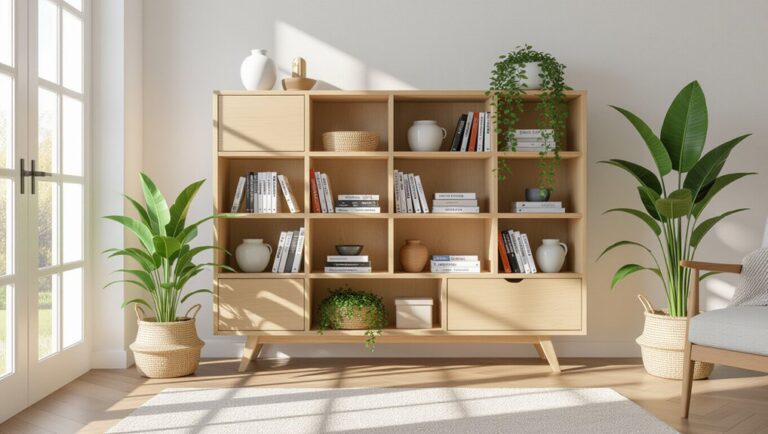
Revamping a bookshelf can breathe new life into your space and showcase your personality in a unique way. A fresh coat of paint, like a bold dark olive green, can transform a dated piece into a modern statement.
Here are some tips to make your bookshelf makeover shine:
- Start with a shellac-based primer for better adhesion and a smooth finish.
- Choose high-quality paint like Bear’s cabinet and trim enamel for durability.
- Sand between coats to eliminate dust and achieve a flawless look.
- Finish with a beeswax and hemp oil blend for added sheen and protection.
Don’t forget to incorporate shelf styling ideas and bookshelf organization tips to create a cohesive and inviting space that feels like home!
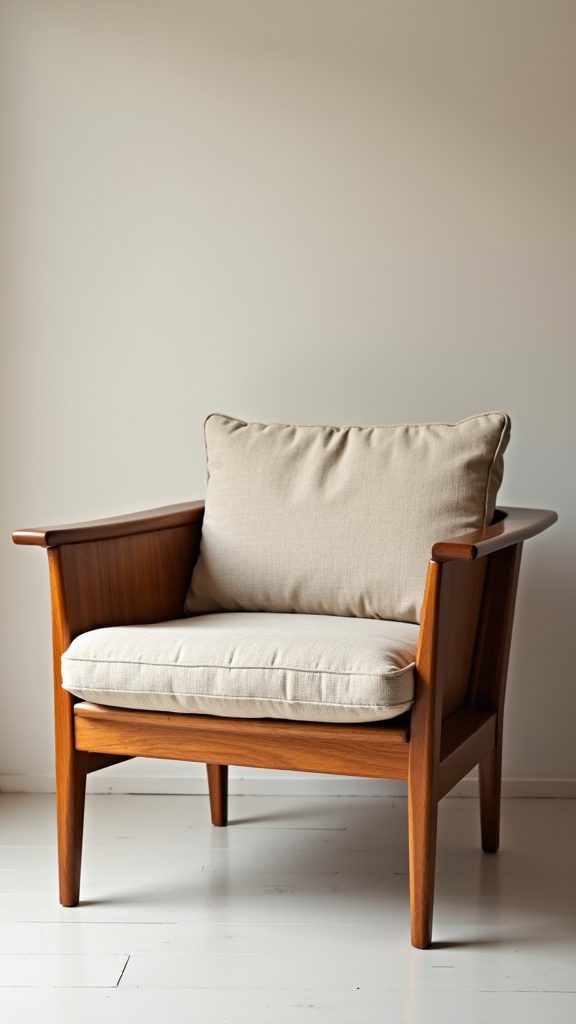
Mid-Century Modern Chair Upgrade
If you’ve just given your bookshelf a stunning makeover, why stop there? A mid-century modern chair upgrade can be the perfect next step to elevate your space.
Start by exploring fabric selection techniques—choose bold, contemporary fabrics that enhance the chair’s vintage appeal.
Don’t forget chair leg refinishing; a fresh stain or paint can breathe new life into the wooden frame while keeping its classic vibe intact.
Modern upholstery trends encourage adding stylish accent pillows or cushions, providing comfort and a trendy twist to that iconic silhouette.
With a little creativity, you can complete this budget-friendly project for under $100! You’ll not only revitalize a vintage find but also create a beautiful centerpiece that sparks conversation and connection in your home.
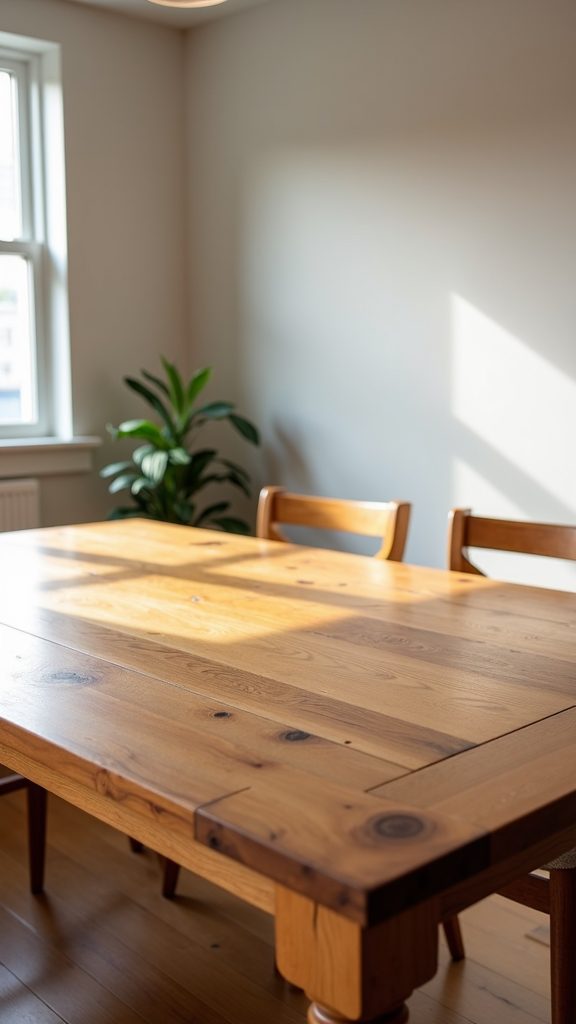
Rustic Farmhouse Dining Table
Creating a rustic farmhouse dining table can be one of the most rewarding DIY projects you’ll ever tackle! Not only will it enhance the beauty of your home, but it also provides a space for family and friends to gather. This project is also perfect for those looking to hone their skills, making it one of the best easy woodworking projects for beginners. With just a few essential tools and materials, you can create a stunning centerpiece that will last for years to come.
This centerpiece won’t only bring warmth to your home but also a sense of belonging.
With a few thoughtful choices, you can craft something truly special.
Here’s what to reflect on:
- Rustic wood selection: Choose reclaimed wood or distress new lumber for that vintage vibe.
- Sturdy base: Opt for a trestle or pedestal design for stability and seating space.
- Farmhouse table finishes: Use natural oil or matte polyurethane to enhance the wood’s character.
- Custom dining dimensions: Personalize the size to fit your space perfectly.
With a budget under $200, you’ll create a handcrafted piece that invites family and friends to gather around.
Antique Desk Restoration
Restoring an antique desk can feel like starting a heartfelt journey through time, where each scratch and dent tells a story waiting to be unfurled.
Begin with a wood condition assessment, checking for wear like scratches or loose joints. Once you’ve evaluated the desk, clean it thoroughly and remove old hardware to reveal its true beauty.
Use refinishing techniques like applying a high-quality primer to create a smooth base, ensuring your topcoat adheres well. For a polished finish, consider water-based stains combined with beeswax or hemp oil for added protection.
As you reassemble, secure those joints and add bumpers to drawers to prevent rubbing. You’ll take pride in every detail, transforming an old piece into a cherished centerpiece.
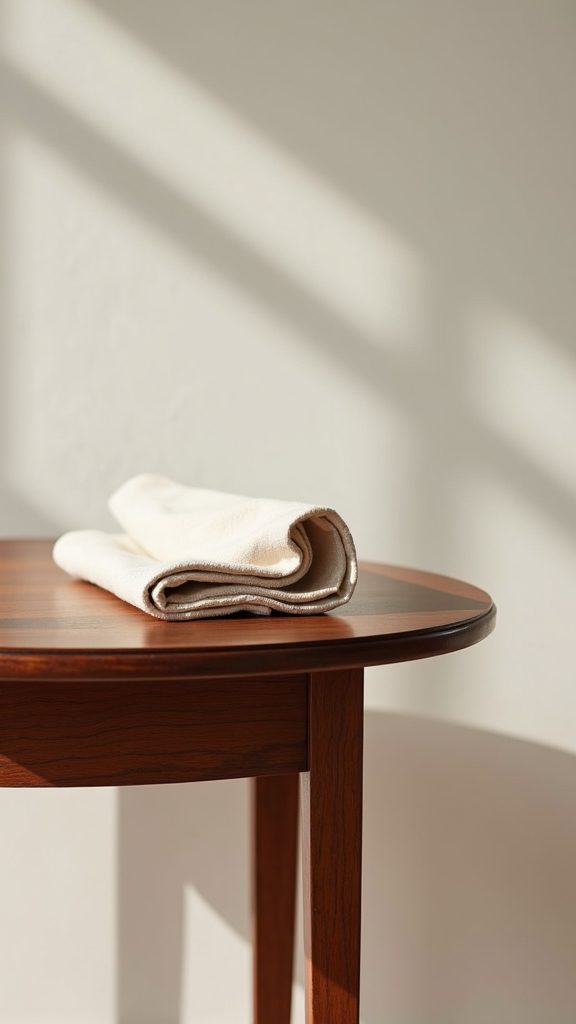
Refinished Side Table Revival
When you breathe new life into a refinished side table, it’s like uncovering a hidden gem in your home—one that not only enhances your space but also sparks joy every time you walk by.
This project is all about making it your own through thoughtful choices.
Consider these tips:
- Color palette choices: Experiment with shades that resonate with your style.
- Furniture distressing techniques: Add character by lightly sanding edges for a vintage feel.
- Simple hardware upgrades: Clean and restore knobs with rub and buff metallic wax for a fresh look.
- Protective finish options: Use beeswax or hemp oil for a lasting sheen and durability.
Your refinished side table can truly transform any corner of your home!
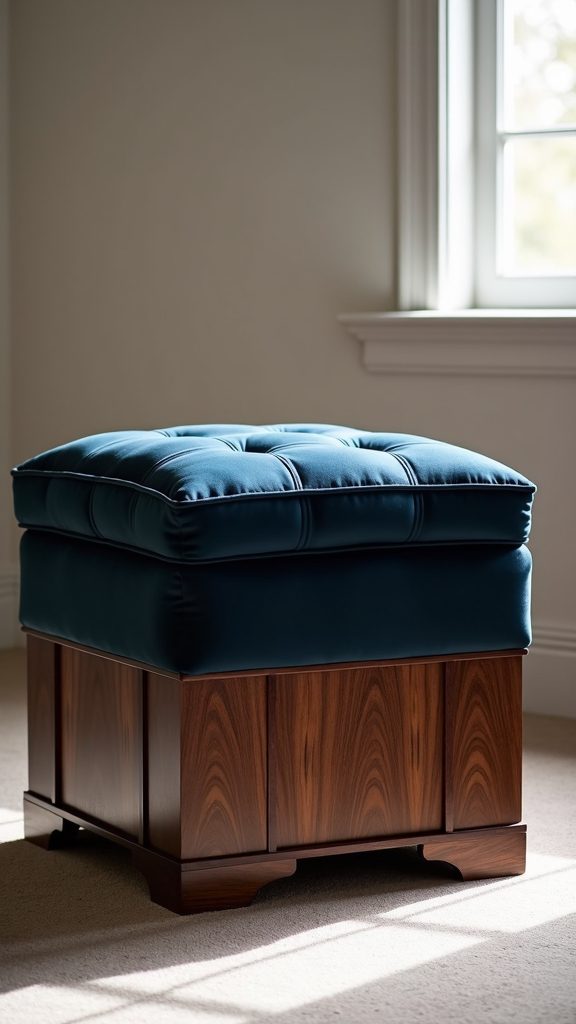
Stylish Storage Ottoman Project
Imagine walking into your living room and spotting a chic ottoman that not only looks fabulous but also hides away your clutter—sounds like a win-win, right?
Transforming a thrifted ottoman into a stylish storage solution is easier than you think! Start with smart fabric selection tips that match your decor, then apply foam layering techniques for added comfort.
Simply remove the old upholstery, use a staple gun to attach your new fabric, and create neat corners for a polished finish.
Don’t forget to add a hidden storage compartment with a hinged lid or the existing top.
Finally, enhance its charm with decorative finishing touches like piping or buttons. You’ll be amazed at how this budget-friendly project can elevate your space!
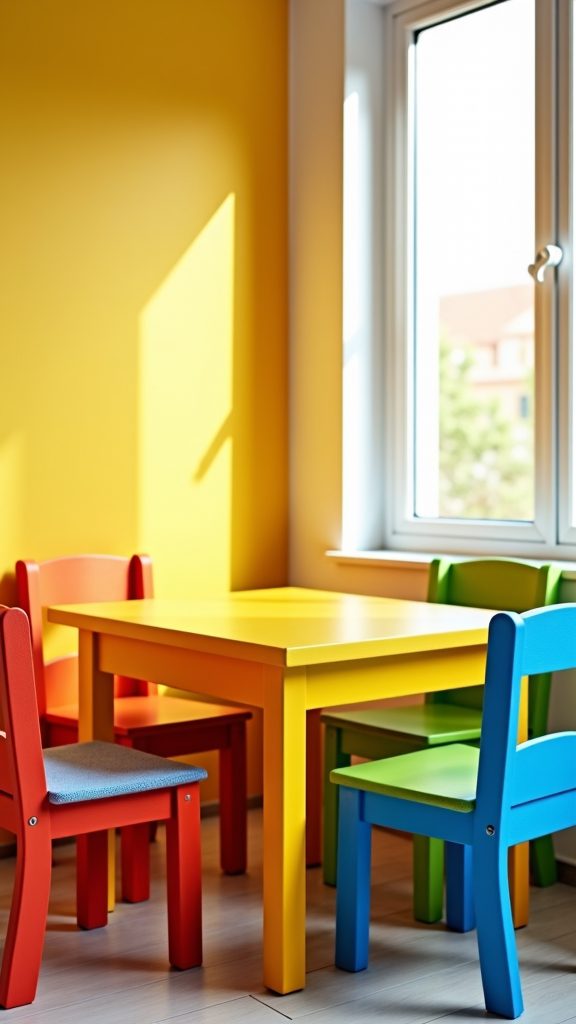
Colorful Kids’ Table and Chairs
Transforming a thrifted kids’ table and chairs set into a vibrant play space is an exciting project that adds a splash of color to your home.
With a little creativity, you can create a joyful environment for your little ones. Here’s how to get started:
- Choose a fun color palette selection that reflects your child’s personality.
- Use durable paint options, like non-toxic, water-based paints, for easy cleaning and safety.
- Incorporate creative stenciling techniques or decals to personalize the furniture, making it uniquely theirs.
- Mix and match colors across pieces to create a cohesive yet dynamic look that grows with them.
You’ll love watching your kids play at their newly transformed table, and they’ll feel special in their personalized space!
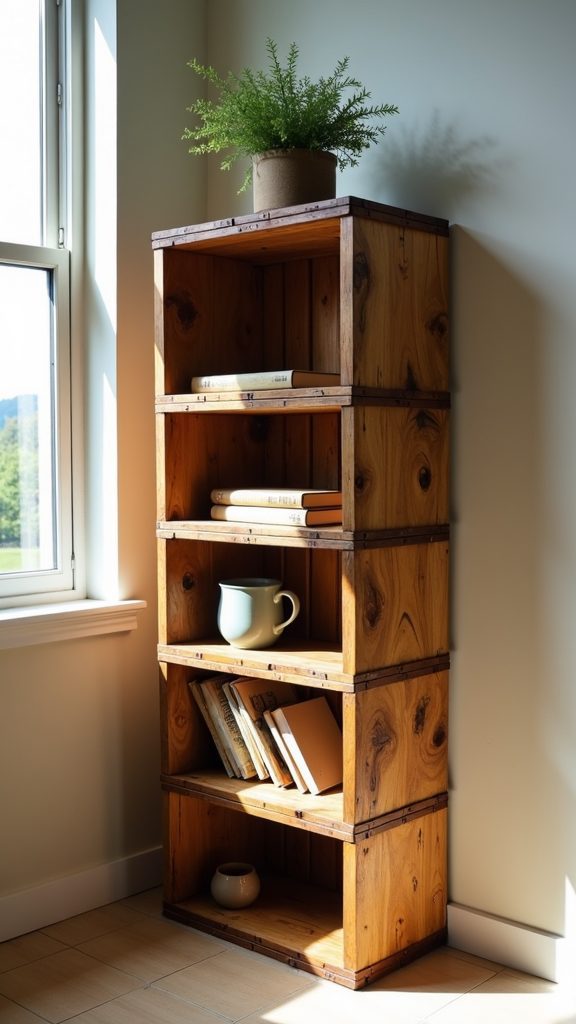
Repurposed Crate Shelving Unit
Creating a repurposed crate shelving unit not only gives you a stylish storage solution, but it also allows you to showcase your creativity in a fun and meaningful way.
You can explore vintage crate sourcing at thrift stores or yard sales, often finding crates for free from local businesses. With some crate stacking techniques, you’ll craft a unique multi-tiered shelving unit that adds rustic charm and maximizes vertical space.
Personalizing your crates with paint or decorative accents lets you express your style and makes your home feel even more inviting. Plus, this eco-friendly decor project requires minimal tools, so it’s accessible for everyone.
Immerse yourself in this DIY adventure, and let your creativity shine!
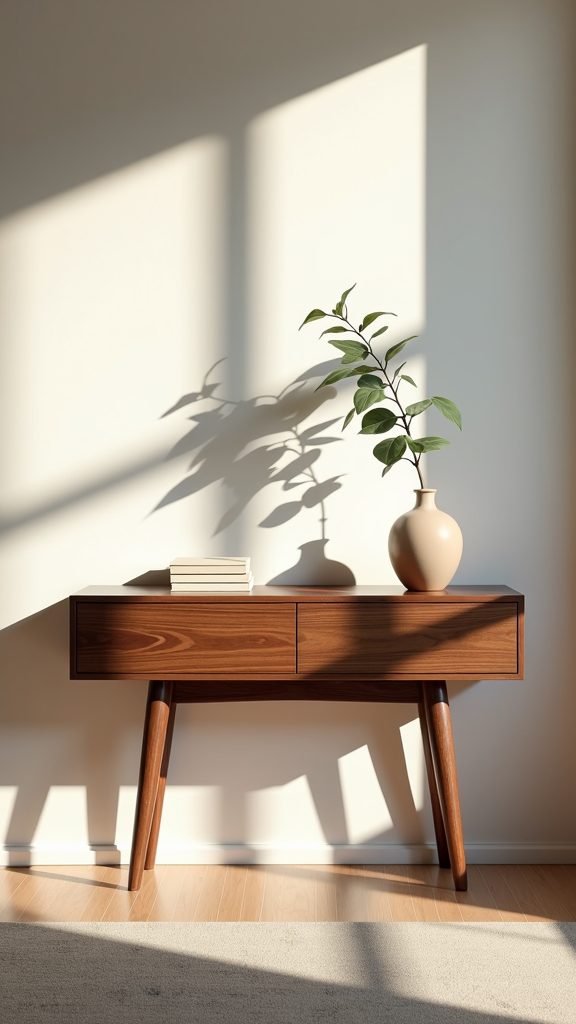
Chic Console Table Redesign
When you breathe new life into a thrifted console table, you’re not just giving it a fresh look; you’re also embracing a bit of history and personality for your space.
Imagine transforming it with a deep olive green paint color that highlights its mid-century charm while adding a modern touch.
Here’s how you can elevate your console table styling:
- Use a shellac-based primer for a smooth, durable finish.
- Incorporate stained wood accents for visual interest.
- Opt for a gravity-fed HVLP sprayer for an even application.
- Choose DIY hardware upgrades to personalize your piece.
With just under $75 in materials, you can create a stunning focal point that reflects your style and invites warmth into your home.
Embrace this exciting project!
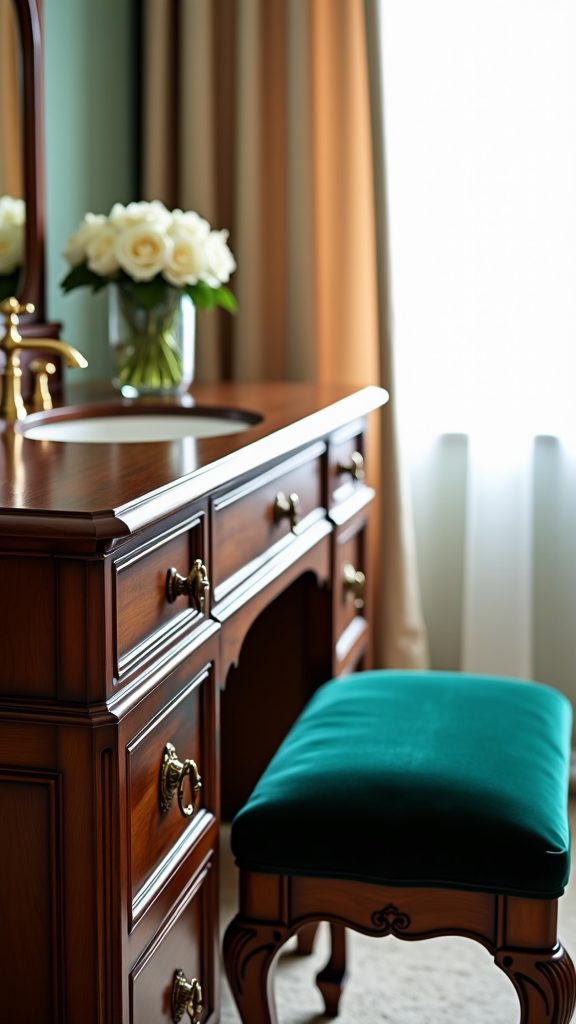
Glamorous Vanity Revitalization
There’s something magical about breathing new life into an outdated vanity; it’s like uncovering a hidden gem right in your own home.
Start with a fresh coat of paint—try a trendy dark olive green for glamorous finishes that truly pop! Don’t forget to use a shellac-based primer for smooth adhesion, especially on laminate surfaces.
If your vanity has wooden legs, a quick-drying water-based stain creates a rich tone that adds character. Using a gravity-fed HVLP pneumatic gun guarantees an even application, reducing pesky drips.
Finally, add decorative accents like bumpers on drawer fronts and a beeswax finish to protect your masterpiece. With these simple steps, your revitalized vanity will be the envy of your friends!
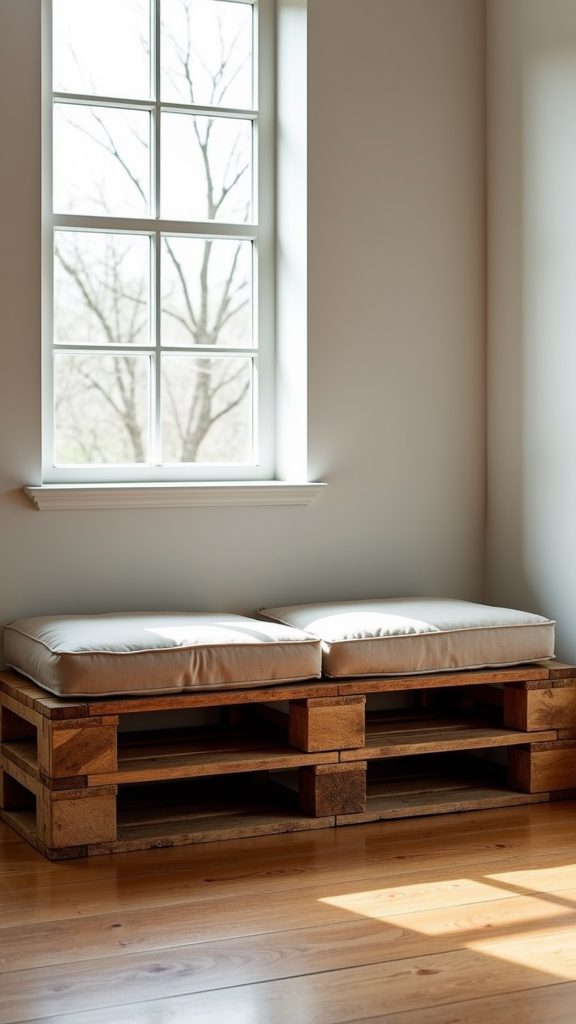
DIY Pallet Wood Bench
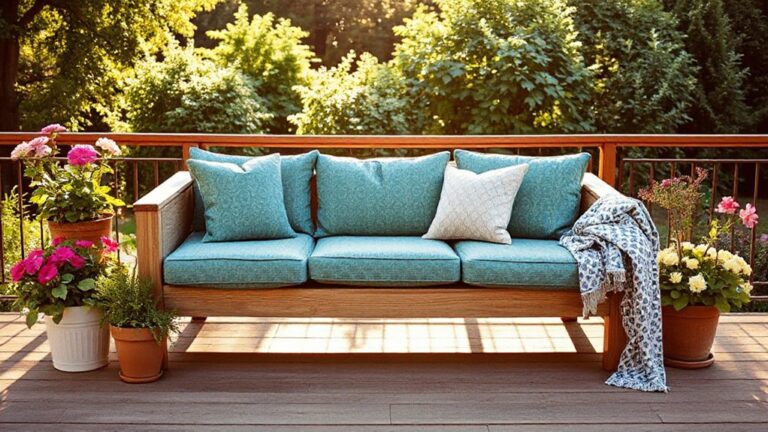
After transforming your old vanity into a stunning focal point, why not turn your attention to another rewarding project—building a DIY pallet wood bench?
This budget-friendly endeavor not only gives you a cozy spot to relax but also showcases your creativity.
Here are some tips to get you started:
- Pallet sourcing tips: Check local businesses or online marketplaces for free pallets.
- Bench design ideas: Consider a simple rectangular shape or a more intricate design with armrests.
- Weatherproofing techniques: Use a weather-resistant finish to guarantee longevity outdoors.
- Add comfort: Look for affordable outdoor cushions that match your style.
With just a saw, drill, and sander, you’ll create a beautiful bench that invites everyone to gather around.
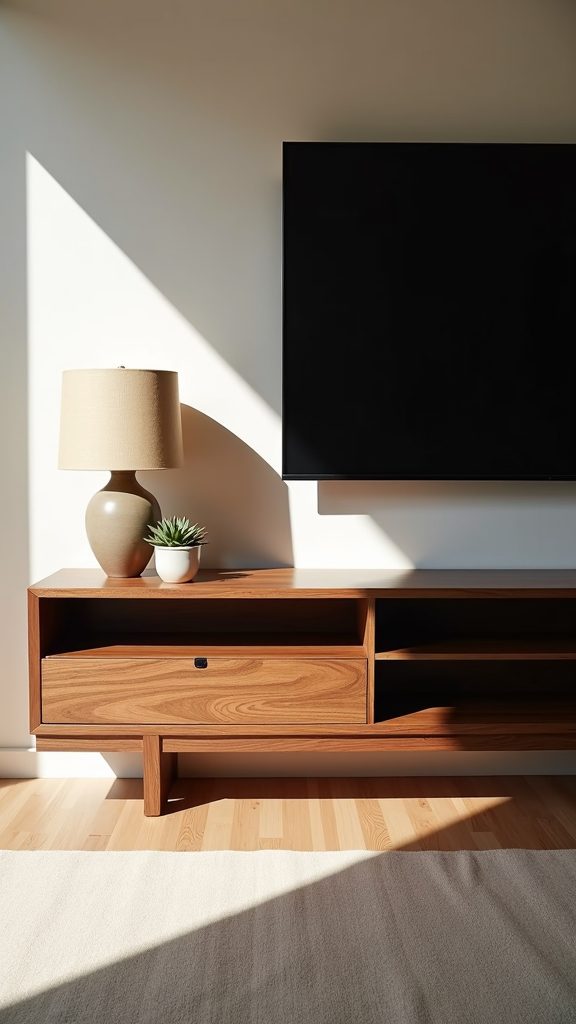
Modernized Media Center
Revamping your media center can feel like breathing new life into your living space, especially if it’s been stuck in the past for too long. Start by applying stylish paint in trendy colors, like dark olive green, to create that modern aesthetic you crave.
For those media center upgrades, consider cleaning and restoring original handles, or swapping them out for functional hardware that enhances both style and usability. Adding wood accents, such as stained legs or decorative stripes, brings warmth and contrast to your newly painted surfaces.
To guarantee a smooth, durable finish, use quality primers and self-leveling enamel. Finally, protect your masterpiece with beeswax or hemp oil for longevity—your media center deserves to shine through daily use!
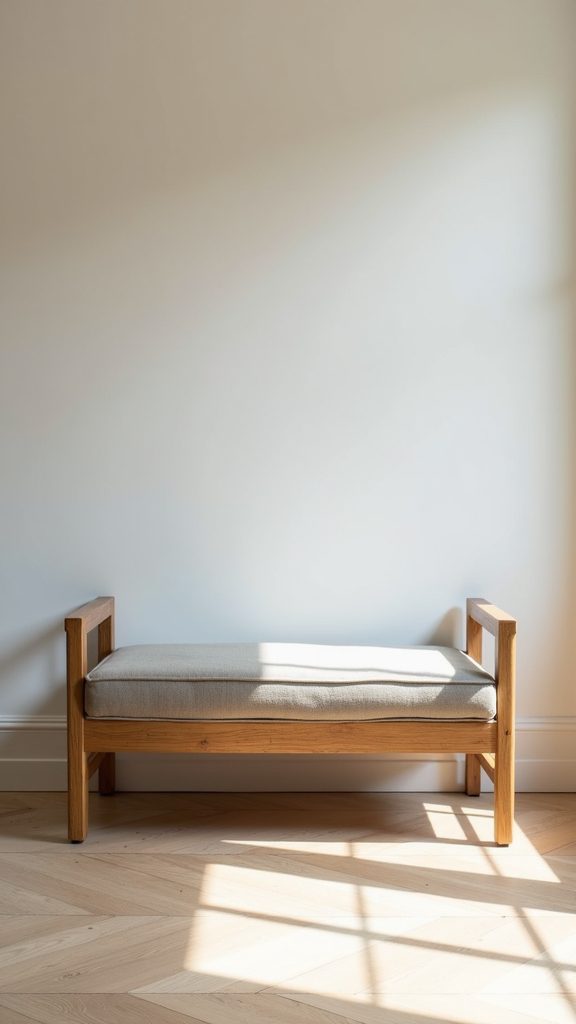
Upholstered Bench Makeover
Transforming an old bench into a stunning upholstered piece can be one of the most rewarding DIY projects you take on.
It’s an opportunity to create something unique that’ll make your space feel more like home. Start with a solid frame, preferably thrifted, and strip away the old upholstery.
Then, here are some helpful tips to guide your makeover:
- Fabric selection tips: Choose durable and stylish options like canvas or faux leather.
- Staple gun techniques: Make sure to keep the fabric taut and smooth while stapling it down.
- Finishing touches ideas: Add decorative trim or paint the legs to match your decor.
With a little effort, you’ll have an upholstered bench that’s not just functional but also a beautiful addition to your home!
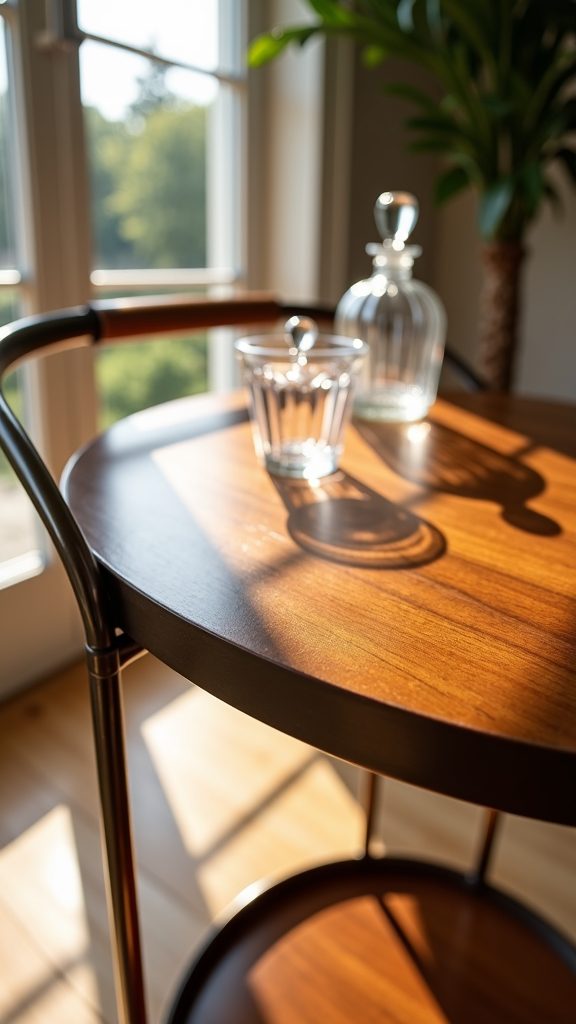
Retro Bar Cart Restoration
When you stumble upon a retro bar cart from the 1970s, it’s hard not to feel a rush of nostalgia and excitement (especially if you’ve got a flair for vintage decor).
Restoring this gem is a rewarding journey! Start by repairing any structural damages—loose joints and split surfaces need your attention for durability.
Next, immerse yourself in DIY painting; a bold color like dark olive green can really elevate its vibe.
Don’t forget to clean and refinish the hardware to enhance that vintage charm. Using a shellac-based primer guarantees a smooth finish, while bumpers on drawer fronts protect your hard work.
With some love, your retro bar cart will become a centerpiece filled with bar cart essentials, echoing those delightful retro trends!
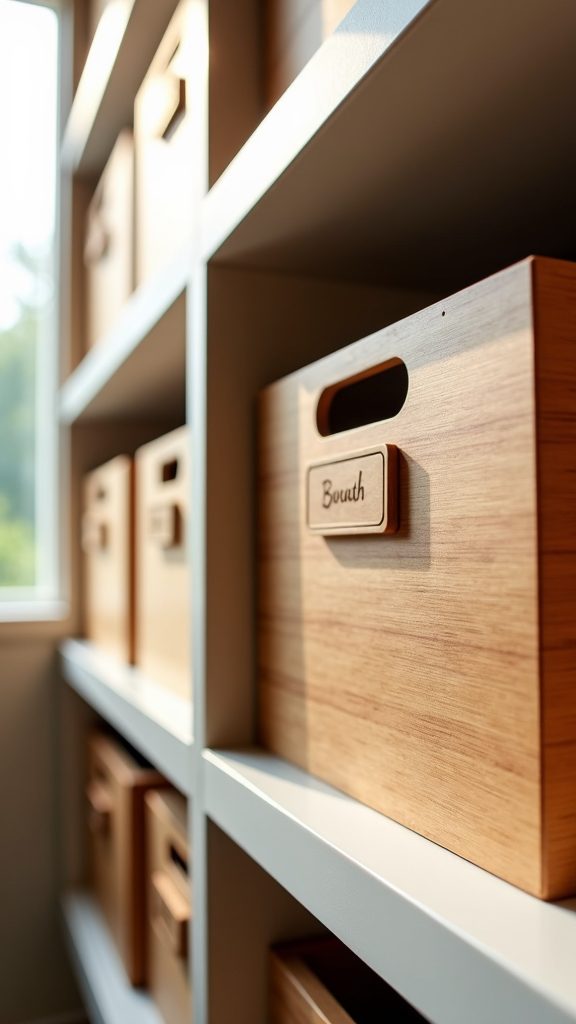
Custom-Labeled Storage Bins
Creating custom-labeled storage bins can truly transform your space into a well-organized haven.
By using simple materials like cardboard boxes, plastic bins, or wooden crates, you can craft personalized storage solutions that reflect your style.
Here are some effective storage organization tips to get you started:
- Choose label making techniques that suit your style, such as printable label makers, hand-painted designs, or adhesive vinyl.
- Implement color coding systems for quick visual identification—think blue for office supplies and green for craft materials!
- Keep it budget-friendly! You can create these bins for under $20.
- Tailor the labels to fit your needs, ensuring every item has its place.
Get ready to enjoy an effortlessly organized space that feels uniquely yours!
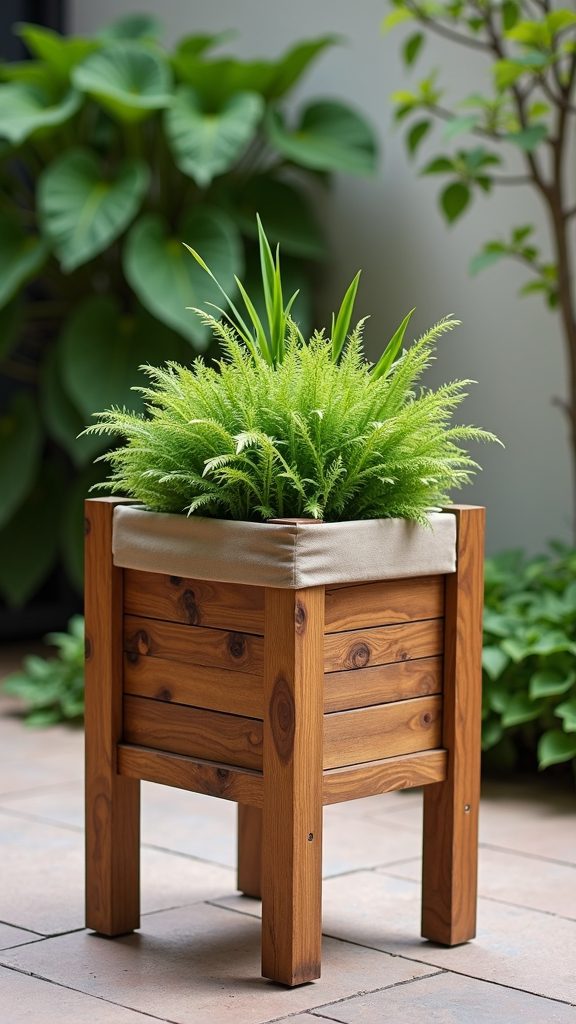
Reimagined Garden Planter Stand
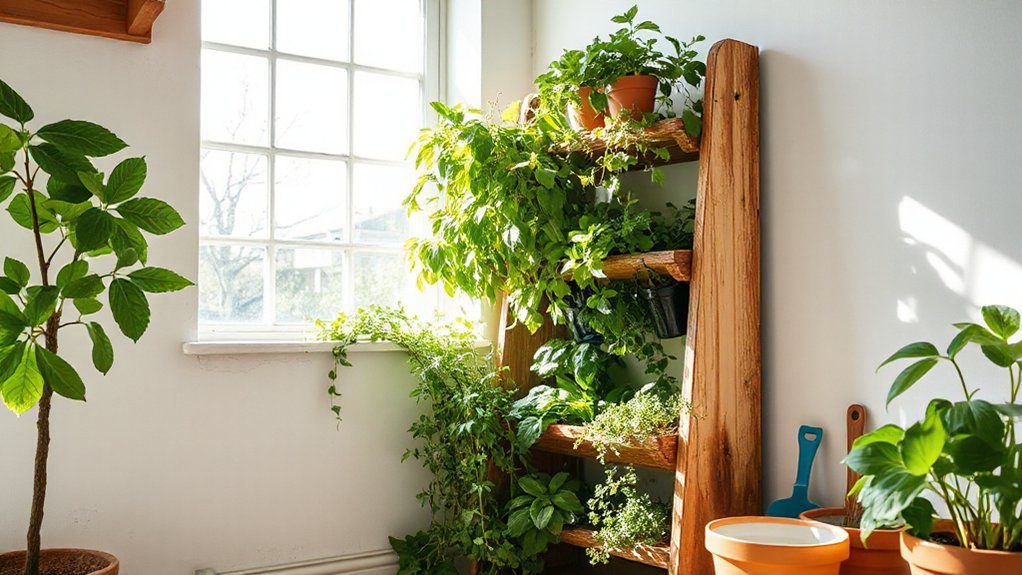
Isn’t it exciting to breathe new life into an old wooden ladder or shelving unit?
With a bit of outdoor-safe paint or stain, you can create a stunning planter stand design that’s both functional and stylish. Imagine showcasing a vibrant array of flowers and herbs using vertical gardening tips to maximize your space!
By adding wheels, you can easily reposition your stand for the best sunlight. Plus, incorporating rustic decor ideas, like reclaimed wood and decorative hardware, gives it that personal touch that makes your garden feel like home.
Don’t forget to seal everything to protect against moisture and UV rays. Your garden will flourish, and you’ll take pride in your beautiful, DIY masterpiece!
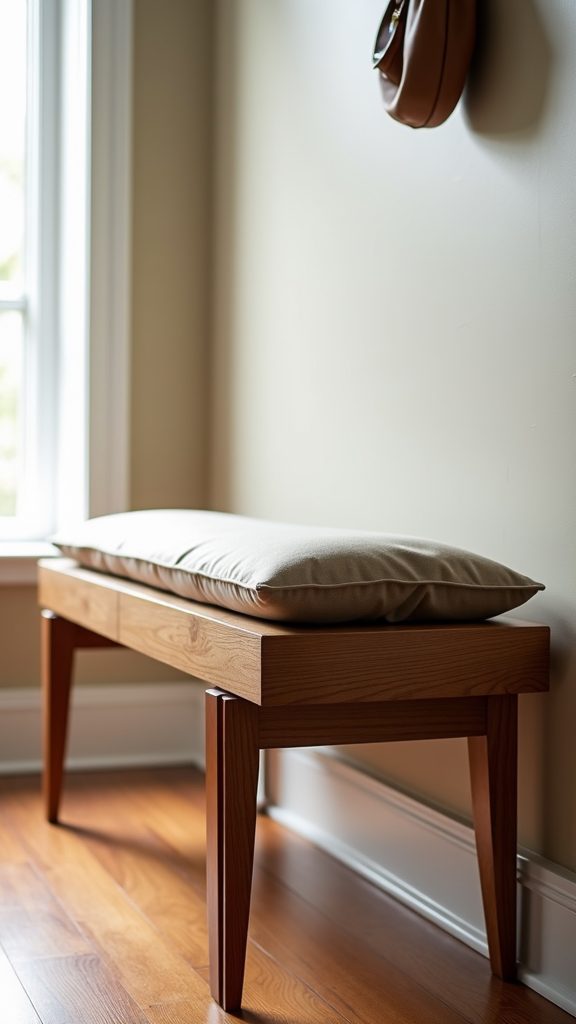
Updated Entryway Bench
After giving your garden a vibrant touch with that stunning planter stand, why not turn your attention to your entryway?
An updated bench can transform your space into a welcoming hub. Here are some entryway organization tips to get you started:
- Refinish with a fresh coat of paint—try a dark olive green for a modern vibe.
- Incorporate wood accents—stain the legs for a rich, medium tone that complements your color scheme inspirations.
- Add bumpers—keep those drawers functioning smoothly and looking great.
- Explore bench cushion ideas—choose a fun fabric that ties your design together.
With just a few hours and under $75, you’ll create a stylish entryway that feels like home.
Embrace the joy of DIY!
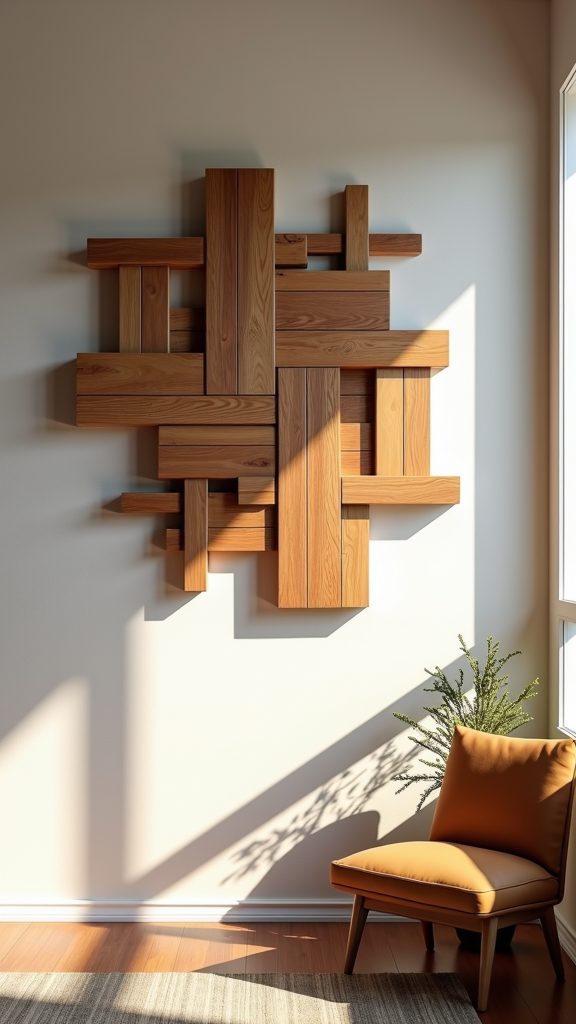
Creative Wall Art Installation
Have you ever walked into a room and felt an instant shift in mood just because of the art on the walls? Creative wall art installations can transform your space without emptying your wallet.
Think thrifted frames or repurposed items as budget decor that tells your story. You can incorporate personal touches like family photos or handmade art, making your walls truly yours.
For an easy, no-damage approach, use removable adhesive strips or hooks, allowing you to rearrange without hassle.
Explore local thrift stores or flea markets for unique finds, or immerse yourself in DIY projects like painting geometric patterns.
With a splash of wall art inspiration, you’ll create a warm, inviting atmosphere that makes everyone feel at home.
Elegant Floating Shelves
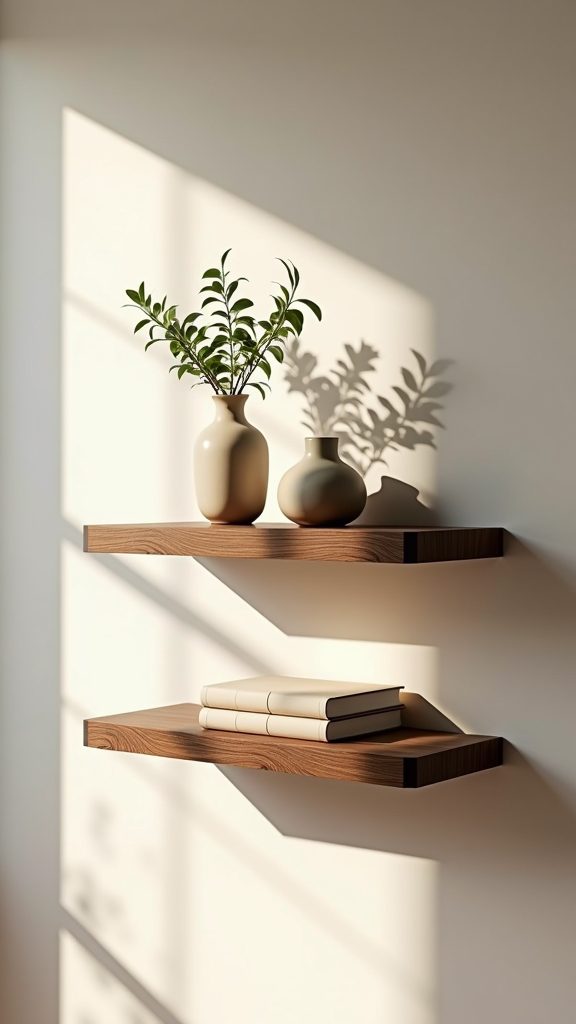
When you think about elevating your home’s style, elegant floating shelves are a game-changer that can seamlessly blend function with beauty.
They’re not just practical; they can transform your space into something extraordinary!
Consider these tips for your floating shelves:
- Use reclaimed wood or affordable plywood as floating shelf materials for a stylish and budget-friendly option.
- Opt for a minimalist shelf design by hiding brackets for a clean look.
- Play with different lengths and heights to create a dynamic visual display.
- Don’t forget to finish with a sleek black paint or warm wood stain for that perfect touch.
With simple shelf installation tips and basic tools, you’ll have a stunning addition to your home that showcases your personality beautifully!
Unique Drawer Pulls and Handles
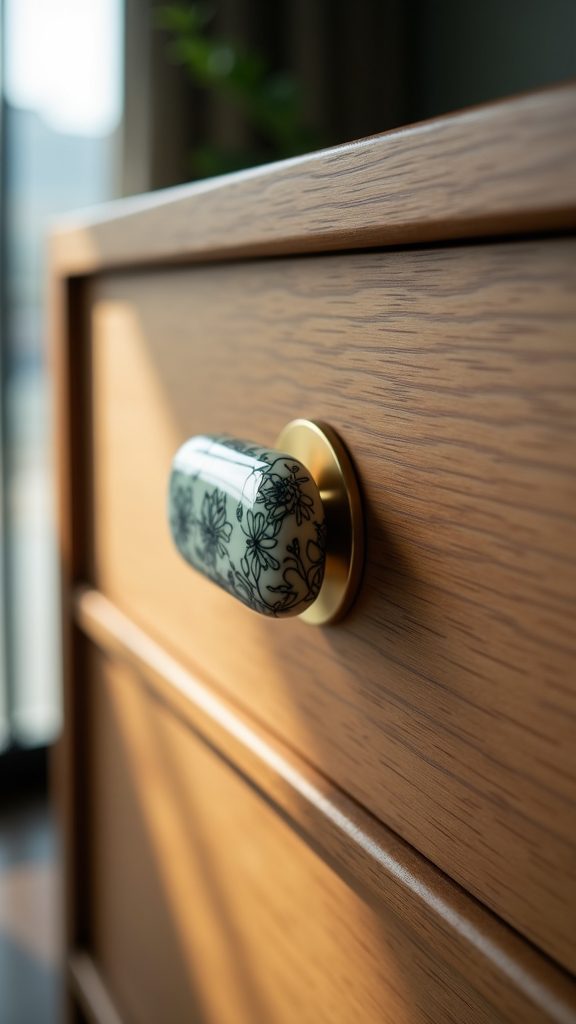
Transforming your furniture with unique drawer pulls and handles can feel like giving it a brand-new personality! When you upcycle thrifted pieces, the right hardware selection can make all the difference.
Consider mixing drawer pull styles—modern geometric pulls can create a stunning contrast with vintage furniture, adding character and charm.
Don’t forget to explore refinishing techniques! A little rub and buff metallic wax can breathe life into old hardware, keeping your costs low while achieving a polished look.
Adding bumpers to drawer fronts not only protects your finish but also enhances smooth operation. Plus, customizing handles with paint or stain can truly unify your dresser, making it a cherished statement piece that reflects your personal style.

