7 Steps to Sculpting With Air Dry Clay: a Beginner’S Guide
Disclosure: This post may contain Amazon affiliate links, at no extra cost to you. Content on DiyCraftNest is created with research support from AI tools and carefully reviewed, edited, and fact-checked by the lead author, Daniel Pat, to ensure accuracy and reliability. Learn more
Love cozy DIY projects? 💕
Get free printable guides, exclusive tutorials & surprise craft goodies straight to your inbox.
Sculpting with air dry clay is a fun and rewarding journey! Start by choosing the right clay that matches your vision. Gather essential tools like sculpting tools and a rolling pin. Create a tidy, inspiring workspace to spark your creativity. Learn basic techniques such as pinching and coiling to shape your masterpiece. After crafting, let your sculpture dry properly before finishing it with vibrant paints. Each step brings you closer to creating something uniquely yours, and there’s so much more to explore!
Key Takeaways
- Choose the right air dry clay type and texture that aligns with your creative vision and desired finish.
- Gather essential tools like sculpting tools, a rolling pin, and a water container for a well-equipped workspace.
- Prepare your workspace by organizing supplies and creating an inspiring environment to foster creativity.
- Learn basic sculpting techniques such as pinching, coiling, and slabbing to form your sculptures effectively.
- Finish your sculpture with surface treatment and paint to enhance its personality and transform it into a masterpiece.
Choose the Right Air Dry Clay
When you immerse yourself in the world of air dry clay, choosing the right type can feel a bit overwhelming, but it’s actually one of the most exciting steps in your sculpting journey!
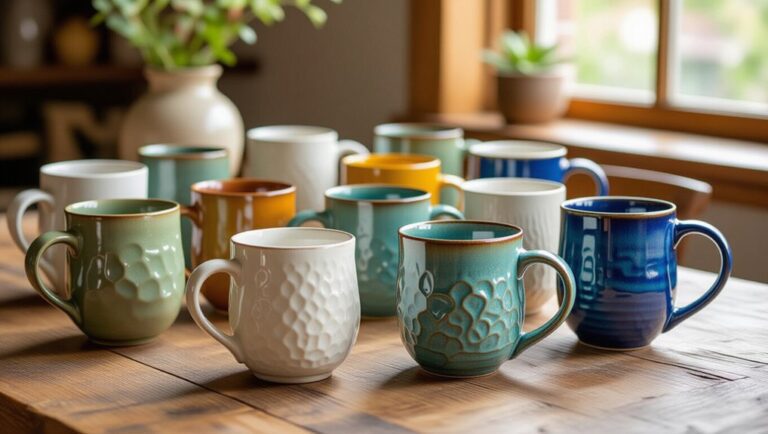
With various clay types available, like natural, synthetic, and colored options, you can find the perfect fit for your creative vision.
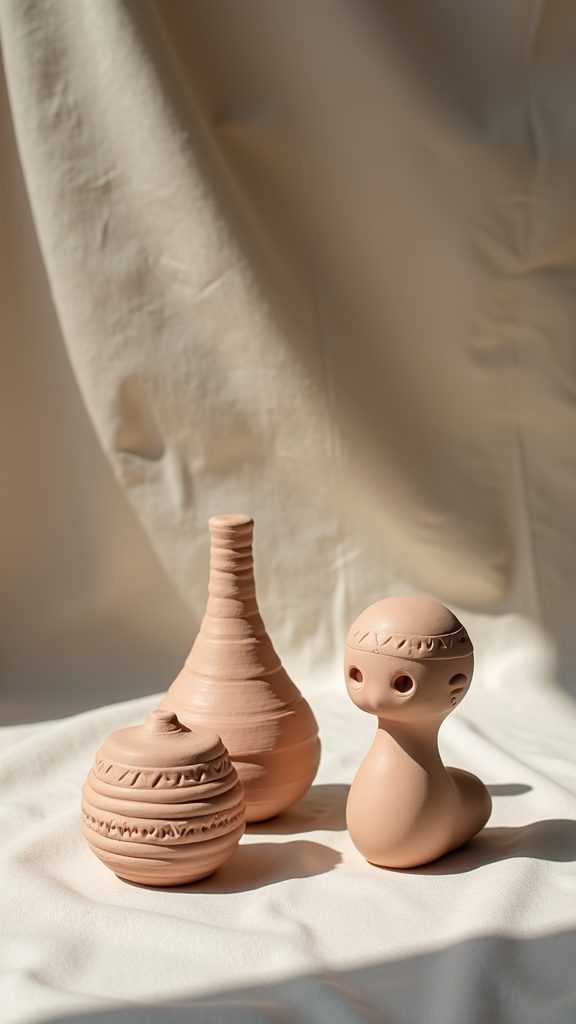
Think about the texture options too—smooth finishes can create elegant details, while rough textures add character and depth.
Experimenting with different clays can lead to amazing discoveries.
Gather Essential Tools and Supplies
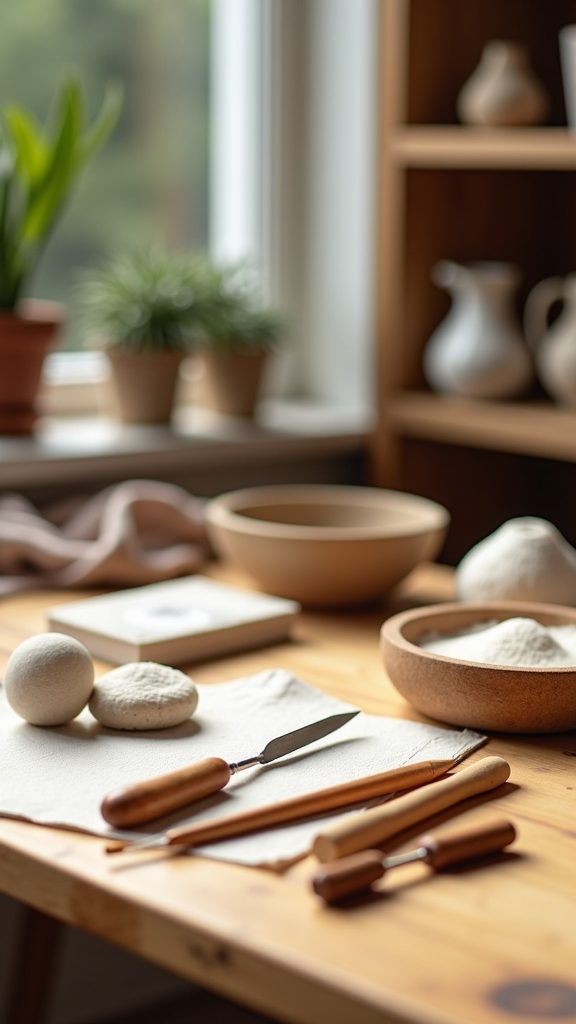
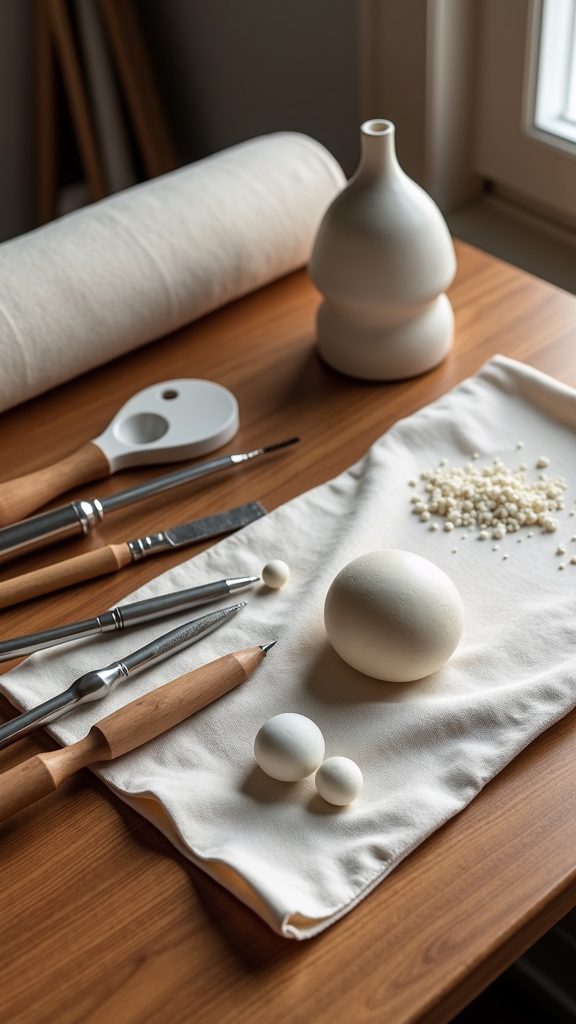
Gathering the right tools and supplies for your air dry clay projects is like assembling your own creative toolkit, and trust me, it makes all the difference! Having a well-stocked toolkit not only streamlines the process but also sparks inspiration for new ideas. Whether you’re sculpting intricate details or crafting simple shapes, the right materials can elevate your beginner air dry clay projects to a whole new level. Remember, creativity flows when you have everything you need at your fingertips!
With the right essential tools, you’ll feel empowered and ready to bring your ideas to life. Here’s a quick list of must-have clay supplies to get you started:
- Clay Sculpting Tools: A variety of shapes can help you carve and smooth your creations.
- Rolling Pin: Perfect for flattening clay to your desired thickness.
- Water Container: Essential for keeping your workspace tidy and your clay workable.
Get excited; your journey begins here!
Prepare Your Workspace
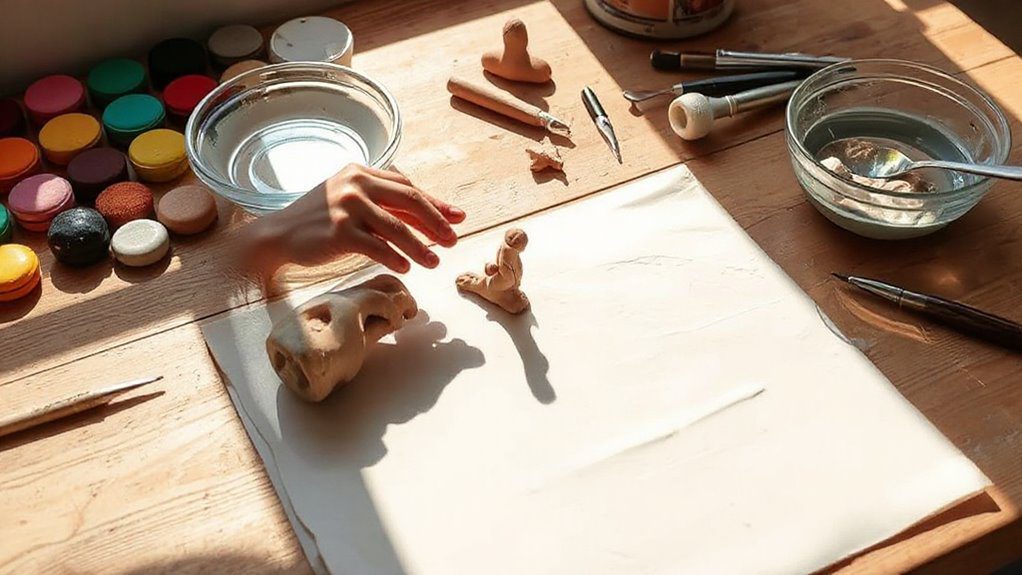
Creating a dedicated workspace for your air dry clay projects can really elevate your crafting experience! This space allows you to organize your tools and materials, making it easier to dive into your creativity without distractions. Additionally, having a designated area can inspire you to try out mini clay project ideas for beginners, helping you build confidence and skills. As you experiment and create, you’ll find joy in the process and watch your artistic abilities flourish.
Start by choosing a well-lit area where you can truly set free your creativity. Keep your supplies organized—think labeled containers or trays for easy access. A messy workspace can stifle inspiration, so embrace workspace organization!
Surround yourself with items that spark joy, like colorful tools or inspiring artwork. Remember, this space is your sanctuary, where you’ll craft beautiful pieces.
With a little thoughtfulness, you’ll create a welcoming creative environment that feels uniquely yours. Immerse yourself, and let your imagination soar!
Learn Basic Sculpting Techniques
Now that you’ve set up your inspiring workspace, it’s time to roll up your sleeves and learn some basic sculpting techniques that will bring your ideas to life! As you dive into the world of sculpting, exploring the best clay sculpture ideas for beginners can provide you with the guidance and inspiration needed to get started. Experiment with different forms and textures, allowing your creativity to flourish as you practice these techniques. Remember, the more you create, the more confident you’ll become in your sculpting abilities.
Embrace different sculpting styles and explore how texture techniques can elevate your creations.
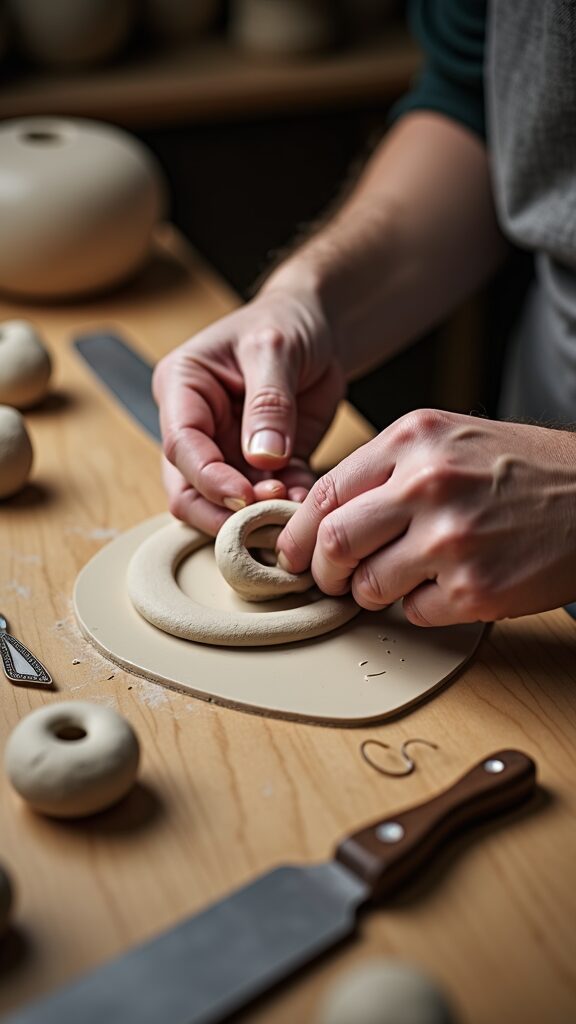
Here are three techniques to get you started:
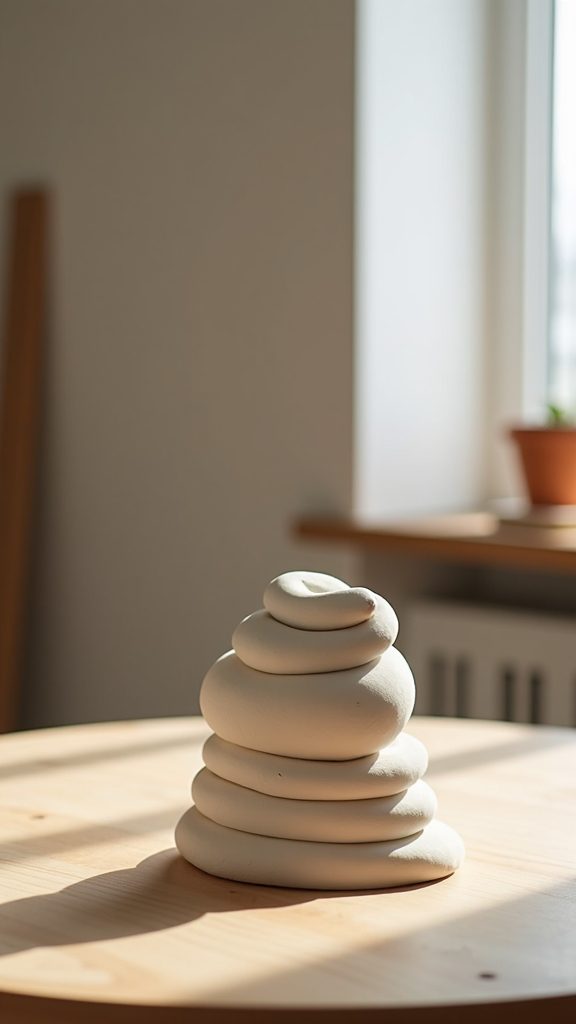
- Pinching: Use your fingers to shape and mold the clay, creating organic forms.
- Coiling: Roll out long strips of clay to build up your sculptures, perfect for adding height.
- Slabbing: Flatten clay into sheets and join pieces together for a sturdy base.
Let your creativity flow and enjoy the process!
Create Your Design
When you sit down to create your design, it’s like starting on a thrilling adventure where your imagination knows no bounds.
Grab some design inspiration from nature, your favorite art pieces, or even your dreams. Let your mind wander and sketch ideas that excite you. Don’t worry about perfection; this is your chance to explore and express yourself.
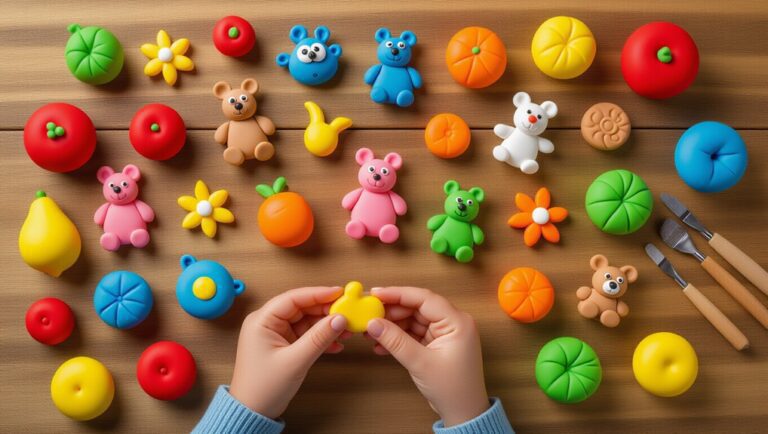
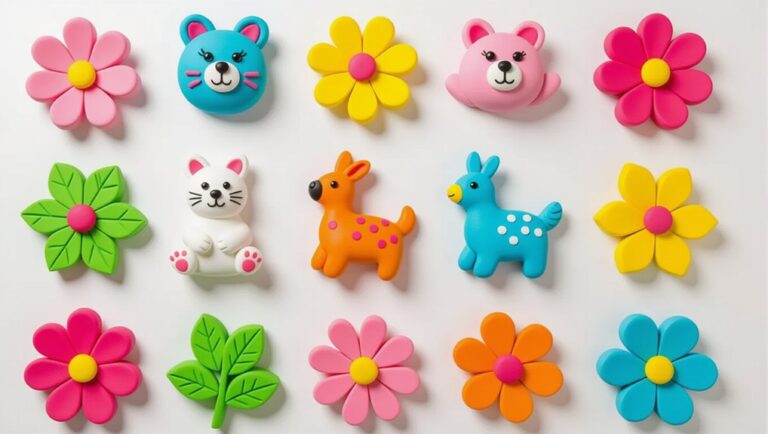
Maybe you want to sculpt a whimsical animal or a beautiful vase—what matters is that it resonates with you.
Allow for Proper Drying Time
After you’ve poured your heart into your sculpture, it’s crucial to remember that patience is key in the drying process. Allowing your masterpiece to dry properly guarantees it retains its beautiful shape.
Keep an eye on the drying conditions and humidity levels, as these can affect the outcome. Here are three tips to help you:
- Place your sculpture in a well-ventilated area to promote even drying.
- Avoid direct sunlight, as it can cause cracks.
- Check the humidity levels; higher humidity can slow down the drying process.
Trust the process, and soon you’ll have a stunning piece to be proud of!
Finish and Paint Your Sculpture
Once your sculpture has dried to perfection, it’s time to take it to the next level by finishing and painting it!
Start with a surface treatment—like sanding or sealing—to guarantee a smooth base.
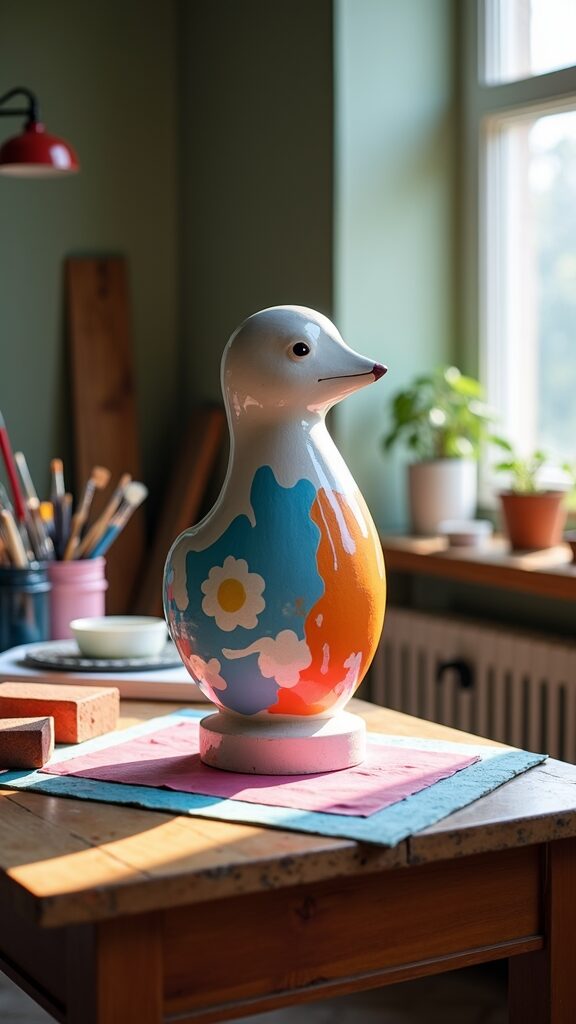
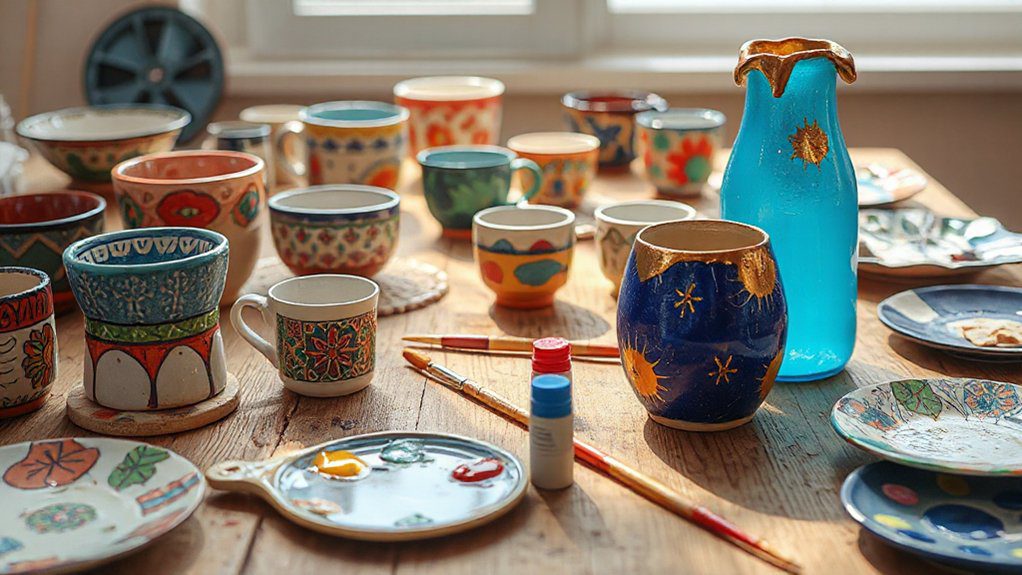
Then, think about your color selection; vibrant hues can breathe life into your creation.
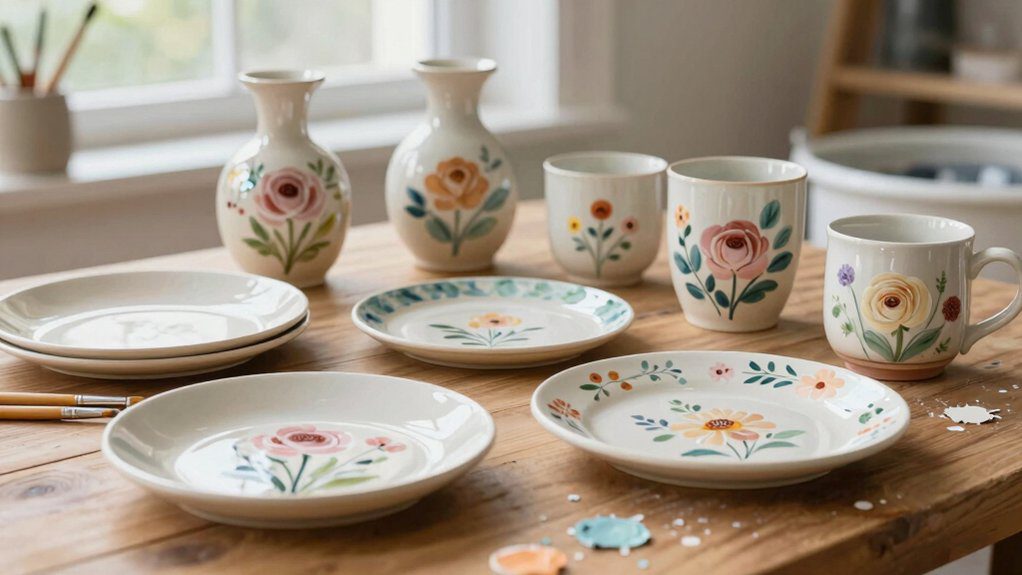
Whether you opt for acrylics or watercolors, each stroke adds personality.
Remember, this is your moment to shine and express yourself!
Don’t be afraid to experiment with layering or mixing colors.
As you paint, let your imagination soar, and relish the joy of transforming your sculpture into a true masterpiece!

