Paper Plate Flower Craft for Kids: 15 Easy Designs That Bloom With Creativity
Disclosure: This post may contain Amazon affiliate links, at no extra cost to you. Content on DiyCraftNest is created with research support from AI tools and carefully reviewed, edited, and fact-checked by the lead author, Daniel Pat, to ensure accuracy and reliability. Learn more
Love cozy DIY projects? 💕
Get free printable guides, exclusive tutorials & surprise craft goodies straight to your inbox.
Get ready to release your little one’s creativity with super fun paper plate flower crafts! All you need are some plain white paper plates, watercolor or acrylic paints, and a bunch of embellishments like pompoms and glitter. Cut and shape your petals, paint them bright colors, and attach them to create beautiful blooms. Try sponging or splattering paint for extra fun, and let those creative juices flow. You’ll discover even more amazing flower designs as you craft away!
Key Takeaways
- Use paper plates to create diverse flower petal shapes for unique designs.
- Employ watercolor or acrylic paints for vibrant and textured petals.
- Incorporate embellishments like pompoms and glitter for added creativity.
- Experiment with different petal layering techniques for a fuller flower.
- Encourage storytelling and collaboration to enhance the crafting experience.
Materials Needed for Paper Plate Flower Crafts
Ready to plunge into the world of paper plate flower crafts? You’ll need a few simple materials to bring these colorful creations to life!
Start with plain white paper plates—ideal for cutting into petal shapes that become the heart of your flowers. Grab some watercolor or acrylic paints to splash on vibrant hues. Scissors are essential for shaping petals and leaves; let your imagination run wild with designs!
Use a stapler or glue to secure your petals at the center. Don’t forget fun embellishments like pompoms, glitter, and markers to make each flower uniquely yours.
Let’s craft some blooming beauty!
Step-by-Step Guide to Creating Paper Plate Flowers
Now that you’ve gathered all your materials, it’s time to set free your creativity and start crafting some fabulous paper plate flowers!
Begin by cutting out 3 to 4 distinct petal shapes from your plain white paper plates. Mix up the sizes for a visually interesting effect.
Next, grab a pencil and gently curl the edges of each petal, giving your paper flowers a natural, blooming appearance.
- Assemble: Staple the petals at the center for stability.
- Paint: Use bright colors and fun techniques for texture.
- Enhance: Add pompoms, embellishments, and a pipe cleaner stem.
Voilà! Your masterpiece awaits!
Techniques for Cutting and Shaping Petals
When it comes to cutting and shaping petals, creativity is your best friend! Immerse yourself in the world of flower petals by experimenting with shapes—pointed, rounded, or even jagged edges can make your flowers pop!
Use templates for consistency, especially if you’re crafting with friends and want everyone’s flowers to bloom together beautifully. Size matters too, so try cutting small to large petals to add depth. Layer them up for a fuller look—it’s like a flower party!
Curling the edges with a pencil adds a natural, three-dimensional vibe. So, grab your scissors, and let those paper plates bloom into masterpieces!
Painting and Adding Color to Your Flowers
Let’s plunge into the colorful world of painting your paper plate flowers! With spring in the air, embrace the vibrancy of bright hues to captivate and inspire the kids in your craft sessions.
Here’s how to make your flowers bloom beautifully:
- Color Choice: Use bold paints to mimic spring’s natural beauty.
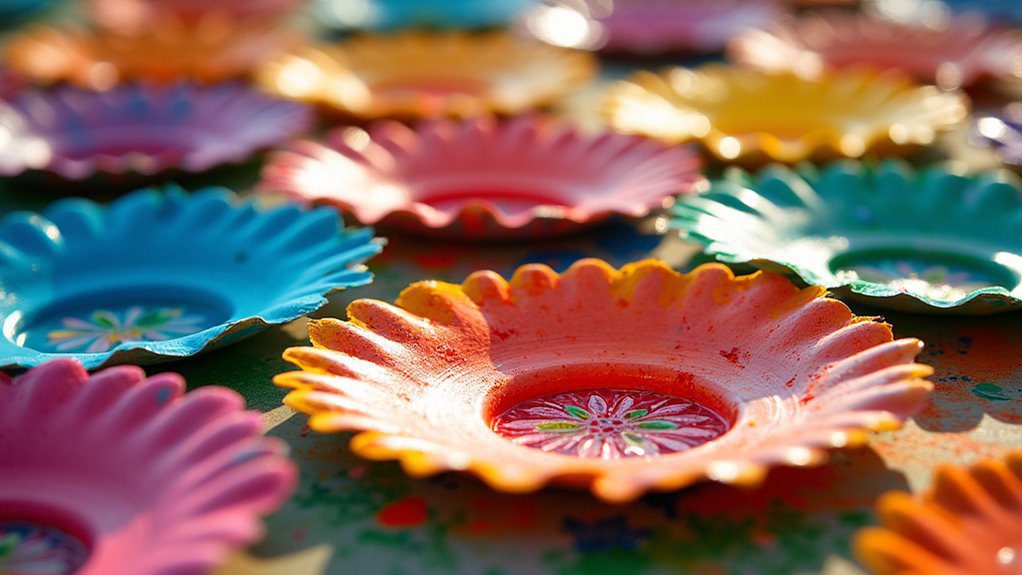
- Technique: Try sponging or splattering for texture and dimension.
- Details: Once dry, add personal touches with markers or chalk.
Encourage kids to mix colors, crafting unique shades and patterns!
Let their creativity soar during these art activities, celebrating the joy of painting and the magic of handmade flowers.
Attaching Petals to Form a Flower
With your paper plate flowers painted and bursting with color, it’s time to bring them to life by attaching the petals!
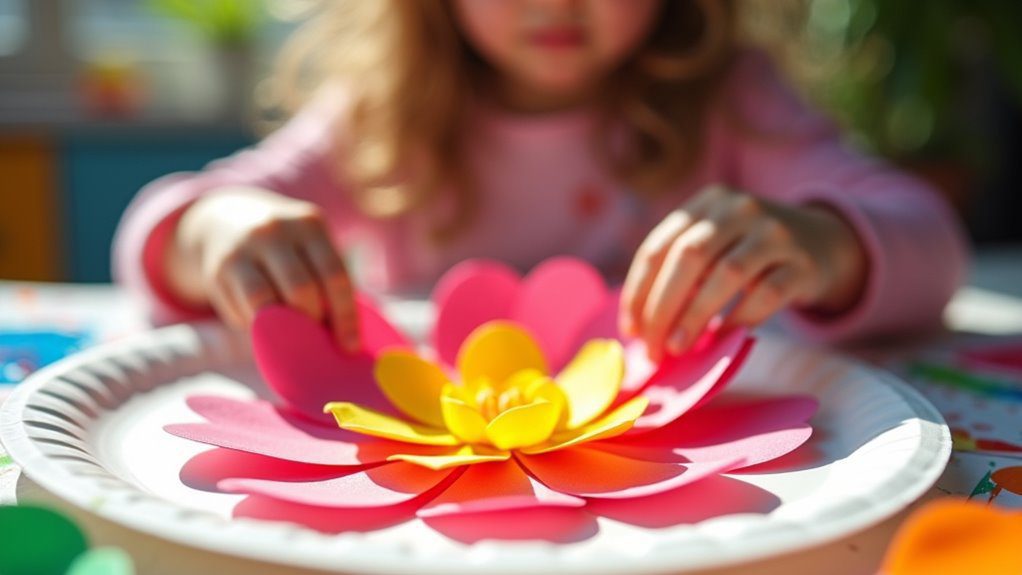
Start by slightly overlapping the cut petal shapes to create a natural bloom effect. Make sure they’re aligned evenly in the center for a cohesive look.
Use a stapler to secure the petals at their base, applying just enough pressure to hold without tearing. Mix it up with different sizes and shapes for added interest!
Curl the petal edges upwards gently for a realistic touch. Finally, reinforce with a small piece of tape or glue for extra stability.
Voilà! Your flower is blooming beautifully!
Adding Stems and Leaves for a Complete Look
Once your vibrant paper plate flowers are ready, it’s time to give them a lifelike look by adding stems and leaves! This part of the flower craft for kids is super cute and perfect for Spring.
Start by cutting leaf shapes from the leftover paper plates and painting them in lush greens. Use a straw or pipe cleaner as the stem, securing it with hot glue or tape.
Improve your flowers using these steps:
- Attach leaves: Use staples or glue for a balanced appearance.
- Curl edges: Add texture by curling leaf edges.
- Personalize: Experiment with designs for unique spring flowers.
Make a flower that’s perfect for Mother’s Day!
Creative Embellishments to Enhance Your Flowers
Now that your paper plate flowers have blossomed with stems and leaves, it’s time to get creative and jazz them up with some amazing embellishments!
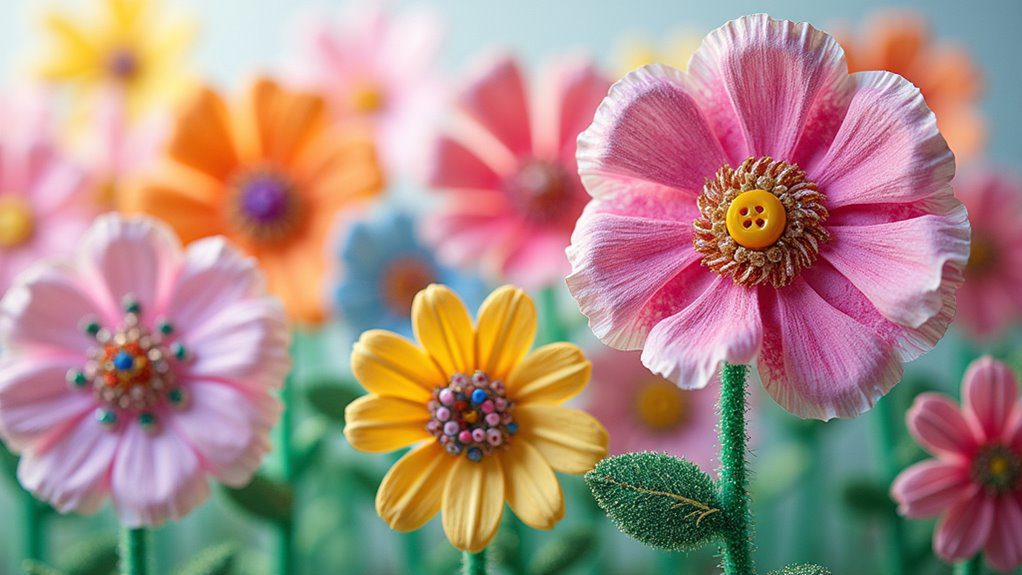
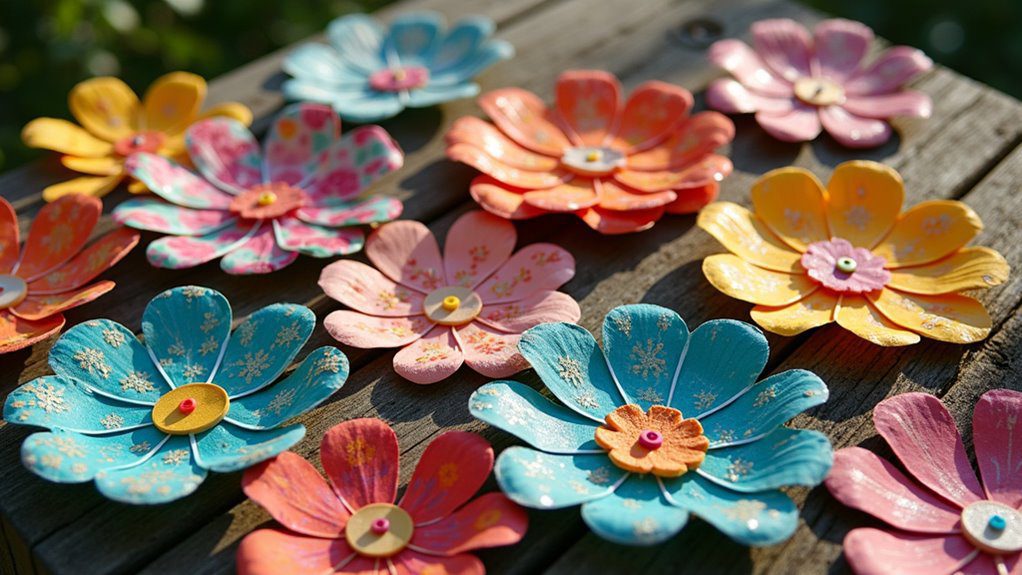
Add playful pompoms to the center for a textured, eye-catching look. Want some sparkle? Glitter or sequins on the petals will make them shimmer in the light—how dazzling!
For a personal touch, use markers or oil pastels to draw intricate designs. Pipe cleaners make colorful, flexible stems and leaves.
And don’t forget the splattered paint effects! Grab a paintbrush and have fun experimenting with different techniques. Your flowers will truly bloom with creativity!
Tips for Creating a 3D Flower Effect
If you’re ready to take your paper plate flowers to the next level, let’s plunge into some awesome tips for creating a 3D effect that’ll make your blooms pop!
First, curl the edges of the paper plate petals with a pencil to craft realistic Flower Variations. Next, layer petals of different sizes and shapes for added depth. Finally, add vibrant paint colors, using lighter shades in the center and darker on the edges.
- Curl petals with a pencil for natural blooms.
- Layer petals for fuller, realistic flowers.
- Paint in gradients for dimensional beauty.
Finish with pompoms or textured centers, and attach painted leaves for movement!
Using Recycled Materials for Eco-Friendly Crafting
Crafting paper plate flowers with a 3D effect is a blast, but let’s add an eco-friendly twist to the fun! Immerse yourself in sustainable practices by using recycled materials like egg cartons and plastic bottles.
You’ll not only reduce waste but spark creativity as kids change everyday items into vibrant blooms. Isn’t it amazing how a discarded carton can become a petal masterpiece?
Plus, crafting with recycled materials sharpens fine motor skills and opens discussions about recycling. It’s a win-win for creativity and the planet!
Best of all, these projects are budget-friendly, making them perfect for families and educators alike. Let’s craft and conserve together!
Crafting Flowers for Special Occasions
When it comes to celebrating special occasions, paper plate flowers add a delightful touch that’s both charming and personal!
Imagine gifting Mom a vibrant bouquet on Mother’s Day, each flower a symbol of love and appreciation. You can personalize these creations with vivid colors and unique designs that capture the essence of the moment.
Use these ideas to bring your events to life:
- Color Themes: Match flowers to event colors, like pastels for weddings.
- Heartfelt Messages: Write sweet notes on the back for keepsakes.
- Team Crafting: Work together with friends for a fun, creative experience.
Flower symbolism makes these crafts even more meaningful!
Displaying Your Finished Paper Plate Flowers
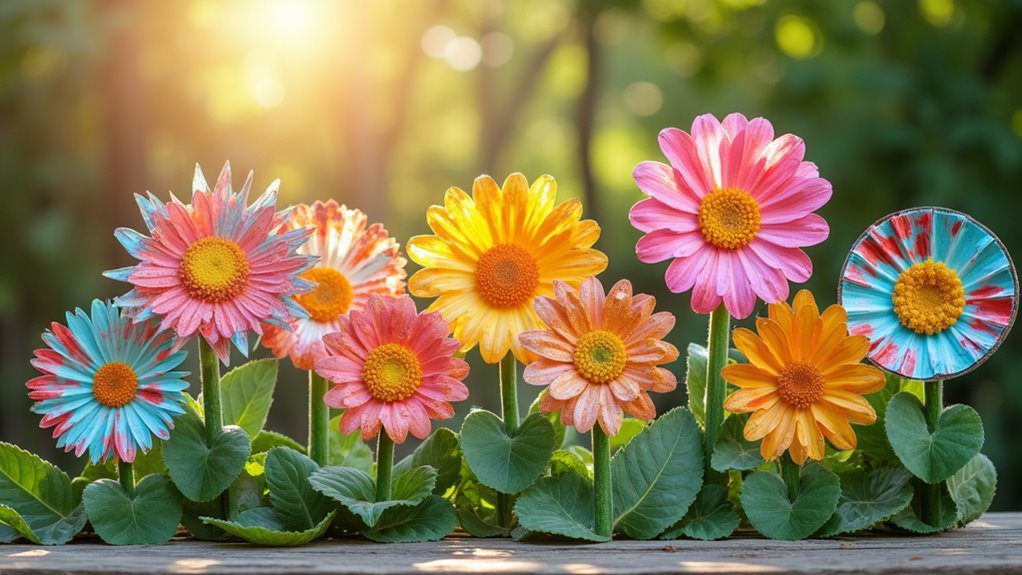
There are countless ways to show off your fabulous paper plate flowers! Create a stunning flower arrangement by placing them in a vase or jar as a cheerful centerpiece for your dining table.
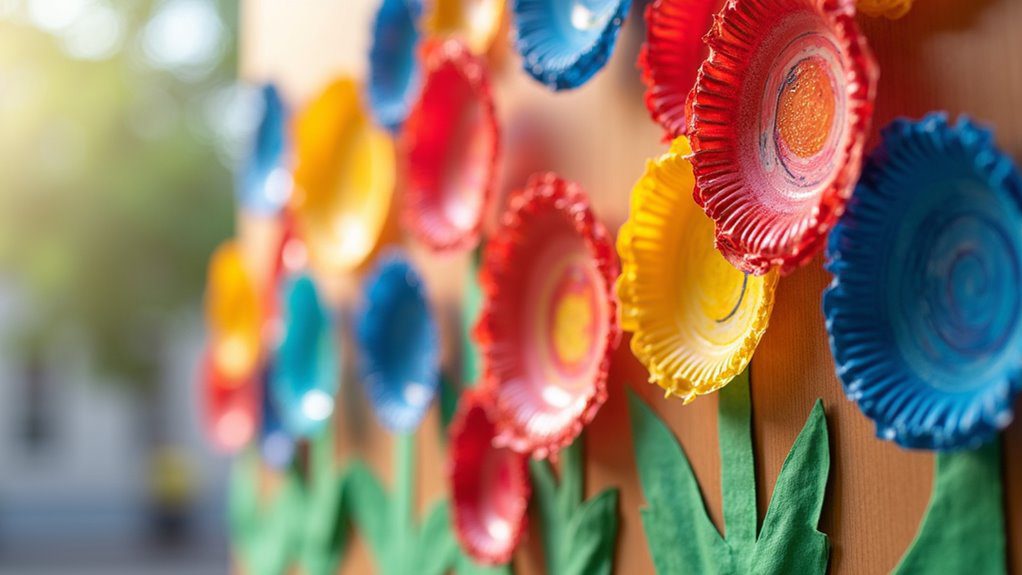
Feeling adventurous? Hang those beauties from the ceiling or on a wall for a pop of color that draws everyone in. Alter your space with a garland of paper plate flowers—drape it across a mantel or doorway for instant festivity.
For special occasions like Easter or Mother’s Day, arrange them in themed displays. Encourage kids to shine by setting up a mini art exhibit at home. Wow!
Engaging Kids in Artistic Expression Through Crafting
While it might seem like just another rainy day activity, making paper plate flowers is a fantastic way for kids to plunge into the world of artistic expression! By embracing their artistic identity, children explore creativity in vibrant ways. They’ll delight in choosing colors, experimenting with shapes, and playing with textures.
Plus, crafting offers so much more:
- Skill Development: Cutting and assembling flowers hones fine motor skills.
- Imaginative Play: Kids create stories around their creations, sparking intellectual growth.
- Teamwork: Sharing ideas during group activities fosters communication.
Ultimately, completing these projects boosts self-esteem and celebrates each child’s unique artistic flair!
Incorporating Texture and Patterns Into Designs
Let’s plunge into the delightful world of texture and patterns in your paper plate flower designs! Immerse yourself in textural experimentation by layering materials like crumpled tissue paper or fabric for a vibrant look.
Stamp with sponges or brushes to add patterns, letting kids explore repetition and design. Try playful, contrasting colors—polka dots or stripes, anyone?—to captivate their creativity.
Encourage them to experiment with painting techniques like splattering or dry brushing, creating flowers that practically leap off the plate! Mixing and matching textures and patterns not only improves artistic expression but also boosts fine motor skills.
Let’s get crafting and blooming!
Group Activities and Collaborative Flower Projects
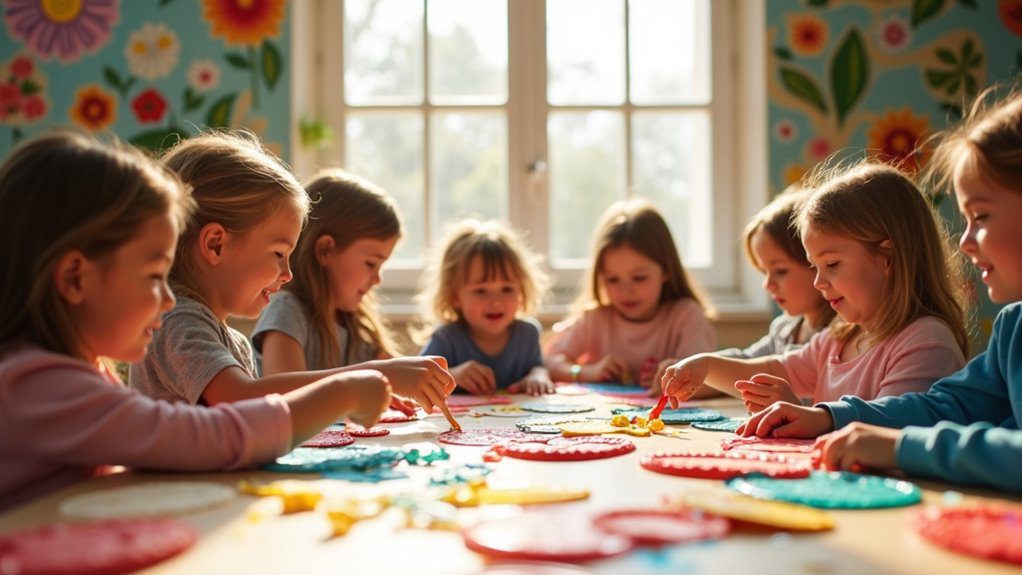
Now that you’ve got a handle on textures and patterns, it’s time to bring everyone together for some group fun with collaborative flower projects! Team collaboration is key and brings out the best in everyone. Imagine the joy as children work side by side, creating a stunning floral display.
Here’s how to get started:
- Set up stations with diverse materials and techniques, sparking creativity and exploration.
- Encourage idea-sharing, enhancing communication as kids discuss designs and divvy up tasks like cutting and painting.
- Mix age groups, letting older children mentor younger ones, fostering bonds and boosting confidence.
Display their masterpieces proudly!
Exploring Variations and Unique Flower Designs
Ready to take your flower crafting skills to the next level? Immerse yourself in the world of Flower Inspiration by experimenting with unique petal shapes! Cut paper plates into hearts, ovals, or classic flowers to mirror diverse blooms.
Layer petals of different sizes and colors for stunning depth and dimension. Want more pizzazz? Try sponging or splattering paint for awesome texture!
Embellish with cupcake liners, tissue paper, or fabric scraps for added flair. Encourage kids to express their creativity by crafting themed flowers based on seasons or emotions.
This not only sparks imagination but also creates a fun, storytelling experience! Enjoy the blooming adventure!


