How to Glaze Air Dry Clay Without a Kiln: Your Complete DIY Guide
Disclosure: This post may contain affiliate links, at no extra cost to you. Content on DiyCraftNest is created with research support from AI tools and carefully reviewed, edited, and fact-checked by the lead author, Daniel Pat, to ensure accuracy and reliability. Learn more
Love cozy DIY projects? 💕
Get free printable guides, exclusive tutorials & surprise craft goodies straight to your inbox.
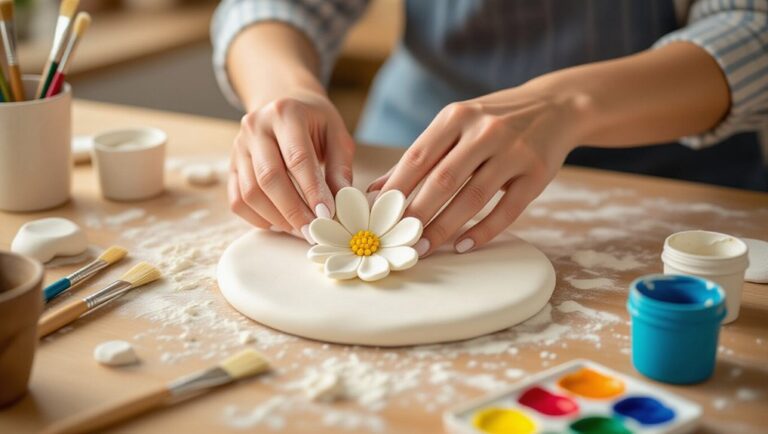
Learning to glaze air dry clay changed my entire crafting journey! No kiln, no expensive equipment—just simple techniques anyone can master. Let me show you exactly how to glaze air dry clay like a pro.
“The moment you glaze air dry clay properly, it transforms from craft to art.”
What You’ll Learn Today
| ✓ How to glaze air dry clay without any special equipment |
| ✓ Which products actually work (I tested 20+) |
| ✓ Simple fixes for common glazing mistakes |
| ✓ Budget-friendly DIY glaze recipes that work |
| ✓ My personal step-by-step glazing method |
What Makes Air Dry Clay So Special?
Honestly, air dry clay revolutionized my crafting completely. No kiln means anyone can create beautiful pottery at home. Plus, you can glaze air dry clay with everyday supplies!
Here’s what I love most about this material. It’s forgiving, affordable, and perfect for beginners. You can make jewelry, home decor, or even fake pottery.
After trying every brand out there, here’s the truth. Crayola works great for kids’ projects and practice pieces. But DAS clay gives you that professional feel we’re after.
Money-Saving Tip: Buy clay in bulk during back-to-school sales. I stock up every August and save 40%!
Why You Need to Glaze Air Dry Clay Projects
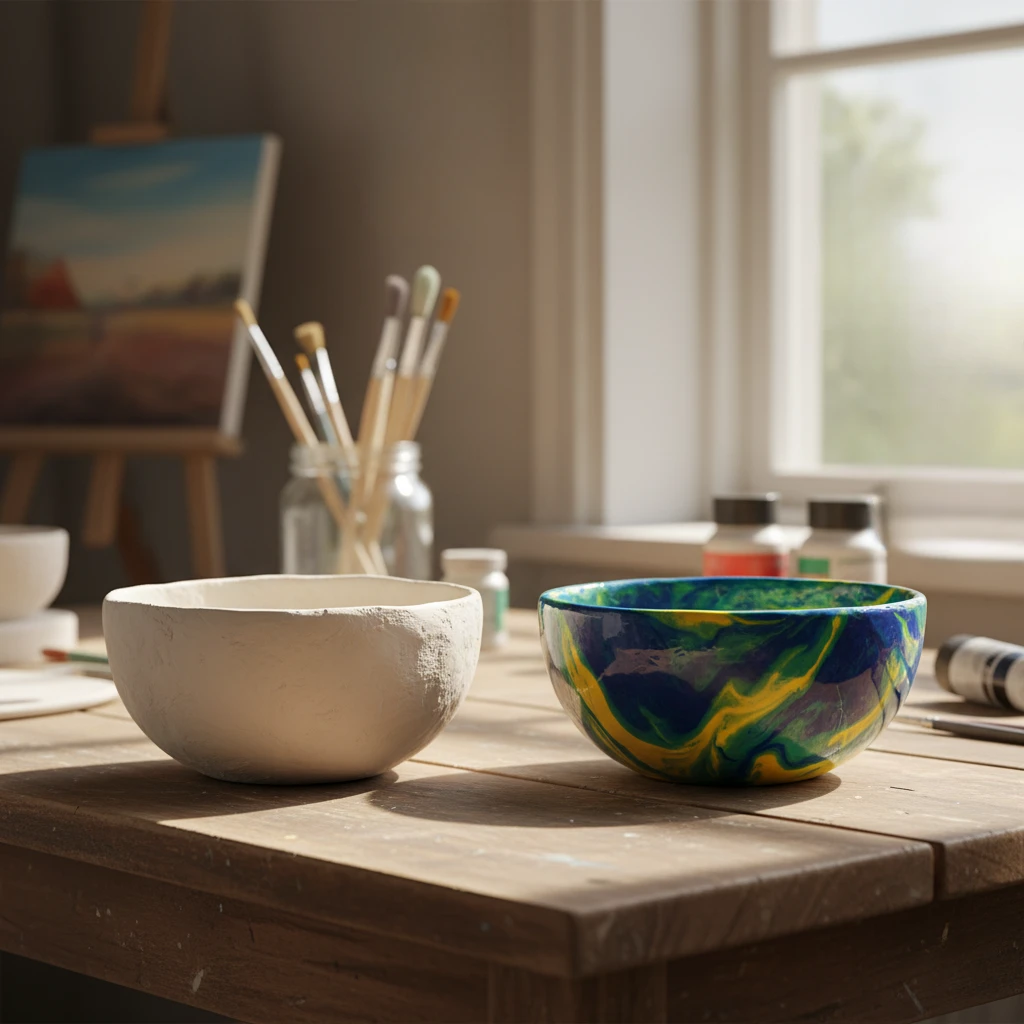
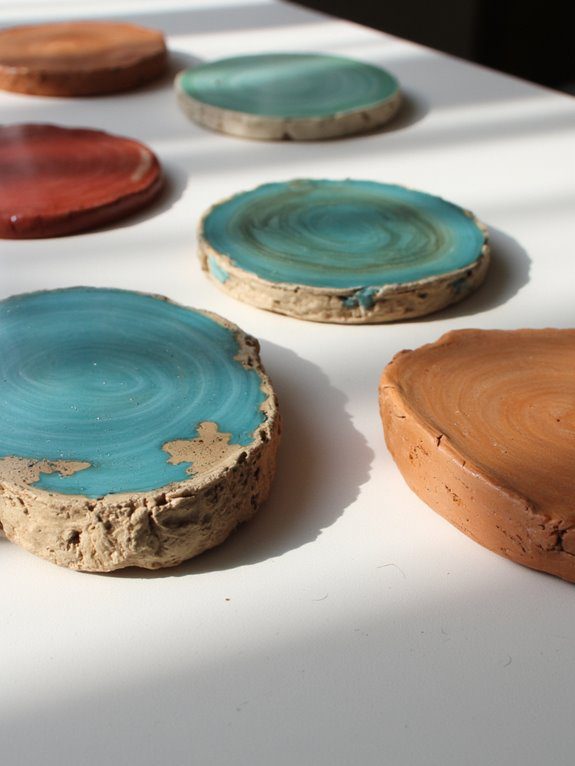
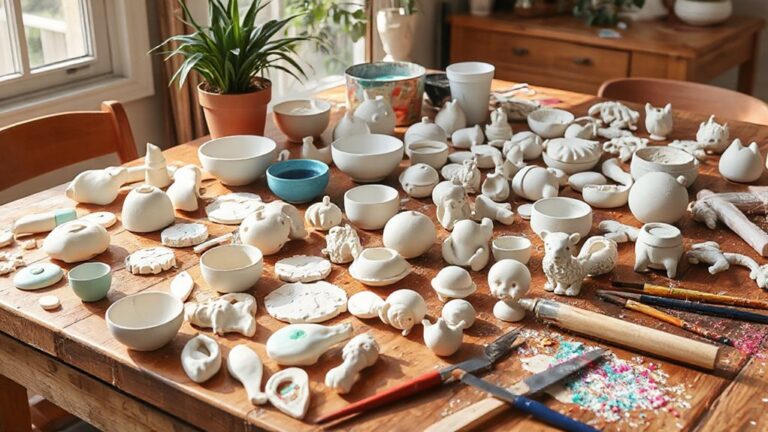
Let’s be real—unglazed clay looks unfinished and chalky. But when you glaze air dry clay properly, magic happens. Colors pop, surfaces shine, and pieces last forever.
Think about it like this—glazing is makeup for clay. It enhances natural beauty and protects the surface underneath. Plus, glazed pieces feel so much nicer to touch!
Getting Your Clay Ready to Glaze (Don’t Skip This!)
Okay friends, preparation is everything when glazing air dry clay. I ruined so many pieces before learning this. Now I never skip these crucial steps—ever!
Let’s Talk About Drying Time
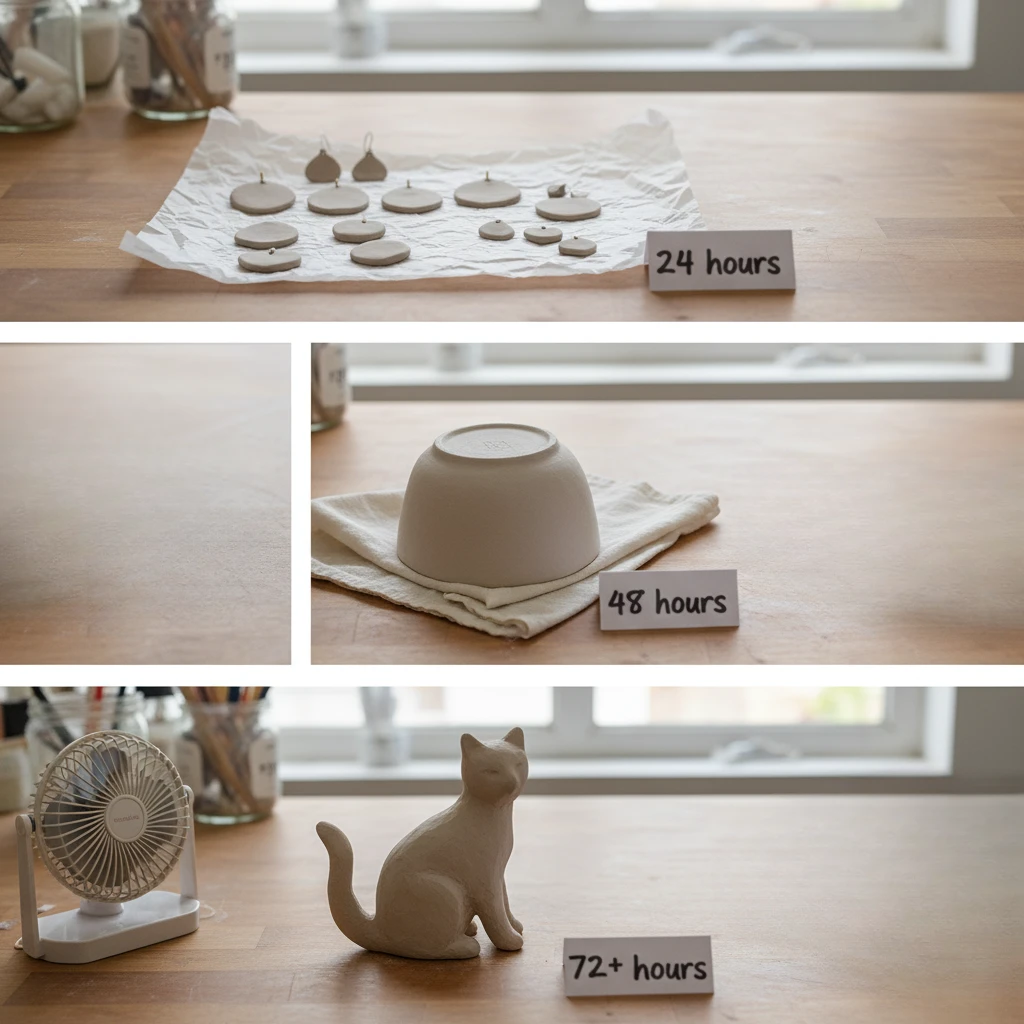
Patience isn’t my strong suit, but it matters here. Thin pieces dry in about 24 hours usually. But thicker sculptures? Give them at least three days.
Here’s my foolproof test for dryness. Touch the thickest part with your fingertip gently. If it feels cool or damp, wait longer.
| Your Piece | Drying Time | My Best Tip |
|---|---|---|
| Jewelry | 24 hours | Flip halfway through |
| Bowls | 48 hours | Place upside down |
| Sculptures | 72+ hours | Use a fan |
Making Your Surface Super Smooth
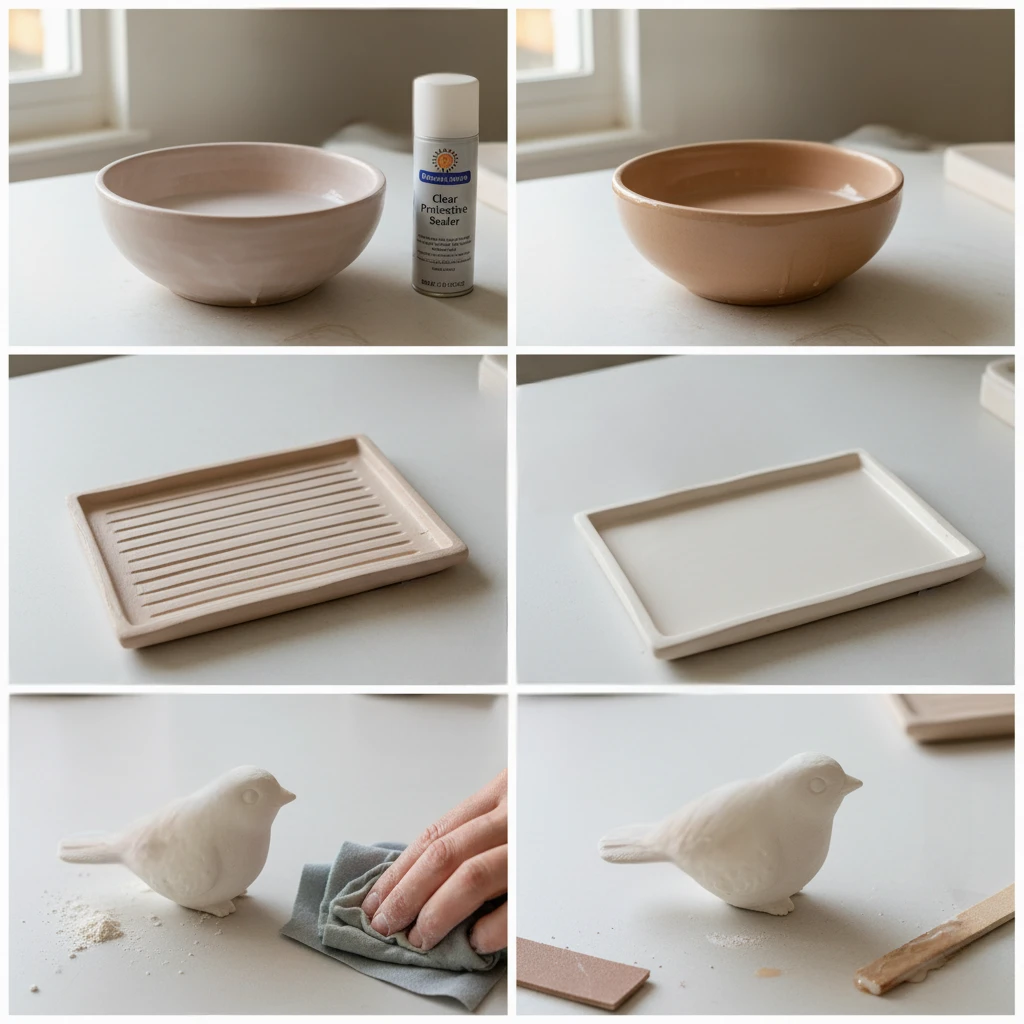
Grab some 220-grit sandpaper and let’s get started. Sand in gentle circles—think massage, not scrubbing. This step makes glazing air dry clay so much easier.
Next, wipe everything down with a barely damp cloth. Every speck of dust will show through your glaze. Trust me on this one—I learned the hard way!
Game-Changer Alert: Those makeup brushes you never use? Perfect for dusting clay crevices!
Finding the Perfect Glaze for Air Dry Clay
Not gonna lie—choosing the right glaze confused me initially. Some glazes for air dry clay work amazingly, others fail miserably. Let me save you the experimentation!
My Top Picks After Testing Everything
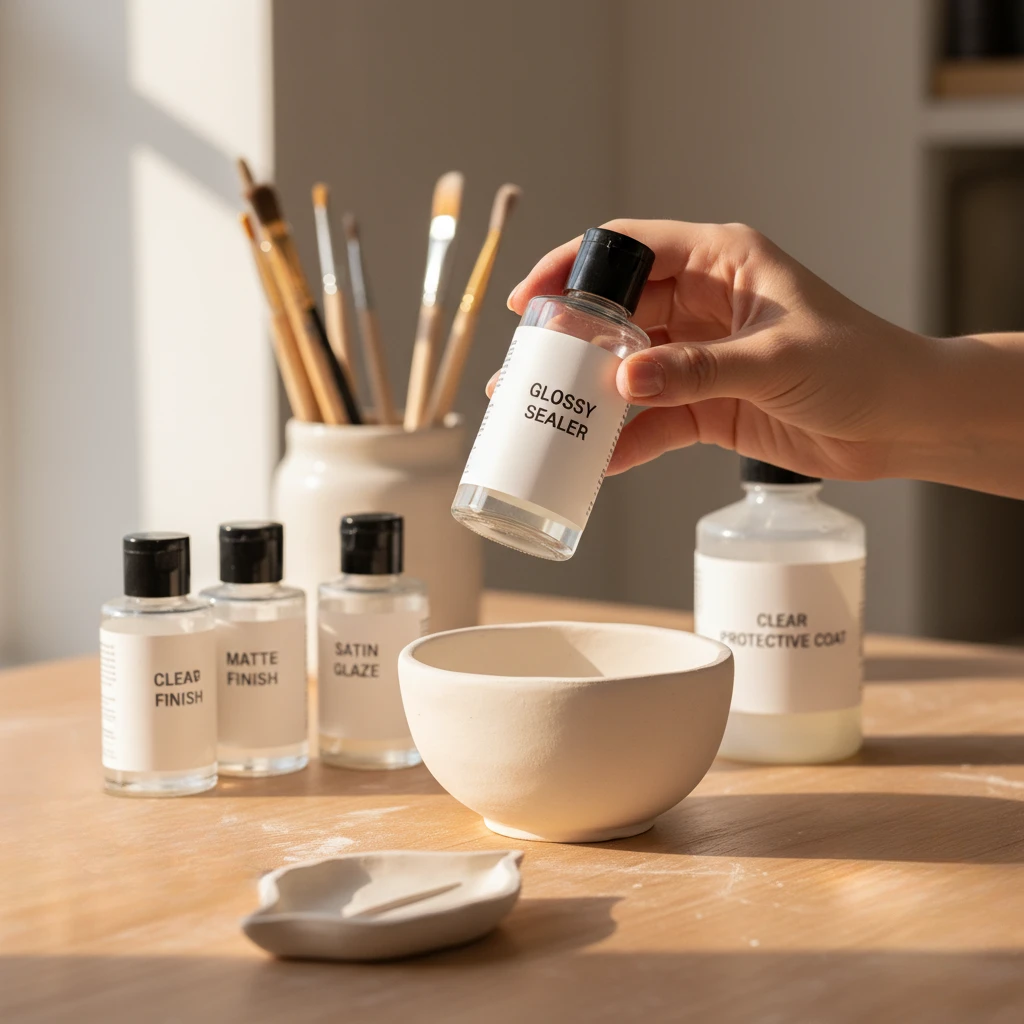
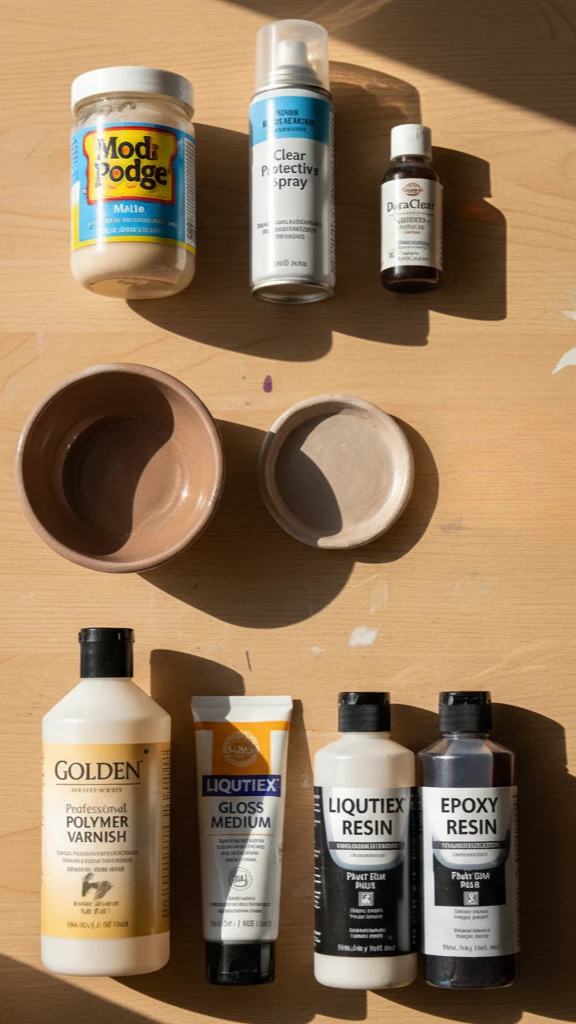
Mod Podge Dishwasher Safe: This stuff is my holy grail honestly. It creates the perfect glaze for air dry clay pieces. Dries crystal clear and super durable too.
Water-Based Polyurethane: When you need serious protection, this delivers big-time. Perfect for coasters or anything that gets handled often. Just remember—ventilation is your friend here!
Clear Acrylic Spray: The lazy crafter’s dream (no judgment, that’s me!). Great for detailed pieces where brushing seems impossible. Spray to glaze air dry clay in minutes!
Epoxy Resin: Okay, this creates insanely gorgeous results but requires precision. Mix it wrong and you’ll cry—trust me. Save this for special pieces only.
| Product | Why I Love It | The Downside | Cost |
|---|---|---|---|
| Mod Podge | So versatile | Can stay tacky | $6-8 |
| Polyurethane | Super durable | Smells strong | $10-15 |
| Spray Sealer | Quick & easy | Overspray mess | $8-10 |
| Epoxy | Glass-like finish | Tricky mixing | $30+ |
How to Glaze Air Dry Clay: My Foolproof Method
Alright, let’s actually glaze air dry clay now! This method works every single time for me. Just follow along and you’ll nail it.
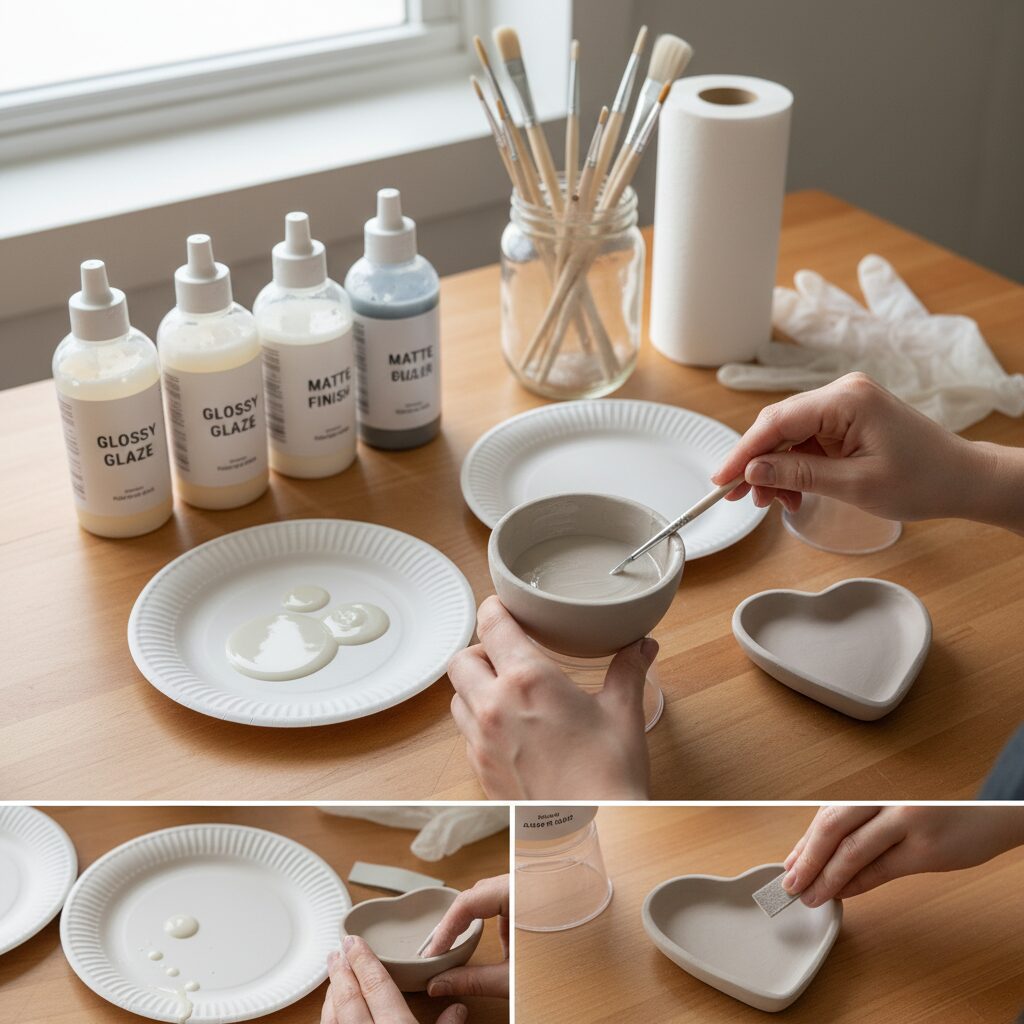
Gather These Supplies First
- Your chosen glaze (start with Mod Podge)
- Soft synthetic brushes (cheap ones work fine!)
- Paper plates or plastic cups
- Paper towels (lots of them)
- Something to elevate your piece
- Gloves if you hate sticky fingers
Let’s Start Glazing!
Step 1: Set up near a window or outside ideally. Cover your table with newspaper or plastic. Elevate your piece on a cup or jar.
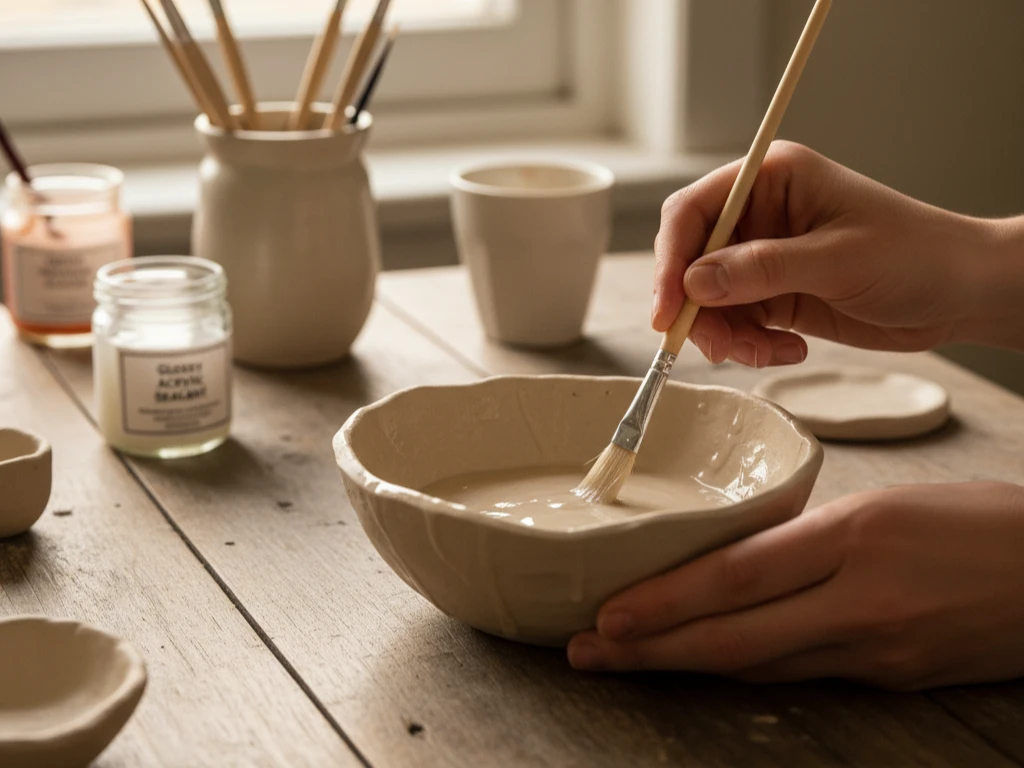
Step 2: Pour glaze into a paper plate first. Never dip brushes into the original bottle! This keeps your glaze clean for next time.
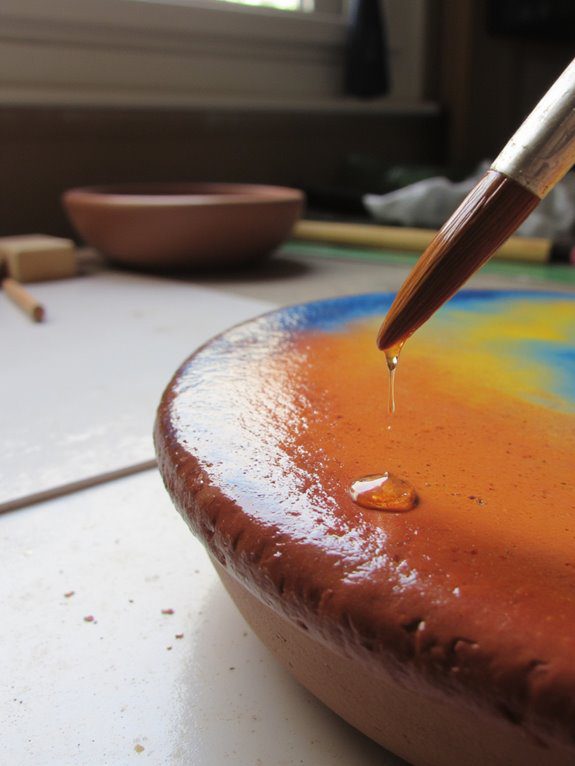
Step 3: Load your brush but don’t overdo it. Start at the top and work down smoothly. Think painting, not slathering butter on toast!
Step 4: Thin coats are your best friend here. Thick glaze drips, bubbles, and looks terrible honestly. When you glaze air dry clay, patience wins.
Step 5: Wait 30-60 minutes between coats—seriously, don’t rush! Touch test a hidden spot for tackiness. If it’s sticky, keep waiting.
Step 6: Apply 2-3 total coats for best results. Light sanding between coats creates an incredibly smooth finish. Use 400-grit paper super gently.
My Secret Weapon: Add one drop of dish soap to your glaze. Bubbles disappear like magic—you’re welcome!
Extra Protection: Sealing Like a Pro
Want pieces that survive actual use? These sealing tricks for glazed air dry clay changed everything. My five-year-old jewelry pieces still look new!
My Triple-Protection Method
First, I seal with diluted Mod Podge as primer. This soaks in and strengthens the clay itself. Then I glaze air dry clay with my chosen finish.
Finally, I spray seal everything for ultimate protection. This three-layer approach sounds excessive but works incredibly well. Museum curators actually use similar techniques!
Mastering Spray Sealers
Spray sealers seem easy but have tricks to them. Shake that can for two whole minutes first. Start spraying before you reach the piece.
Keep moving in smooth, overlapping passes always. Standing still creates drips and pools instantly. Multiple light coats beat one heavy coat every time.
| Method | Protection Level | Time Needed | Difficulty |
|---|---|---|---|
| Basic Seal | Good | 30 mins | Easy |
| Triple-Seal | Excellent | 2 hours | Medium |
| Resin Coat | Superior | 24+ hours | Hard |
DIY Glazes: Save Money, Get Creative!
Store glazes cost a fortune sometimes, right? These DIY recipes to glaze air dry clay work amazingly! Plus, you probably have everything already.
The Classic School Glue Method
Mix equal parts white glue and water thoroughly. Add a tiny drop of dish soap too. This simple glaze for air dry clay costs pennies!
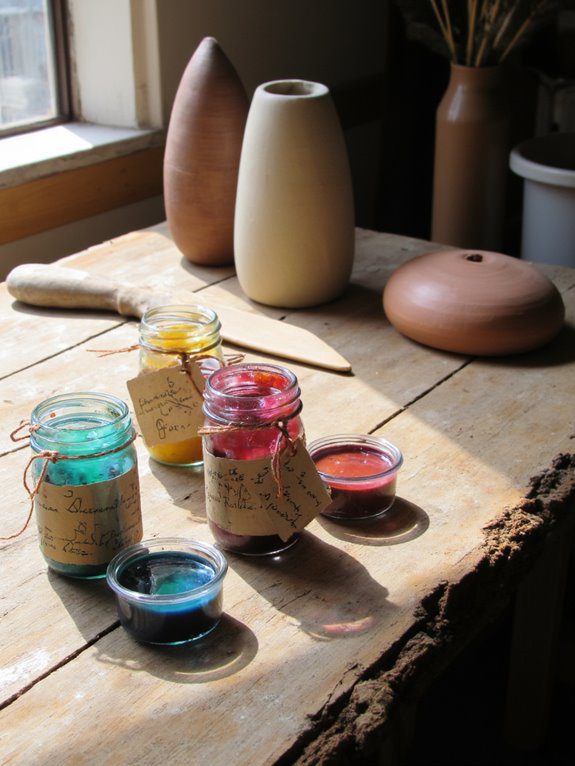
Want color? Add acrylic paint drop by drop carefully. Remember—a little paint goes super far here. Test on scrap clay first always.
My Fancy Homemade Formula
Combine 2 parts Mod Podge with 1 part water. Add a teaspoon of clear nail polish per cup. This DIY glaze rivals expensive store versions easily!
Pinterest Hack: Mix in ultra-fine glitter for magical sparkle. Use 1/4 teaspoon per ounce maximum though!
Natural Alternatives That Actually Work
Melted beeswax creates a lovely matte finish naturally. Apply with a cloth and buff when cool. Perfect for rustic pieces!
Shellac gives that old-world, traditional look beautifully. Mix shellac flakes with denatured alcohol properly though. Not for beginners, but gorgeous results!
Best Products to Glaze Air Dry Clay (Honest Reviews)
I’ve literally tried everything to glaze air dry clay perfectly. Here’s what actually works versus marketing hype. Prices are current as of this writing.
Budget Winners Under $10
Mod Podge Matte ($6-8): My starter recommendation for everyone honestly. Dries clear, looks professional, and forgives mistakes. Perfect first glaze for air dry clay projects!
Krylon Clear Spray ($8-10): The workhorse of my craft room seriously. Great coverage, dries fast, and comes in three finishes. Grab this during sales!
DecoArt DuraClear ($7-9): Stays crystal clear on white clay forever. No yellowing even after years—I checked! Brush application gives you total control.
Splurge-Worthy Professional Options
Golden MSA Varnish ($15-20): Museum-quality protection that professionals use daily. UV protection keeps colors vibrant for decades. Best investment for heirloom pieces!
Liquitex Professional ($18-25): Self-leveling formula eliminates all brush marks completely. Flexible finish won’t crack over time either. Artists swear by this stuff!
ArtResin Epoxy ($30-50): Creates that thick, glossy, glass-like coating instantly. FDA-approved to glaze air dry clay for food-safe items! Measuring must be exact though.
| Brand | Best For | Watch Out For | My Rating |
|---|---|---|---|
| Mod Podge | Beginners | Tackiness | 4.5/5 |
| Krylon | Quick jobs | Overspray | 4.3/5 |
| Golden | Pro results | Price tag | 4.8/5 |
| ArtResin | Jewelry | Learning curve | 4.7/5 |
When Things Go Wrong (And How to Fix Them)
Listen, we all mess up when learning to glaze air dry clay. These fixes saved my sanity countless times! Keep this section bookmarked for emergencies.
Help! My Glaze Looks Cloudy!
This usually means you applied glaze too thick. Sand lightly and try thinner coats next time. Sometimes humidity causes cloudiness too—use a fan!
Quick fix? Apply a thin spray sealer over everything. It often clears up cloudiness like magic. Works 80% of the time for me!
Ugh, Brush Strokes Everywhere!
Been there, hated that! Switch to foam brushes immediately. Or thin your glaze more for smoother application. Natural bristles almost always leave marks.
Try this technique—brush one direction, then perpendicular. This cross-hatching smooths everything out beautifully. Game-changer for glazing air dry clay smoothly!
My Glaze Won’t Stick At All!
Oil or dust is probably the culprit here. Wipe with rubbing alcohol and let dry completely. Sometimes you need to rough up the surface.
Some clays have waxy coatings that repel glaze. Light sanding with 220-grit creates texture for adhesion. Prime with diluted glaze first if needed.
Emergency Fixes:
• Bubbles? Pop with a toothpick while wet
• Drips? Sand smooth when fully dry
• Uneven? Add another thin coat
• Still tacky? Move to warmer spot
Show Off Your Beautiful Glazed Pieces!
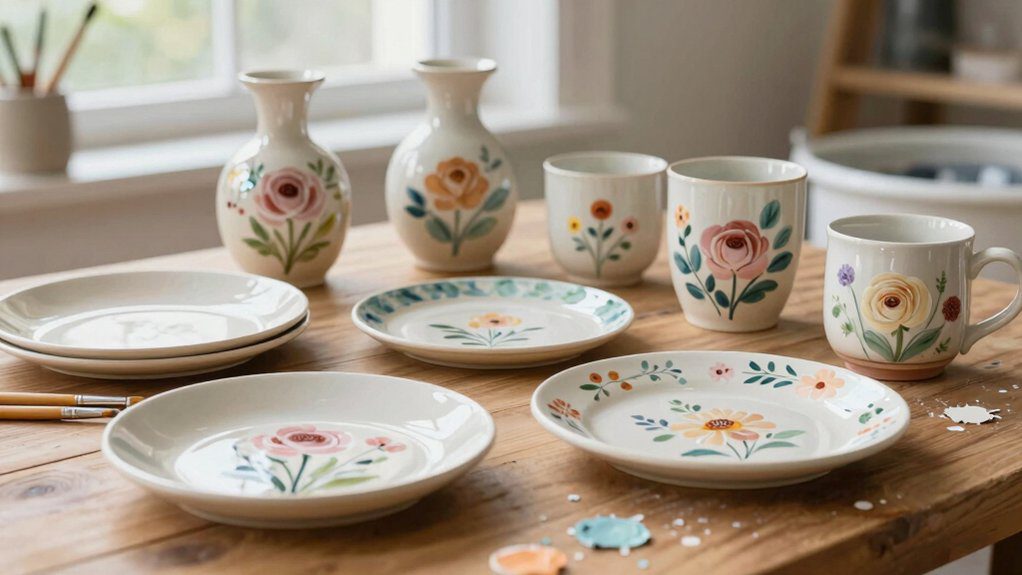
You worked hard to glaze air dry clay beautifully! Now let’s make those pieces shine on Instagram. These display tips get me tons of likes!
Photography Secrets for Social Media
Natural light is everything for photographing glazed pieces. North-facing windows give the softest, most flattering light. Your glaze will literally sparkle!
Keep backgrounds simple—white poster board works perfectly. Add one or two props for context only. Let your glazed air dry clay be the star!
Displaying Your Collection at Home
Floating shelves showcase multiple pieces without overwhelming the room. Group by color or theme for maximum impact. Odd numbers look more natural somehow!
For storage, wrap pieces in acid-free tissue carefully. Keep in boxes away from humidity always. Add silica packets to prevent moisture damage.
Keeping Your Glazed Clay Looking New
Good news—glazed air dry clay needs minimal maintenance! Dust weekly with a soft, dry microfiber cloth. Never use harsh chemicals or scrub hard.
For deeper cleaning, slightly dampen your cloth only. Dry immediately to prevent any water damage. Reapply spray sealer yearly for continued protection.
Moving or storing pieces? Wrap each one individually please! Use bubble wrap and label boxes clearly. Your future self will thank you!
Level Up: Advanced Glazing Techniques
Ready for some fancy techniques? These methods to glaze air dry clay create gallery-worthy results! They take practice but look absolutely stunning.
Mixing Different Finishes for Effect
Try combining matte and glossy glazes strategically. Apply matte base coat all over first. Then add glossy accents to highlight details!
This technique makes sculptures look incredibly professional. The contrast draws eyes to important features naturally. Practice on test pieces first though!
Creating Vintage Crackle Effects
Crackle medium makes pieces look beautifully aged instantly. Apply between your paint and glaze layers. The cracks reveal underlying colors gorgeously!
Control crack size by varying application thickness carefully. Thin layers create delicate, fine cracks everywhere. Thick application makes bold, dramatic patterns instead.
Pro Secret: Rub gold wax into cracks for antique vibes. Looks like a hundred-year-old treasure instantly!
Your Journey to Perfect Glazed Clay Starts Now!
See? Learning to glaze air dry clay isn’t scary! With these techniques, anyone can create professional-looking pieces. Start simple and build skills gradually.
Remember, every expert was once a beginner too. Mistakes teach us what works best honestly. Keep notes about what glazes work for you!
Join Facebook groups or Instagram communities for inspiration daily. Share your attempts to glaze air dry clay proudly! We all learn from each other constantly.
| Quick Glaze Air Dry Clay Cheat Sheet | |
|---|---|
| Dry Time First | 72+ hours always |
| Sand With | 220 then 400 grit |
| Glaze Coats | 2-3 thin layers |
| Spray Distance | 8-10 inches away |
| Full Cure | 24-48 hours minimum |
Ready to glaze air dry clay like a pro? Grab your supplies and start creating today! Tag me in your projects—I love seeing them! Whether you’re a seasoned artist or just starting out, there’s something magical about transforming plain clay into vibrant masterpieces. If you’re looking for inspiration, check out my latest beginner air dry clay crafts for easy ideas to get you started. Remember, every great artist was once a beginner, so embrace the process and enjoy the journey! Explore various mini clay project ideas for beginners that will spark your creativity! From simple clay ornaments to adorable figurines, there are endless possibilities to bring your imagination to life. So, gather your tools and let your artistic flair shine through these fun projects!
Pin This Guide! Save this complete guide to glaze air dry clay for later. Your crafty friends will thank you for sharing!


Loving the information on this site, you have done outstanding job on the content.
These are fantastic suggestions and guidelines! Thank you for sharing them with us!
Do you have a brand of Air Dry Clay that you like best?
I usually use the Das brand one from this link (https://amzn.to/48NAU1A), but the Crayola brand (https://amzn.to/3Wny5Na) is also very good.
If you’re making something larger, you might want to choose the latter, as it’s more affordable.
This is so helpful, thank you! Do you have any tips on painting items before glazing?