20 DIY Sandbox Ideas Your Kids Will Love
Disclosure: This post may contain affiliate links, at no extra cost to you. Content on DiyCraftNest is created with research support from AI tools and carefully reviewed, edited, and fact-checked by the lead author, Daniel Pat, to ensure accuracy and reliability. Learn more
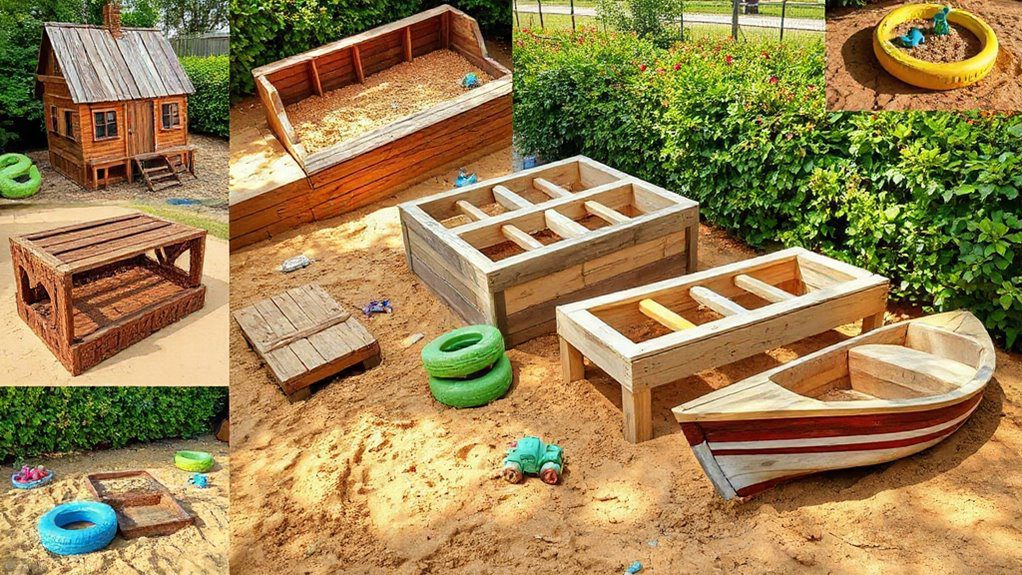
Looking to keep your kids entertained with sandbox ideas they’ll love? Immerse yourself in crafting a Twin Wading Pools Sandbox with its clever toy storage trick, or convert an old tractor tire for a unique play spot! Get hands-on with a DIY Landscape Timbers creation or repurpose a waterbed frame for ergonomic play. Why not add dinosaur figures for a roam-worthy adventure? These projects are sure to spark creativity, and there’s even more fun waiting!
Key Takeaways
- Twin wading pools offer a budget-friendly sandbox with a simple DIY design for creative play.
- Repurpose a waterbed frame into a raised sandbox for easy access and reduced strain.
- Utilize a recycled tractor tire for a unique, contained sandbox with built-in seating.
- Construct a landscape timber sandbox for a spacious 8×4-foot play area with weed prevention.
- Incorporate a custom cover sandbox with a slotted lid for easy access and clean sand.
Building a Sandbox With Twin Wading Pools
So, you’re thinking about building a sandbox with twin wading pools? That’s a fantastic DIY sandbox idea and an affordable option!
Imagine your kids’ delight when they see their new play wonderland. With each pool costing just around $7, this setup costs a mere $14!
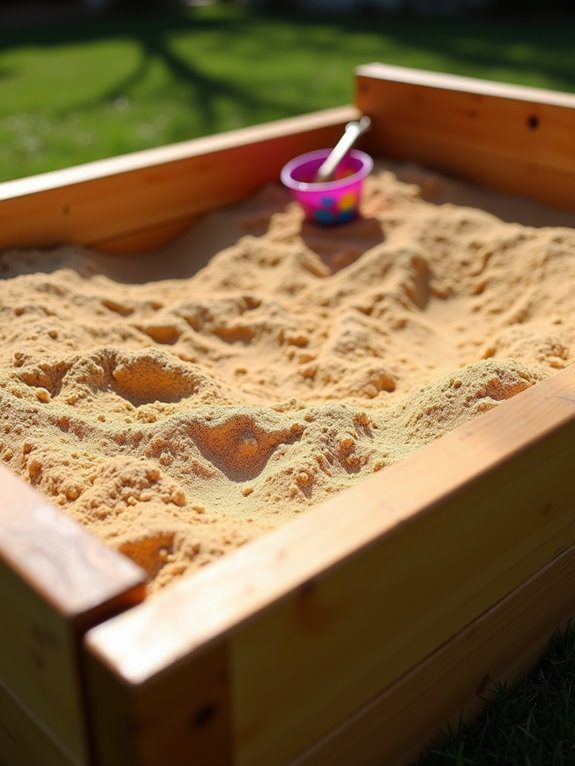
Use one pool filled with sand for endless imaginative play and the other as a nifty cover, keeping critters and debris away.
Place it on a shaded patio, and if any cracks appear, a bit of duct tape will do the trick. An old laundry basket is perfect for storing toys, keeping everything neat and tidy!
Creating a Sandbox Using Landscape Timbers
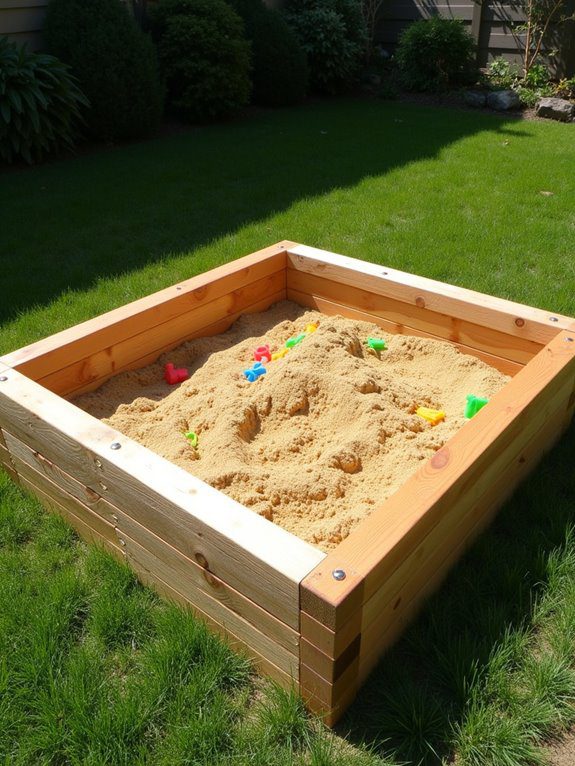
Ready to create a backyard paradise? Immerse yourself in this fun project by crafting a sandbox using landscape timbers!
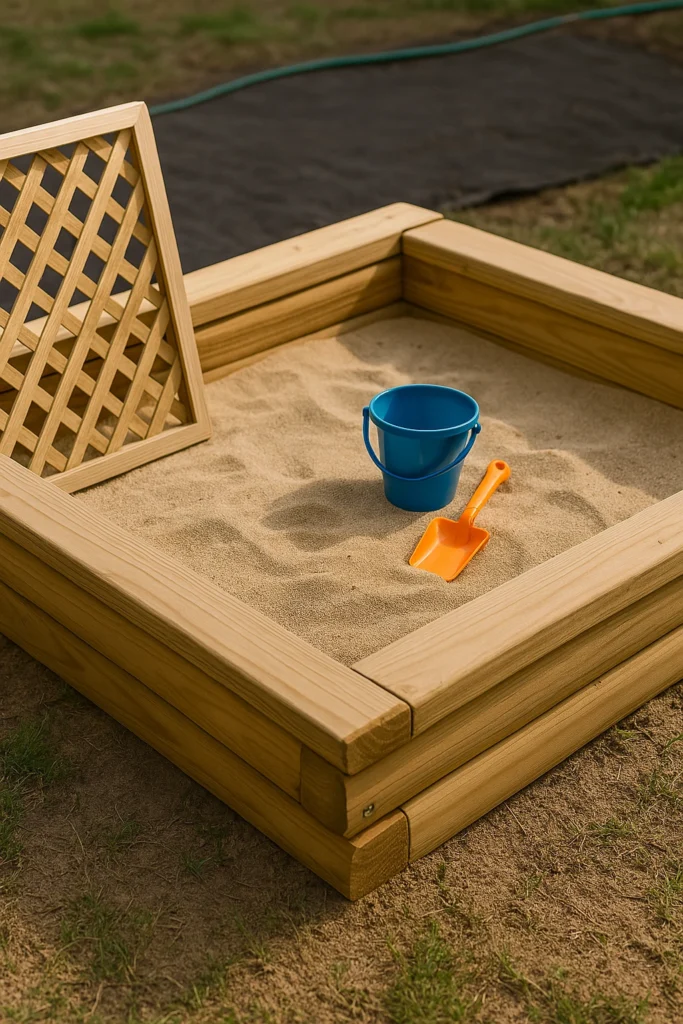
Stack six 8-foot timbers, two high, for a sturdy sandbox design that’s perfect for kids to gather and play. Secure the corners with long nails, and don’t forget the landscape fabric underneath to keep those pesky weeds out.
With an 8×4-foot area, there’s plenty of room for creativity! Add 12 inches of sand sourced from a gravel company for ultimate fun. Top it off with a lattice panel to keep critters at bay.
Regular maintenance will guarantee your sandbox remains a safe haven!
DIY Sandbox With Custom Cover Idea
Imagine converting your backyard into a playtime paradise with a DIY sandbox that boasts a custom cover! This sandbox, crafted from pressure-treated wood, is both durable and inviting.
The slotted lid, built from 2x2s, cleverly sifts sand and water while keeping everything neatly contained. Kids can access the sandbox quickly by dropping in the lid sections without removing them entirely.
For extra comfort, add side benches so you can join the fun and keep an eye on your little ones. The secure cover guarantees the sand stays clean and dry, deterring pesky animals and debris.
Your backyard will be the neighborhood hangout!
Transforming a Recycled Tire Into a Sandbox
Converting a recycled tire into a sandbox isn’t only a fun project but also a brilliant way to repurpose old materials and save money!
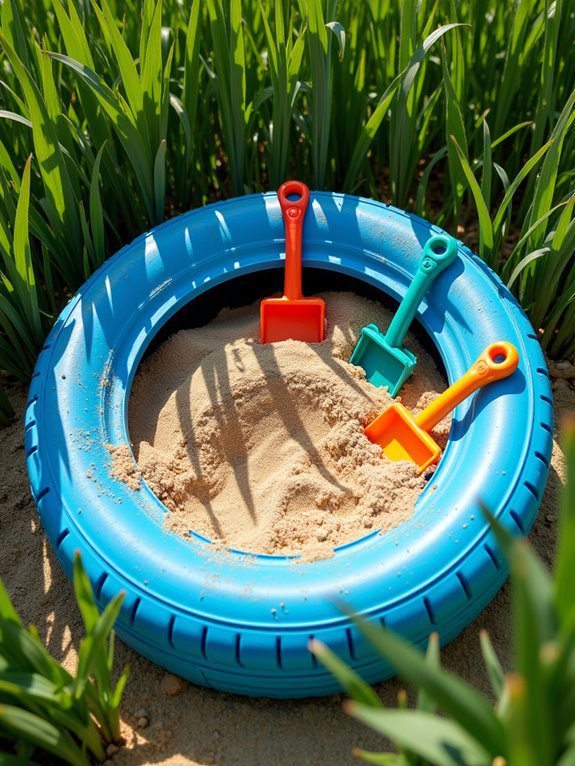
Imagine the joy your kids will feel as they plunge into their new sandbox play area, crafted from a sturdy old tractor tire. Here’s how to start:
- Fill the Tire: Add sand to create a safe, contained play zone.
- Enhance with a Cover: Use a circular plywood cover to keep the sand clean and critter-free.
- Add Seating: The tire’s edges serve as seats, perfect for little ones!
Once outgrown, change it into a garden!
Designing a Sandbox With a Waterbed Frame
While you mightn’t immediately think of a waterbed frame as the perfect sandbox base, repurposing one can create a truly unique play area for your kids!
Imagine a sandbox that’s sturdy and raised, making it easier for your little ones to climb in and out while saving your back during playtime supervision.
By lining the frame with landscaping fabric, you’ll keep the sand where it belongs, allowing for proper drainage too.
Don’t forget to get creative—paint it or add fun decorations to make it the centerpiece of your backyard.
Your kids will be thrilled to have such a cool play area!
Constructing a Sandbox Cover With Counterweight
Now that your kids have an amazing sandbox to play in, let’s make it even better with a clever cover that keeps it clean and safe!
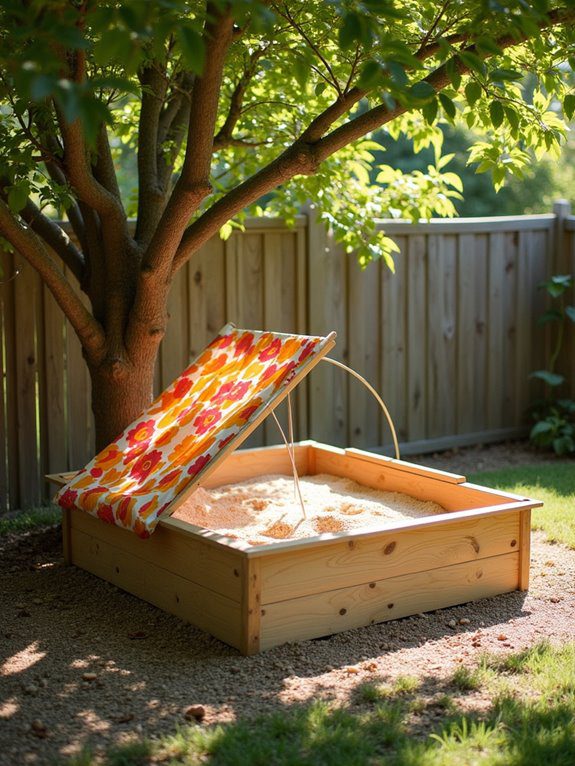
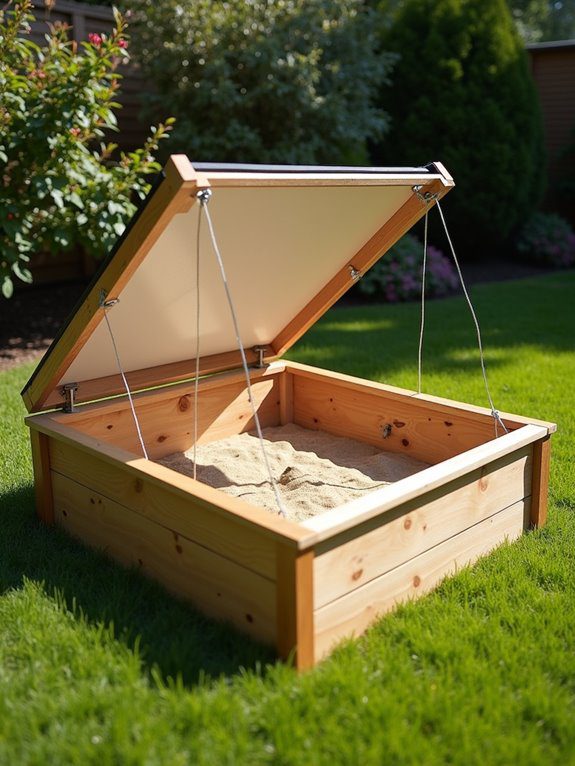
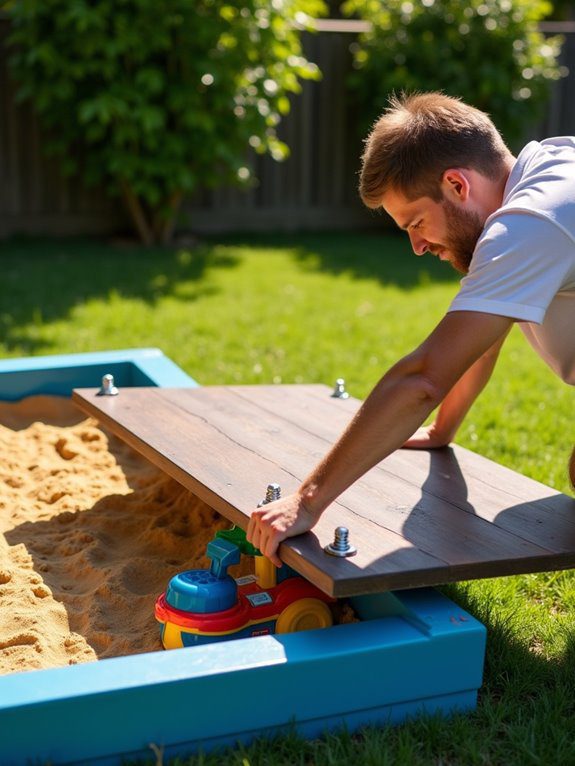
Adding a sandbox cover with a counterweight system is a fantastic way to protect the sandbox from debris and animals while keeping it easy for the little ones to open.
Here’s how you can do it:
- Select Materials: Use lightweight plywood for the cover, ensuring it’s manageable.
- Install Counterweights: Attach fishing weights or cement, making it easy to lift.
- Secure Hinges: Make sure they’re firmly attached for added safety.
Your sandbox will be the neighborhood hit!
Installing a Hinged Sandbox Cover
Converting your sandbox into a fortress of fun and functionality is easier than you might think with a hinged cover!
Imagine your kids joyfully lifting the cover, thanks to a clever counterweight system using fishing weights or cement, and diving into clean sand! A two-piece design is perfect for larger sandboxes, ensuring easy access and reducing injury risks.
You’ll find it keeps the sandbox cover securely in place, preventing water and pests from sneaking in. A slotted design can even filter rainwater, keeping everything dry.
Check the hinges regularly for stability, making sure your fortress stands strong!
Using Plastic Covered Plywood for Sandbox Cover
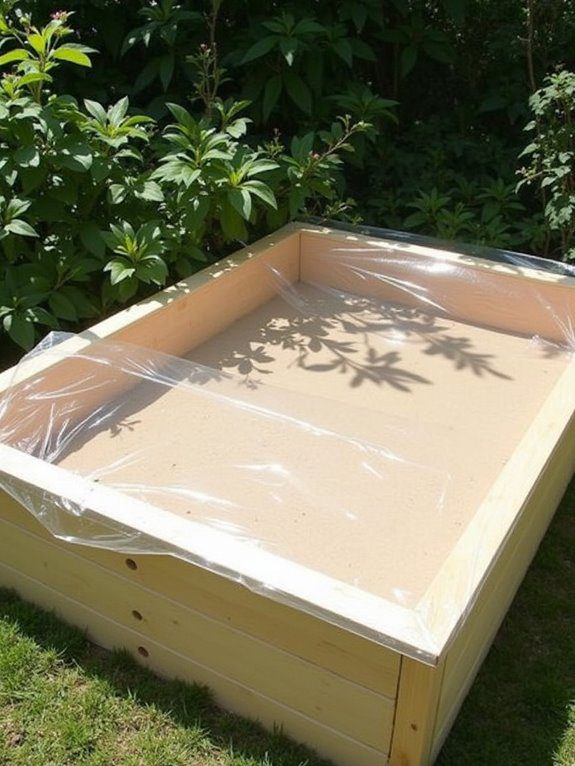
Imagine converting your sandbox into a vibrant play zone with a plastic-covered plywood cover! This sandbox cover is a game-changer, keeping your play sand dry, clean, and ready for endless fun.
It’s durable and weather-resistant, shielding your sandbox from rain and debris. Plus, the plastic layer prevents moisture absorption, so no mold worries here!
Let’s make it practical:
- Attach hinges for easy access, making playtime a breeze.
- Customize with paint or decorations to match your play area’s vibe.
- Enjoy lightweight sturdiness, perfect for outdoor elements.
Your sandbox will be the neighborhood’s pride and joy, creating lasting memories!
Building a Simple Cinder Block Sandbox
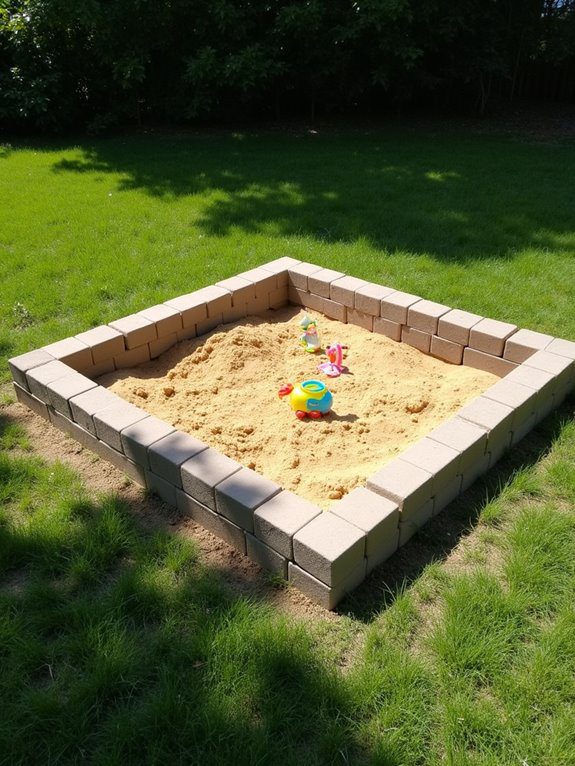
Get ready to plunge into the fun of building your very own cinder block sandbox!
Picture a sunny day, kids giggling as they immerse themselves in their new play area. Start by arranging cinder blocks into a sturdy square or rectangle, perfect for any backyard.
Customize its size to fit your space—4 feet by 4 feet is a popular choice. Before you know it, you’ll be pouring in that clean, play-grade sand for endless adventures.
Don’t forget the landscape fabric underneath to keep pests away! And when playtime’s over, a simple tarp or plywood cover keeps your sandbox clean and inviting.
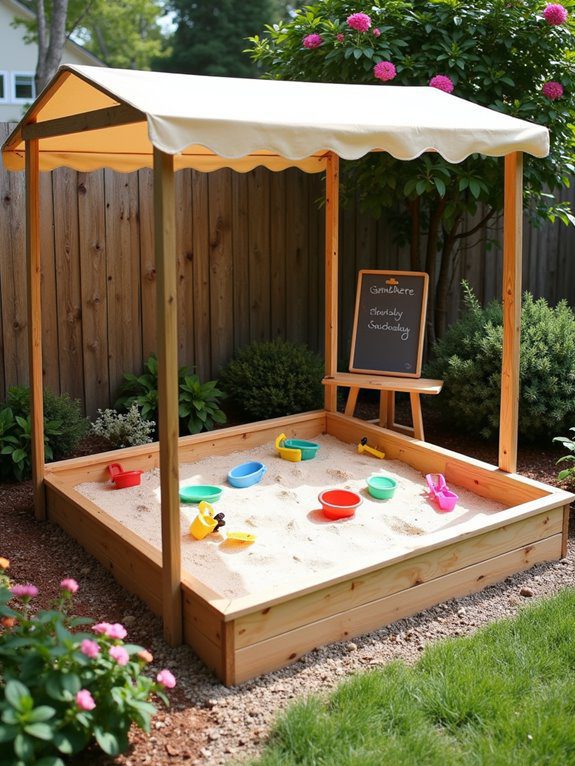
Crafting a Sandbox With a Slatted Roof
If you’re ready to add a splash of creativity to your backyard, why not consider crafting a sandbox with a slatted roof?
What a fantastic way to keep your little ones cool and comfy while they play! The slatted roof not only provides shade but also allows air to flow, making sure the sandbox for kids stays fresh.
Here’s how you can get started:
- Use 2×4 boards for the frame and 1×4 boards for the slats.
- Set the roof at a 45-degree angle to shed rainwater.
- Add corner seats for a cozy spot to supervise.
You’ll love this budget-friendly, stylish project!
Making a Non-Toxic DIY Sandbox
When you’re thinking about creating a fun and safe play area for your kids, making a non-toxic DIY sandbox is a perfect project to explore!
Start by digging a 4-inch hole and lay down pea gravel for drainage—no soggy sand here!
Choose untreated or pretreated cedar wood for the frame, using a non-toxic sealant like ECO-SAFE.
Assemble with four 6-foot 2x10s into a square, and add window screen fabric to keep the sand clean.
Fill it with play sand, maybe even sprinkle in some cinnamon to shoo away ants.
Your kids will love it, and you’ll love the peace of mind!
Constructing a Sandbox With Benches and Flower Box
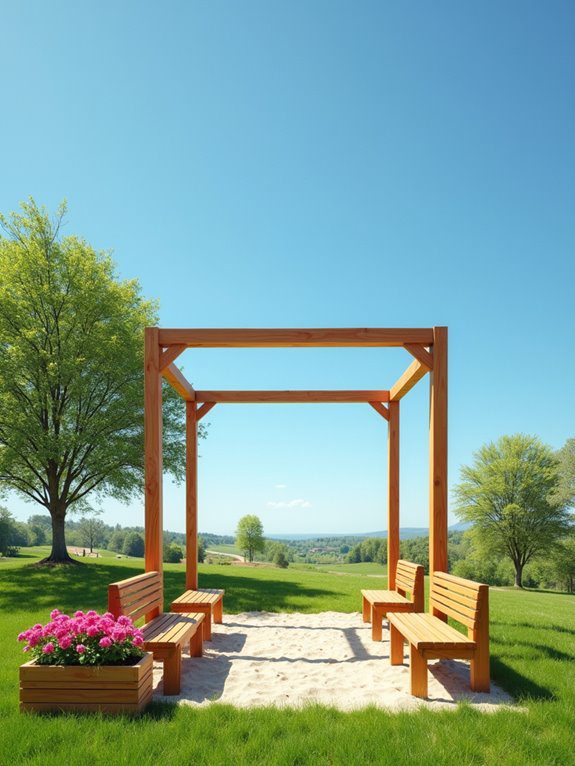
Building a sandbox with benches and a flower box is a surefire way to take your backyard play area to the next level!
Start by assembling a sturdy square sandbox using four 6-foot pieces of 2×10 lumber. Add benches on either side, complete with angled backrests for ultimate comfort—perfect for those long days of supervising playtime!
- Flower Box Addition: Use a 6-foot piece of 2×6 lumber to create a charming flower box, enhancing the sandbox’s appeal.
- Drainage and Pest Control: Line the bottom with pea gravel to keep the sand mold-free.
- Toy Storage and Shade Solutions: Add garden trellises and a PVC pipe for an umbrella!
DIY Sandbox With Chain-Link Fence Cover
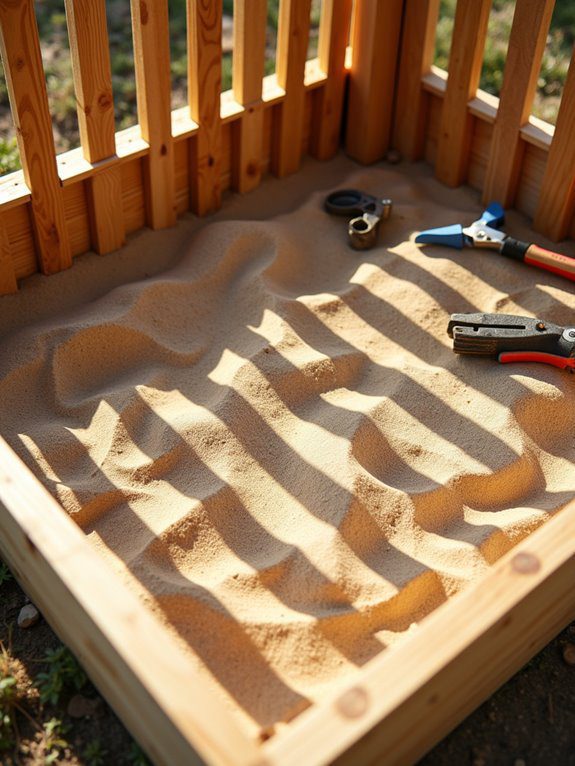
Ready to create a sandbox that’s both fun and functional? A DIY sandbox with a chain-link fence cover is perfect for your backyard!
This design keeps the sand clean and safe, letting rain filter through while blocking pesky animals. You’ll love how the chain-link cover promotes ventilation, so no mold or moisture buildup here!
Use treated lumber to build a sturdy frame, ensuring durability for years of play. The cover’s easy to remove, making playtime a breeze when friends come over.
Measuring at least 4 feet by 4 feet, it’s spacious for all the neighborhood kids to join in!
Designing a Sandbox With Chicken Wire Cover
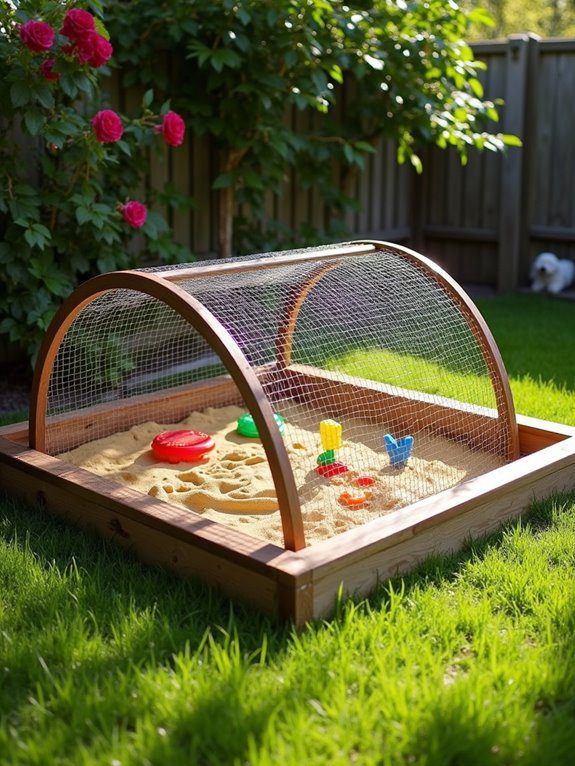
Have you ever thought about how awesome it would be to have a sandbox that’s both fun and practical? A chicken wire cover is your perfect solution! It keeps the sand clean, lets rain filter through, and adds a touch of sophistication to your backyard play area.
- Securely fasten the cover: Use a sturdy wooden frame to keep the chicken wire taut and secure, ensuring no unwanted critters can access the sand.
- Regular inspections: Check for damage or rust, replacing any worn sections to maintain safety.
- Cost-effective and convenient: Easily lift or remove the cover when playtime begins!
Building a Sandbox With Sunken Design
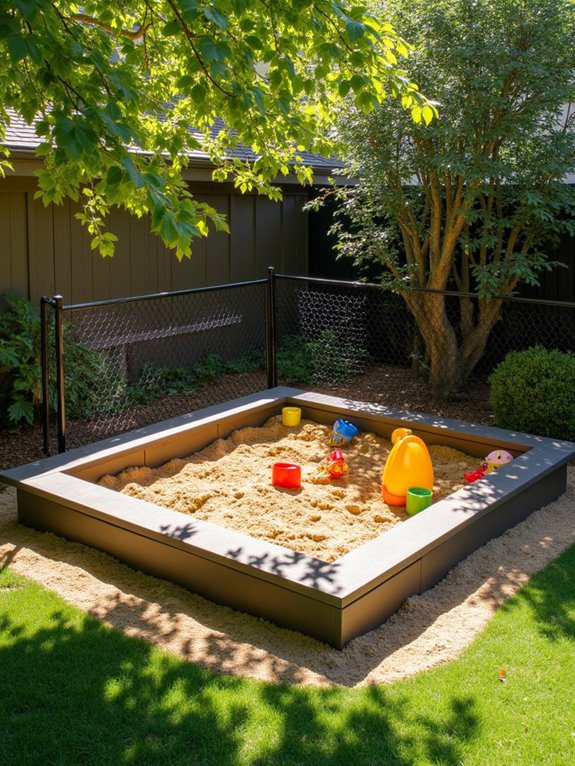
Imagine stepping into your backyard and seeing a sandbox that feels like a secret hideaway! A sunken sandbox isn’t just cool; it keeps the sand right where it belongs—safe and inviting for hours of fun.
Start by digging out a space about 4 inches deep, lining it with landscape fabric to block weeds and help with drainage. Add some pea gravel to keep the sand dry, even after a rainy day.
Surrounding the sandbox with seating—made from the dug-up dirt or cozy benches—encourages kids to gather and play. Don’t forget a cover to protect this oasis from curious critters!
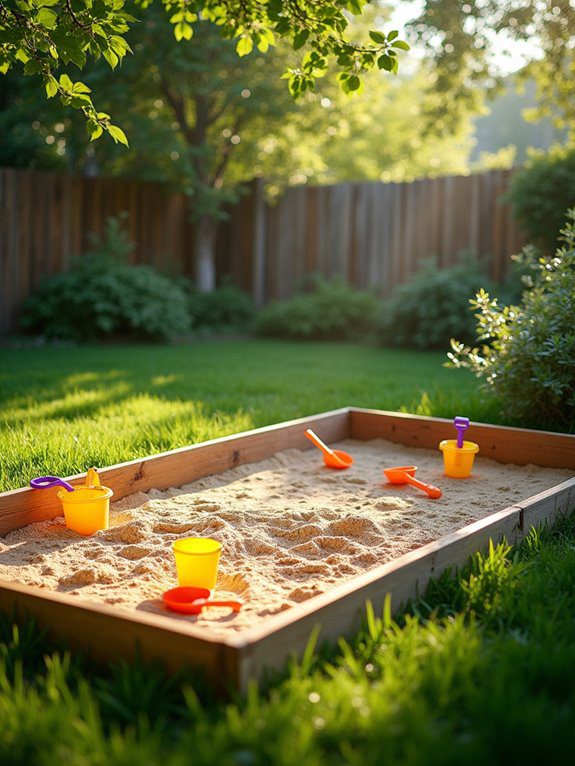
Creating an Inexpensive Sandbox With Pine Wood
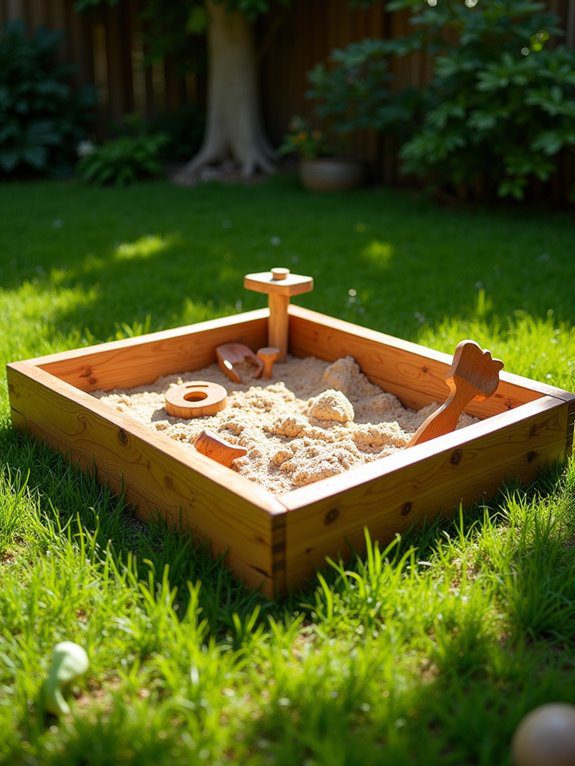
While you’re looking for a budget-friendly way to bring a little magic into your backyard, creating an inexpensive sandbox with pine wood is your go-to project!
Pine wood isn’t only cost-effective but also easy to work with. Here’s how you do it:
- Build the Frame: Cut four 6-foot pine pieces into a square. It’s cheaper than pressure-treated options and just as effective!
- Seal the Wood: Apply a non-toxic wood sealant for durability and safety, keeping those pesky pests away.
- Line the Bottom: Use window screen fabric for proper drainage and pest control.
Add a simple bench for extra charm!
Enhancing a Sandbox With Themed Play Accessories
Once you’ve got that fantastic pine wood sandbox set up, it’s time to kick things up a notch with some themed play accessories!
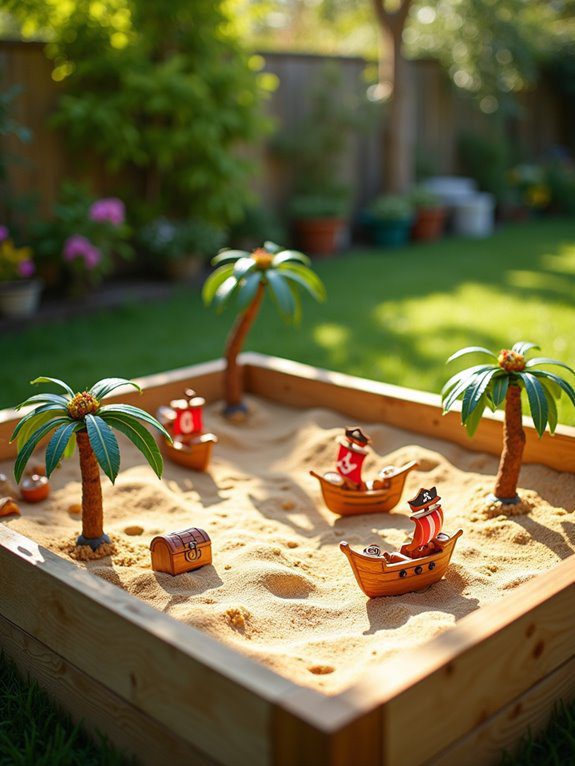
Imagine the joy on your kids’ faces when they discover dinosaur figures or construction vehicles nestled in the sand. These sandbox toys spark imaginative play, converting an ordinary sandbox into a prehistoric landscape or a bustling construction site.
Add miniature castles or fairy garden elements, and watch their creativity soar! Color-coded buckets and shovels matching an ocean or jungle theme make everything visually appealing.
Don’t forget water play accessories like small watering cans for a fun, sensory twist.
Adding Educational Elements to Your Sandbox
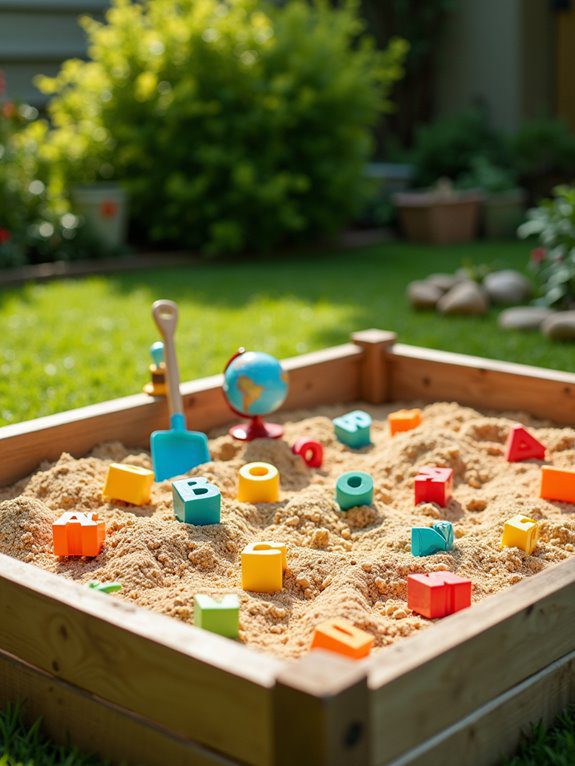
Change your child’s sandbox into a powerhouse of learning and fun! Infuse educational elements and watch their curiosity soar. Imagine them mastering math with measuring cups—who knew volume could be this cool?
- Color and Creativity: Bring in colored sand for vibrant patterns or letters. It’s an exciting way to improve literacy and spark artistic flair!
- Nature and Nurture: Add shells and stones for sorting. They’ll gain a tactile understanding of science and nature.
- Build Together: Encourage cooperative play with building blocks. Collaborative structures boost spatial skills and friendships.
Your sandbox will be the neighborhood’s learning hub!
Implementing Sensory Play in Your Sandbox
Get ready to plunge into a world of fun and learning by applying sensory play in your sandbox!
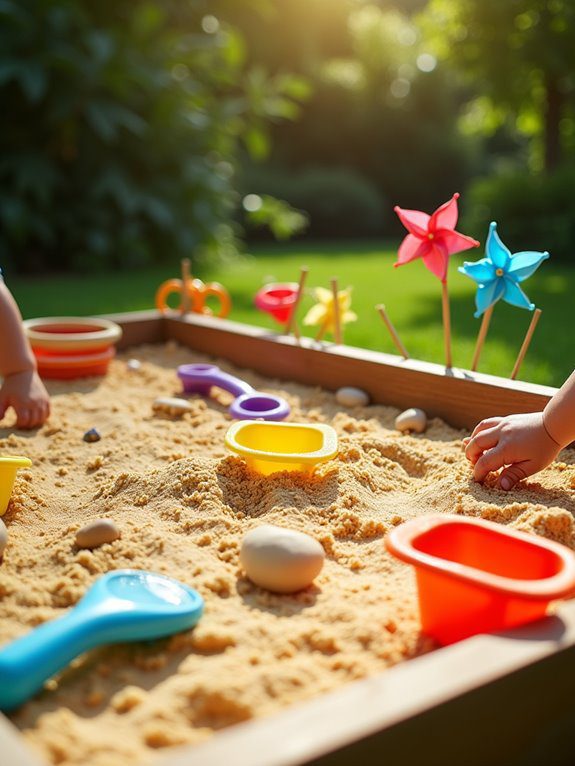
By mixing textures like pebbles, dried beans, or rice with sand, you’ll open up a whole new tactile universe for your kids. Imagine their delight as they dig and discover hidden treasures!
Add water elements for wet and dry play, amplifying creativity and fine motor skills. Sprinkle in scents like cinnamon or lavender to make playtime a feast for the senses.
Don’t forget scoops, shovels, and molds to improve their hand-eye coordination. Watch as they engage in imaginative adventures together!
Planning a Sandbox for Seasonal Use
When you’re planning a sandbox for seasonal use, you’ve got to think about creating the ultimate year-round play paradise!
First, pick a spot that gets both sun and shade. This way, your little ones will stay comfortable whether it’s blazing hot or chilly outside.
Next, consider an under-bed storage box for portability. You can easily move it indoors during winter or rainy days.
Finally, keep things clean and fresh by covering the sandbox when it’s not in use, and replace the sand regularly.
Improve your setup with seasonal accessories like a PVC pipe and umbrella for summer shade!
- Choose a sunny and shady location.
- Use a portable under-bed storage box.
- Cover and refresh the sand regularly.

