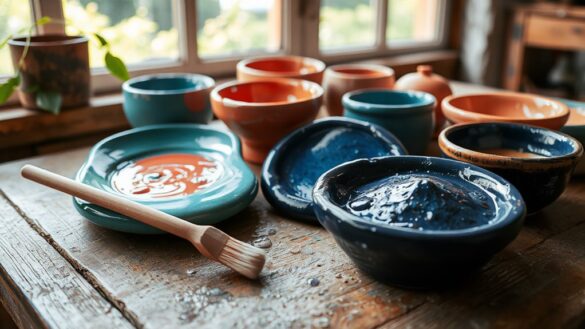
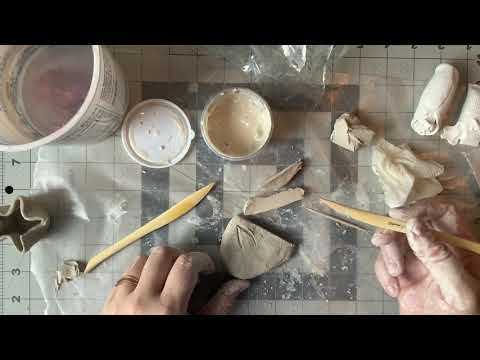
Glazing air dry clay can totally alter your projects, and guess what? You don’t need a kiln! Start by making sure your piece is completely dry—give it a good 72 hours. Then, smooth those edges with fine-grit sandpaper and wipe it down with a damp cloth. Choose a clear acrylic sealer for that shiny finish, and apply it with a soft brush. Each layer needs to dry fully before adding more, and then you’re ready to display your masterpiece! Plus, stick around for pro tips to make your glazing even better!
Key Takeaways
- Ensure your air dry clay piece is completely dry, allowing at least 72 hours before glazing.
- Smooth rough edges with fine-grit sandpaper and clean the surface for a flawless finish.
- Choose the right glaze, such as acrylic sealers, and test it on a trial piece first.
- Apply glaze evenly using a soft brush, allowing each layer to dry completely before adding more.
- Maintain your glazed piece regularly to preserve its finish and appearance over time.
Understanding Air Dry Clay and Its Uses
When you immerse yourself in the world of air dry clay, you’ll discover a fantastic material that’s perfect for all your creative projects!
This non-toxic clay is incredibly versatile and allows for easy manipulation, making it easy to shape decorative pieces like trinket dishes and sculptures.
Its porous nature means it’s not suitable for functional dinnerware, but don’t worry—you can still create stunning mixed media projects!
Plus, you can paint your creations with acrylic paints for those unique finishes that truly stand out.
Preparing Your Air Dry Clay Piece for Glazing
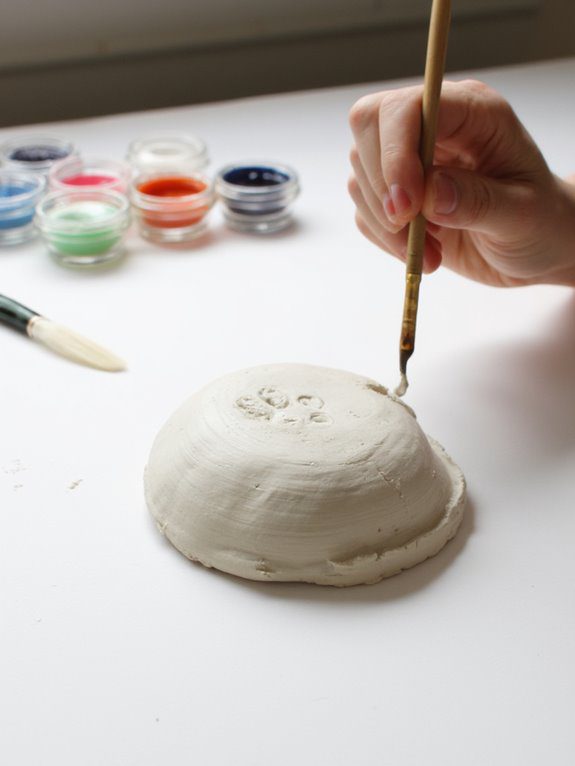
Before diving into the glazing process, it’s essential to prep your air dry clay piece to guarantee the best results. Follow these steps for a flawless finish:
- Make sure your piece is completely dry—give it at least 72 hours!
- Use fine-grit sandpaper to smooth rough edges, making for a lovely surface.
- Clean your piece with a damp cloth, ensuring a clean surface for the glaze.
If you’re using a DIY glaze, mix a thin, watered-down acrylic for a consistent application.
Don’t forget to test your glaze on a small area to avoid any surprises. Happy glazing!
Choosing the Right Glaze for Your Project
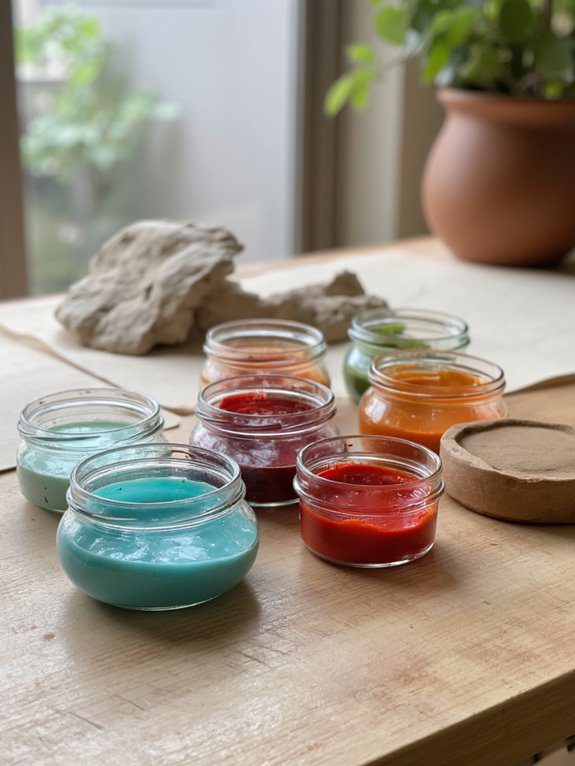
Have you ever wondered what makes a glaze perfect for your air dry clay masterpiece? Choosing the right glaze is key!
Look for options like acrylic sealers or clear polyurethane varnish, which give your decorative items a non-porous, durable finish.
Don’t forget, it’s crucial to pick food-safe glazes since air dry clay can absorb harmful substances.
If you’re feeling adventurous, test glazes on a trial piece to see how they improve your project!
And if you plan to use your creation with acidic items, opt for acid-resistant glazes to guarantee longevity.
Happy glazing, fellow artists!
Step-by-Step Guide to Glazing Air Dry Clay
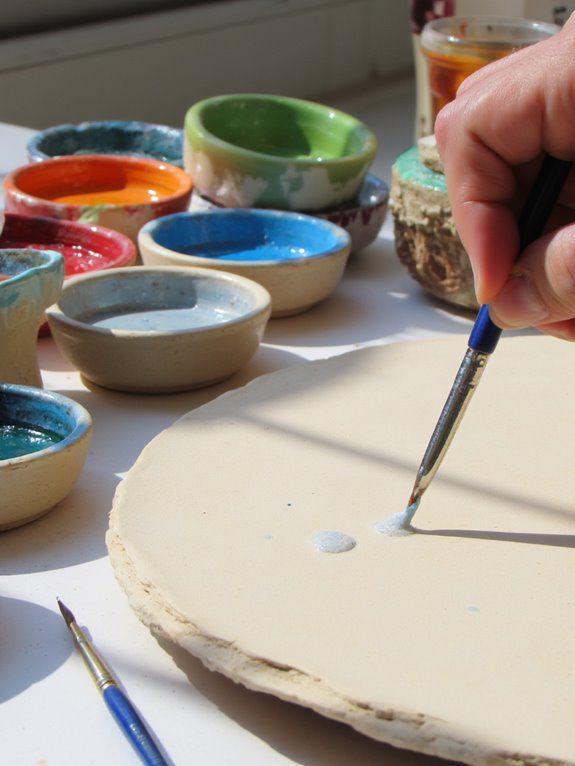
Now that you’ve picked the perfect glaze for your air dry clay project, it’s time to get your hands a little messy and bring your creation to life! Here’s how to apply glazing like a pro:
- Verify your air dry clay piece is completely dry, which usually takes 24 to 72 hours.
- Choose a glazing medium, like watered-down acrylic paint, and use a soft brush to apply an even layer of glaze.
- For that glossy finish, spray a clear acrylic sealer from 6-8 inches away, allowing each layer to dry before adding more.
Happy glazing! Your masterpiece awaits!
Sealing Techniques to Enhance Durability
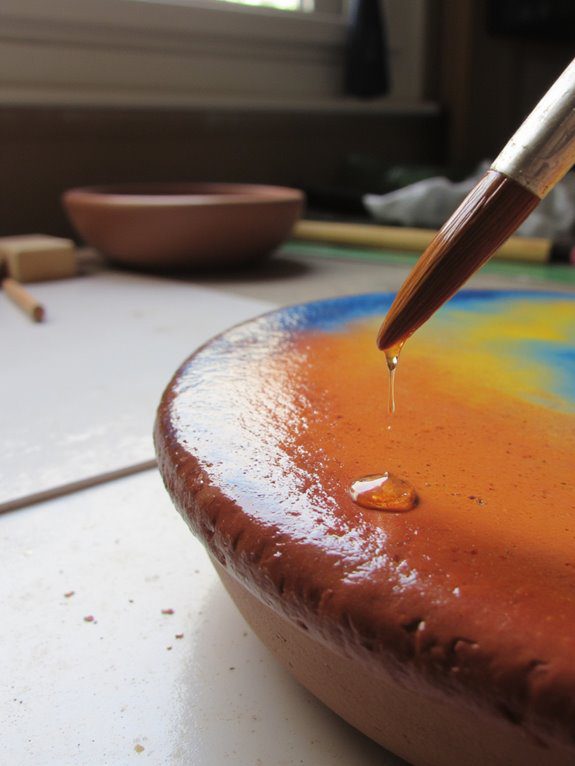
When you want your air dry clay masterpiece to stand the test of time, sealing it properly is key!
Start by waiting at least 72 hours for full drying to combat moisture absorption.
For sealing techniques, a clear acrylic sealer spray works wonders—just apply it from 6-8 inches away in thin layers!
Mod Podge is a fantastic choice too; brush it on lightly for a nice finish.
If you fancy a glossy look, poly varnish can do the trick!
For a budget-friendly option, whip up a DIY mixture of glue and water, but remember, it may not be as durable.
Happy sealing!
DIY Glazes: Create Your Own Unique Finish
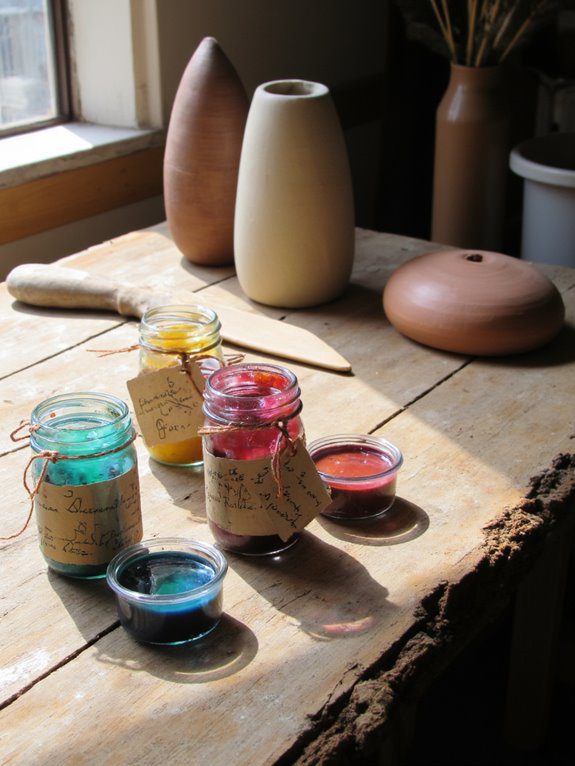
Sealing your air dry clay creations is just the beginning of the fun!
With DIY glazes, you can create a glossy finish and add your personal touch. Here’s how to get started:
- Mix equal parts white glue and water for a smooth glaze.
- Add acrylic paint for custom colors, layering for depth!
- For a textured finish, toss in a pinch of baking soda.
Make sure to test your DIY glaze on a trial piece first to avoid any tackiness.
Remember, these glazes shine in decorative projects but mightn’t be as durable as commercial sealants.
Happy glazing!
Popular Brands and Products for Glazing
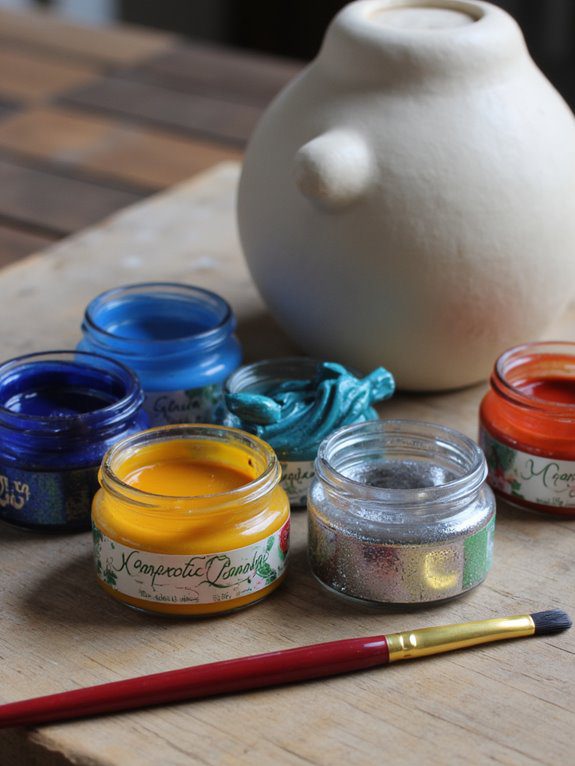
Glazing your air dry clay creations can truly improve your art, especially when you choose the right products!
Mod Podge, especially the Dishwasher Safe version, offers a fantastic water-resistant seal that boosts durability.
If you’re after a high-shine effect, DecoArt Triple Thick Glaze is a crafter’s dream!
Don’t forget acrylic spray sealers; they effortlessly cover intricate details and can be layered for a custom look.
For strong protective qualities, Polyurethane Varnish Gloss is your go-to!
And if you’re on a budget, whip up a DIY glaze recipe with glue, clear nail varnish, and water—it’s a great alternative!
Tips for Troubleshooting Common Glazing Issues
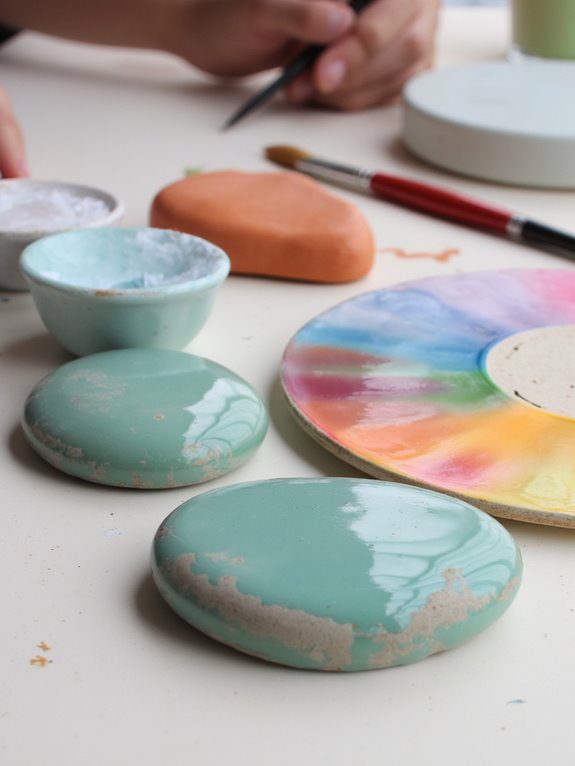
Troubleshooting common glazing issues can feel like a maze, but don’t worry—you’re not alone!
Here are some quick tips to help you achieve that perfect finish on your air dry clay creations:
- Always let each layer of glaze dry completely before applying the next to prevent tackiness.
- Use a non-porous surface to avoid sticking and damaging your detailed pieces.
- If your glaze looks cloudy, apply a thin layer of clear acrylic sealer after it dries for a smooth, glossy finish.
With these tricks, you’ll be glazing like a pro in no time!
Happy crafting!
Showcasing Your Finished Glazed Creations
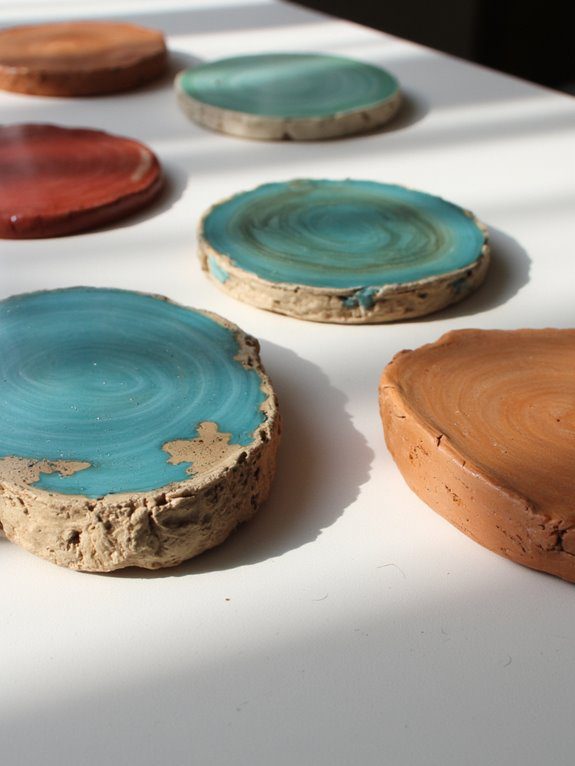
After you’ve mastered the art of glazing and tackled any pesky issues, it’s time to show off your beautiful creations!
Display your glazed creations in a well-lit area to highlight that glossy finish. Consider using decorative stands to raise your pieces, making their unique shapes pop!
Try grouping a collection of colorful pots or decorative dishes for a themed display. Add natural elements, like plants or flowers, to create a visually appealing arrangement.
Don’t forget to regularly dust them with a soft cloth to maintain their shine—your masterpieces deserve to dazzle!
Get ready to bask in the compliments!


