21 Sewing Upcycled Clothing Ideas That Give Old Clothes New Life
Give old clothes a second act with easy sewing projects! Turn jeans into a sturdy tote with pockets, stitch a skirt into an apron, or make scrunchies from small scraps. Cut shirt squares for patchwork pillows, stretch a favorite graphic in a hoop, or sew a tee into a plant-pot cover. Start with clean, sturdy fabric and test stretch first. Best surprise? A memory quilt turns 4–6-inch clothing squares into a cozy keepsake—keep going for more clever remakes.
Love cozy DIY projects? 💕
Get free printable guides, exclusive tutorials & surprise craft goodies straight to your inbox.
Disclosure: This post may contain Amazon affiliate links, at no extra cost to you. Content on DiyCraftNest is created with research support from AI tools and carefully reviewed, edited, and fact-checked by the lead author, Daniel Pat, to ensure accuracy and reliability. Learn more
Key Takeaways
- Turn old jeans into durable tote bags, aprons, or pocketed accessories by reusing waistbands, belt loops, and denim pockets.
- Convert oversized shirts into dresses, fitted blouses, halter tops, or reusable tote bags with simple cutting and straight seams.
- Repurpose skirts into practical aprons by retaining the waistband, reinforcing pockets, and adding long fabric ties.
- Make cozy home décor from clothing scraps, including patchwork pillow covers, sweater cushions, and memory quilts.
- Improve durability by pre-washing fabrics, reinforcing stretchy areas, finishing raw edges, and using consistent seam allowances.
Turn Jeans into Tote Bags
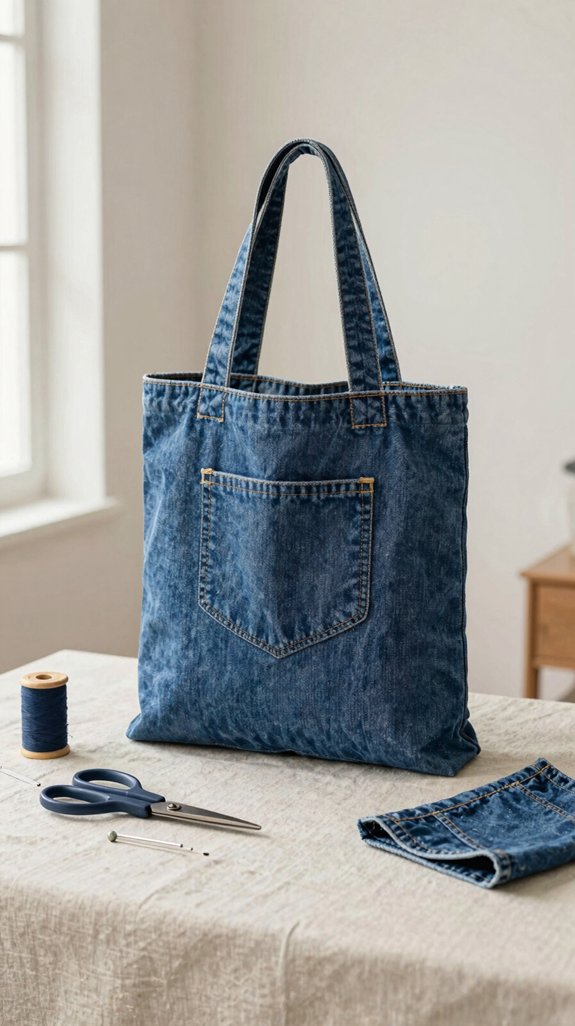
That worn-out pair of jeans can become a sturdy, stylish tote bag—no elaborate tools or fashion degree required! You’ll need old jeans, thread, scissors, and cotton or denim for lining.
Cut a tote shape, letting leg seams form the sides, and save the waistband for structure. Sew the sides, then fold and stitch the waistband into a firm top edge. Easy, right?
For Denim lining tips, match the lining to your bag shape for a clean, long-lasting interior. Sew handles from denim strips and reinforce them well.
Try Pocket placement tricks: stitch a reclaimed pocket panel inside the lining before assembly. Your new carryall looks handmade, useful, and totally community-craft worthy!
Make a Denim Apron
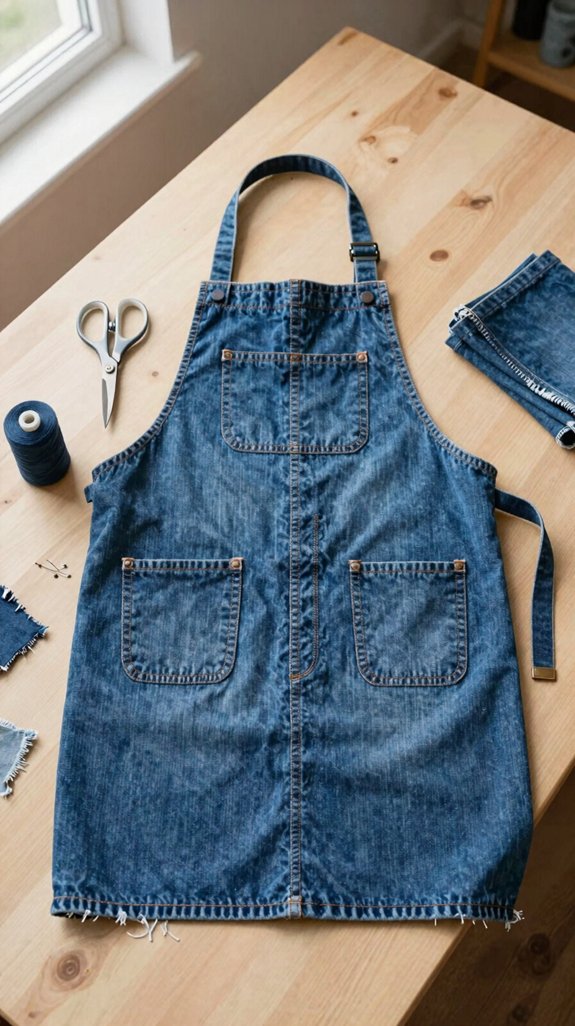
Give old jeans a second shift as a rugged denim apron—perfect for cooking, gardening, painting, or looking impressively prepared while you hunt for the scissors!
Grab sturdy jeans, scissors, thread, and a needle or machine. Cut one leg panel for the body, then save another strip for the bib and ties. Cut the bib from the waistband area and stitch it firmly along the top edge.
Hem edges or add bias tape—essential Denim care tips, since fraying denim loves drama! Feed fabric ties through original belt loops.
Now for pocket placement tips: sew a roomy jeans pocket slightly off-center, where your hand naturally lands. You’ll have a practical, team-worthy apron!
Create Patchwork Pillow Covers
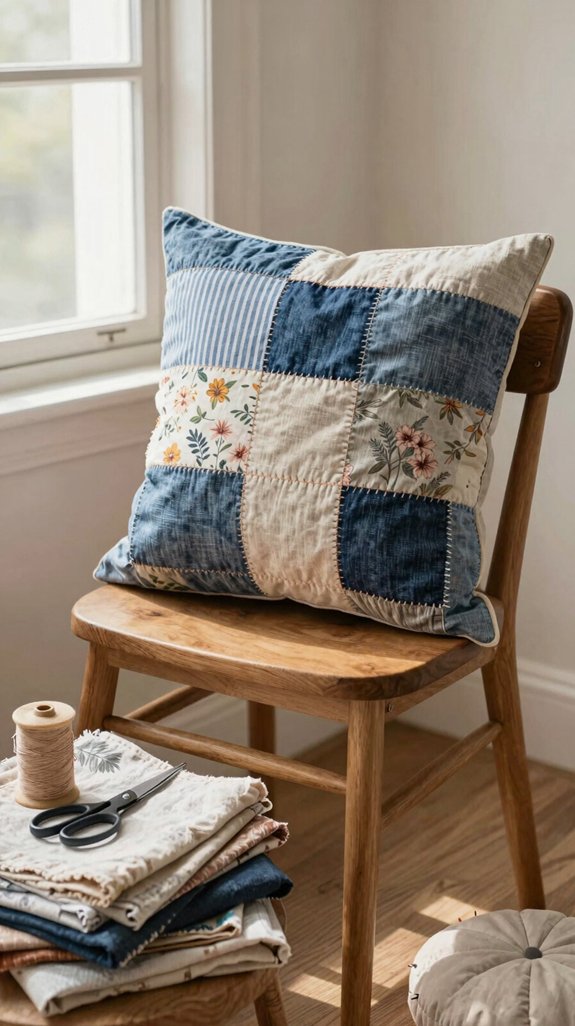
Turn worn shirts, leftover fabric, and lonely sock-drawer scraps into a patchwork pillow cover that looks cozy on a couch or bed—no fancy sewing degree required! Start color palette planning, then cut 4–6-inch squares.
| Step | What you need | Quick win |
|---|---|---|
| Cut | Shirts, scraps | Matching blocks |
| Sew | 1/4-inch seams | Neat rows |
| Press | Hot iron | Flat top |
| Back | Two fabric pieces | Envelope opening |
Use stitch consistency tips: sew slowly, reinforce thin knits with interfacing, and trim bulky seams. Finish edges with binding or a narrow hem. Your 16-inch cover becomes a welcoming, swap-friendly accent—like a tiny quilt your whole crew can claim!
Transform Shirts into Dresses
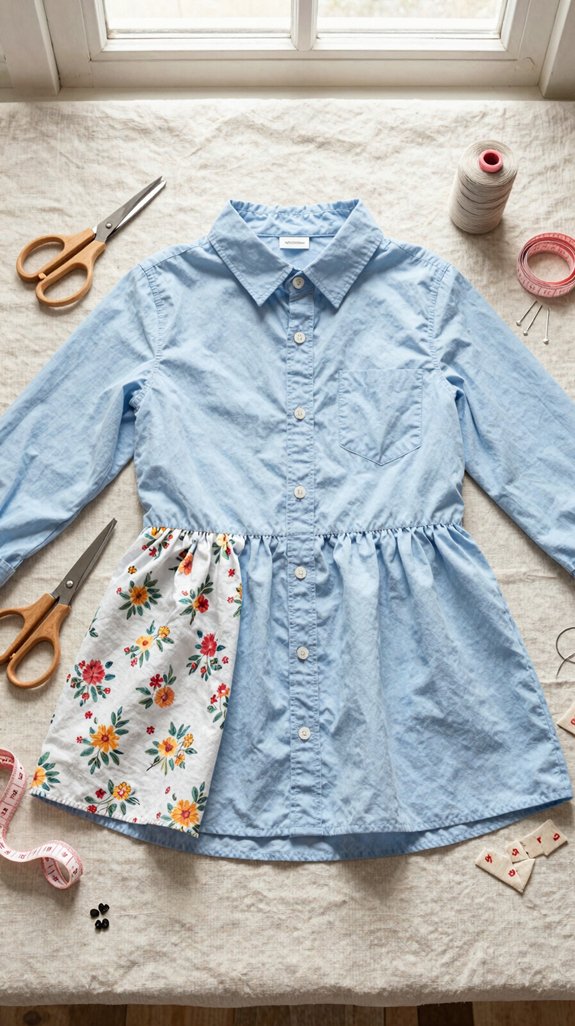
An old shirt can become a breezy new dress with a few cuts, a straight seam, and a little confidence—seriously, your scissors are about to earn their keep!
For a quick halter, grab a T-shirt, trim sleeves and the bottom hem, then tie raw straps at your neck and waist. Make fit adjustments by shortening it to your favorite dress length.
Want more structure? Remove sleeves from a button-up, keep its placket as the closure, and sew side seams. Reuse pockets or belt loops for polish!
For seasonal styling, combine two coordinating shirts: sew one into panels, then use the other’s collar or sleeves for a gathered bodice. Your thrift-circle friends will ask where you bought it!
DIY Fabric Headbands
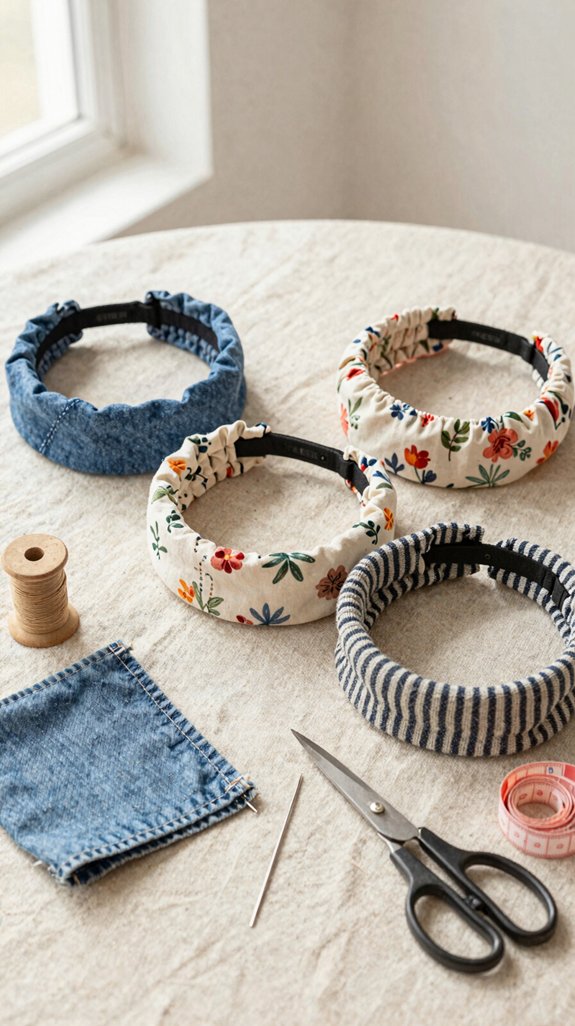
Fabric headbands are one of the quickest ways to give forgotten clothes a second life, and you don’t need elaborate tools or expert sewing skills—hooray!
Cut a skirt waistband to fit your head, leaving 1–2 cm extra, then sew it into a loop. Finish raw edges with a zigzag stitch or narrow hem for a store-ready look.
Want no sewing? Snip a 3–5 cm stretchy T-shirt strip, knot it securely, and add non-slip elastic inside. It’s cheap, comfy, and totally beginner-friendly!
For a standout twist, knot a narrow jersey strip at the center, then try fabric dyeing or thread painting. You’ll wear a one-of-a-kind piece that feels like part of your creative crew.
Turn T-Shirts into Tote Bags
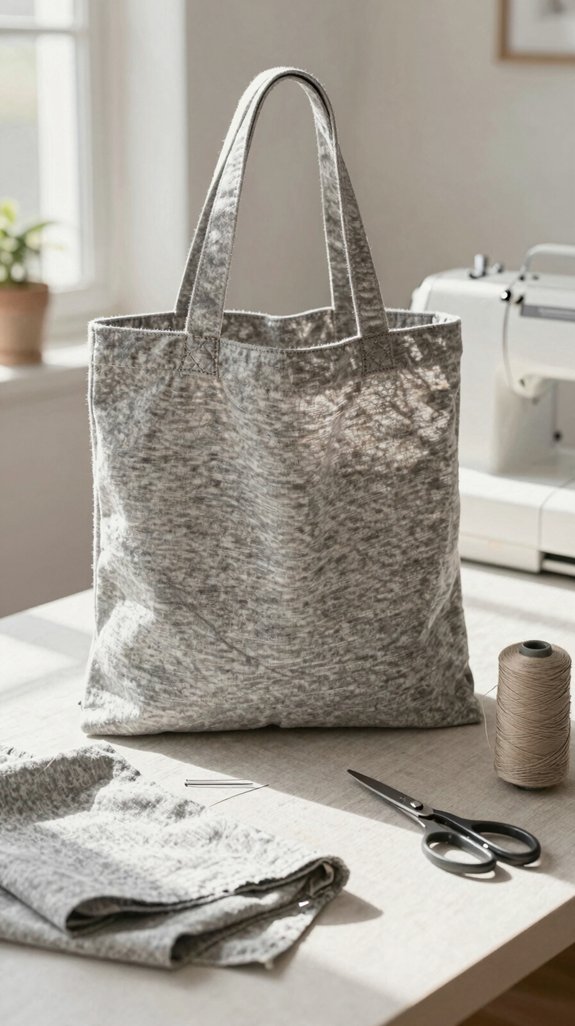
That old T-shirt can become a handy tote bag in less time than a trip to the store—seriously! Grab a sturdy, low-stretch shirt and join the upcycling crew!
- Snip off the bottom hem for a flat opening.
- Remove sleeves and widen the neckline into handles.
- Turn it inside out, then stitch the bottom closed.
- Fold sleeve scraps over handles for cozy reinforcement.
- Add a bedsheet lining for a surprisingly tough finish!
Keep the side seams as built-in tote edges—no pattern, no fuss.
Tie secure handle knots, then sew a second line for strength.
This beginner-friendly garment repair project costs nearly nothing, and fabric weaving details can personalize it.
Make Reusable Produce Bags
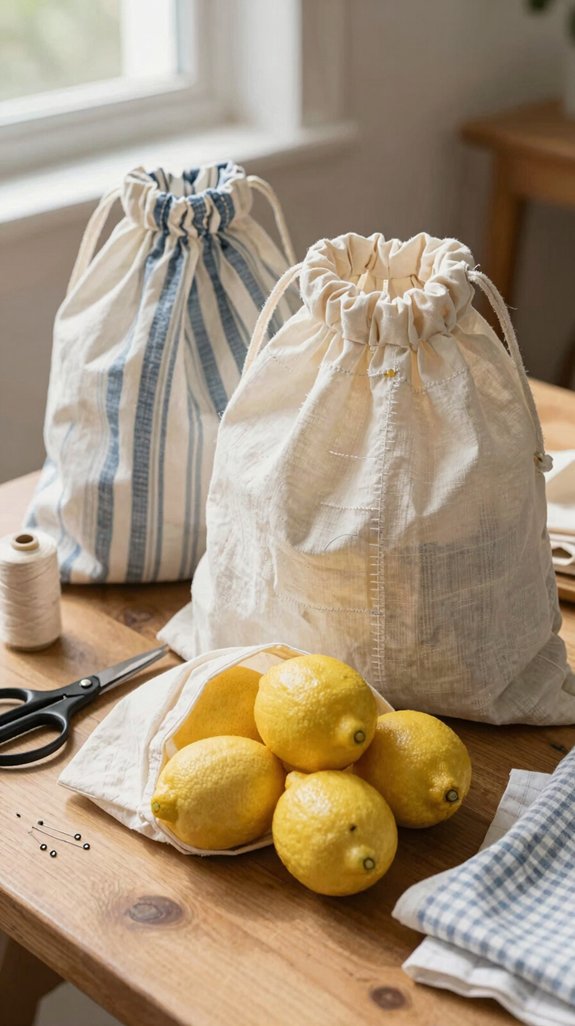
Turn old cotton T-shirts or worn sheets into reusable produce bags, and you’ll skip flimsy plastic while giving forgotten fabric a fresh job—nice!
Choose natural fabrics, then cut two overlapping rectangles.
Sew three sides into a roomy pouch, keeping one layer breathable for onions and citrus.
Next, fold the top edge 1–2 cm, stitch a casing, and thread ribbon or elastic through it.
Your market crew will love how easily it cinches!
For sturdy, washable bags, add French seams or a second stitch at bottom corners.
Plan size labels—“small” for berries, “large” for tomatoes—then cold-wash and air-dry.
Easy, useful, and no plastic tantrums!
Create Fabric Storage Baskets
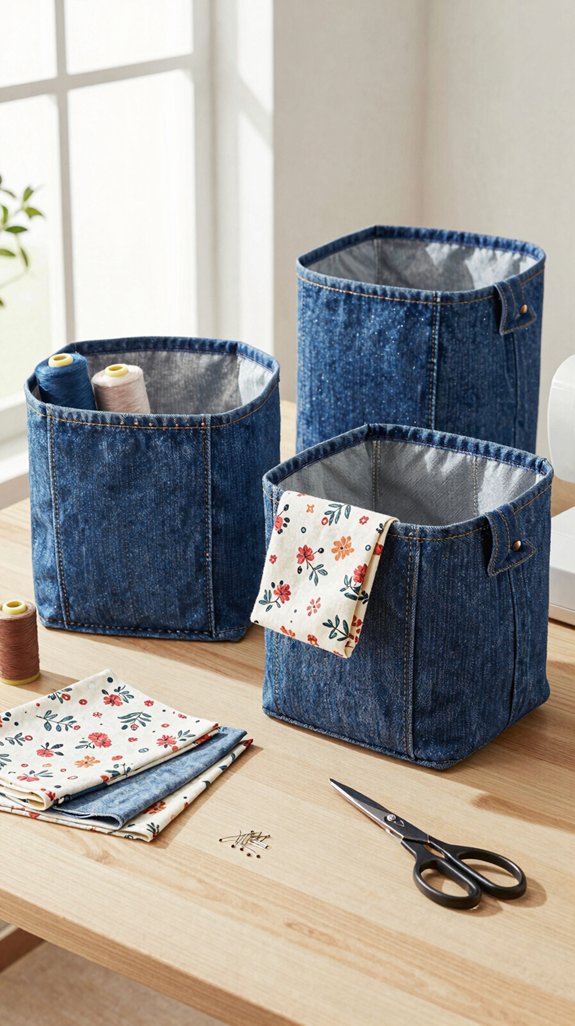
Old shirts and tired denim can become cheerful storage baskets for craft bits, socks, toys, or those mystery cords hiding in your drawer—finally, a home for them!
Choosing fabric scraps is easy: gather sturdy pieces, scissors, thread, and a needle or machine.
- Cut 10–12-inch rectangles.
- Roll strips into tubes; stitch long edges.
- Sew tubes to a layered circular base, using a 1/4-inch seam.
- Add a smooth cotton lining for tiny treasures.
- Twist handles, stitch them on, then turn it right-side out!
Finish by Sewing bias tape around the rim, or fold a one-inch hem.
Your handmade basket looks welcoming, holds its shape, and proves your crew can tame clutter in style!
Patchwork Table Runner
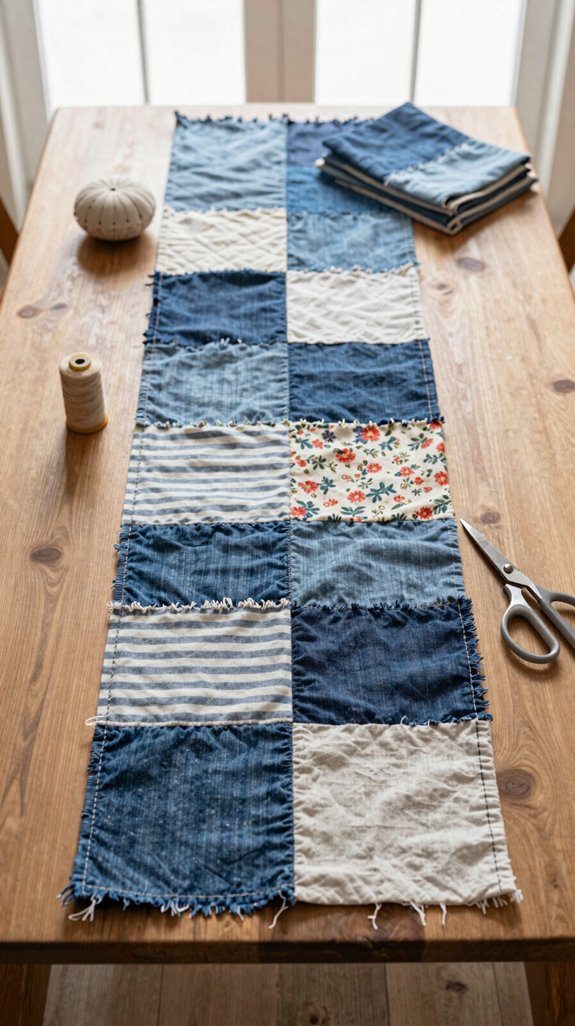
With a few favorite clothing scraps, you can stitch a patchwork table runner that makes an everyday table feel instantly brighter—no upscale quilting skills required!
Cut T-shirts, jeans, or dress fabric into 2–4-inch matching squares. Arrange colors from solid to print, in blocks, or as a soft ombré, then press everything flat.
Sew patches with 1/4-inch seams and build a 12-by-36-inch top. Add flannel or batting plus a backing, then stitch along seams for strength. These upcycling tips help stretchy knits behave!
For seam finishing, use double-fold binding or a zigzag hem. Wash it once, and voilà—your table gets a cozy, shared-story look.
Transform Hoodies into Pet Beds
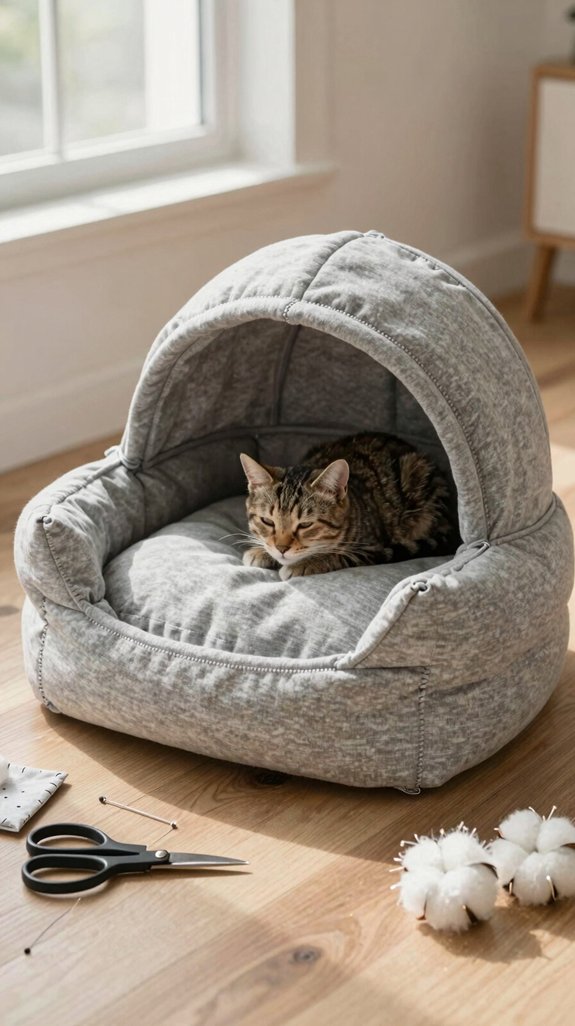
Even a stretched-out hoodie can become a snuggly little retreat for your cat or small dog—how cute is that? You’ll make a cozy spot that feels right at home!
- Cut a clean front opening.
- Stuff cuff-to-hem fabric into a bowl.
- Stitch or glue the base firmly.
- Turn the hood inward for a burrow.
- Add fabric paint and button embellishments!
For extra support, tuck foam or batting between the hoodie and a towel lining. Stitch anti-skid fabric underneath, then slip in a washable pillowcase liner.
Your furry family member gets a soft, stable nest—and you get serious upcycling bragging rights!
DIY Baby Bibs from Old Towels
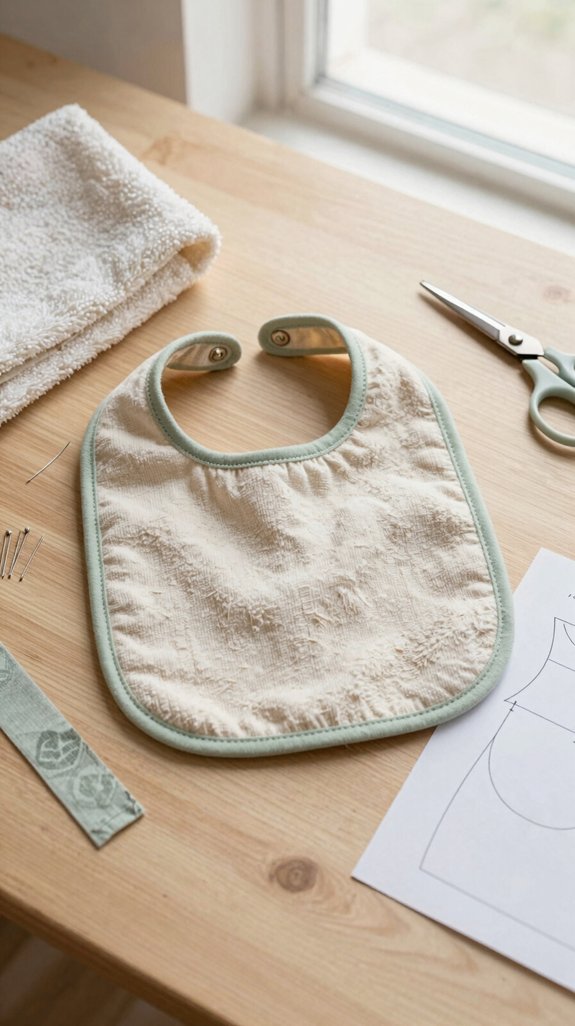
Turn those worn-out towels into soft, hardworking baby bibs, and you’ll save a few dollars while keeping spills from winning at mealtime—hooray! Pre-wash and dry towels, then choose fabric scrap accents or flannel for a cozy second layer.
Cut an 8–10-inch-wide, 10–12-inch-long rectangle, round the corners to avoid fraying edges, and stack two layers. Zigzag-stitch around the border; it’s forgiving on bulky, well-loved fabric!
Reuse towel loops, add tie strips, or sew a snap tab for an adjustable neck fit. Here’s the clever community-favorite finish: stitch a small towel piece across the front bottom to form a catch pocket. Tiny crumbs, meet your match!
Turn Sweaters into Pillow Covers
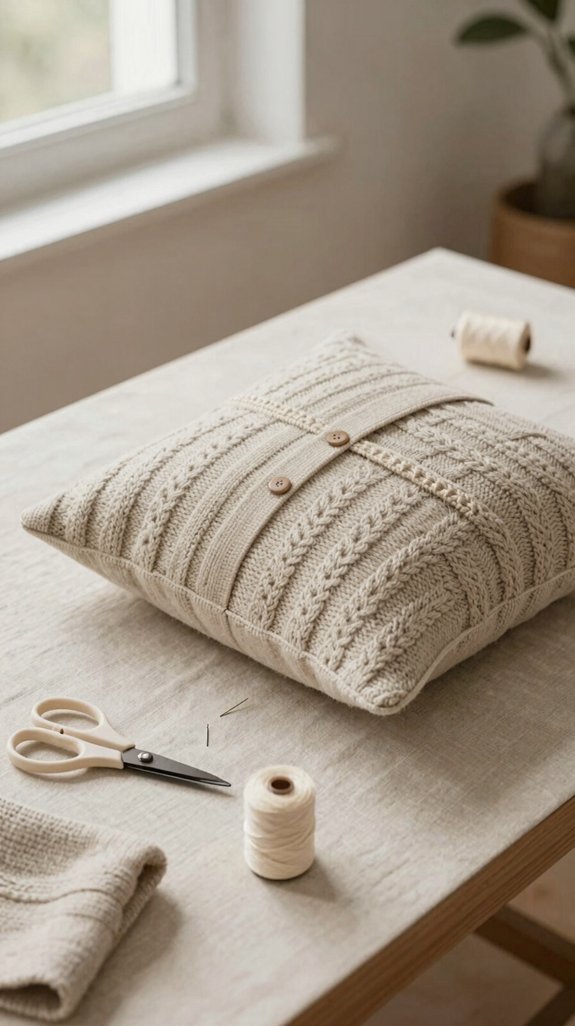
A tired sweater can become a cozy pillow cover in an afternoon, and you don’t need skilled sewing skills—yay! Your sustainable sourcing win can make the sofa feel more like home.
- An intact sweater, pillow insert, scissors, pins, thread
- A 45 cm insert, measured 2–5 cm snugger
- Front panel cut along existing seams
- Straight or zigzag stitching, 1–1.5 cm seams
- Neckline overlap for an easy envelope closure
Use pattern alterations to combine panels if needed, then finish raw edges.
Want the surprise detail? Stitch ribbed cuffs or hem across the front as a bold border.
It’s cheap, beginner-friendly, and wonderfully welcoming!
Create Fabric Coasters
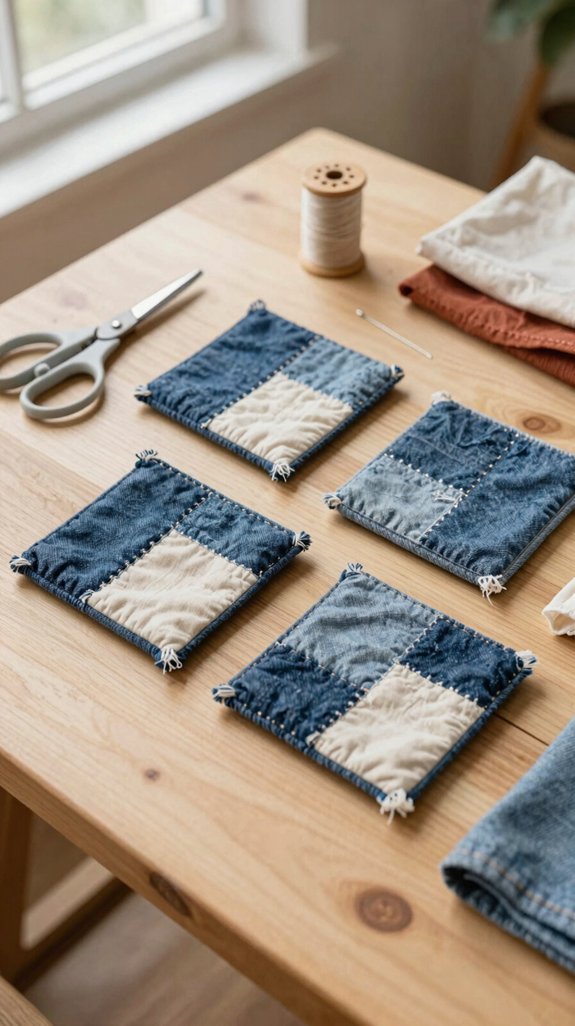
Fabric scraps can do more than fill a drawer—they can protect your table in style! Your fabric selection can include cotton tees or button-downs, so everyone’s old favorites join the party.
| What you need | Why it helps |
|---|---|
| 4–4.5-inch squares | Easy coaster size |
| Felt or batting | Absorbs drips |
| Needle and thread | Needlework basics |
| Non-slip backing | Keeps cups steady |
Round corners, layer fabric with 1/8–1/4-inch padding, then sew right sides together. Leave an opening, turn, and topstitch closed. For the surprise upgrade, mix prints into patchwork and zigzag the seams—washable, cheerful coasters your whole crew will notice!
Make a Reusable Gift Bag
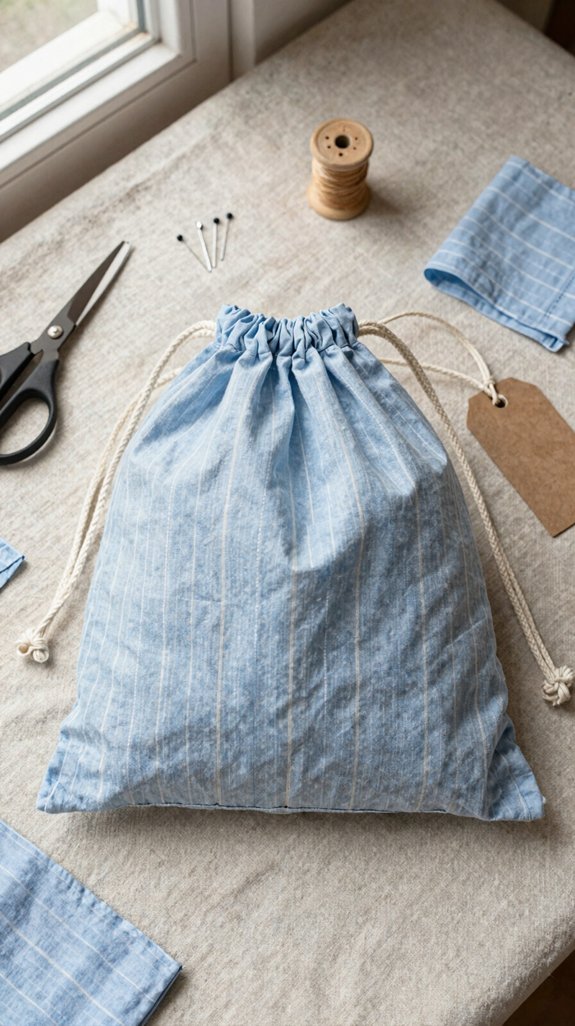
Give an old T-shirt or button-down a second job as a reusable gift bag, and you’ll skip the pricey paper wrap—yes, even the kind that somehow costs more than the gift!
Try these beginner sewing tips for cheerful fabric waste reduction:
- Soft T-shirt fabric for flexible wrapping
- Crisp button-down cloth for structure
- Shirt-strip drawstring
- Double-folded, stitched top edge
- Matching loop handles, topstitched firmly
Cut away sleeves and neckline, then sew or tie the sides closed. Add Velcro, or thread ribbon through awl-made eyelets.
Wash it before gifting to remove dye residue. Your friends will love getting a gift—and a bag they can reuse!
Upcycle Skirts into Aprons
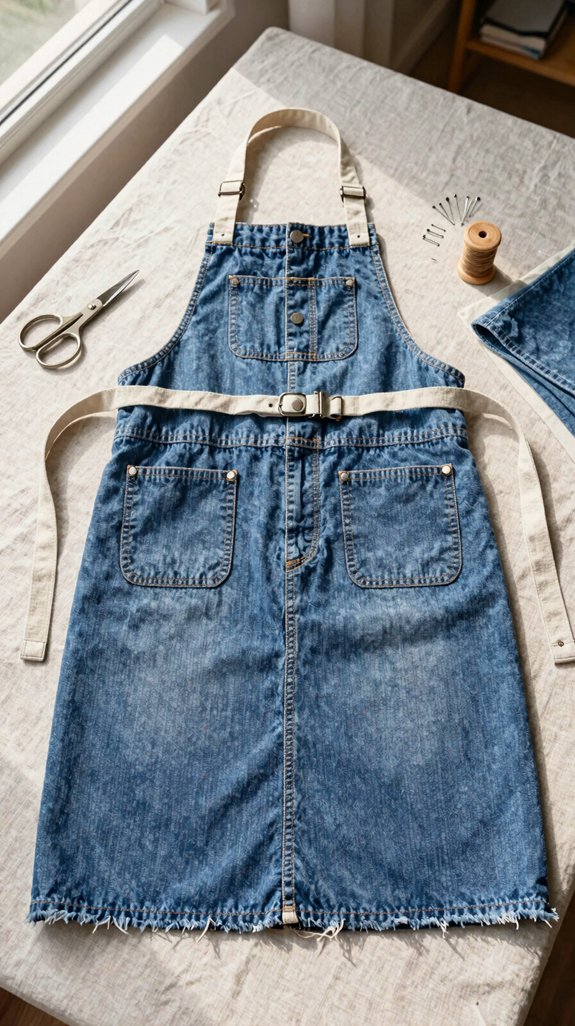
Turn that forgotten skirt into a hardworking apron, and you’ll save money while keeping a favorite print out of the donation pile—win-win!
Choose a waistband you love—Selecting durable fabrics helps, especially for messy kitchen days.
Cut the skirt to knee or calf length, open a side seam, reshape it, and sew a straight top edge. Easy!
Keep or move pockets, then double-stitch their openings for snack crumbs, tools, and mystery screws.
For Sewing fit tips, reinforce stretchy waistbands with interfacing or cotton.
Cut two long strips for ties, hem or zigzag the edges, and sew them onto the band.
You’ll have a wash-ready apron that feels right at home.
DIY Quilt from Old Clothes
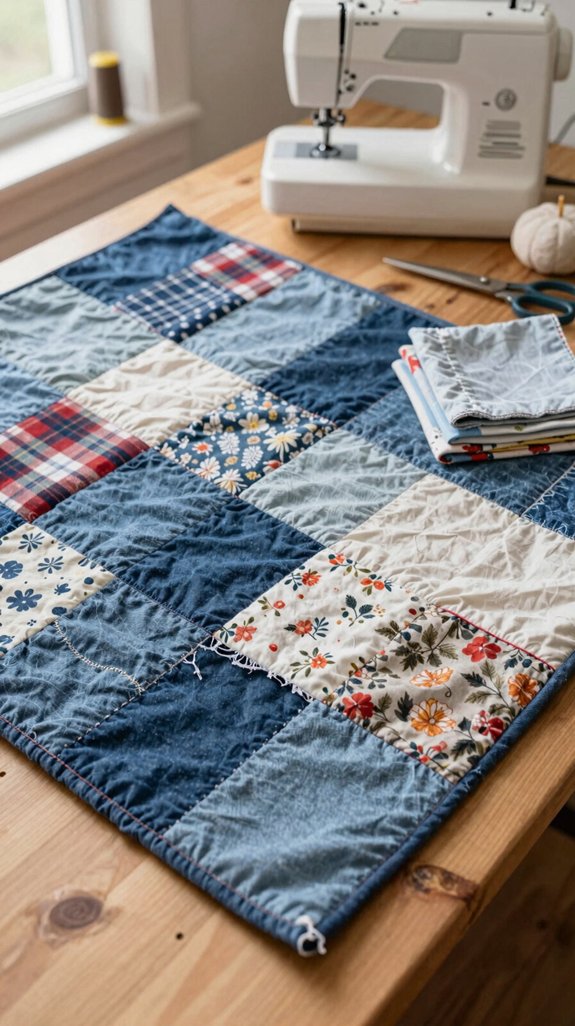
When a skirt has done its kitchen duty, the rest of your old clothes can become something even cozier: a memory-filled quilt!
Pre-wash, iron, and label each fabric’s story. For easy block planning and Color harmony, cut matching 4–6-inch squares.
- Soft cotton tee squares
- Rugged denim pockets
- Cozy flannel shirt panels
- An old bedsheet backing
- Batting and leftover strips
Sew rows with 1/4-inch seams, then join them.
Careful seam finishing keeps bulky spots from becoming tiny mountains!
Add batting, stitch through every layer, and finish with quilt binding.
Save your favorite shirt’s iconic image for a centerpiece—it’ll make your shared memories shine.
Make Scrunchies from Fabric Scraps
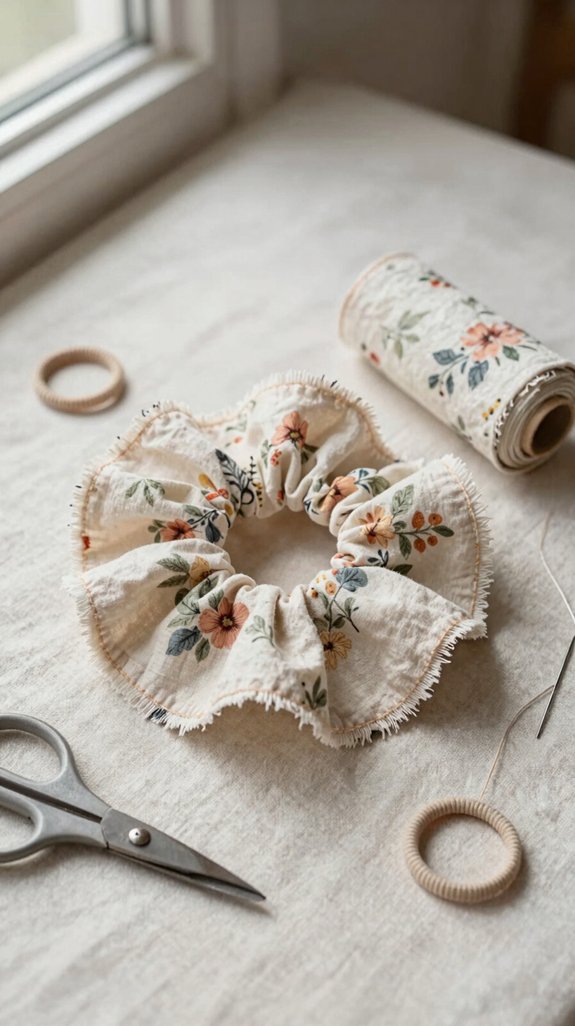
From tiny leftover strips to a lovely hair accessory, fabric-scrap scrunchies are a quick, beginner-friendly win—no lovely sewing skills required! Start with Fabric scrap selection: cut 3–6-inch strips, removing bulky seams and frayed edges.
Gather elastic cord or a small hair tie, needle, thread, and scraps. Wrap fabric snugly around 1–2 inches of elastic, overlap ends by an inch, then sew a tube using tight running or zigzag stitches.
Your Stitching finish techniques keep it stretchy and smooth! Small scraps? Patch two together first. For a fluffy, boutique-style result, choose six-inch strips and thicker elastic, trim threads, and lightly steam. You’ll have a cheerful accessory your crew will love!
Turn Pants into Shorts
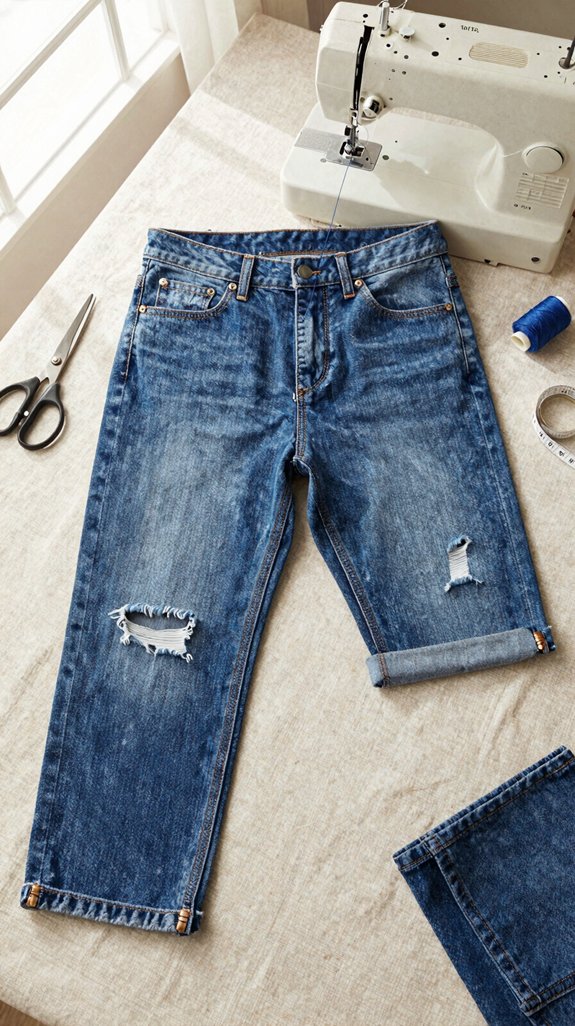
A tired pair of pants can become your next favorite shorts with just a few cuts and stitches—pretty great for a low-cost closet refresh!
Gather simple supplies, check Upcycling safety, and join the DIY crowd—no fashion degree required!
- Pants with a fitting waistband
- Fabric scissors
- Pins and thread
- Measuring tape
- Matching fabric for repairs
Try them on, mark your length, then cut along the inseam while protecting pocket openings. Use the original hem and seam allowances as guides for crisp edges.
Next, test the fit! Taper side seams or add darts, then use fabric matching thread.
Finish fraying edges with zigzag stitches or a double-needle hem. Your sturdy, pocket-ready shorts will look surprisingly store-bought!
Create a Memory Blanket
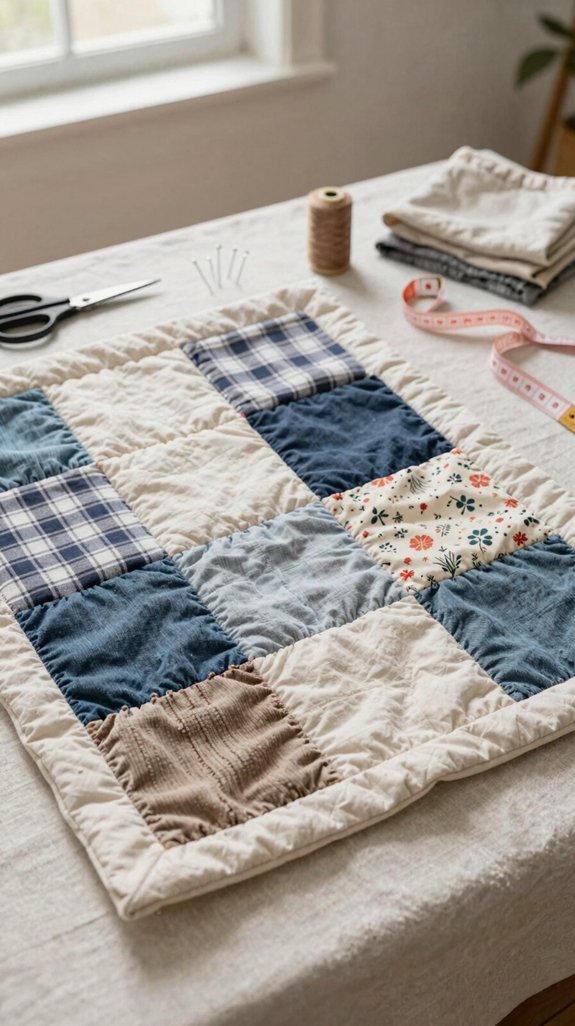
Those leftover pant legs can join a bigger project: a memory blanket packed with favorite tees, dress panels, and even well-loved jeans!
Choose 8–20 pieces that feel like your people, then use color matching tips to arrange uniform squares in a friendly grid.
Iron lightweight interfacing onto stretchy shirts before cutting. Keep seam allowance consistency, baste blocks to backing, and add thin batting if you’d like cozy warmth.
Simple straight-line quilting works beautifully—no elaborate machine needed!
Plan a double-fold binding early, measuring the perimeter so every edge stays secure.
Here’s the sweet surprise: label each square’s back with its garment name and date.
Your blanket becomes a shared story, stitch by stitch!
Upcycled Fabric Wall Art
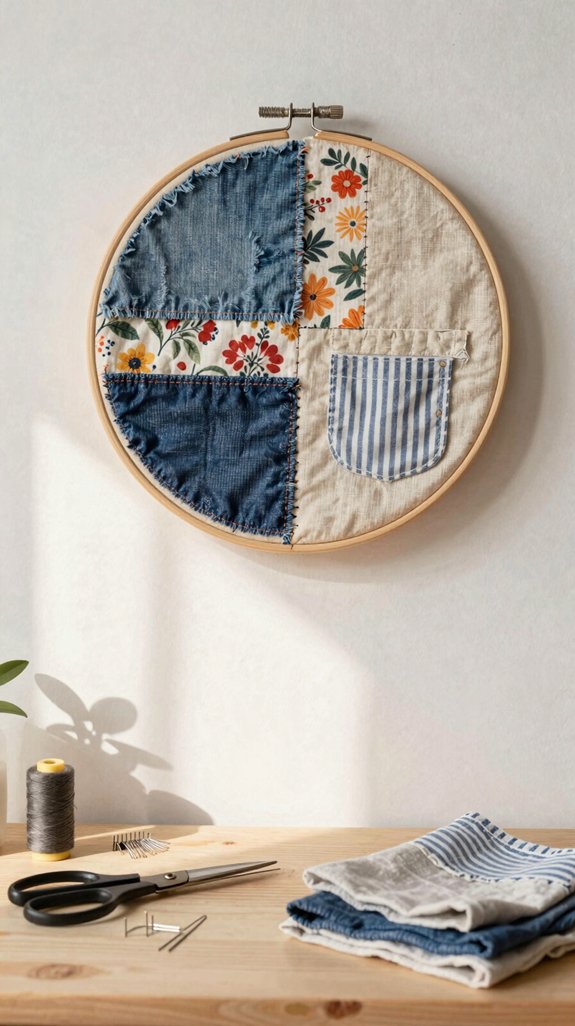
Give a favorite old T-shirt a new spotlight by turning its best graphic into easy fabric wall art—no elaborate frame or big budget required!
Choose a crisp, low-wear design, then try Textile stretching in an embroidery hoop. You’ll create a personal piece that feels right at home with your crew!
- Bright logo centered in a wooden hoop
- Clean-cut fabric around the graphic
- Folded edges tucked neatly behind
- Quick edge finishing with glue or stitches
- Ribbon tied at the top for hanging
Make a mini gallery with different hoop sizes, separating a slogan from its logo. It’s lightweight, cheerful, and nobody has to know it once lived in your laundry basket!
DIY Plant Pot Covers
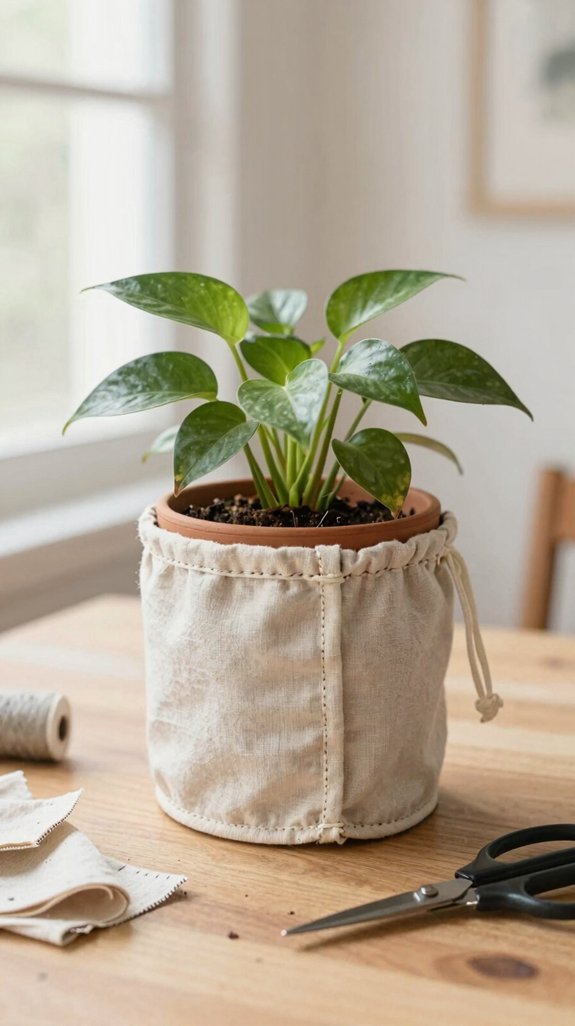
Your old T-shirt can brighten more than a wall—wrap it around a plain nursery pot, and suddenly your plant has a stylish new outfit! For fabric selection, use a cotton tee, dress, or sheet scrap that feels friendly with your decor.
Cut a panel to the pot’s height and circumference, then sew or knot the sides snugly. Keep the bottom open, or snip tiny drainage slits, so watering doesn’t create a swampy surprise!
Hem the top with a fold-and-stitch, adding elastic or a drawstring if needed. For sturdier covers, add a lining or thrifted interfacing. Finish with topstitching, neat seam finishing, and a tiny pocket for plant tags—your green corner joins the club!
Choosing the Best Clothes to Upcycle
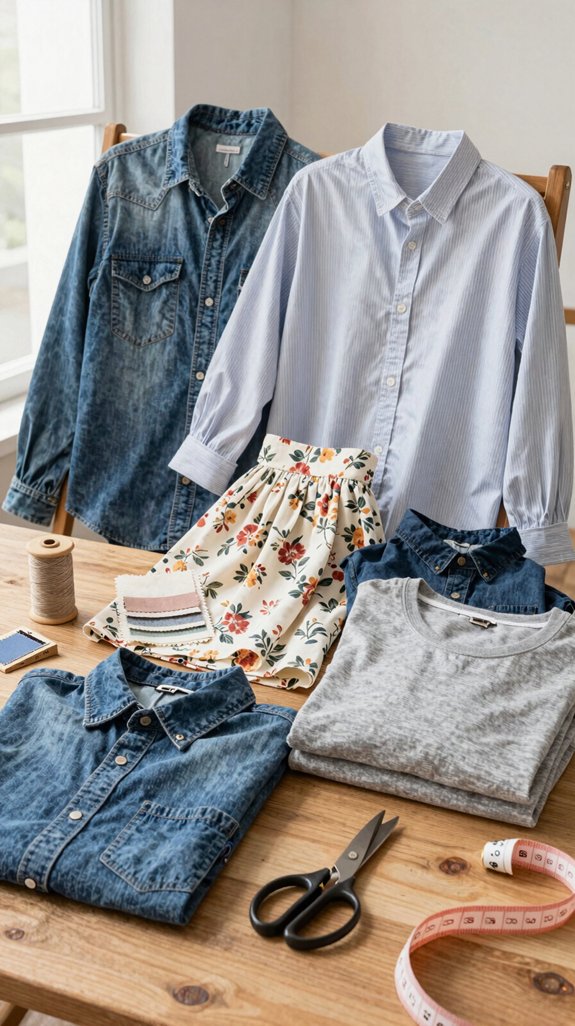
Before you grab the scissors, choose garments that still have plenty of life in them—old cotton T-shirts, roomy dresses, sturdy skirts, and jeans are all great beginner finds!
Your Fabric selection sets you up for success, so join the thrifty sewing crowd and look for:
- Soft jersey tees that stretch forgivingly
- Crisp seams with strong stitching
- Roomy pieces for easy size matching
- Clean panels without giant holes
- Pockets, collars, and buttons for detail reuse
Check seam quality before cutting; sturdy construction gives you neat pattern pieces.
A loose shirt can become a fitted blouse with a few seams—ta-da!
Save denim pockets or a bright button placket for a finish that looks intentional, not rescued from the laundry pile.
Mistakes to Avoid When Upcycling Clothes
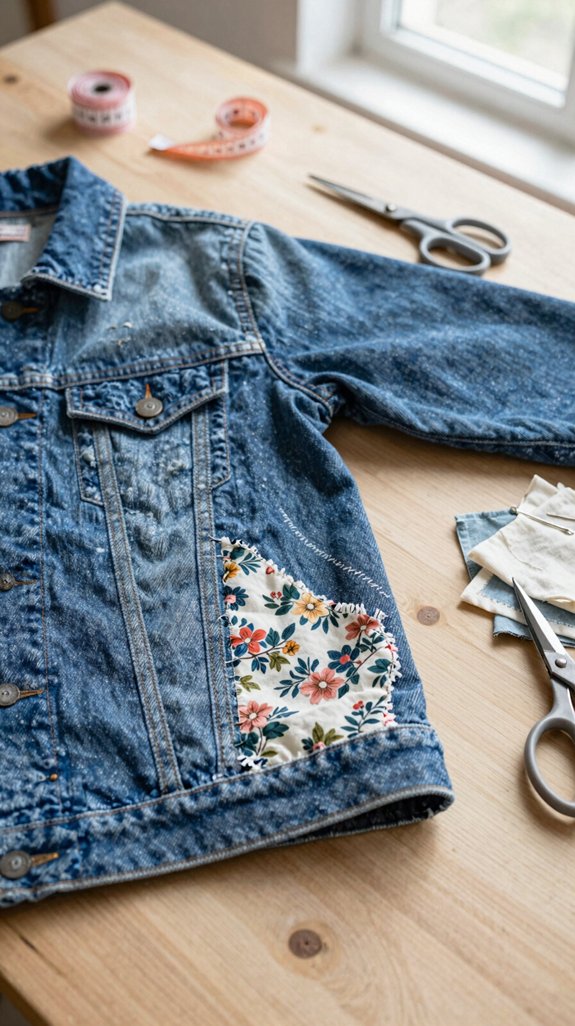
Even the cutest thrift-store find can turn into a wonky project if you skip a few quick checks—no one wants a T-shirt hem twisting like a pretzel!
Start with Fabric Testing: check stretch, grain, and dye on a hidden scrap. Pre-wash first, especially mixed fibers, so blotchy color doesn’t crash your creative party.
Measure your bust, waist, hips, and seam allowances, then pin a mock fit before cutting. You’ll save fabric, money, and heartbreak!
Next, avoid thin spots, cracked prints, and worn jean seams. Use Seam Stabilizing with interfacing or patch backing before stitching.
Cut gently around embroidery, because the strongest remake starts with a sturdy foundation.