Transform Upcycled Tin Cans Into Stylish Planters
Disclosure: This post may contain Amazon affiliate links, at no extra cost to you. Content on DiyCraftNest is created with research support from AI tools and carefully reviewed, edited, and fact-checked by the lead author, Daniel Pat, to ensure accuracy and reliability. Learn more
Love cozy DIY projects? 💕
Get free printable guides, exclusive tutorials & surprise craft goodies straight to your inbox.
Ready to transform those empty tin cans into stylish planters? It’s super easy and tons of fun! First, gather your materials like recycled cans, paint, and soil. Clean and decorate the cans with bright acrylic paint—get creative! Don’t forget to poke drainage holes for happy roots. Next, fill them with soil and your favorite plants or seeds. Arrange them in a vibrant display and enjoy your eco-friendly garden! Keep going to discover more fantastic tips!
Key Takeaways
- Collect and clean empty tin cans, removing labels and ensuring no sharp edges remain for safety.
- Poke drainage holes in the bottom of the cans to prevent root rot and promote healthy plant growth.
- Decorate the cans with non-toxic acrylic paint, using vibrant colors or fun patterns for a stylish look.
- Fill the cans with potting soil, leaving space for plants or seeds, and water them to encourage growth.
- Arrange the planters in visually appealing groupings to enhance your outdoor or indoor space.
Gather Your Materials
Gathering your materials is the first step to creating your fabulous upcycled tin can planters, and trust me, it’s going to be a blast!
Start by collecting empty recycled tin cans, a hammer, and a nail for those all-important drainage holes.
Don’t forget some non-toxic acrylic paint in your favorite colors, along with brushes and potting soil.
Check for any sharp edges on the cans—safety first, right?
Finally, choose your plants or seeds!
Involving kids can make it extra fun, especially when they get to poke holes in the cans.
Let’s get crafting and brighten up those spaces!
Prepare the Tin Cans
Once you’ve got your tin cans ready, it’s time to plunge into the exciting process of preparing them for planting!
Start by cleaning the tin cans with warm soapy water to remove labels and sticky residue. Next, check for sharp edges and hammer them down for safety—no one wants a tin can cut!
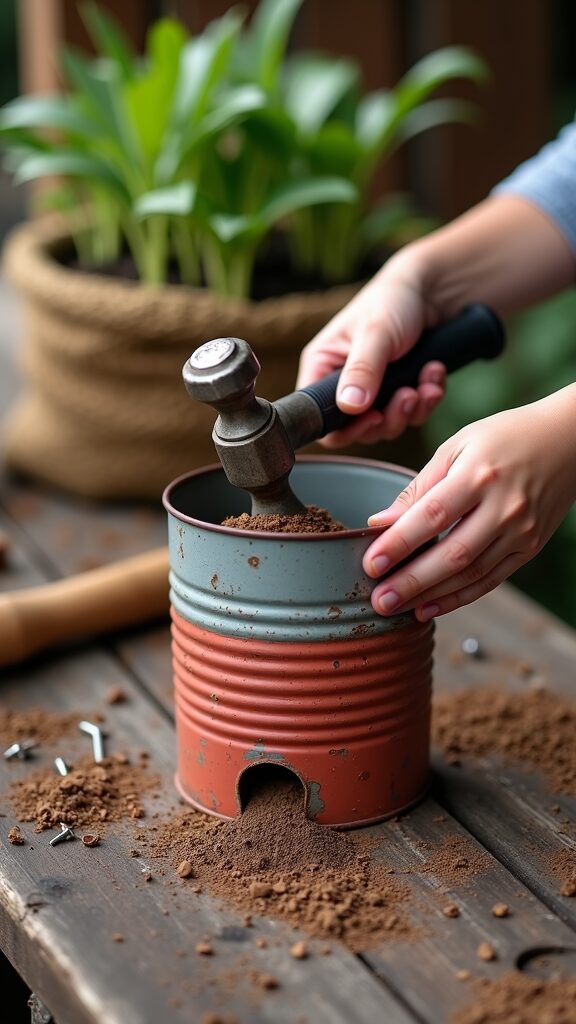
Now, poke several drainage holes in the bottom; this helps prevent root rot.
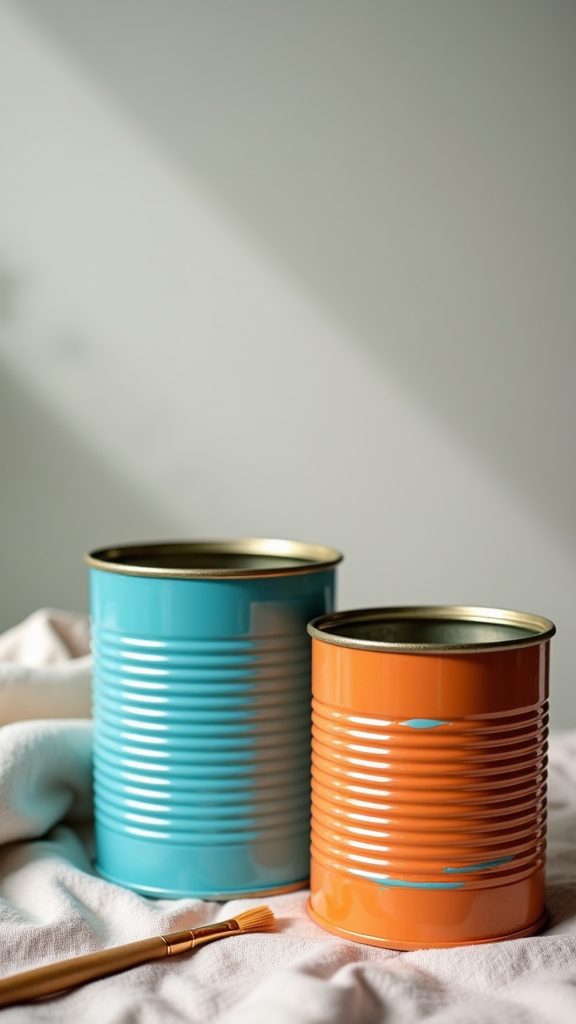
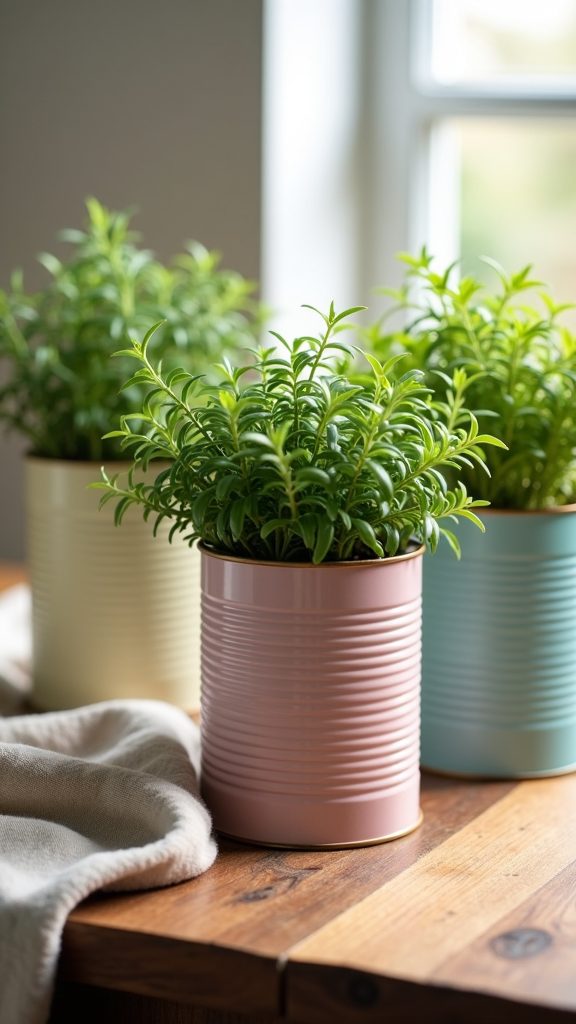
Feeling crafty? Apply a base coat of non-toxic acrylic paint and let your creativity shine with fun designs on your painted tin!
Once dry, you’re all set to add soil and plants to your upcycled items!
Poke Waterholes Into the Bottom
Before you plunge into planting, let’s talk about one of the most important steps: poking waterholes into the bottom of your tin cans!
Grab a hammer and nail, and poke multiple holes—this helps drain excess water and keeps your plants happy. Trust me, you don’t want root rot ruining your stylish planters!
Make sure the holes are evenly spaced and just right, so the soil stays put. Engaging kids in this step is a fun way to teach them about plant care.
And don’t forget safety; check for sharp edges and smooth them out. Happy planting!
Painting the Tin Cans
Painting your tin cans can be a blast, especially when you release your creativity! Start by cleaning the cans thoroughly, removing any labels and residues.
Once they’re dry, grab some non-toxic acrylic paint—light colors work best as a base. Now, it’s time to have fun with patterns! Use masking tape to create stripes or polka dots that reflect your style.
If you plan on placing your planters outside, consider outdoor spray paint for extra durability. Finally, seal your design with a clear matte varnish to protect it.
Your stylish potted plants are going to look amazing in these unique planters!
Add Potting Soil and Plants or Seeds
Get ready to transform your painted tin cans into vibrant homes for your plants!
First, add potting soil, filling the cans about an inch from the top to give those roots room to grow.
Next, gently transplant small plants or baby herbs, ensuring their roots are snugly covered.
If you’re opting for easy-to-grow seeds like cress or lettuce, scatter them evenly on the soil and lightly cover them with compost.
Don’t forget to water thoroughly after planting! A little moisture goes a long way in encouraging healthy plant growth.
You’re one step closer to a thriving mini garden!
Display and Enjoy
Once you’ve got your tin can planters filled with soil and plants, it’s time to show them off!
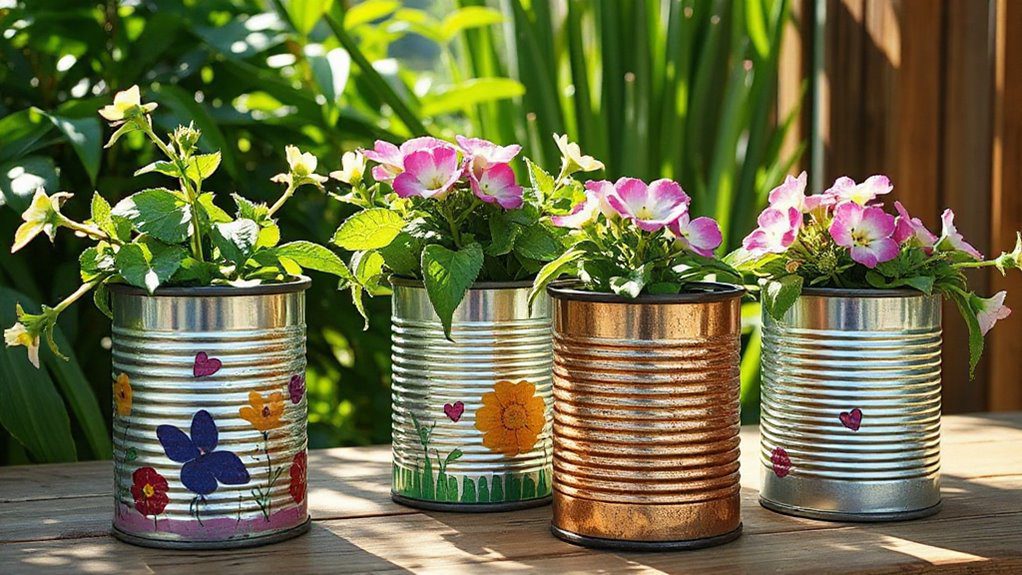
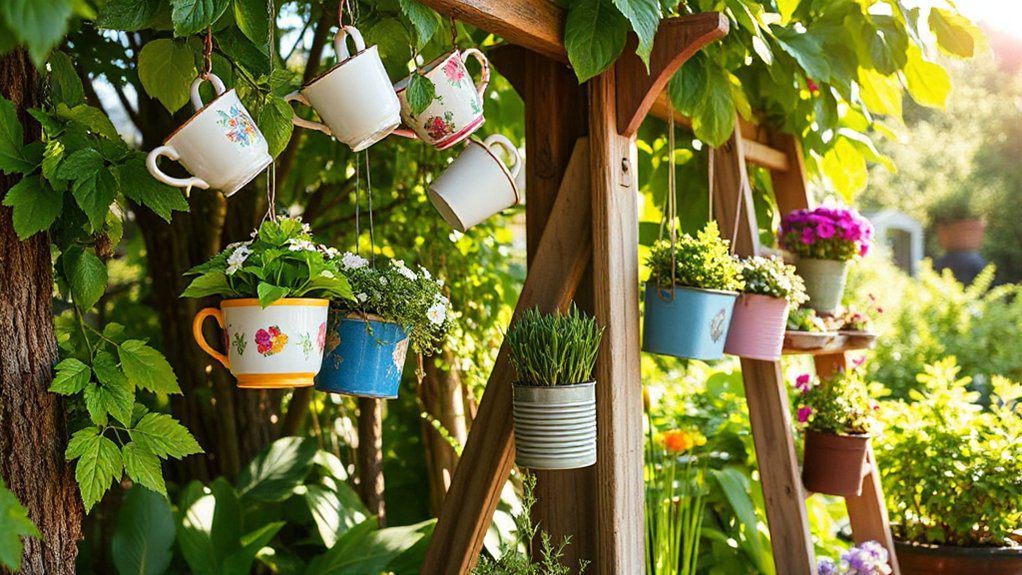
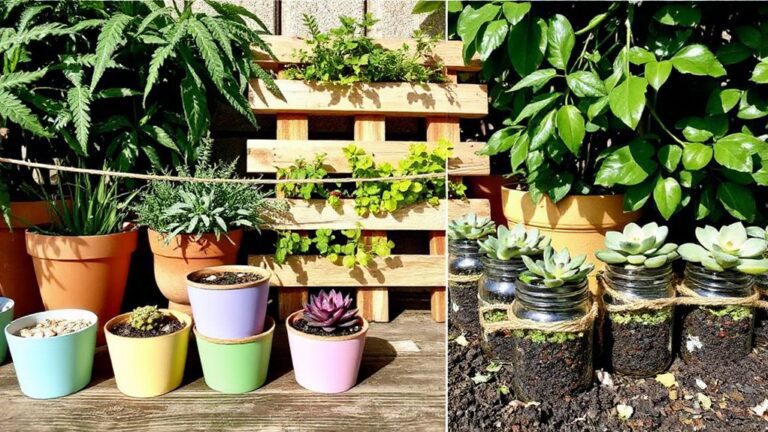
Arrange your colorful upcycled tin can planters in various spots to create a vibrant display.
Check out these fun ideas:
- Group different sizes and colors for a bold statement!
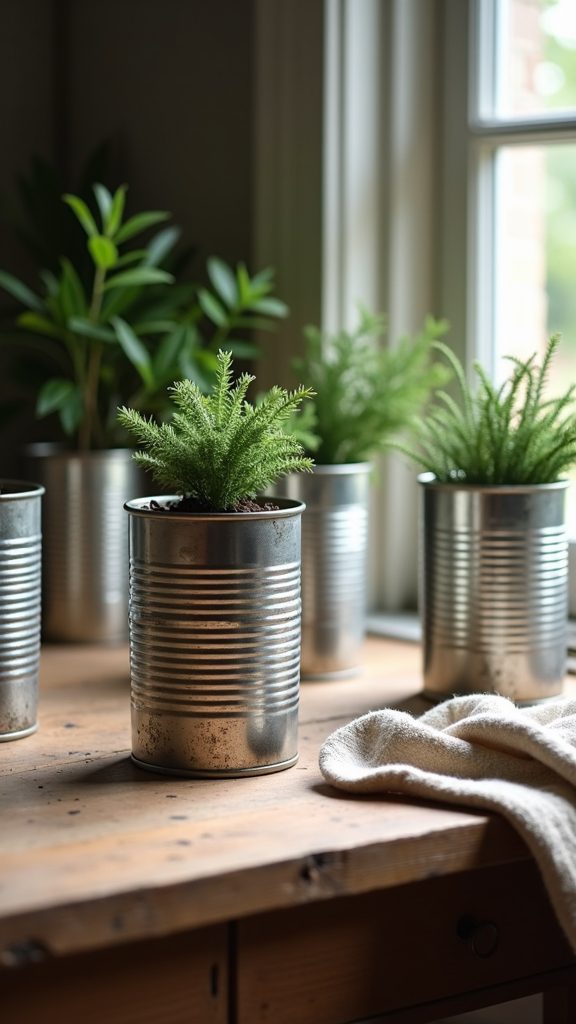
- Place them on your patio, windowsill, or garden for maximum impact.
- Grow herbs or flowers to enhance your cooking and home decor.
- Share your creations with friends on social media!
- Engage with your community, inspiring others in eco-friendly gardening.
Get ready to enjoy the beauty of your plants and celebrate sustainability!

