Glue-Free Slime: Easy DIY Fun!
Slime is a super fun activity for kids, but sometimes you might not have glue on hand, or maybe you just want to try something different. The good news is, you don’t always need glue to make awesome slime! Learning how to make slime without glue opens up a whole new world of easy, less messy crafting. We’re going to explore some simple recipes that use everyday items you probably already have in your kitchen. Get ready for some creative fun!
Key Takeaways
- Making slime without glue is possible using common household items like cornstarch, dish soap, conditioner, psyllium husk, or flour.
- The cornstarch and conditioner slime recipe is a popular and easy option for a quick, less messy slime.
- Cornstarch and dish soap slime offers a simple, non-stick alternative with just two main ingredients.
- Psyllium husk and flour-based slimes provide different textures and methods for creating slime without traditional glue.
- Experimenting with different ratios and ingredients can help you achieve the perfect slime consistency for endless play.
Why Make Slime Without Glue?
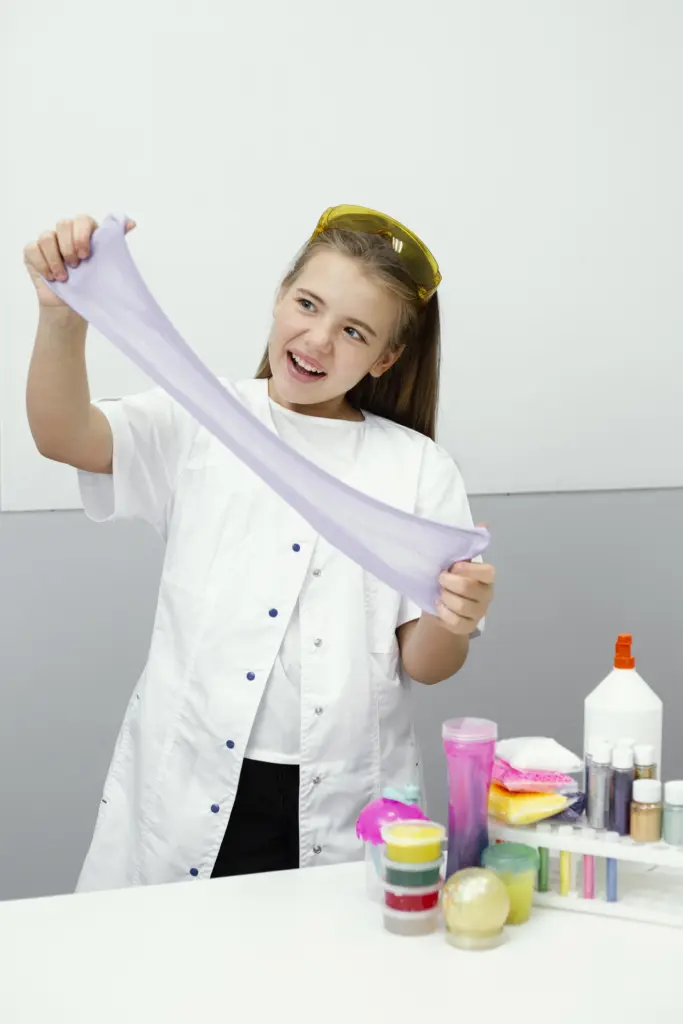
Making slime at home can be a really fun activity, but sometimes the thought of using glue, or even borax, can be a bit of a turn-off. Maybe you’re worried about the ingredients, or perhaps you just ran out of glue and the kids are begging for some slimy fun. That’s where these easy slime ideas no glue come in handy! We’re talking about simple, accessible recipes that let you create that satisfying stretchy, gooey texture without needing those traditional slime-making staples. It’s a fantastic way to explore different textures and have a blast, especially if you’re looking for homemade slime recipes no glue that are quick to whip up. Plus, some of these even lean towards edible slime without glue, making them a great option for even the littlest experimenters. It really opens up the possibilities for creative play, proving you don’t always need glue or borax to achieve that perfect slime consistency.
These glue-free methods often use common household items, making slime-making more accessible and less of a special occasion. It’s about bringing that sensory play experience into your home with minimal fuss and maximum fun.
Here are a few reasons why going glue-free is a great idea:
- Simplicity: Many glue-free recipes use just two or three ingredients you likely already have in your kitchen.
- Accessibility: Great for when you’re out of glue or want a quick activity without a trip to the store.
- Ingredient Awareness: Offers alternatives for those who prefer to avoid certain chemicals or want to explore more natural options.
- Variety: Opens the door to different textures and sensory experiences beyond traditional slime.
Common Glue-Free Slime Ingredients

When you’re looking for DIY slime no glue ingredients, you’ve got a few surprisingly simple options that don’t involve the usual PVA glue. These alternatives often use common household items to create that satisfying stretchy, gooey texture kids love. It’s a great way to make slime when you’re out of glue or just want to try something different.
Cornstarch and Conditioner Slime
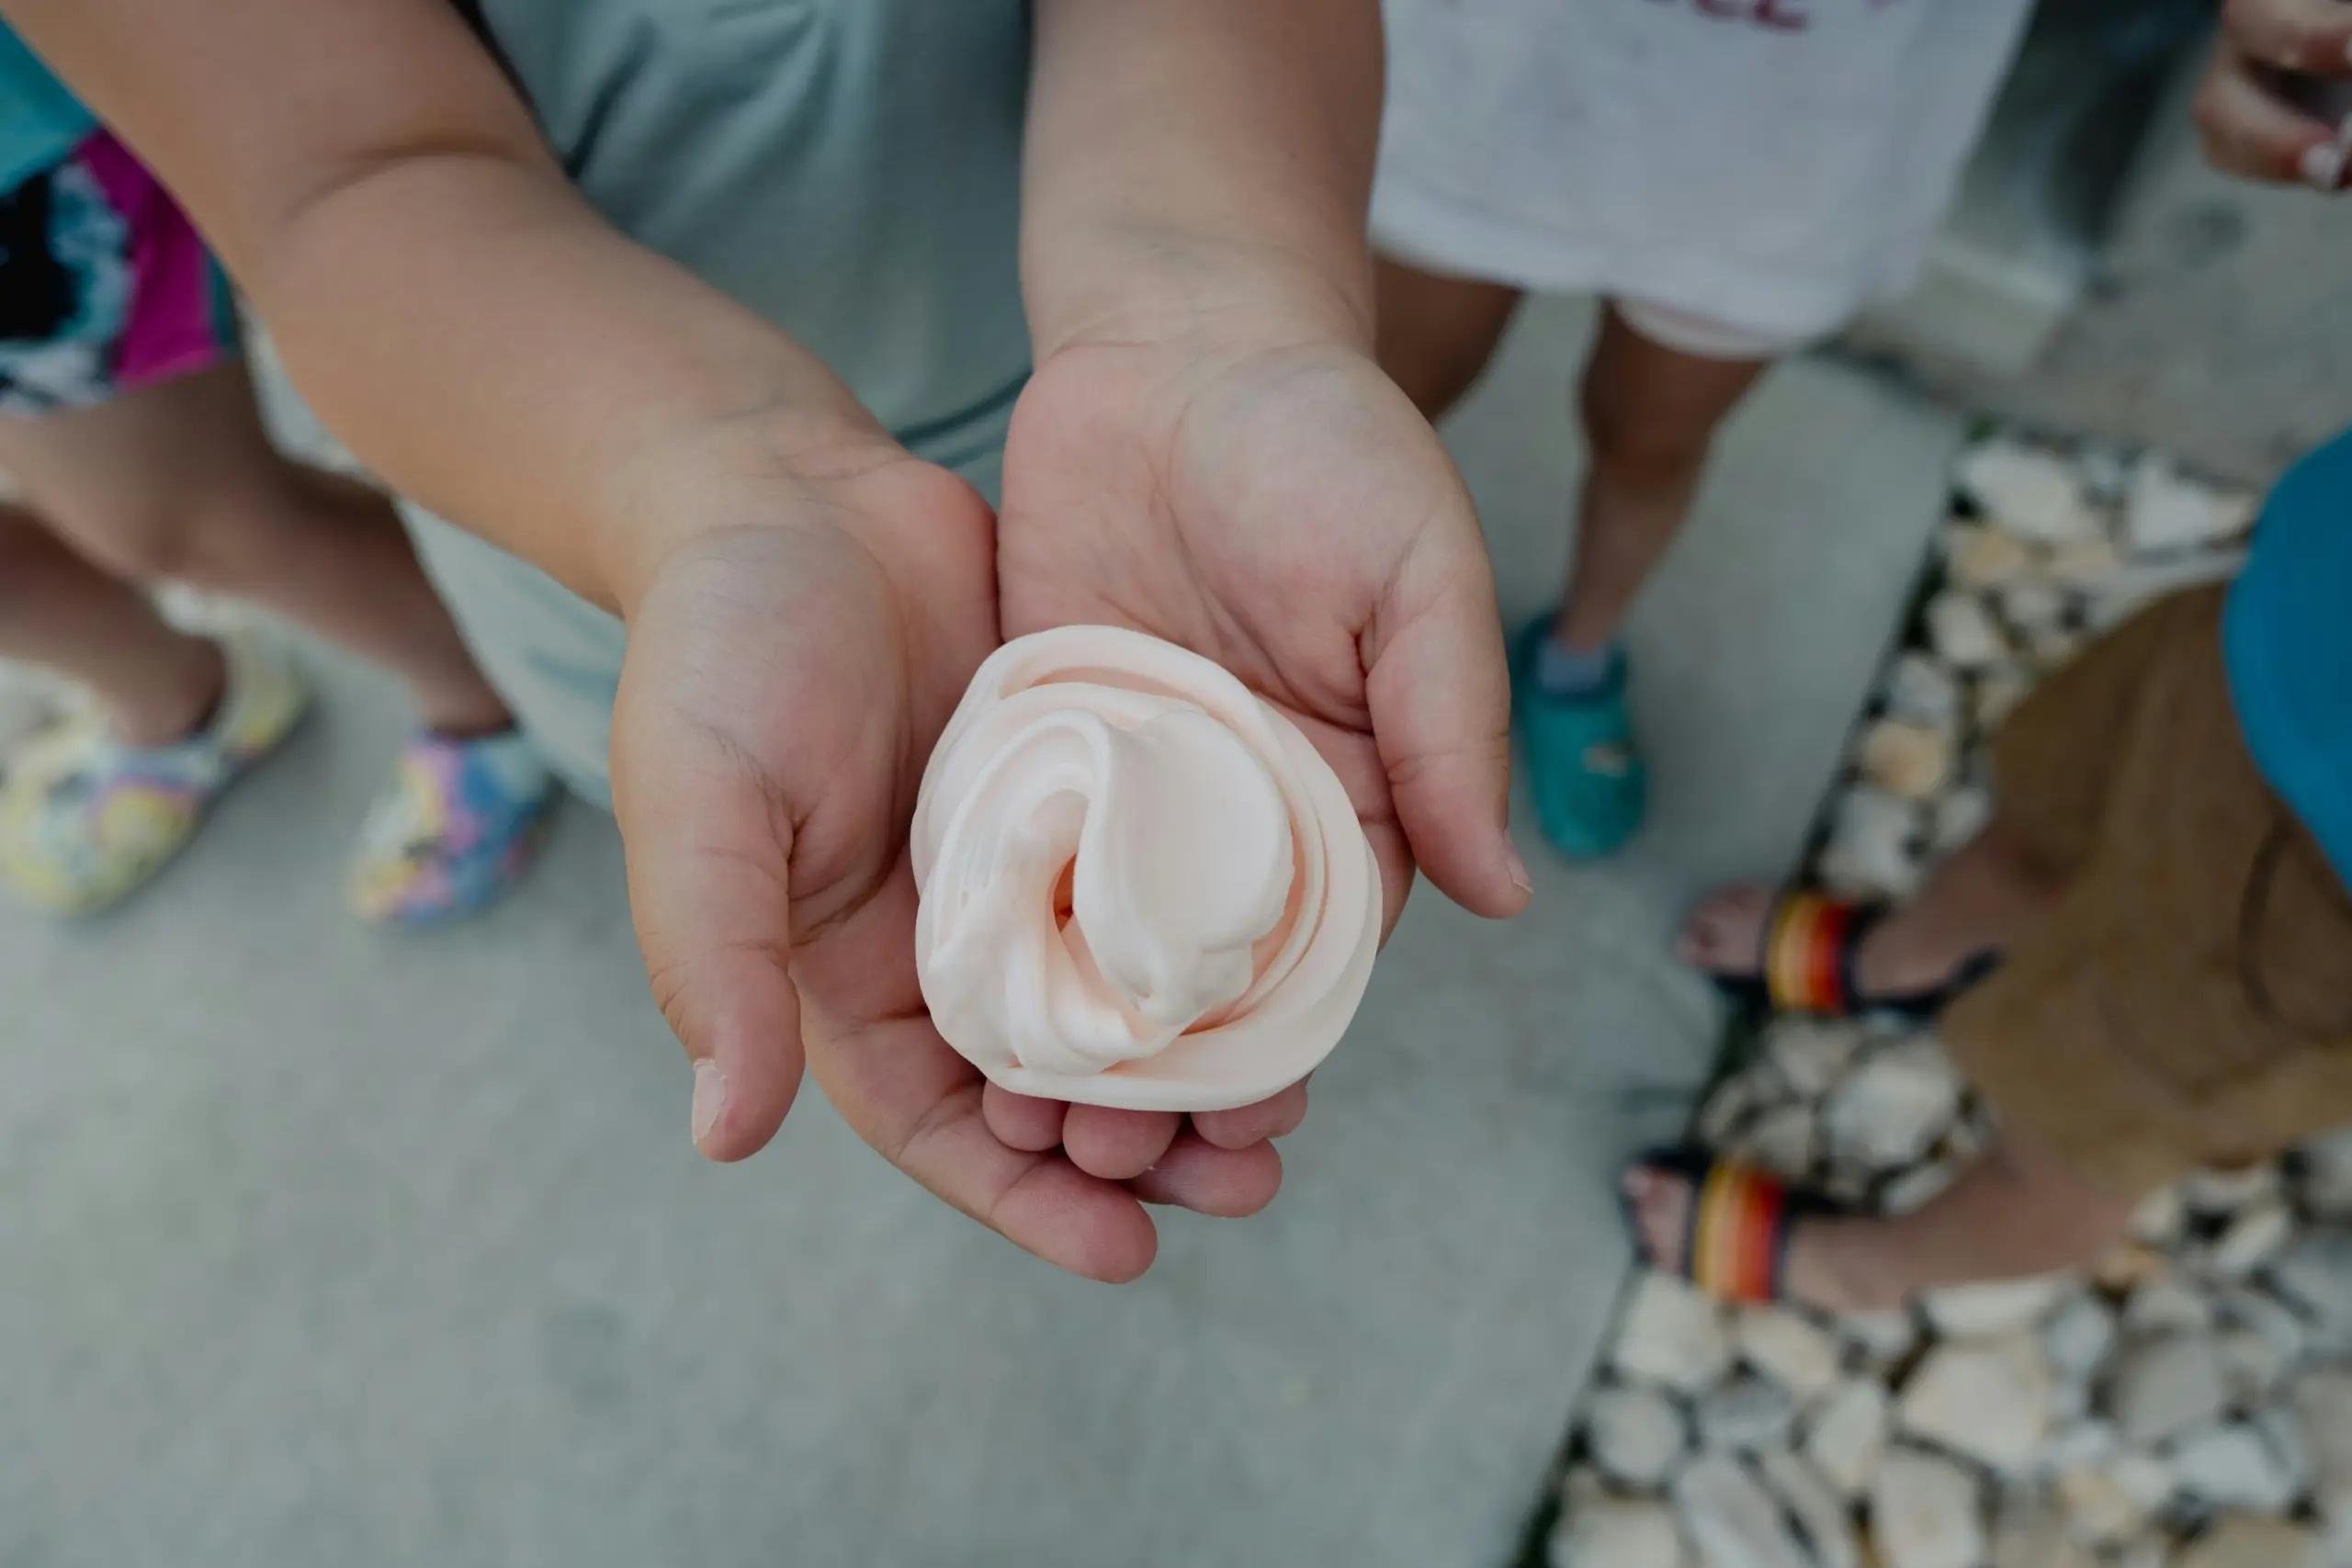
This is a super easy one, often needing just two main things: cornstarch and hair conditioner. The conditioner provides the smooth, pliable base, while the cornstarch acts as the thickener. You can adjust the ratio to get the consistency just right. It’s a softer, more dough-like slime that’s less sticky than traditional glue slime.
Cornstarch and Dish Soap Slime
Another simple combination, this recipe uses cornstarch and dish soap. The dish soap gives it a nice scent and a bit of slip, and the cornstarch thickens it up. It can sometimes be a bit more jiggly than the conditioner version, depending on the type of dish soap used. It’s a good option for a quick slime fix.
Psyllium Husk Slime
For a more natural approach, psyllium husk is a fantastic ingredient. When mixed with water and heated, psyllium husk creates a gel-like substance that can be turned into slime. It’s a bit more involved as it usually requires cooking, but the result is a unique, stretchy slime that’s often a bit translucent. You can find psyllium husk at most health food stores or online.
Flour and Water Slime
This is perhaps the most basic of the no-glue slimes. Just flour and water, mixed together. It’s more like a simple playdough or paste, and it doesn’t have the same stretch as other slimes. However, it’s incredibly easy to make and uses pantry staples. You might need to experiment with the water-to-flour ratio to get it just right. It’s a good option for very young children who might still put things in their mouths, though supervision is always recommended.
Some of these recipes, like the flour and water one, might not give you that super-stretchy, bouncy slime you get from glue-based recipes. They’re more about exploring textures and simple mixing.
It’s amazing how many different textures you can achieve with just a few common items. If you’re looking for a quick and easy sensory activity, trying out these DIY slime no glue ingredients is a great idea.
Step-by-Step Guide: Cornstarch and Conditioner Slime
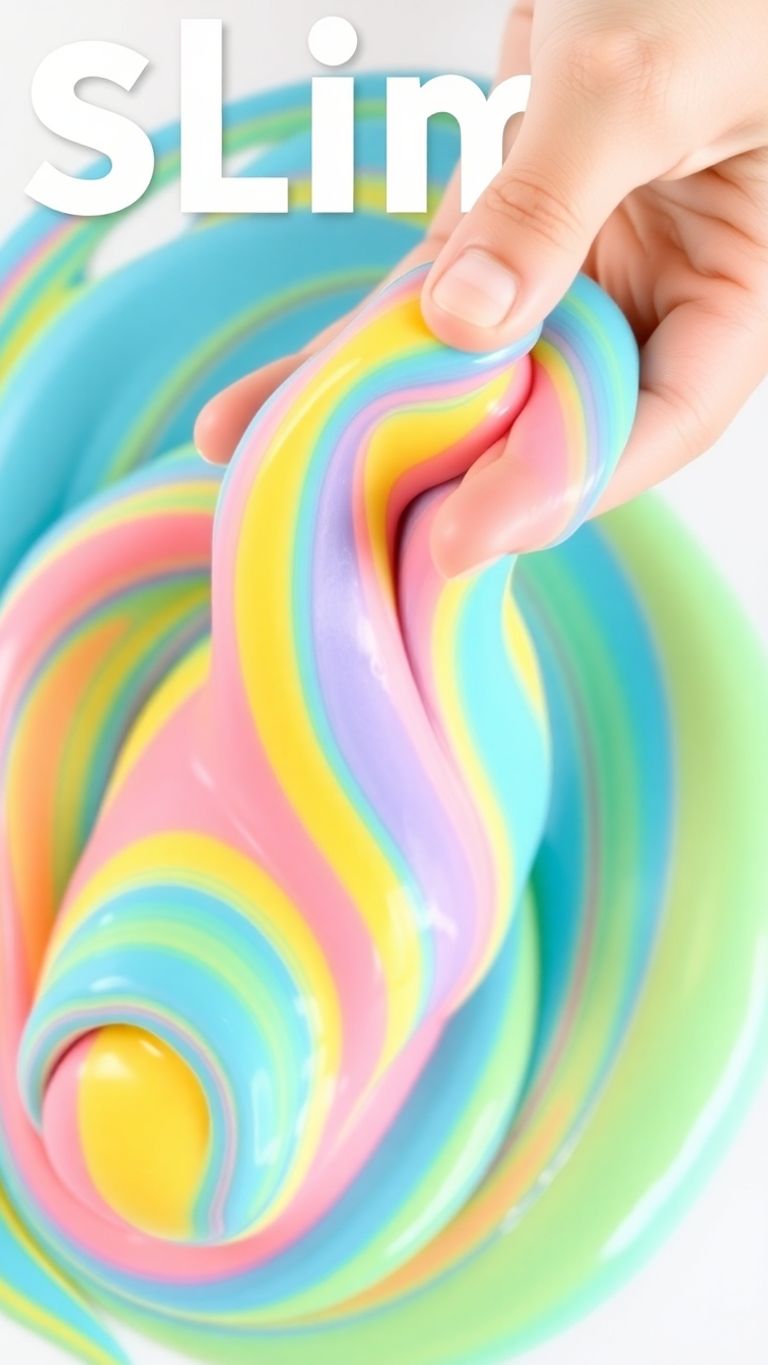
Making slime without glue is surprisingly simple, and the cornstarch and conditioner method is a fantastic starting point. It uses common household items and results in a soft, stretchy slime that’s fun to play with. Plus, it’s a great way to get kids involved in a hands-on activity that feels a bit like magic.
Gather Your Supplies
Before you start mixing, make sure you have everything ready. This makes the process go much smoother, especially if you have little ones eager to get their hands messy. You won’t need much, and most of these items are probably already in your bathroom or kitchen.
- Thick Gel Conditioner: About 1/2 cup. A thicker conditioner tends to work better, giving the slime more structure. Think of those 3-in-1 shampoos or conditioners you might have lying around.
- Cornstarch: Around 2 to 2.5 cups. This is the key ingredient that transforms the conditioner into slime.
- Food Coloring (Optional): A few drops if you want to add some color. It’s easier to mix the color into the conditioner before adding the cornstarch.
- Bowl: A medium to large mixing bowl.
- Spoon or Spatula: For initial mixing.
Mixing the Ingredients
This is where the transformation begins. It’s a good idea to have a surface covered, like a placemat or newspaper, just in case of spills. The cornstarch can be a bit dusty, so be prepared for that.
- Combine Conditioner and Color: Start by putting your 1/2 cup of conditioner into the bowl. If you’re using food coloring, add 2-3 drops now and stir it in until the conditioner is evenly colored. This step is much easier than trying to color the whole mixture later.
- Add Cornstarch Gradually: Begin adding the cornstarch to the colored conditioner. Start with about 1 cup and mix it with your spoon or spatula. It will start to form a thick, crumbly paste. Keep adding cornstarch, about half a cup at a time, mixing after each addition. You’re aiming for a consistency that’s thick and holds together but is still a bit sticky.
Be patient during this stage. It might look like a mess at first, but the cornstarch is absorbing the moisture from the conditioner, creating the slime base. Adding the cornstarch slowly helps you control the texture.
Kneading and Adjusting Consistency
Once the mixture is too thick to stir easily, it’s time to use your hands. This is the most satisfying part, as the crumbly paste starts to become smooth and stretchy.
- Knead the Dough: Take the mixture out of the bowl and start kneading it with your hands. It will be crumbly and might stick to your fingers initially. Keep working it, folding and pressing, just like you would with dough.
- Add More Cornstarch (If Needed): If the slime is still too sticky after a few minutes of kneading, add a little more cornstarch, a tablespoon at a time, and continue kneading. You want it to be smooth and pliable, not sticking excessively to your hands.
- Adjusting for Stickiness: If, by chance, you add too much cornstarch and the slime becomes too stiff or breaks easily, you can try adding a tiny bit more conditioner or a drop of water to soften it up. It’s a balancing act, so small adjustments are best. You’re looking for a texture that feels like soft playdough but stretches like slime. This cornstarch and water mixture is another simple option if you’re out of conditioner.
Once you achieve the desired consistency, your cornstarch and conditioner slime is ready for play! Store it in an airtight container at room temperature, and it should last for about a week.
Tips for Success and Variations
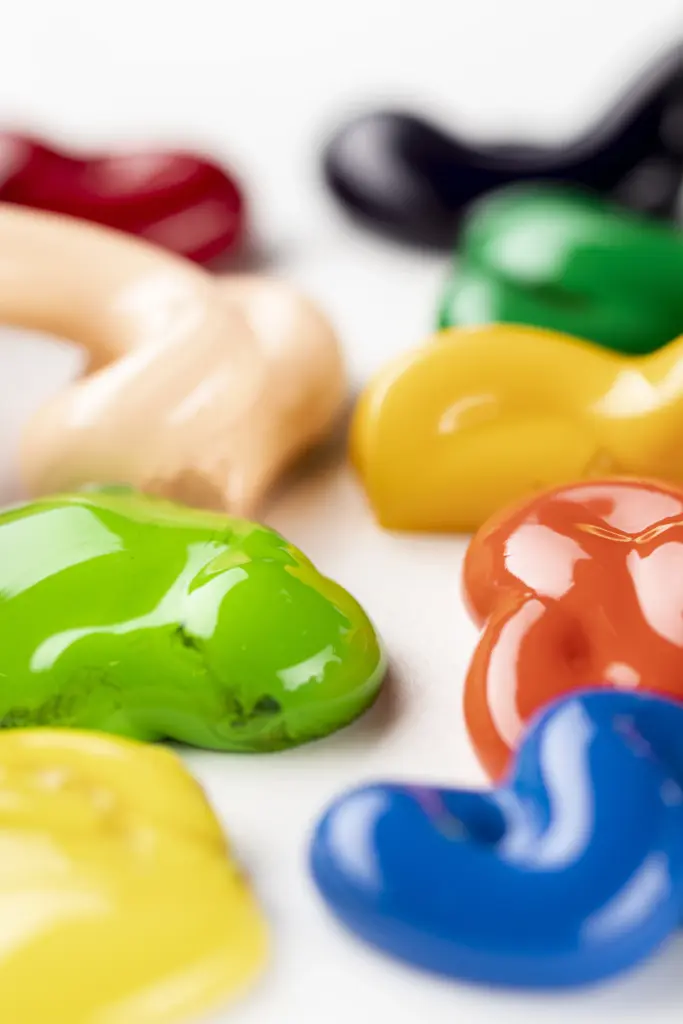
Making slime without glue is a fantastic way to get creative and have some fun, and there are tons of ways to switch things up! Don’t be afraid to experiment with different additions to make your slime truly unique.
Here are some ideas to get you started:
- Color Play: Add a few drops of food coloring to your mixture. Start with a little and add more until you get the shade you want. You can even swirl two colors together for a marbled effect!
- Sparkle and Shine: For a bit of dazzle, try adding glitter. Fine glitter tends to mix in better than chunky glitter, giving you a more even sparkle. If you can find glitter glue, that’s a super easy way to add shimmer without the mess.
- Texture Fun: Small, soft pom-poms can be mixed in for a bumpy, tactile experience. Just be sure they’re clean!
- Hidden Treasures: If you’re making slime with younger kids, hide small, waterproof toys or plastic figures inside. It turns into a fun ‘find it’ game.
- Sensory Play: Consider adding a bit of baby oil or lotion to your mixture. This can make the slime smoother and stretchier, and it leaves your hands feeling soft afterward.
When you’re done playing, remember to store your slime in an airtight container. This keeps it from drying out and lets you enjoy it again later. Most glue-free slimes are best kept at room temperature. If your slime seems a bit too sticky, try adding a little more of your dry ingredient (like cornstarch or flour) and kneading it in. If it’s too stiff, a tiny bit more of your liquid ingredient (like conditioner or water) might do the trick.
Troubleshooting Common Glue-Free Slime Issues

It’s pretty common for DIY slime projects to not turn out perfectly on the first try. Don’t get discouraged if your creation isn’t quite right! Most issues can be fixed with a little patience and a few adjustments.
If your slime is too sticky, the most common fix is to add a tiny bit more of your activator. For cornstarch and conditioner slime, this might mean a few extra drops of conditioner. If you used dish soap, try adding just a little more soap, a few drops at a time. For psyllium husk slime, a bit more water can sometimes help, but be careful not to add too much or it will become runny.
Here’s a quick rundown of common problems and solutions:
- Too Sticky: This usually means you need a bit more activator. Add it in very small amounts, mixing thoroughly after each addition. For cornstarch-based slimes, sometimes a little extra cornstarch can help absorb excess moisture.
- Too Stiff or Rubbery: This often happens when too much activator is added. Try kneading in a small amount of lotion or a bit more conditioner to make it more pliable. For psyllium husk slime, adding a little more water might help loosen it up.
- Too Runny or Watery: You likely need more of your thickening agent. For cornstarch slime, gradually add more cornstarch. For flour slime, slowly add more flour. Psyllium husk slime might need more psyllium husk, but add it very gradually to avoid making it too stiff.
- Doesn’t Hold Together: This could mean not enough activator or that your ingredients weren’t mixed thoroughly enough. Try kneading it more, or if it’s still very loose, add a tiny bit more activator.
Remember, slime making is a bit of an art and a science. What works perfectly one day might need a slight tweak the next, depending on humidity or even the specific brand of ingredients you use. Don’t be afraid to experiment a little!
Frequently Asked Questions
What can I use instead of glue to make slime?
You can make slime without glue using common household items like cornstarch, dish soap, conditioner, or even flour and water. These recipes create a fun, stretchy substance that’s perfect for playing with.
How do I make slime with cornstarch and conditioner?
Cornstarch and conditioner slime is super easy! Just mix about a cup of cornstarch with a few tablespoons of conditioner until it forms a dough-like consistency. You can add a little more conditioner if it’s too dry or more cornstarch if it’s too sticky. It makes a soft, pliable slime.
What’s the recipe for cornstarch and dish soap slime?
For cornstarch and dish soap slime, combine about 2 tablespoons of cornstarch with 1 1/2 tablespoons of dish soap in a bowl. Stir it well. If it seems too dry, add a tiny bit more dish soap; if it’s too wet, add a little more cornstarch. Let it sit for a couple of minutes, and you’ll have a non-sticky slime!
How does psyllium husk slime work?
Psyllium husk is a natural fiber that can be used to make slime. You’ll typically mix psyllium husk powder with water and heat it, often in the microwave, until it thickens into a slime. It creates a unique, jelly-like slime.
Can I make slime with just flour and water?
Making slime with flour and water is very basic. You’ll mix flour with water until you get a thick paste. While it’s simple, it might not have the same stretchy or long-lasting qualities as other slime recipes.
Are glue-free slimes less messy?
Yes, many glue-free slime recipes are less messy than traditional glue-based slime. Ingredients like cornstarch and conditioner or dish soap tend to be easier to clean up, and some recipes, like the clay and lotion one, can even leave your hands feeling soft!

